
Pressing the keyboard or mouse after your Windows 11 PC enters sleep mode should bring the system back to life. When this fails and only the power button works—or worse, even the power button doesn’t respond—routine tasks become frustrating and productivity drops. This issue often relates to USB device power management, BIOS/UEFI settings, or driver conflicts, especially after hardware changes or system updates. Below are proven solutions to restore normal wake functionality.
Enable USB Wake in BIOS/UEFI Settings
Step 1: Restart your PC and enter the BIOS or UEFI firmware settings. This typically involves pressing Del or F2 immediately after powering on, but the exact key may vary by motherboard manufacturer. If you’re unsure, consult your motherboard manual or look for an on-screen prompt during startup.
Step 2: Once in BIOS/UEFI, switch to Advanced Mode if available. Navigate to menus such as Advanced, Power Management, or Wake Up Event Setup. The exact location and names can differ depending on your hardware (e.g., MSI, ASUS, Gigabyte, ASRock, Dell, HP, Lenovo).
Step 3: Locate the option labeled Resume by USB Device, Wake from USB, or similar. Set this to Enabled. On some systems, you may also see Resume from S3/S4/S5 by Keyboard/Mouse—enable these if you want both devices to wake the PC. For ASUS boards, ensure USB power in S5 state is enabled.
Step 4: Save changes and exit BIOS/UEFI. The system will reboot with the new settings applied.
Enabling USB wake in BIOS/UEFI resolves the majority of sleep/wake issues, especially after BIOS updates, motherboard swaps, or hardware changes. Many users report this setting is disabled by default after firmware updates or when new motherboards are installed.
Adjust Windows Power Management for USB Devices
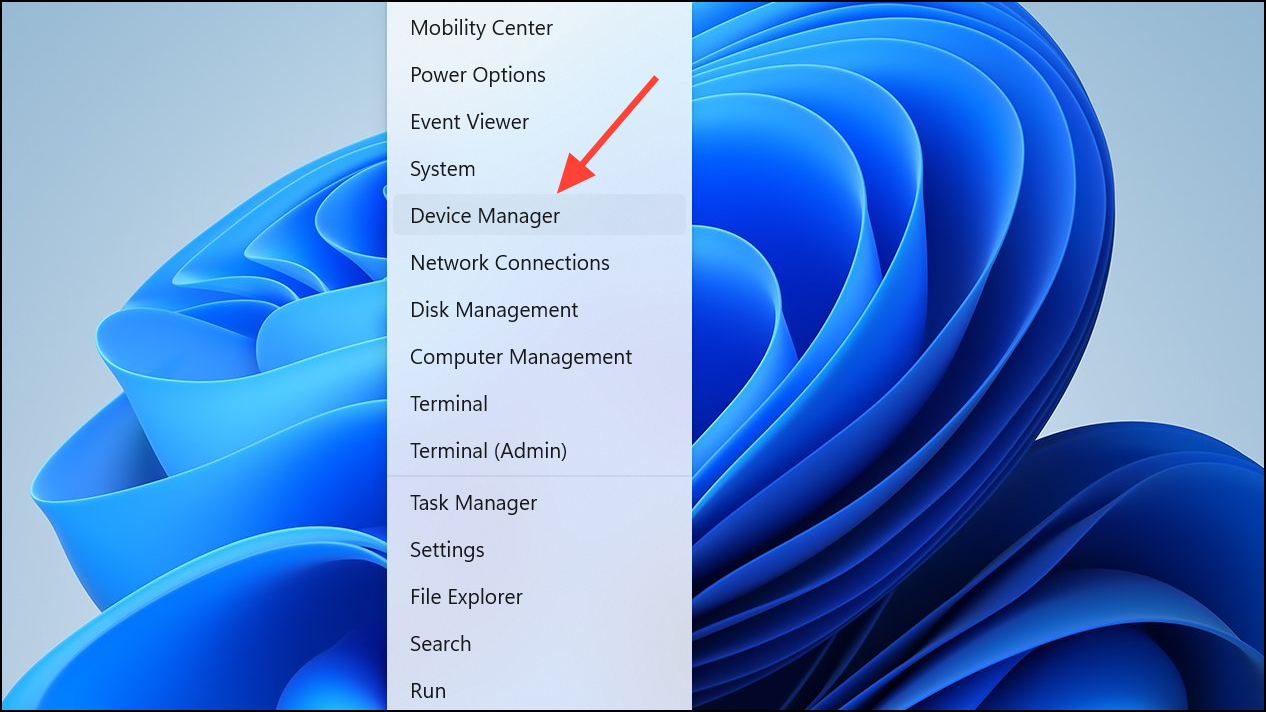
Step 1: Open Device Manager by right-clicking the Start button and selecting Device Manager.
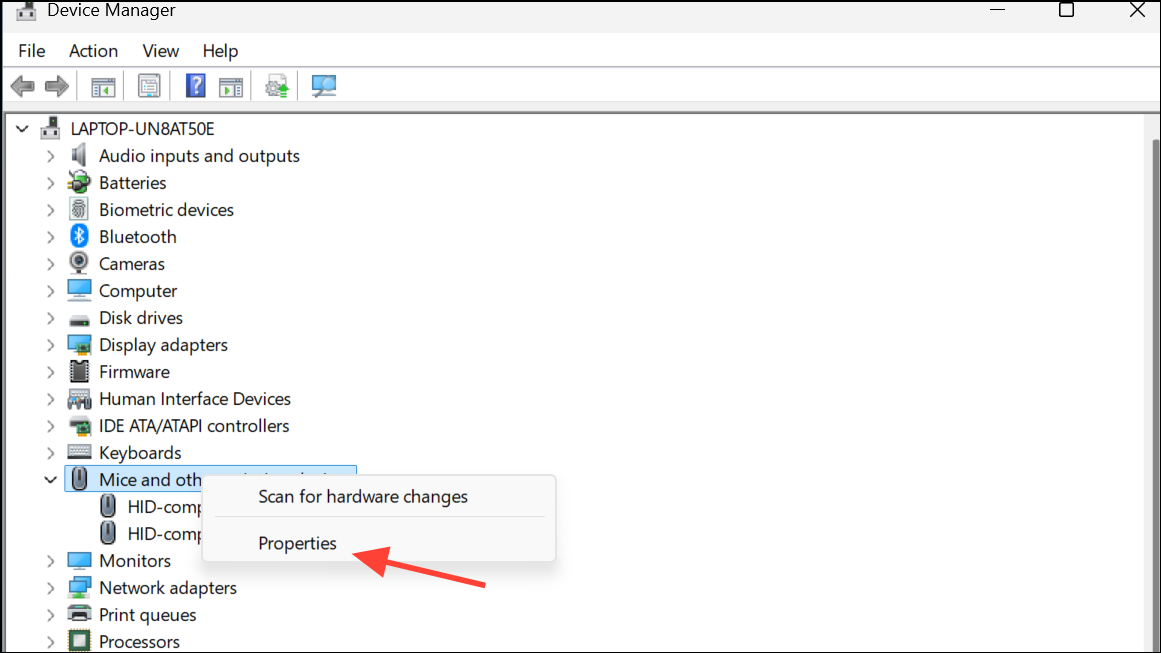
Step 2: Expand the Keyboards and Mice and other pointing devices sections. For each entry (for example, HID Keyboard Device or HID-compliant mouse), right-click and select Properties.
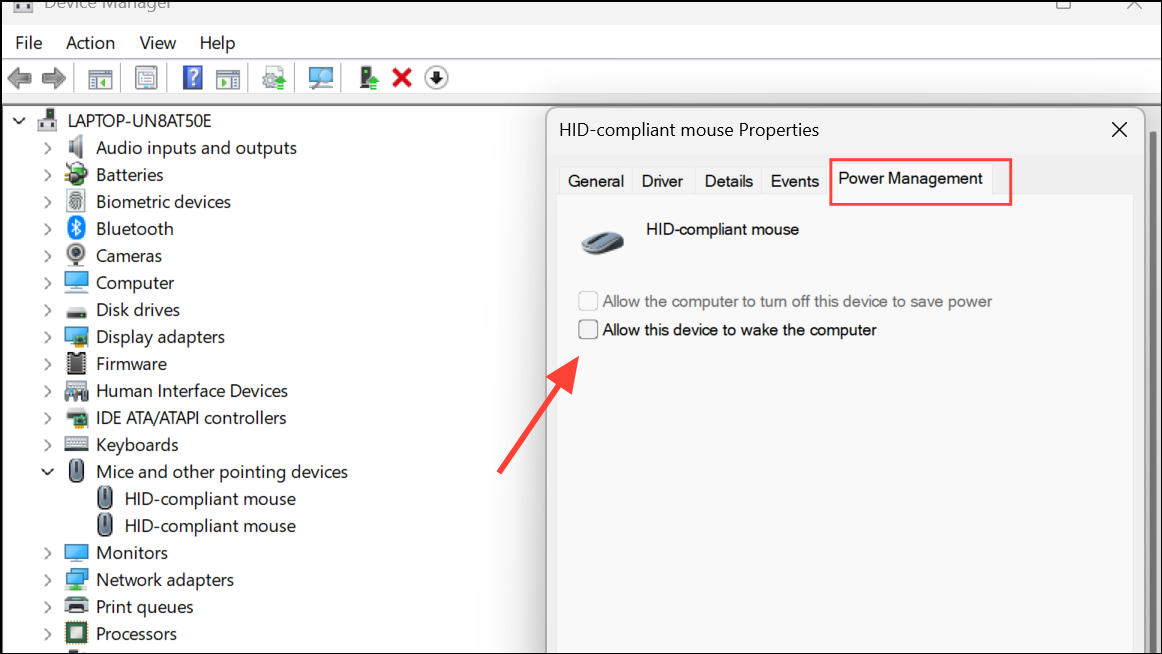
Step 3: Go to the Power Management tab. Ensure the box labeled Allow this device to wake the computer is checked. Click OK to apply. Repeat for all relevant devices.
Step 4: In some cases, this option may not be available. If so, continue with the next method.
Setting these options allows Windows to recognize keyboard and mouse input as valid wake triggers. If the setting is greyed out or unavailable, double-check BIOS/UEFI as described above—BIOS settings override Windows options.
Disable USB Selective Suspend and Hybrid Sleep
Step 1: Press Win + R to open the Run dialog, type powercfg.cpl, and press Enter. This opens the classic Power Options window.

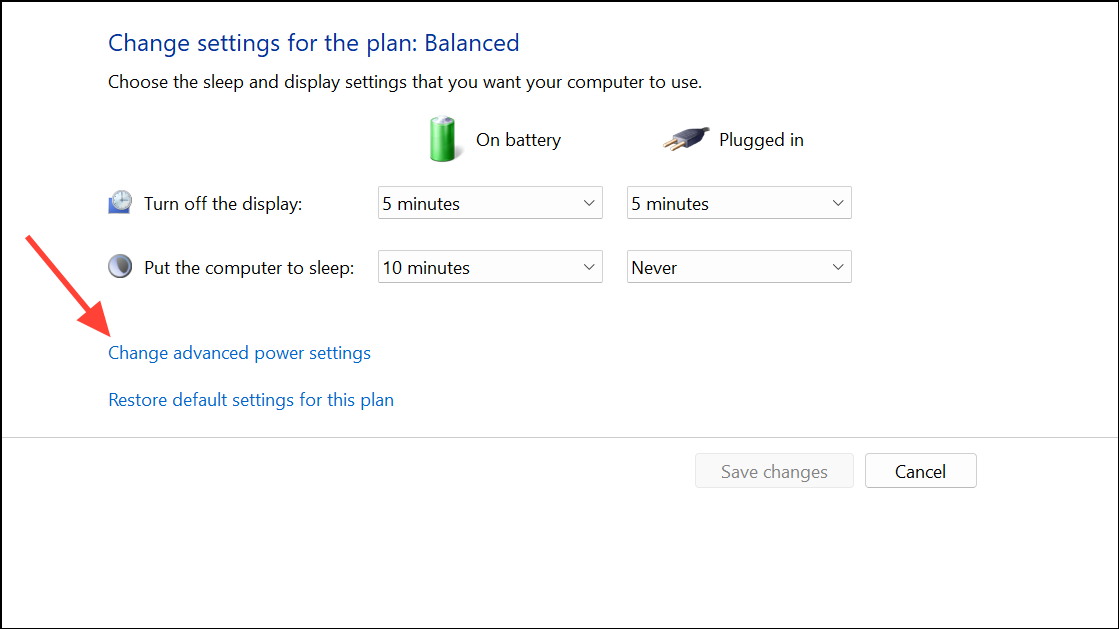
Step 2: Click Change plan settings next to your active power plan, then select Change advanced power settings.
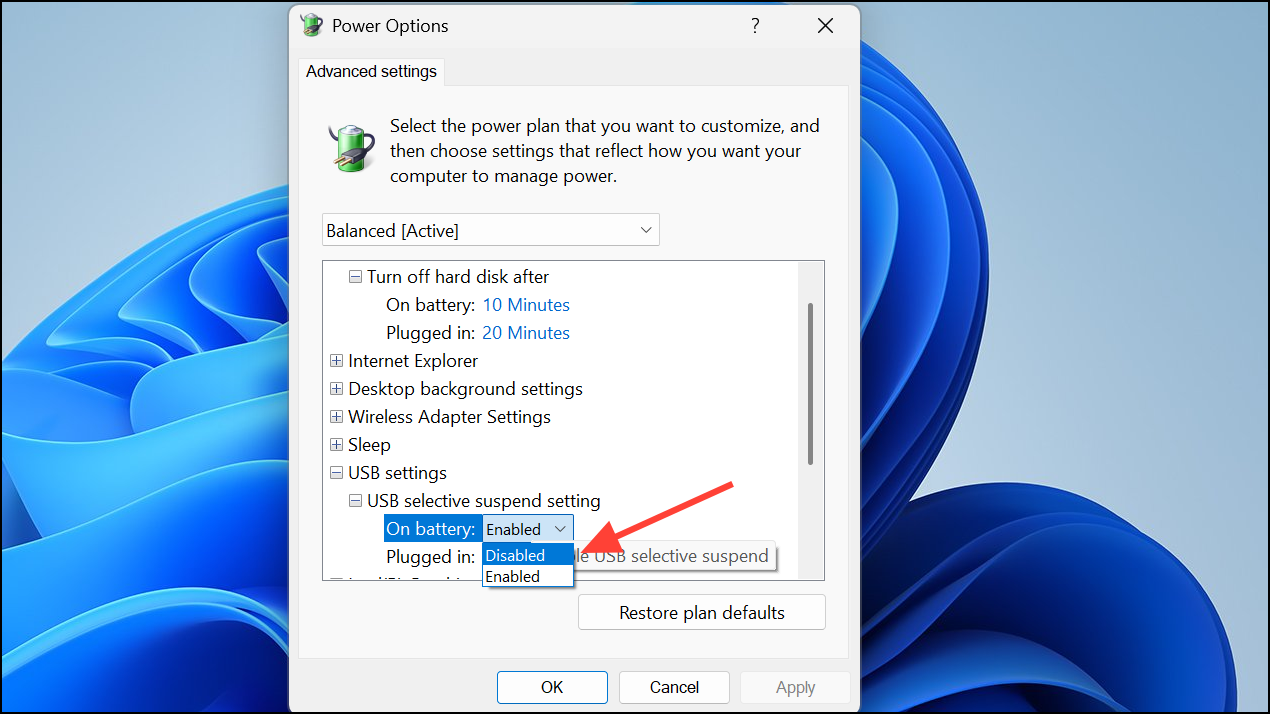
Step 3: In the Advanced settings dialog, expand USB settings > USB selective suspend setting. Set it to Disabled for both On battery and Plugged in (if available).
Step 4: Expand Sleep > Allow hybrid sleep and set it to Off.
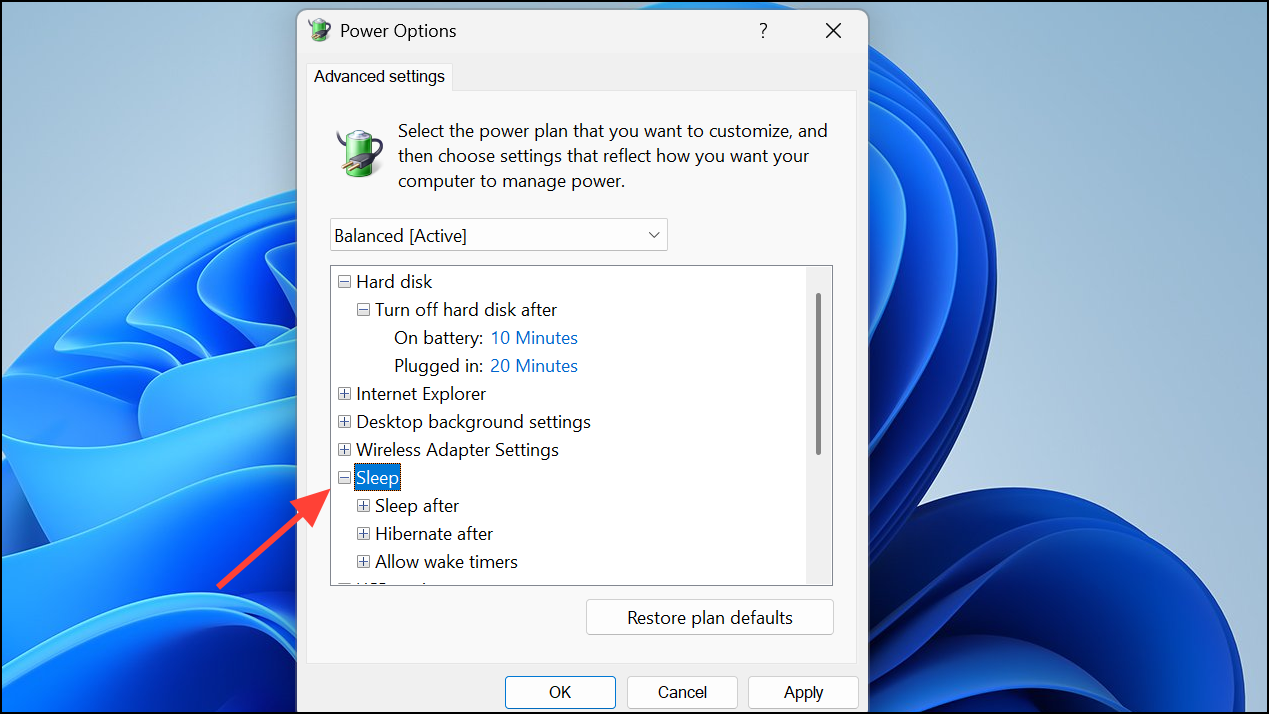
Step 5: Click Apply and OK. Restart your computer to ensure the settings take effect.
Disabling USB selective suspend prevents Windows from turning off power to USB ports during sleep, which can otherwise block wake signals from your keyboard or mouse.
Update BIOS, Windows, and Device Drivers
Step 1: Download and install the latest BIOS/UEFI firmware for your motherboard from the manufacturer’s website. Follow their official instructions carefully, as incorrect updates can cause system instability.
Step 2: In Windows, open Settings > Windows Update and install all available updates.

Step 3: Update device drivers for your chipset, USB controllers, and input devices. Use Device Manager or the manufacturer’s support tools (such as ASUS MyASUS, MSI Center, or Gigabyte Control Center).
Outdated or incompatible firmware and drivers are common causes of sleep/wake issues, especially after major updates or hardware upgrades.
Disconnect External Devices and Troubleshoot USB Hubs
Step 1: Shut down your PC completely. Disconnect all non-essential USB devices, including hubs, external drives, printers, and adapters—leave only your primary keyboard and mouse attached.
Step 2: Power on the computer, put it into sleep mode, and test waking it using the keyboard or mouse. If wake works, reconnect devices one at a time, testing after each addition.
Faulty or incompatible USB devices and hubs often interfere with sleep/wake signals. Identifying the problematic device allows you to update its driver, replace it, or connect it differently (e.g., directly to the motherboard instead of through a hub).
Reset BIOS/UEFI to Default Settings
Step 1: Enter BIOS/UEFI using your motherboard’s designated key (Del, F2, or similar).
Step 2: Locate the option to Load Optimized Defaults or Restore Defaults. Confirm and save changes.
Step 3: Reboot and reapply any custom settings as needed, including enabling USB wake as described above.
Resetting the BIOS/UEFI can resolve issues caused by incorrect or corrupted configuration, especially after firmware updates or hardware changes.
Run Windows Power Troubleshooter and Diagnostics
Step 1: Open Settings > System > Troubleshoot > Other troubleshooters. Find Power and click Run.
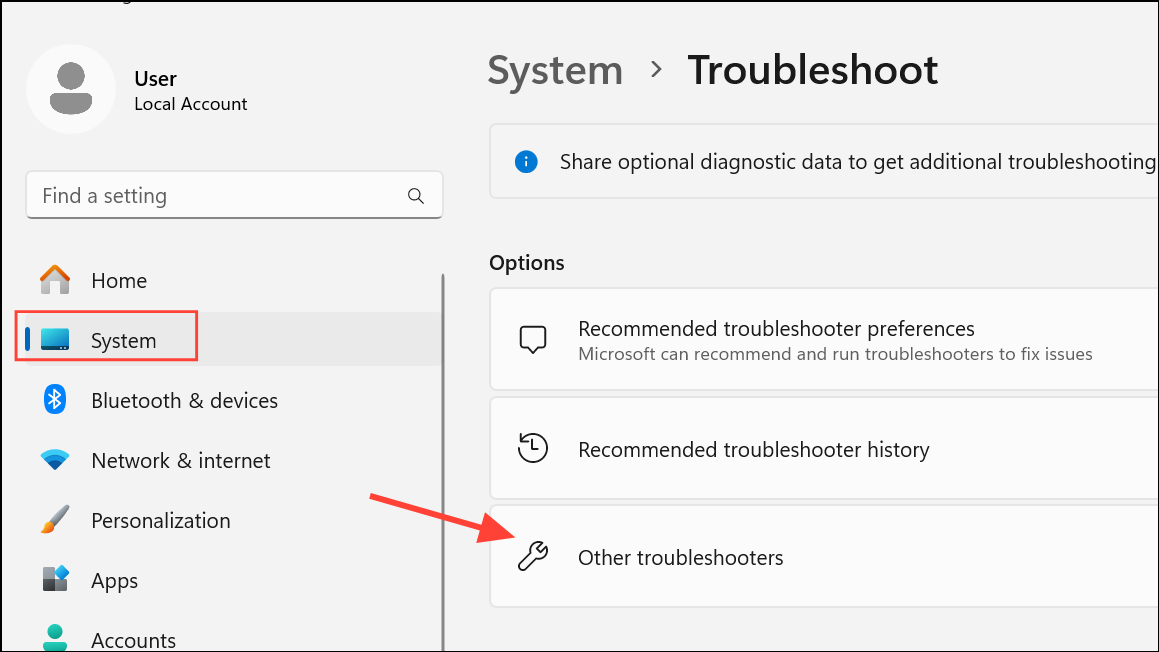
Step 2: Follow the on-screen instructions. The troubleshooter will scan for common sleep and power issues and attempt to apply fixes automatically.
Step 3: For deeper diagnostics, open Command Prompt as administrator and run:
msdt.exe -id PowerDiagnostic
This command launches the Power troubleshooter directly.
Additional Tips and Maintenance
- If your device enters hibernation after sleep, only the power button can wake it. Adjust hibernation settings using
powercfg.exe /hibernate offin an administrator Command Prompt to disable hibernation temporarily. - Check for settings in your monitor’s menu (such as “USB Standby Mode”) if your monitor acts as a USB hub. Some monitors cut USB power during sleep, blocking wake signals.
- On some motherboards, “ERP” mode in BIOS disables USB power during sleep for energy savings. Disable ERP if you want USB wake functionality.
- If issues started after a hardware change (such as swapping power supplies or motherboards), double-check all internal connections, especially to the motherboard and USB headers.
- If all else fails, a clean Windows installation or system reset may resolve persistent, unexplained sleep/wake failures.
Resolving sleep and wake issues in Windows 11 often comes down to BIOS/UEFI settings and USB power management. Applying these steps restores normal wake functionality, letting you get back to work without unnecessary interruptions.