
Visual glitches, game crashes, or sudden loss of display output often point to your video driver crashing and resetting in Windows 11. This problem disrupts gameplay, interrupts video playback, and sometimes leaves your system running but without any usable video signal. Addressing this issue requires a careful approach—starting with the most impactful fixes and working through additional troubleshooting steps as needed.
Update or Reinstall the Video Driver
Most video driver crashes in Windows 11 occur due to outdated, corrupt, or incompatible drivers. Installing the latest driver version directly from your GPU manufacturer often resolves persistent crashes and resets.
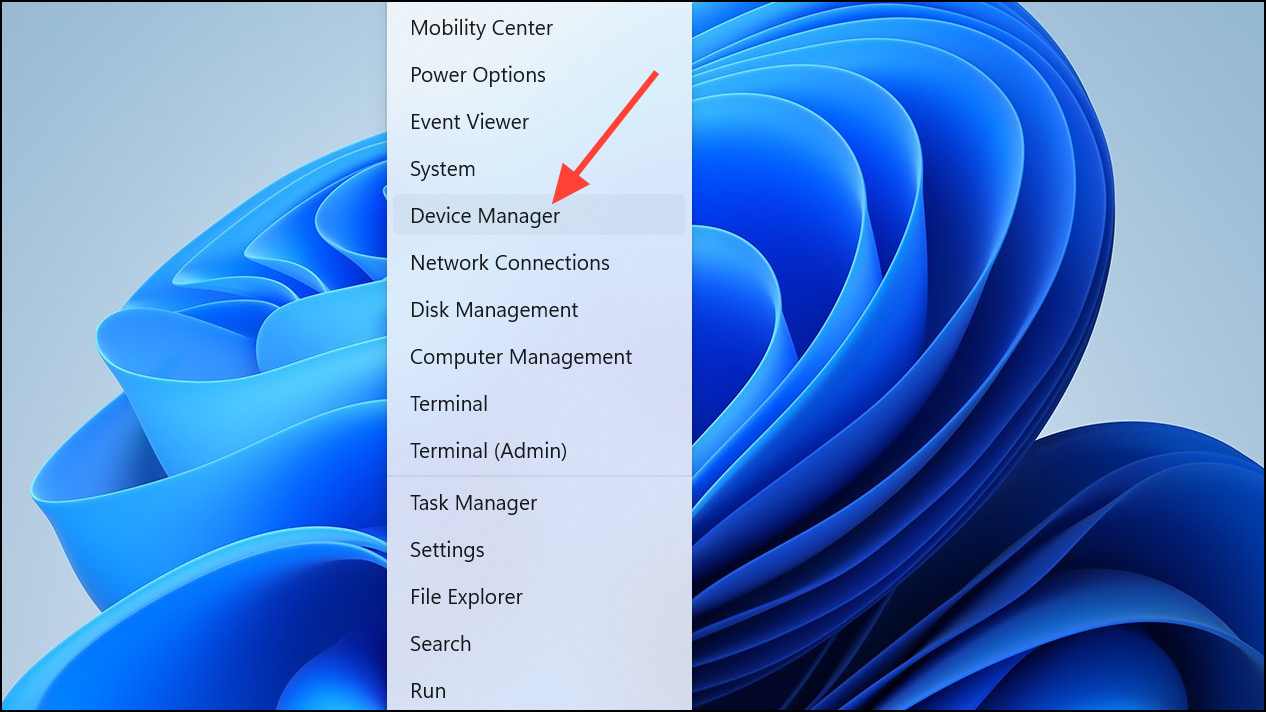
Step 1: Open Device Manager by right-clicking the Start button and selecting Device Manager. This tool lists all hardware components and their drivers.
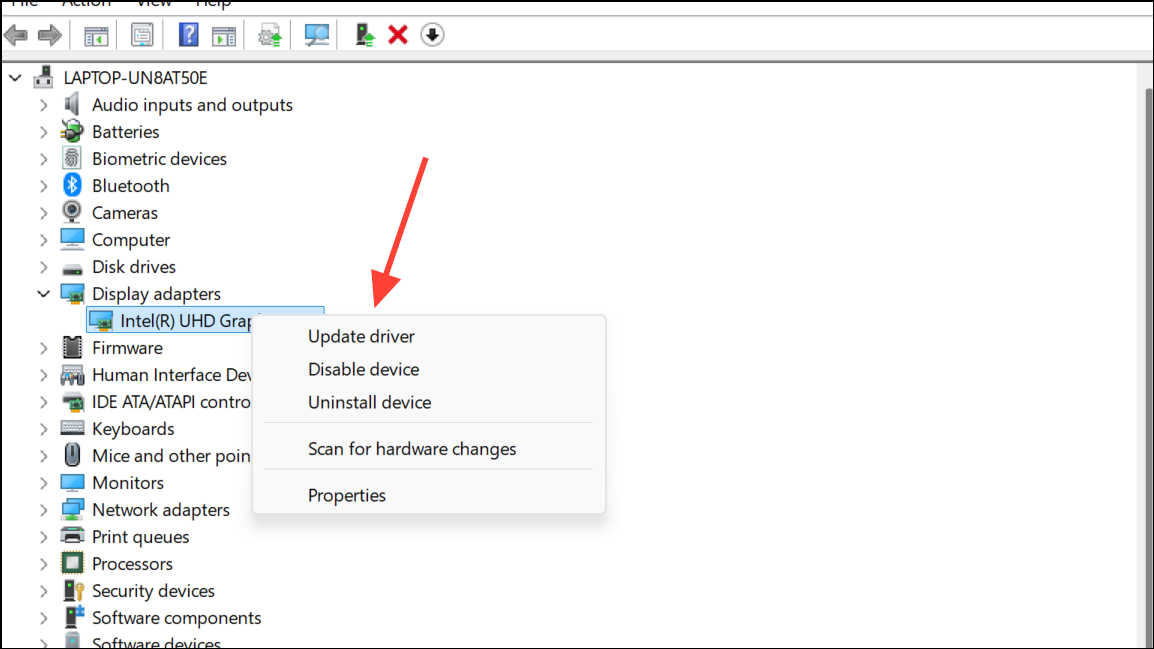
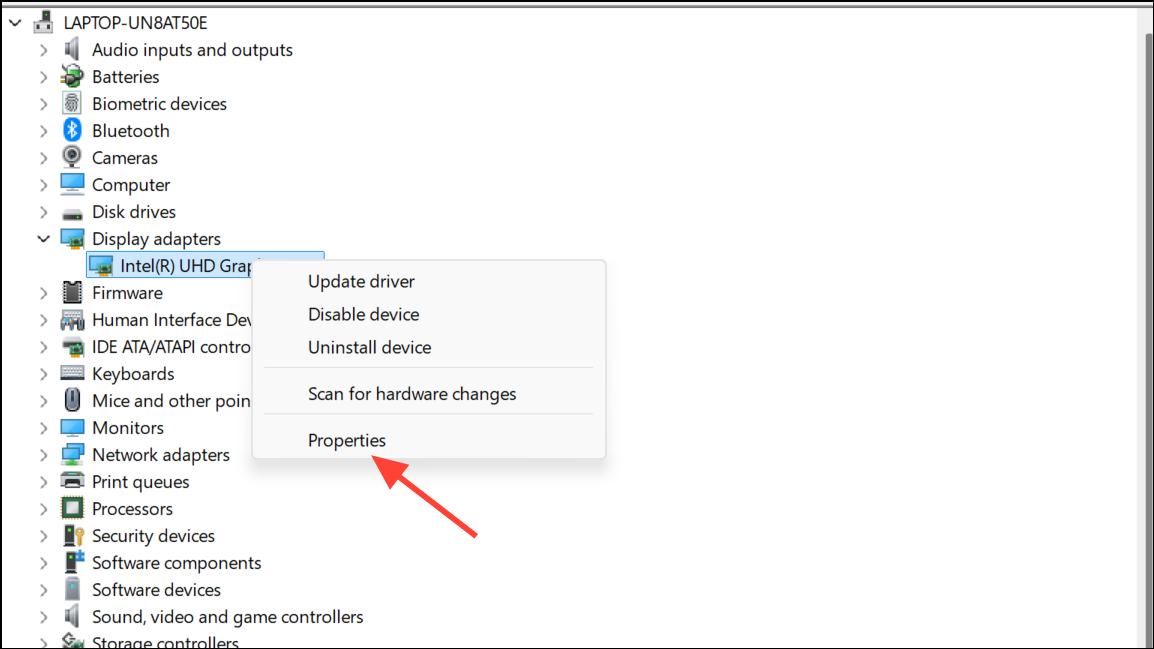
Step 2: Expand the Display adapters section. Right-click your graphics card and choose Update driver.
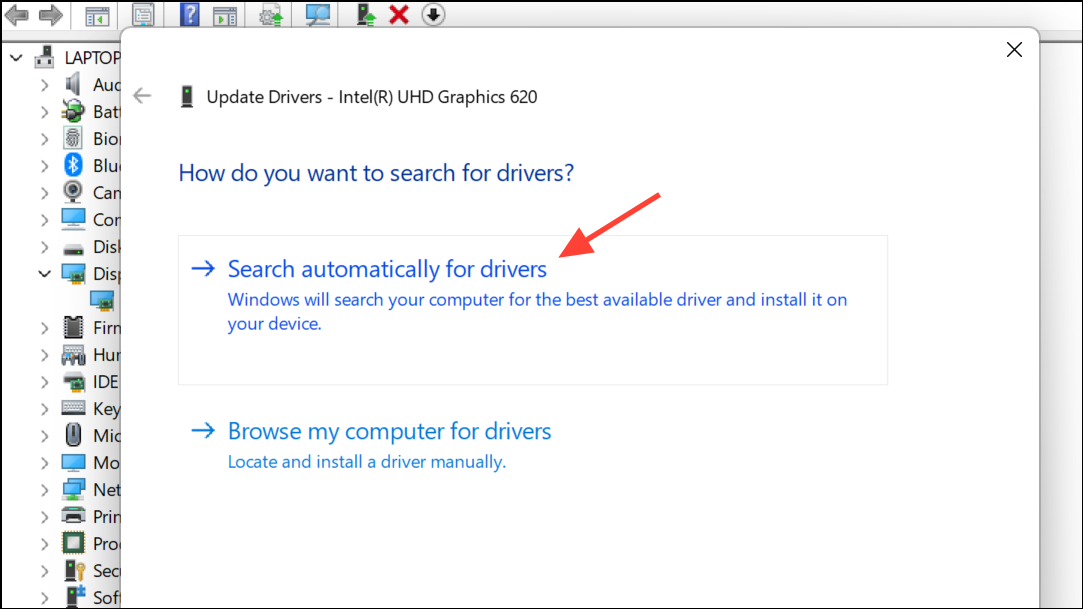
Step 3: Select Search automatically for drivers to let Windows find and install updates. If Windows reports the best drivers are already installed, visit your GPU manufacturer's website (NVIDIA, AMD, or Intel) to download the most recent driver package for your exact model.
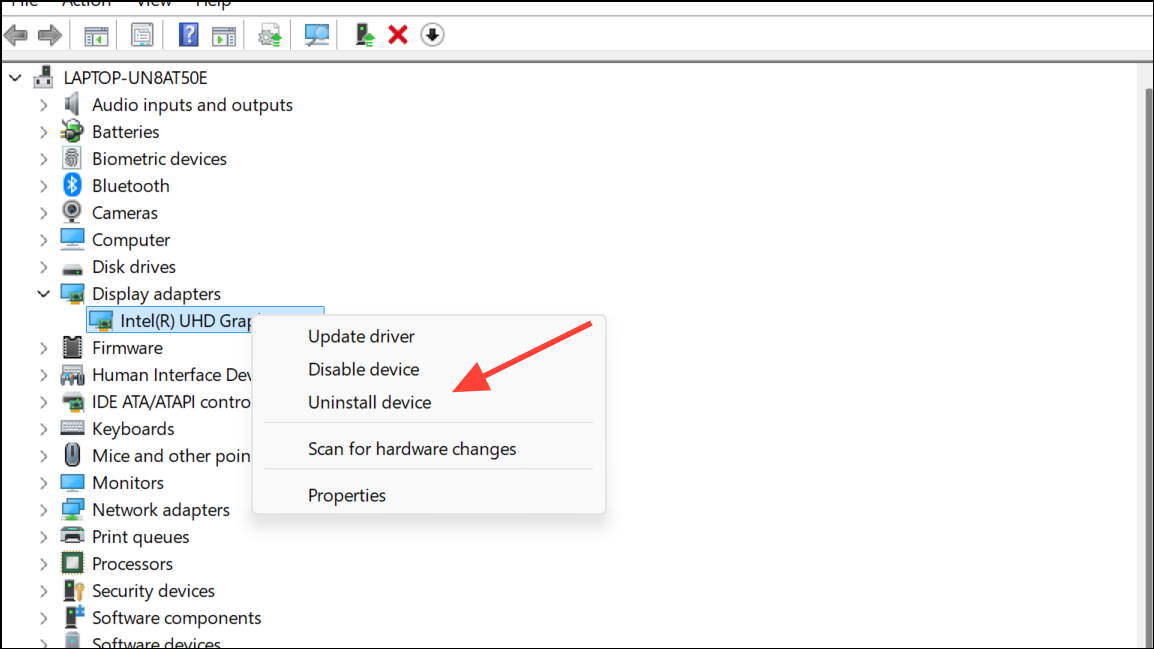
Step 4: If updating does not resolve the crashes, uninstall and reinstall the driver. In Device Manager, right-click your GPU and select Uninstall device. Confirm any prompts and restart your PC. Windows will attempt to reinstall the default driver automatically. For best results, manually install the latest driver from the manufacturer’s website after the restart.
Step 5: If issues persist, use a tool like Display Driver Uninstaller (DDU) to fully remove existing drivers in Safe Mode before installing the new driver package. This process eliminates any lingering conflicts or corrupted files.
Adjust TDR Delay in the Windows Registry
Timeout Detection and Recovery (TDR) is a Windows feature that resets the graphics driver if it fails to respond within a set time. Increasing the TDR delay gives the GPU more time to recover from heavy loads, reducing the chance of abrupt driver resets.
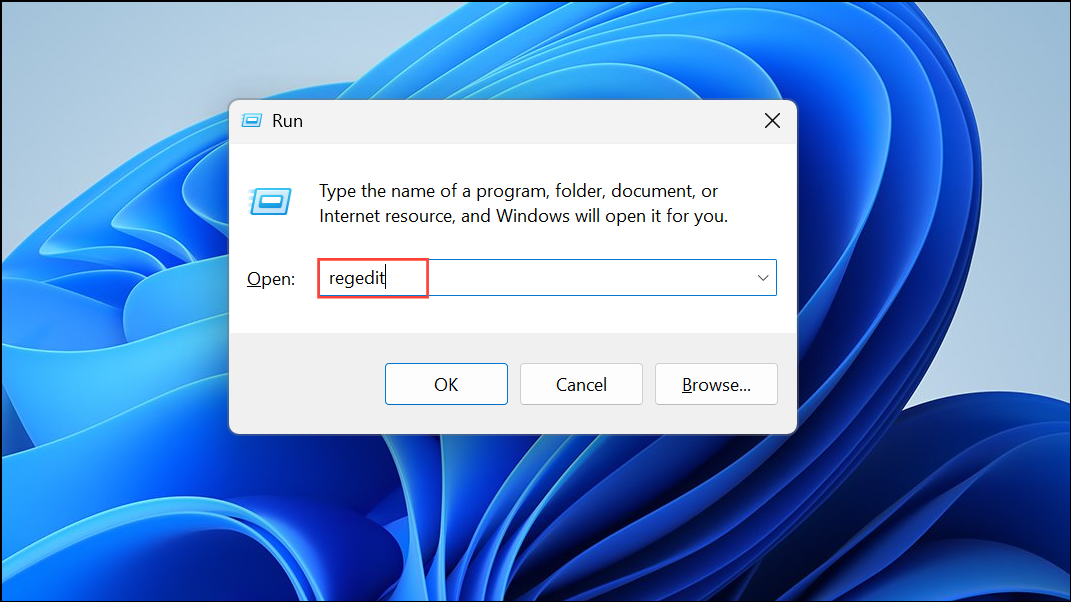
Step 1: Press Windows + R to open the Run dialog, then type regedit and press Enter to launch the Registry Editor. Approve any User Account Control prompts.
Step 2: Navigate to:
HKEY_LOCAL_MACHINE\SYSTEM\CurrentControlSet\Control\GraphicsDrivers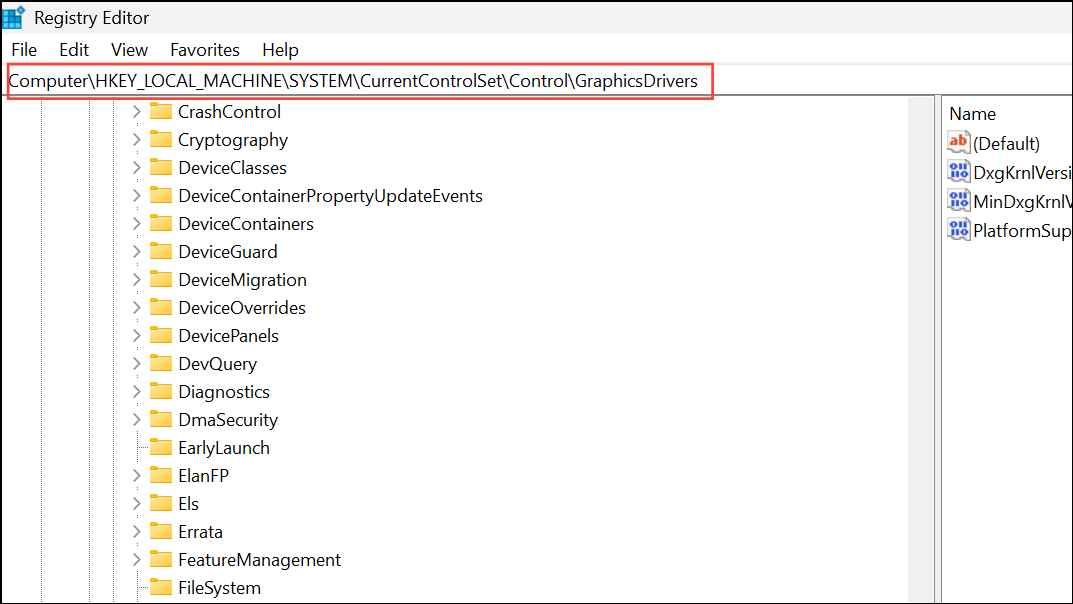
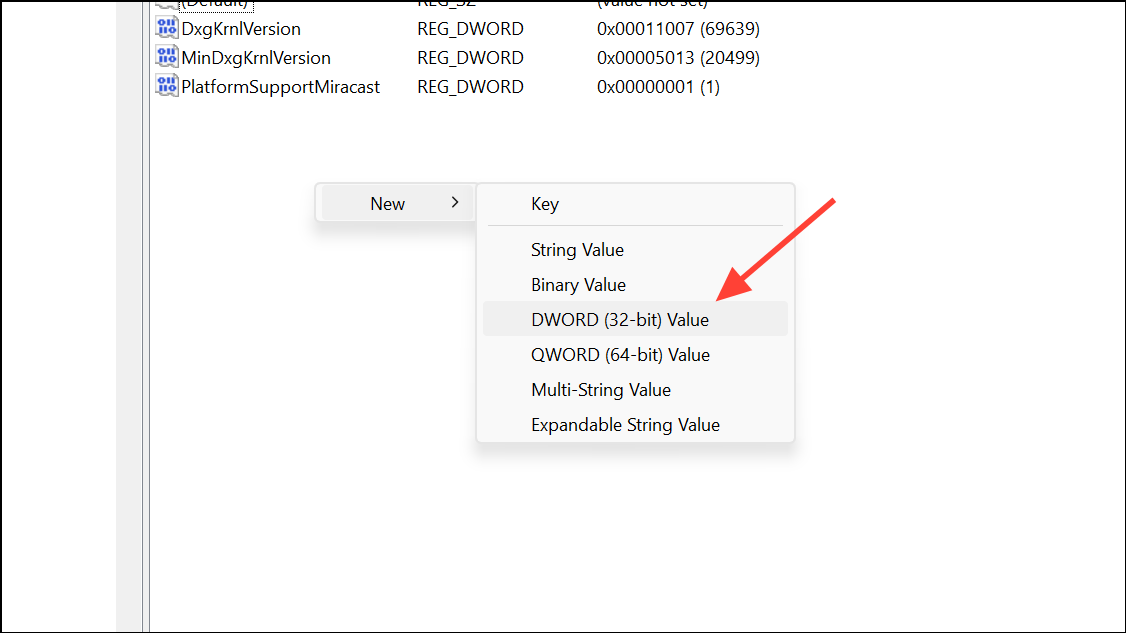
Step 3: In the right pane, right-click and select New > DWORD (32-bit) Value. Name the new value TdrDelay.
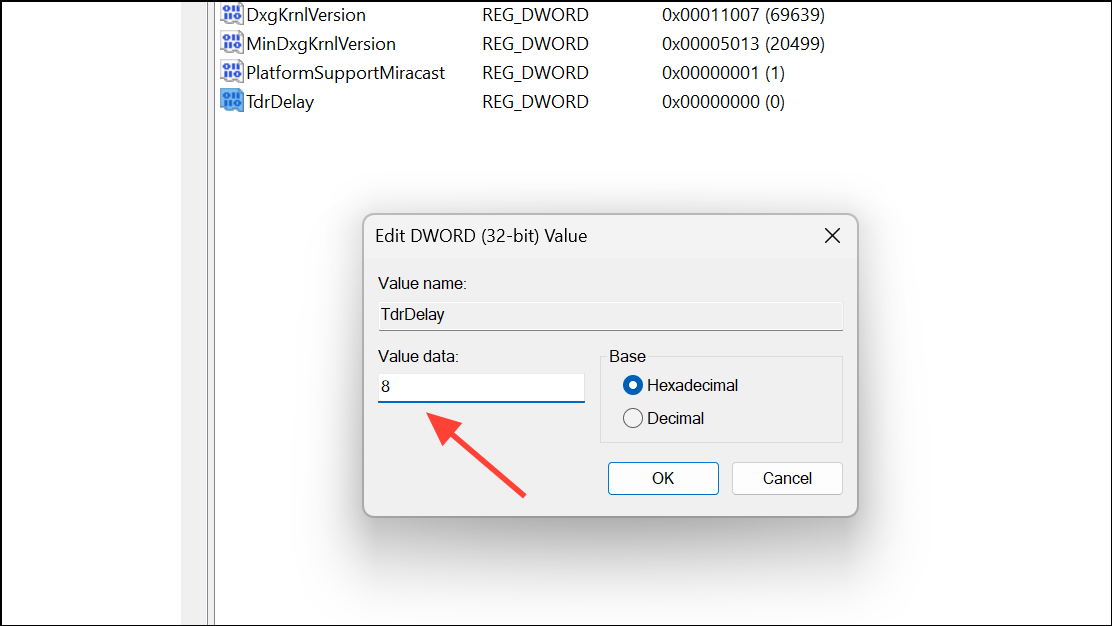
Step 4: Double-click TdrDelay and set its value data to 8. This increases the timeout to 8 seconds, allowing the GPU more time to respond before Windows resets the driver.
Step 5: Close the Registry Editor and restart your PC. This change can reduce the frequency of driver resets during demanding tasks.
Run the Video Playback Troubleshooter
Windows 11 includes a Video Playback troubleshooter that can automatically detect and resolve certain graphics driver issues affecting video and gaming performance.
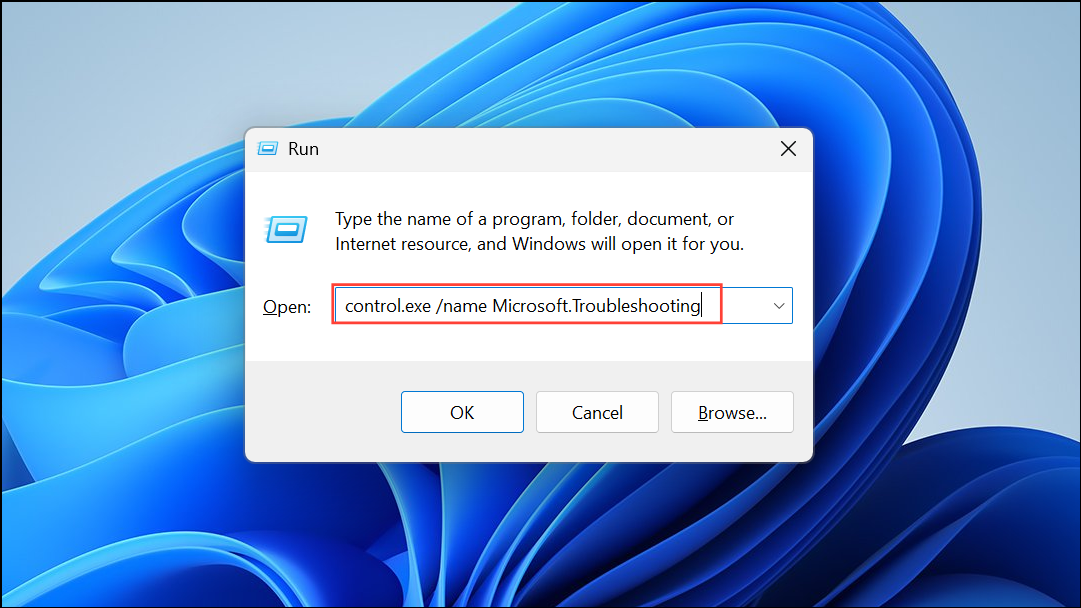
Step 1: Press Windows + R, type control.exe /name Microsoft.Troubleshooting, and press Enter to open the Troubleshooting section in Control Panel.
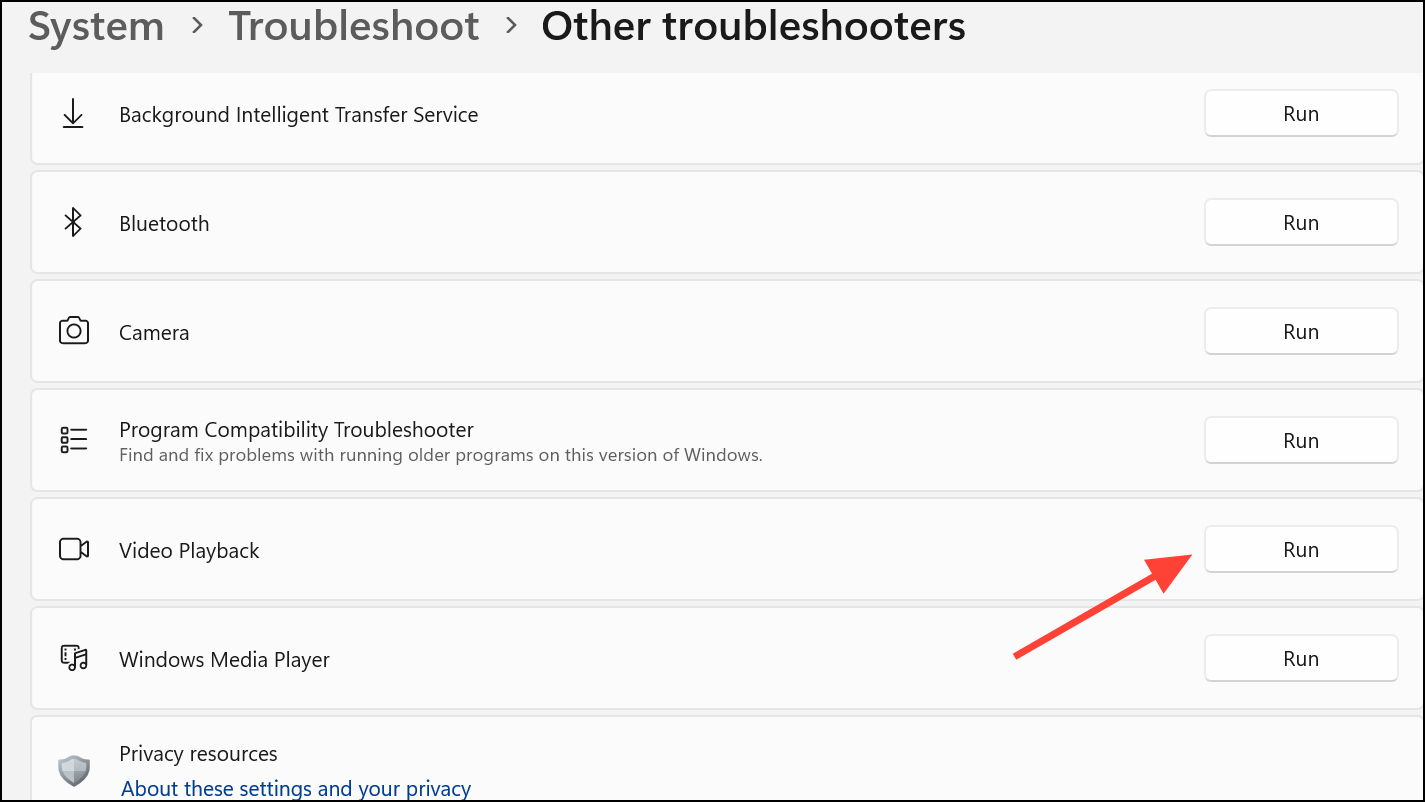
Step 2: Click Other troubleshooters and scroll to Video Playback. Click Run to launch the troubleshooter.
Step 3: Follow on-screen instructions. The tool will attempt to detect and resolve video playback issues, sometimes suggesting codec installations or making system adjustments automatically.
Roll Back the Video Driver
If driver crashes began after a recent update, reverting to the previous driver version can restore stability.
Step 1: Open Device Manager and expand Display adapters. Right-click your GPU and select Properties.
Step 2: Switch to the Driver tab and click Roll Back Driver if the option is available. Complete the prompts and restart your computer.

This step is especially useful if a new driver introduces bugs or incompatibilities with your hardware or specific applications.
Check for Overheating and Hardware Issues
Persistent video driver crashes can signal hardware problems such as GPU overheating, insufficient power supply, or failing memory.
Step 1: Monitor GPU temperatures using tools like MSI Afterburner or HWMonitor. If temperatures exceed safe limits (typically above 85°C for many GPUs), clean out dust from fans and heatsinks, improve case airflow, or consider reapplying thermal paste.
Step 2: Run a GPU stress test (such as FurMark) to check stability under load. If the system crashes or the driver resets during testing, hardware issues are likely.
Step 3: Inspect your power supply to ensure it meets the wattage requirements for your GPU and other components. A failing or underpowered PSU can trigger driver resets and crashes.
Step 4: Test system RAM using Windows Memory Diagnostic. Faulty memory can corrupt data processed by the GPU, causing driver failures.
Optimize Power and Display Settings
Incorrect system settings can overload the video driver or cause unnecessary resets.
Step 1: Set your power plan to High Performance in Control Panel > Hardware and Sound > Power Options. This prevents aggressive power-saving features from throttling GPU performance.
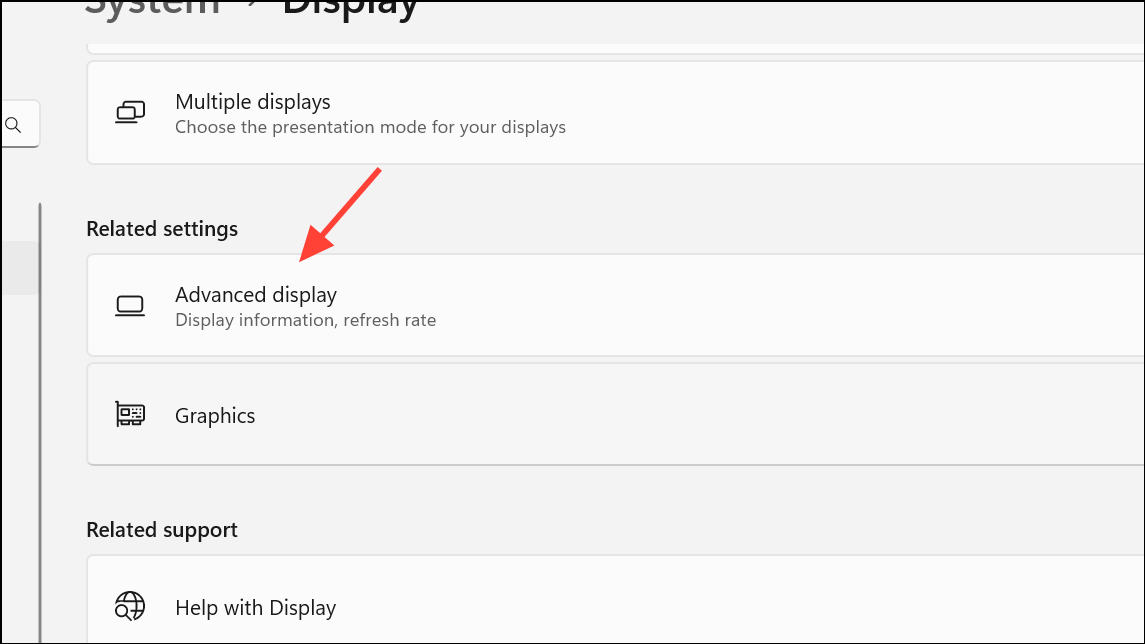
Step 2: Right-click the desktop and select Display settings. Confirm the resolution matches your monitor’s recommended value. Scroll to Advanced display settings and ensure the refresh rate is set appropriately. Lowering the refresh rate can sometimes stabilize older or less capable GPUs.
Reduce In-Game Graphics Settings
High game graphics settings can overwhelm the GPU, especially on mid-range or older hardware, increasing the risk of driver resets.
Step 1: Open the graphics settings menu in affected games and lower options such as texture quality, shadow detail, and screen resolution.
Step 2: Try switching from DirectX 12 to DirectX 11 if the game allows. Some users report improved stability with the older API.
Step 3: If your monitor supports high refresh rates, set a lower in-game frame rate limit to reduce GPU stress.
Disable Hardware Acceleration in Applications
Some applications, especially browsers or video editors, use hardware acceleration by default. If these apps trigger driver crashes, disabling hardware acceleration can improve stability.
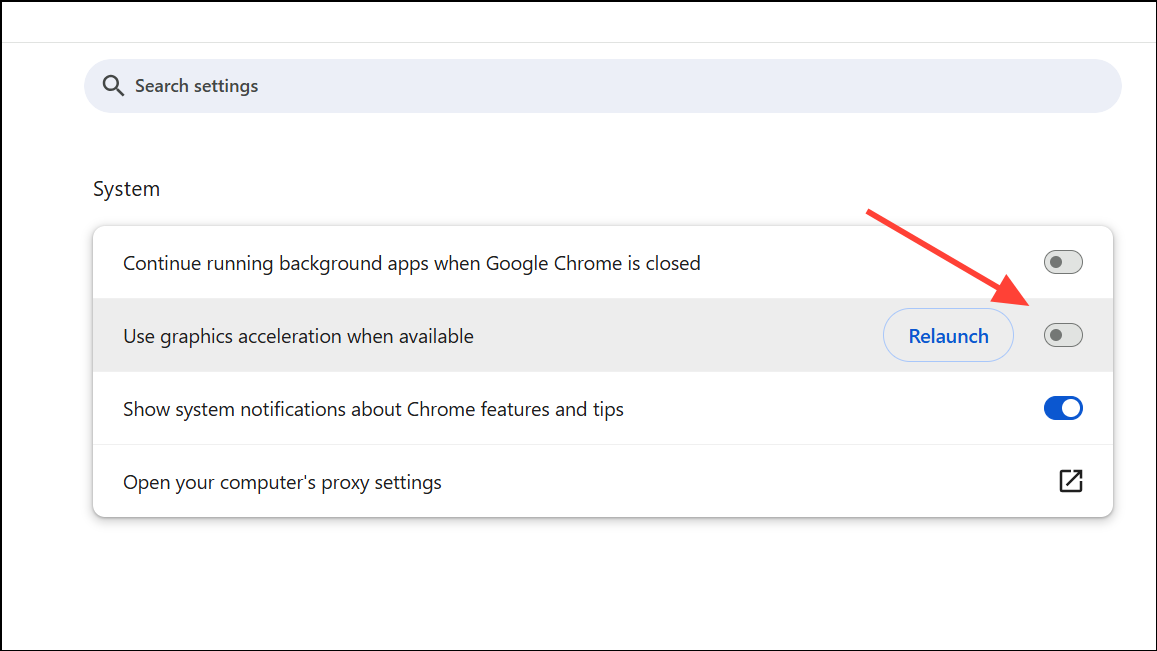
Step 1: In Google Chrome, click the three-dot menu, select Settings, scroll to Advanced, and turn off Use hardware acceleration when available. Restart the browser.
Step 2: Repeat similar steps in other affected applications, looking for hardware acceleration settings in their preferences or options menus.
Applying these steps restores consistent video output, stops game and video crashes, and brings back stable day-to-day use on Windows 11. If none of these solutions resolve the issue, hardware failure may be the root cause—a professional diagnostic or hardware replacement could be necessary.