
Repeated restarts during Windows 11 installation often signal a boot sequence misconfiguration or issues with installation media and disk partitions. Instead of progressing to the desktop, the system returns to the setup screen after every reboot, preventing the installation from finishing. This cycle blocks access to standard troubleshooting tools and leaves users stuck at the beginning of the setup process. Addressing the root causes—such as BIOS boot order, USB drive removal timing, disk formatting, and BIOS settings—restores normal installation flow and allows Windows 11 to load successfully.
Remove Installation Media After Setup Begins
Step 1: Start the Windows 11 installation as usual using a bootable USB drive or DVD. Proceed through the initial setup screens and let Windows copy files to your internal drive.
Step 2: As soon as the system starts its first automatic restart—right after the file copy phase—remove the USB drive or DVD from the computer. This step ensures that the system boots from the internal storage rather than looping back to the installation media.
Step 3: Allow the system to continue booting. If the installation resumes from where it left off and progresses to the next phase, the loop is resolved.
Timing is critical. Removing the installation media too late or too early may cause the system to miss the internal drive boot, so monitor the restart closely. If the loop persists, proceed to the next method.
Change Boot Order in BIOS
Step 1: Restart your PC and, during the initial boot screen, press the designated key to enter BIOS or UEFI settings. Common keys include F2, F11, F12, Delete, or Esc.
Step 2: Navigate to the Boot or Startup section. Find the Boot Priority, Boot Sequence, or Boot Order settings.
Step 3: Move your internal hard drive or SSD to the top of the boot priority list, placing it above any USB or optical drives. This adjustment directs the system to boot from the internal drive by default after installation files are copied.
Step 4: Save changes and exit BIOS. The system will restart and should now boot from the internal drive, allowing Windows 11 installation to continue.
Some motherboards offer a “Boot Override” feature, letting you boot from the USB drive once and automatically revert to the internal drive for subsequent restarts. If available, use this for a smoother installation process.
Use DiskPart to Clean and Format the Drive
Step 1: Boot from your Windows 11 installation media and proceed to the setup screen.
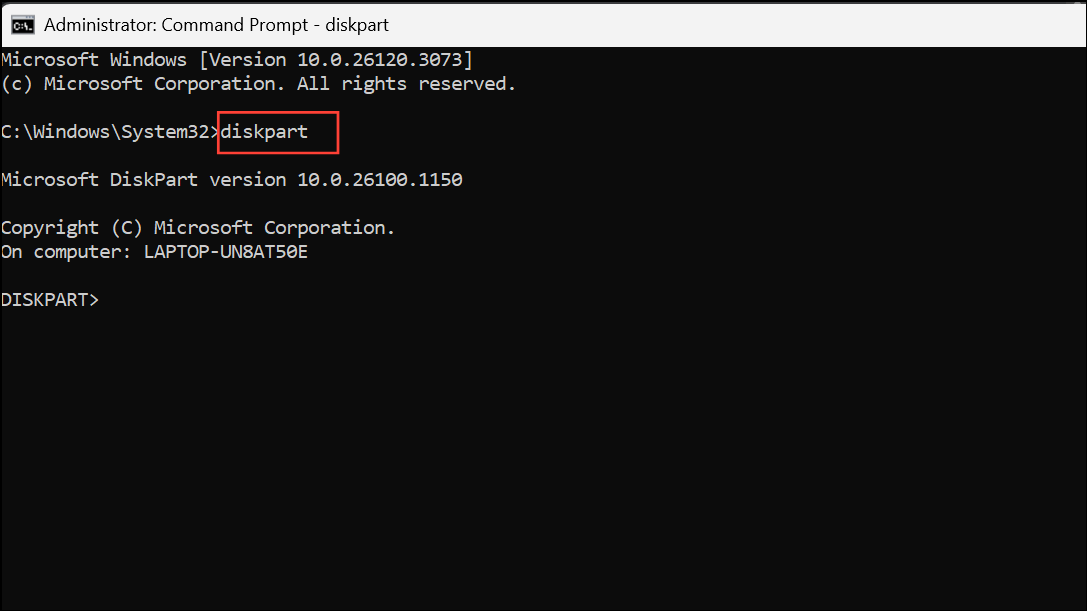
Step 2: Press Shift + F10 to open Command Prompt.
Step 3: Type diskpart and press Enter to launch the disk partitioning tool.
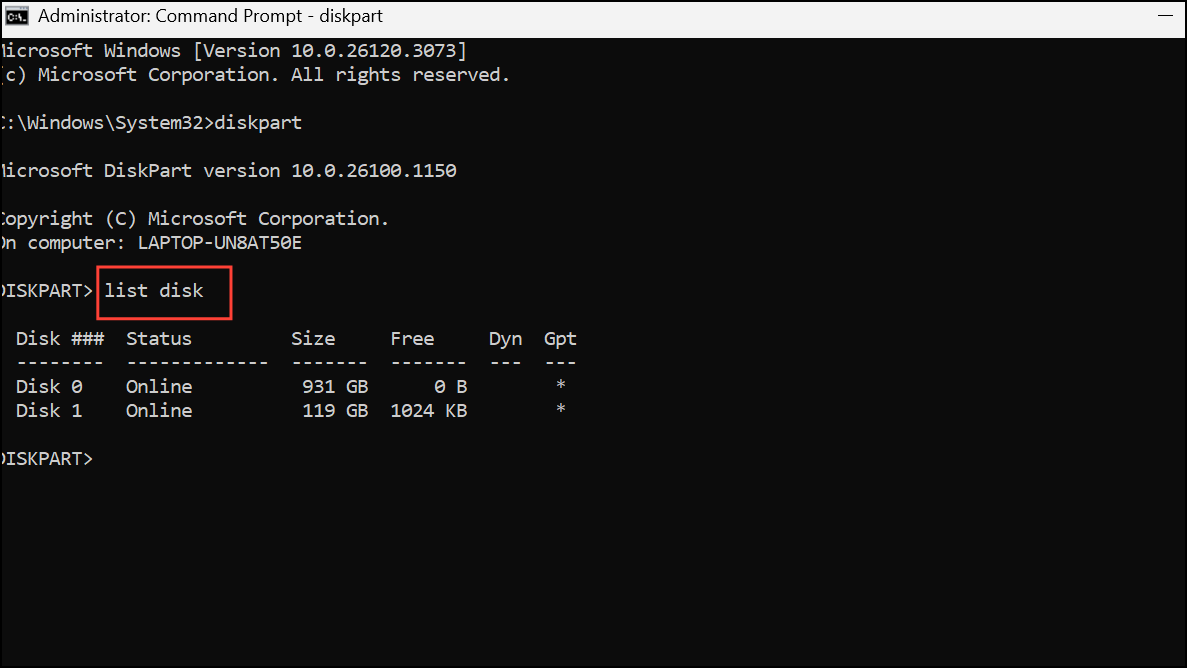
Step 4: List available disks by typing list disk and pressing Enter.
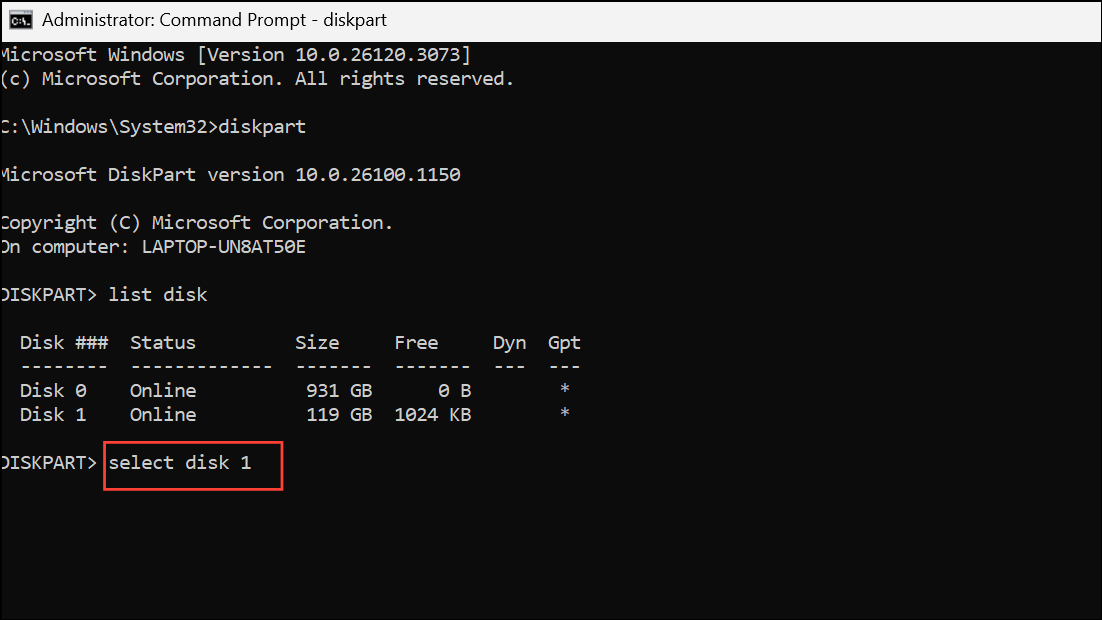
Step 5: Select the target disk with select disk X (replace X with the correct disk number).
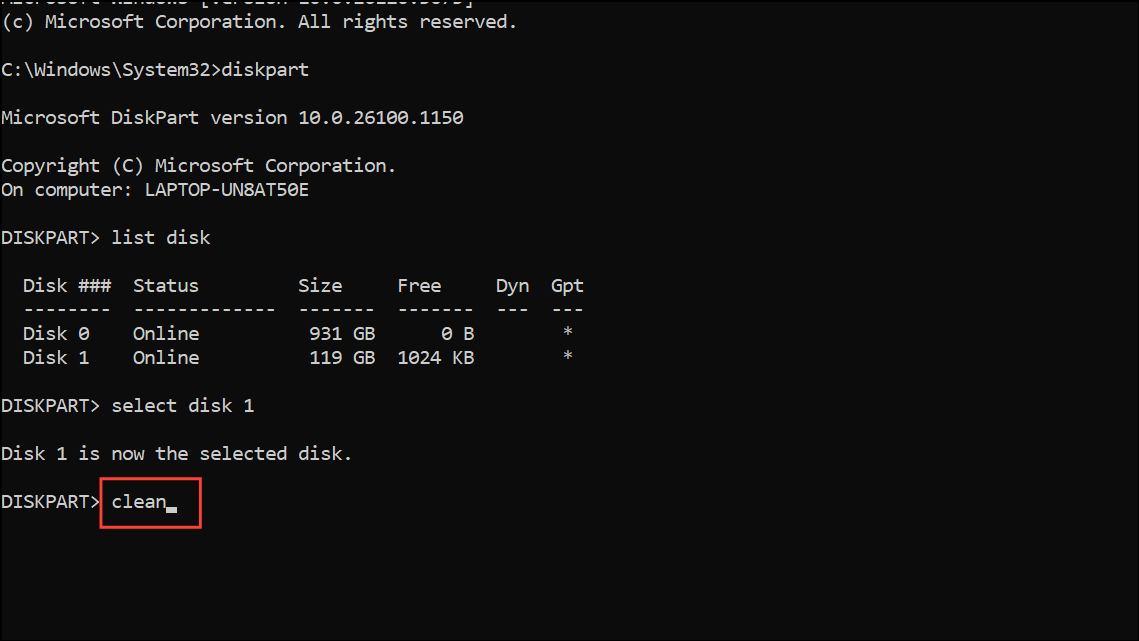
Step 6: Clean the disk by entering clean and pressing Enter. This erases all partitions and data, so ensure you have backups.
Step 7: Convert the disk to GPT format with convert gpt. GPT is required for UEFI-based Windows 11 installations.
Step 8: Exit DiskPart and Command Prompt by typing exit twice.
Step 9: Continue with the Windows 11 installation on the newly prepared drive.
This method removes any conflicting or corrupted partition structures that could prevent installation from proceeding. Only use this if you are prepared to lose all data on the selected disk.
Disable Secure Boot and Enable UEFI Mode
Step 1: Enter BIOS or UEFI settings during system startup.
Step 2: Locate the Secure Boot setting, usually found in the Boot or Security menu. Set Secure Boot to Disabled.
Step 3: Find the Boot Mode or UEFI/Legacy option. Switch to UEFI mode if it’s not already selected.
Step 4: Save changes and exit BIOS.
Windows 11 requires UEFI mode and does not support installation in Legacy BIOS mode. Disabling Secure Boot is sometimes necessary to allow installation to proceed, but you should re-enable it after setup for improved system security.
Delete Existing Partitions and Start Fresh
Step 1: Boot from Windows 11 installation media and advance to the installation type selection screen.
Step 2: Choose Custom: Install Windows only (advanced).
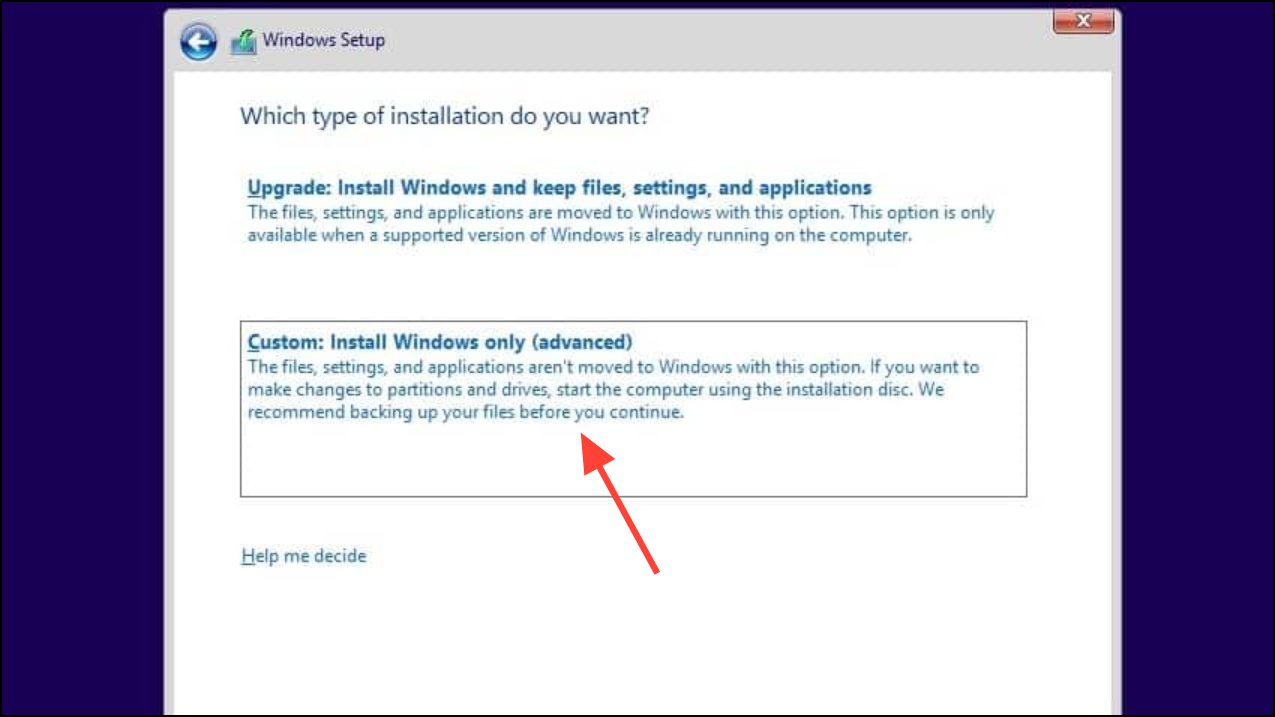
Step 3: Review the list of partitions on your target drive. Select each partition and click Delete until only “Unallocated Space” remains.
Step 4: Select the unallocated space, click New to create a new partition, and proceed with installation.
This process removes any remnants of previous installations or misconfigured partitions that can cause endless reboot cycles during setup. Data loss is permanent, so confirm all important files are backed up before proceeding.
Run Startup Repair
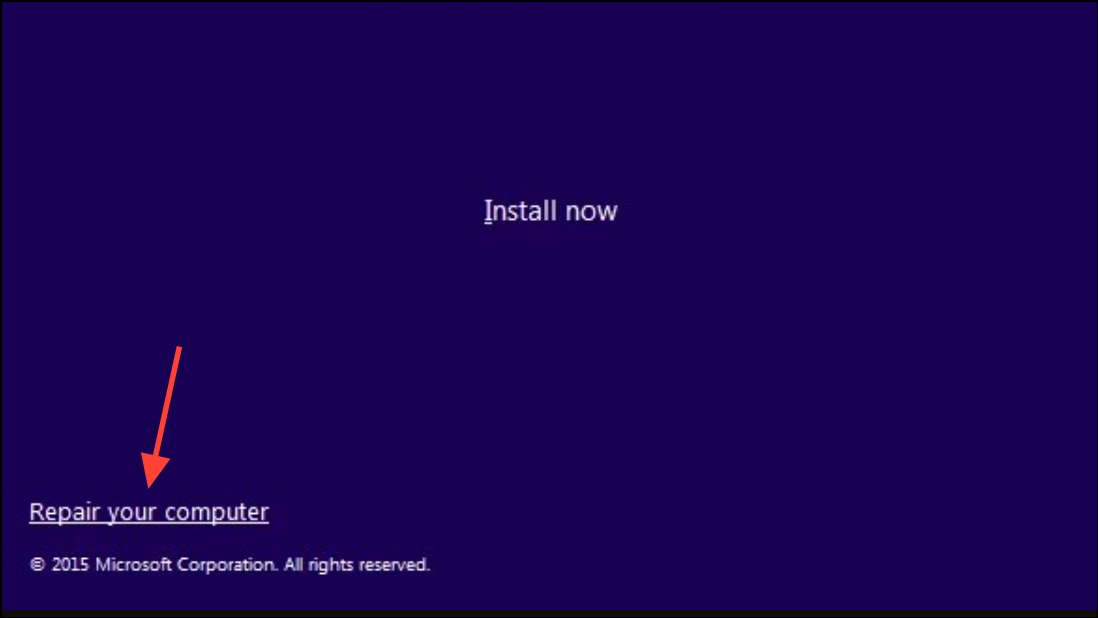
Step 1: Boot from the Windows 11 installation media. On the first setup screen, select Next, then choose Repair your computer instead of Install now.
Step 2: Select Troubleshoot from the recovery options.
Step 3: Choose Advanced options, then click Startup Repair.
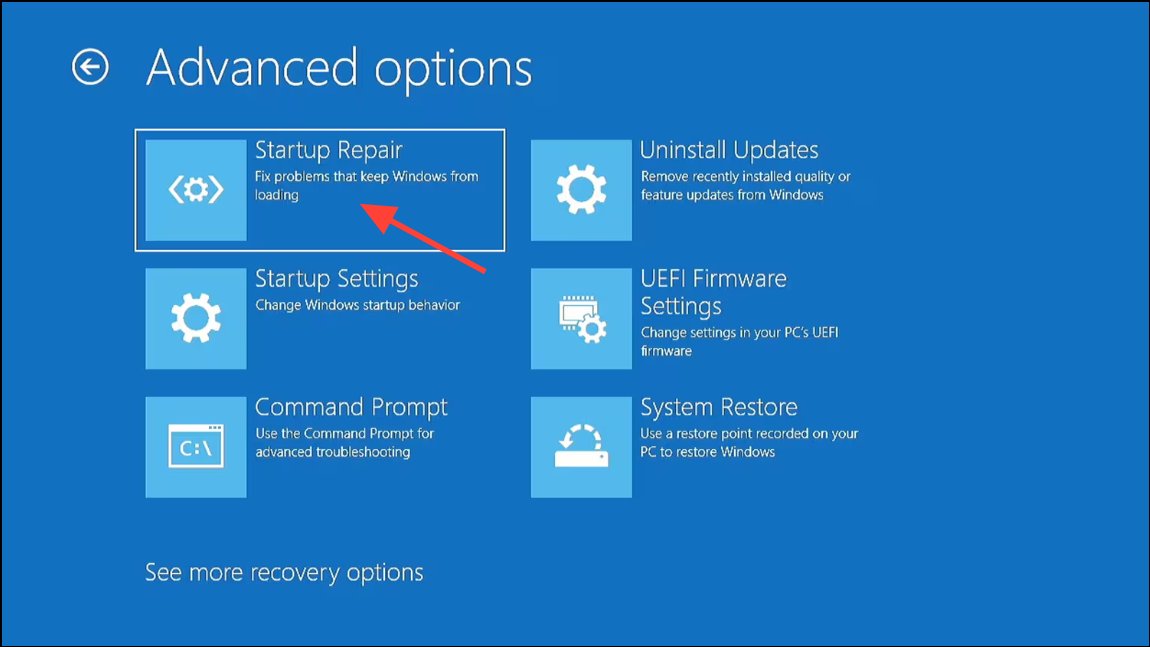
Step 4: Allow the tool to scan for and attempt to fix boot problems. Restart the computer to check if the installation loop is resolved.
Startup Repair is a non-destructive method that can repair bootloader issues if enough system files are present on the drive. It’s a good option if the installation process was interrupted after copying files.
Create Fresh Installation Media
Step 1: Download the latest Windows 11 ISO or use the official Media Creation Tool from Microsoft’s website.
Step 2: Use a reliable USB drive (at least 8GB) or a new DVD to create the installation media. Avoid using old or previously problematic drives.
Step 3: If possible, try a different USB port or another computer to rule out hardware issues with the port or drive.
Step 4: Reattempt installation using the new media. If the installation loop stops, the previous media was likely corrupted or incomplete.
Corrupted or incomplete installation media is a common cause of persistent installation loops. Recreating the media ensures all necessary files are present and valid.
Additional Troubleshooting: Hardware and Firmware Issues
Persistent installation loops after trying the above steps may indicate deeper problems. Faulty RAM, SSDs, or power supplies can disrupt installation. Run hardware diagnostics, check for firmware or BIOS updates from your motherboard manufacturer, and disconnect unnecessary peripherals during setup. Unsupported hardware—such as missing TPM 2.0 or incompatible CPUs—can also prevent successful installation. Address these issues before attempting installation again.
Breaking the Windows 11 installation loop is possible by methodically addressing boot order, disk formatting, BIOS settings, and installation media integrity. Careful attention to each step restores normal setup flow and gets your system running with Windows 11.