
Sudden shutdowns when plugging in USB devices on Windows 11 often indicate underlying hardware or software conflicts. This issue can disrupt workflow, risk data loss, and point to problems with power delivery, drivers, or device compatibility. Addressing it requires a systematic approach, starting with the most effective solutions and moving toward hardware checks if initial steps do not resolve the problem.
Update or Reinstall USB Drivers
Outdated, corrupted, or incompatible USB drivers frequently cause system instability when external devices are connected. Reinstalling or updating these drivers can restore proper communication between your hardware and Windows 11.
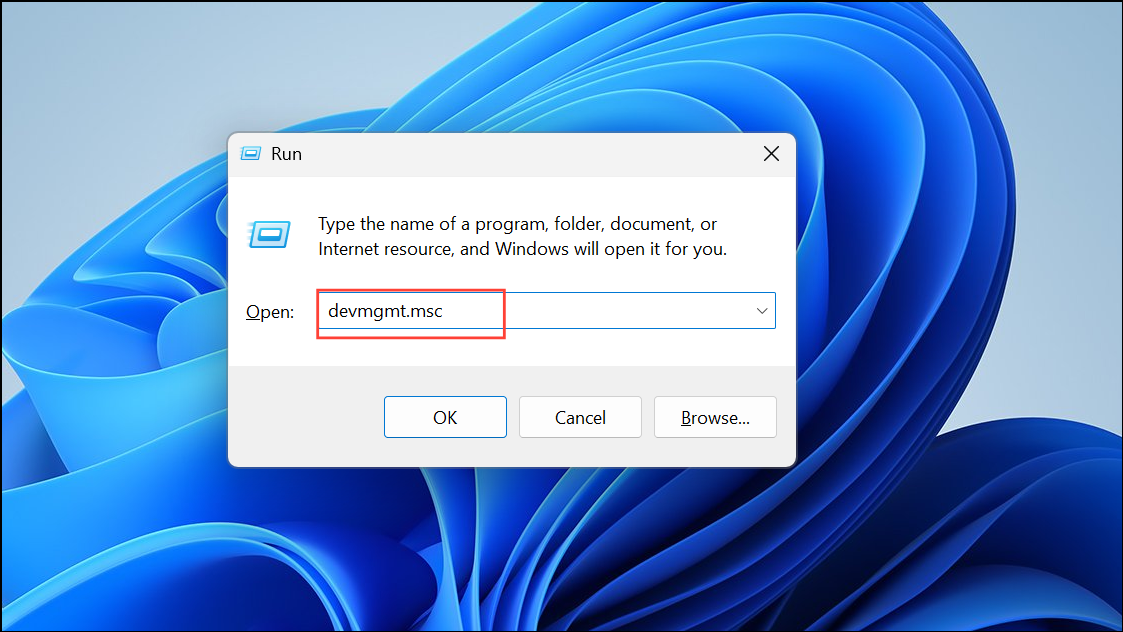
Step 1: Press Windows + R to open the Run dialog. Type devmgmt.msc and press Enter to launch Device Manager.
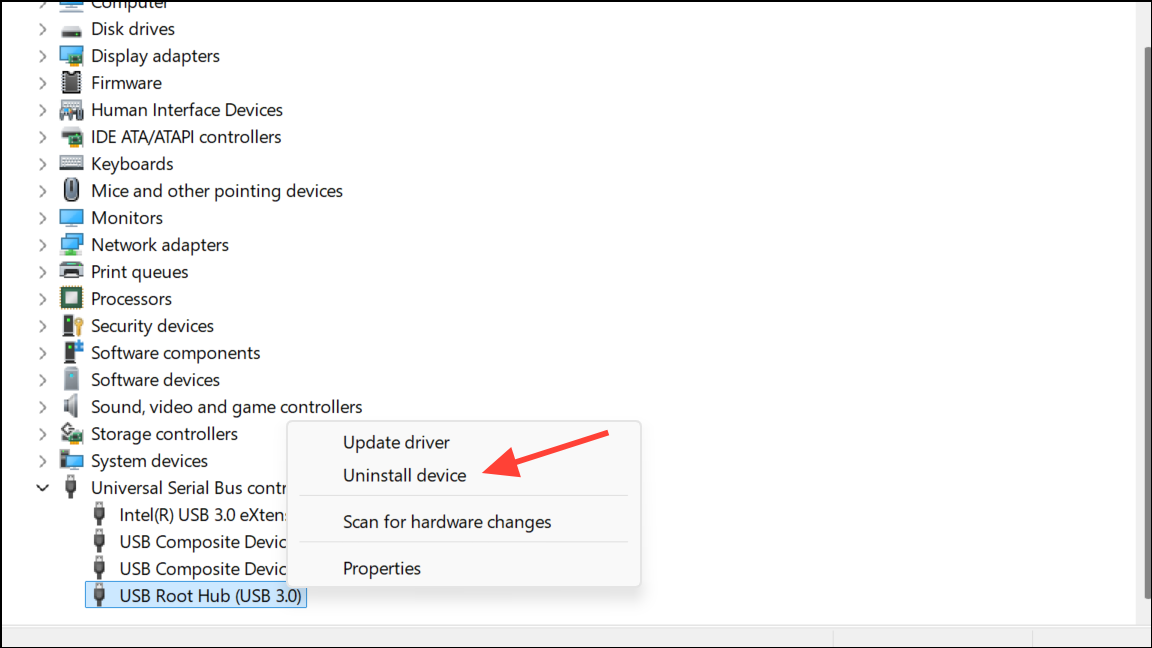
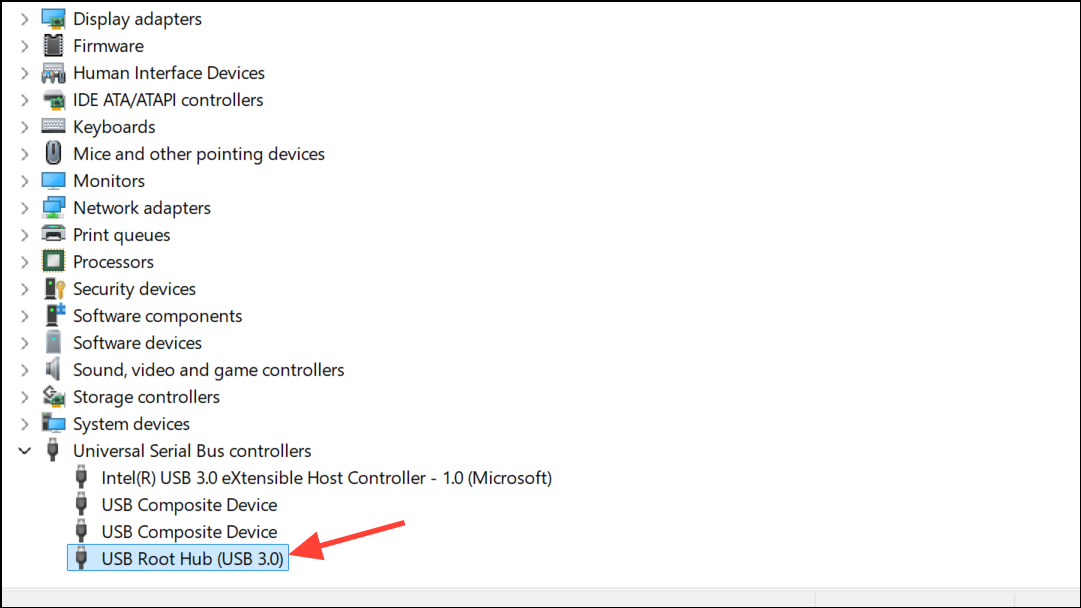
Step 2: Expand the Universal Serial Bus controllers section. Right-click each entry labeled as a USB Root Hub, Host Controller, or Hub, and select Uninstall device. Confirm any prompts.
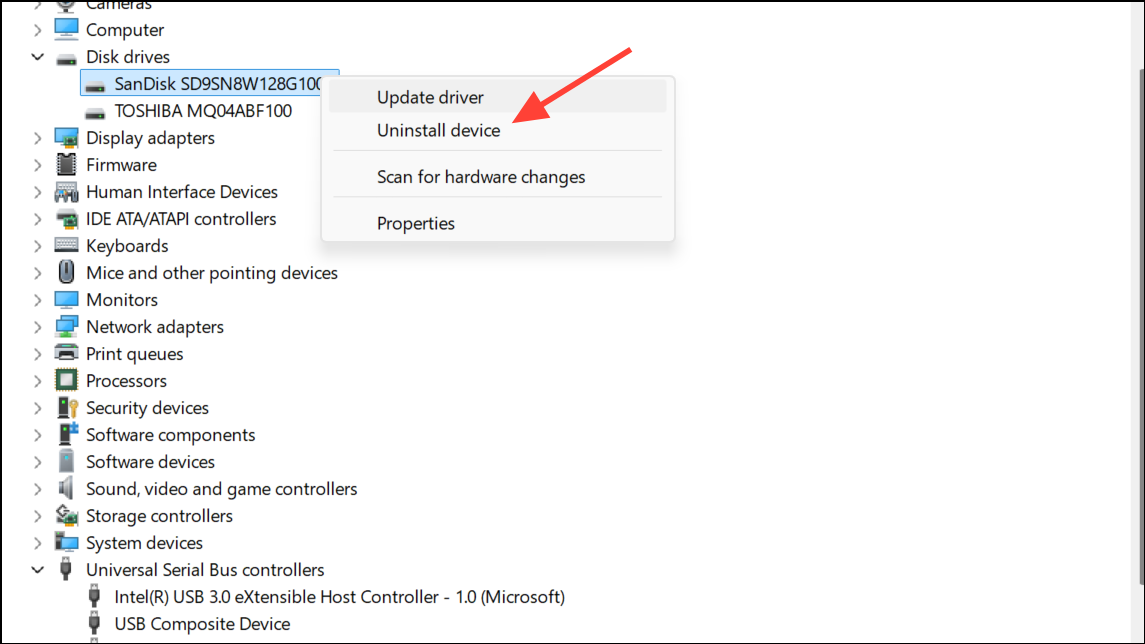
Step 3: If you see devices under Disk drives or Storage volumes that are not currently connected, right-click and uninstall those as well.
Step 4: Restart your computer. Windows will automatically attempt to reinstall the necessary drivers upon boot. Optionally, check for Windows Updates to ensure all drivers are the latest available versions.
This process often resolves conflicts that cause shutdowns when new USB devices are detected.
Adjust Power Management and USB Selective Suspend Settings
Windows 11 includes power-saving features that can inadvertently cut power to USB ports, especially on laptops. Disabling these settings prevents the system from suspending USB devices to save energy, which can resolve unexpected shutdowns or device disconnects.
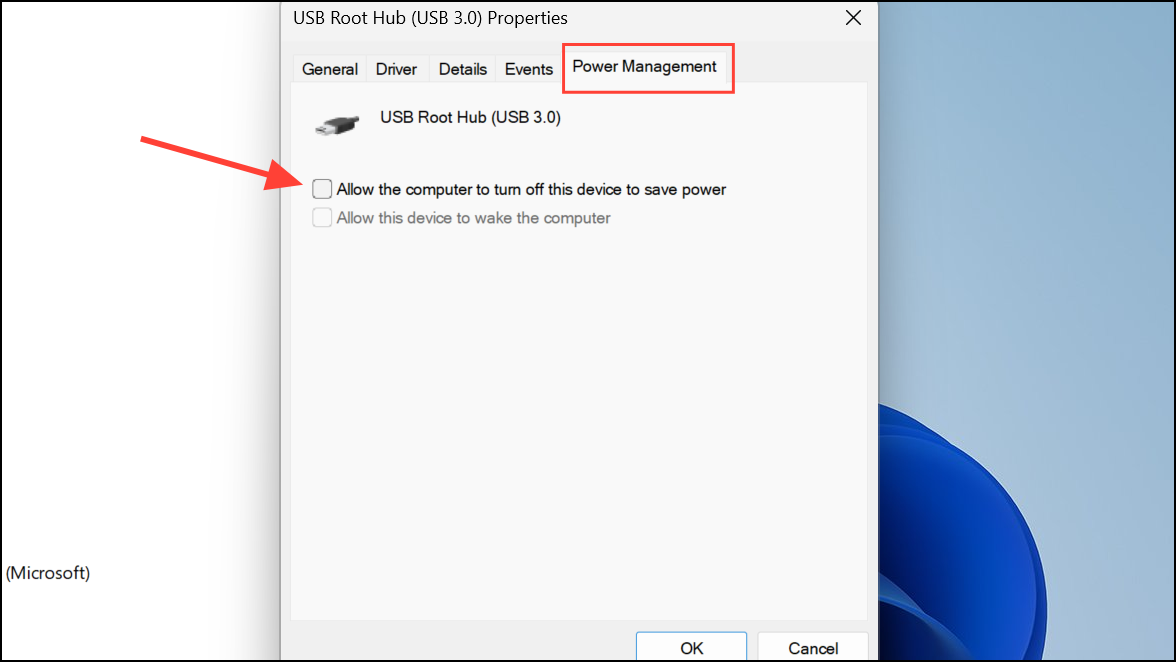
Step 1: In Device Manager (devmgmt.msc), expand Universal Serial Bus controllers and double-click each USB Root Hub entry.
Step 2: Go to the Power Management tab. Uncheck Allow the computer to turn off this device to save power. Click OK. Repeat for all relevant entries.
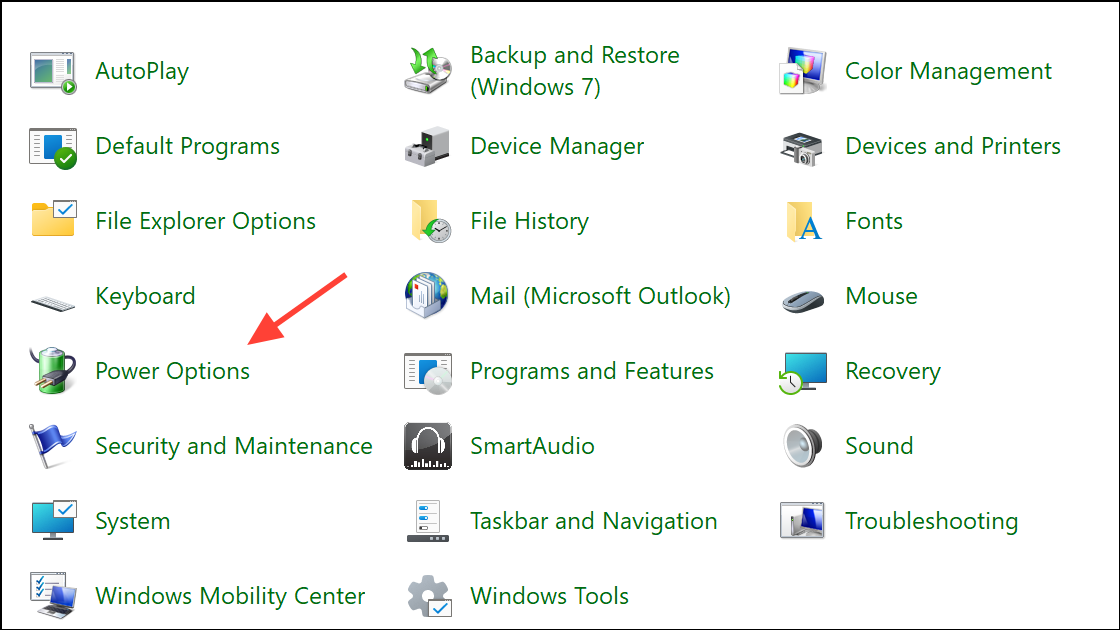
Step 3: Open Control Panel and navigate to Power Options.
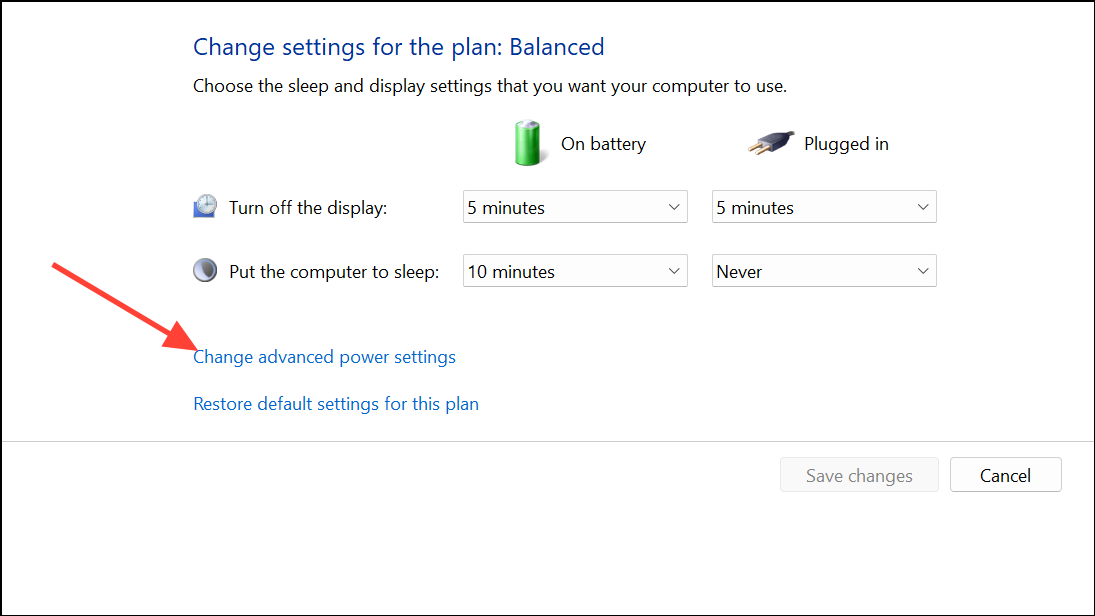
Step 4: Select your active power plan and click Change plan settings, then Change advanced power settings.
Step 5: Expand USB settings and then USB selective suspend setting. Set both On battery and Plugged in to Disabled. Click Apply, then OK.
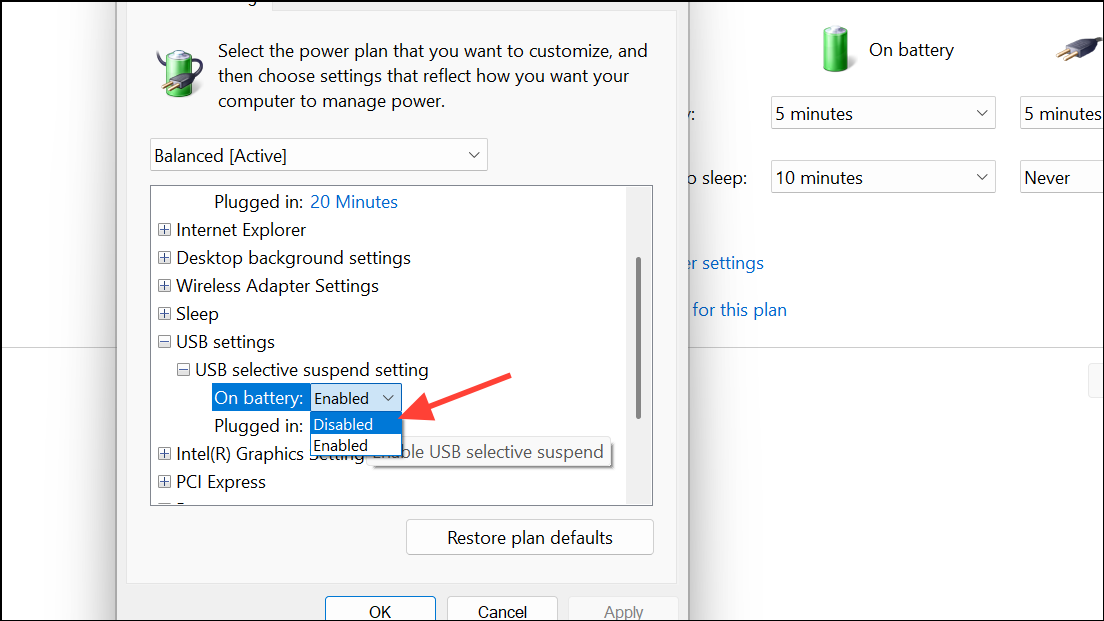
Disabling these features ensures that USB ports remain fully powered and less likely to trigger system shutdowns due to power management conflicts.
Run the Hardware and Devices Troubleshooter
Windows includes diagnostic tools that can automatically detect and resolve hardware-related issues, including those affecting USB connectivity and system stability.
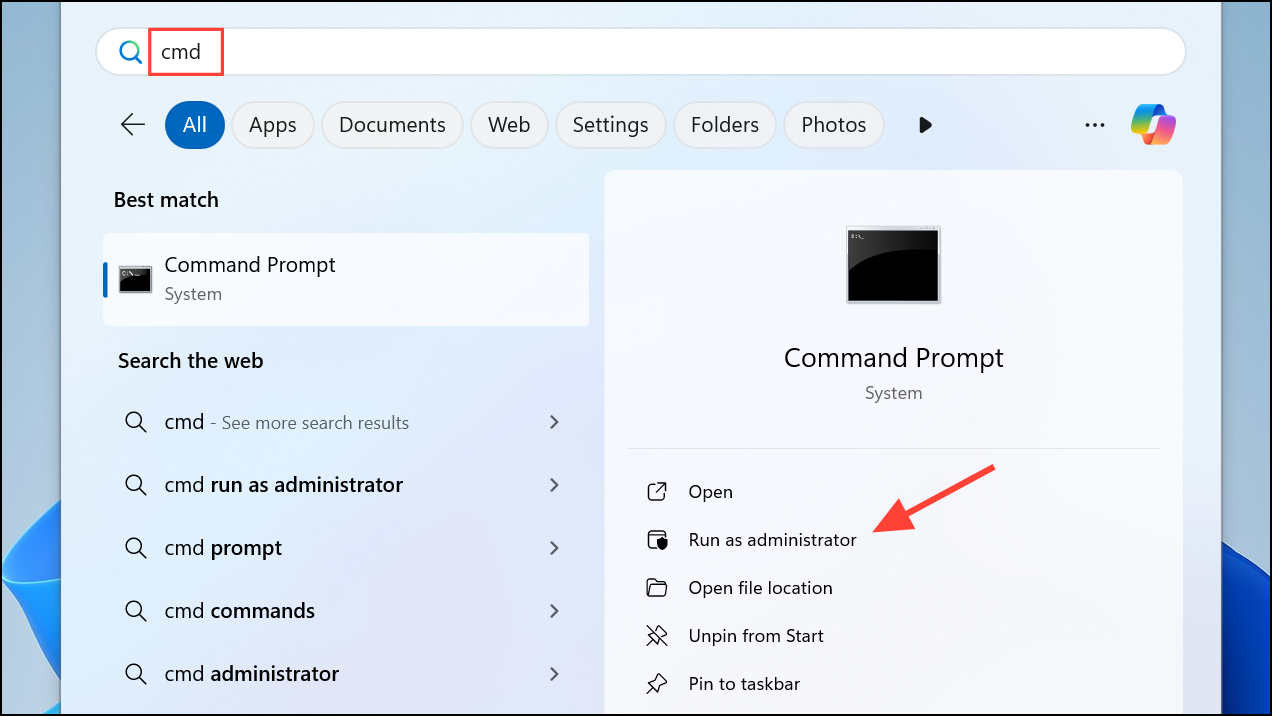
Step 1: Press Windows + R, type cmd, and press Enter to open Command Prompt.
Step 2: Enter the following command to launch the Hardware and Devices troubleshooter:
msdt.exe -id DeviceDiagnostic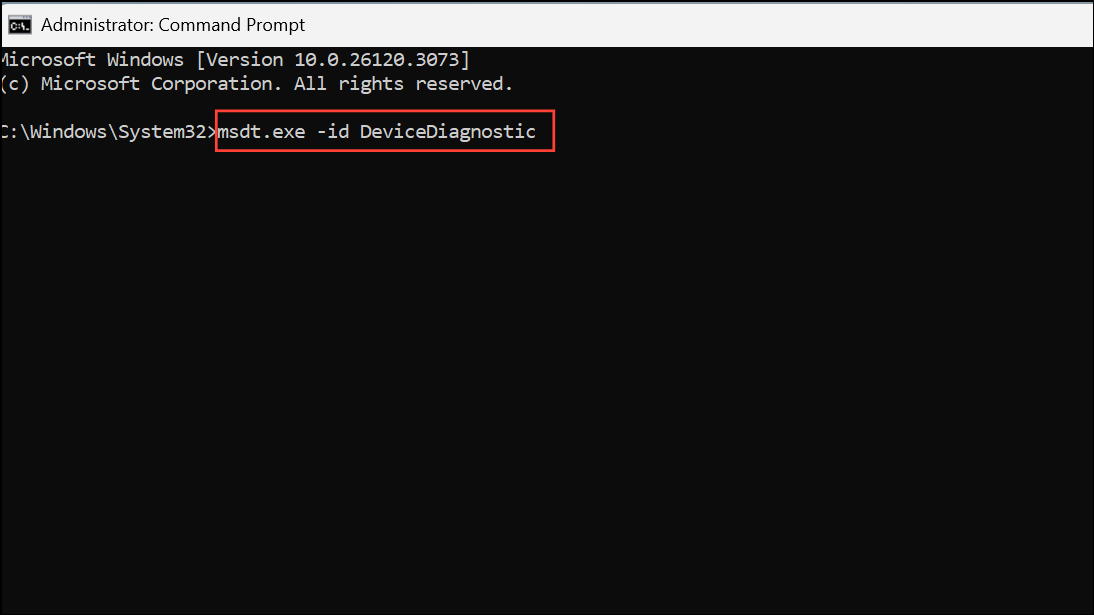
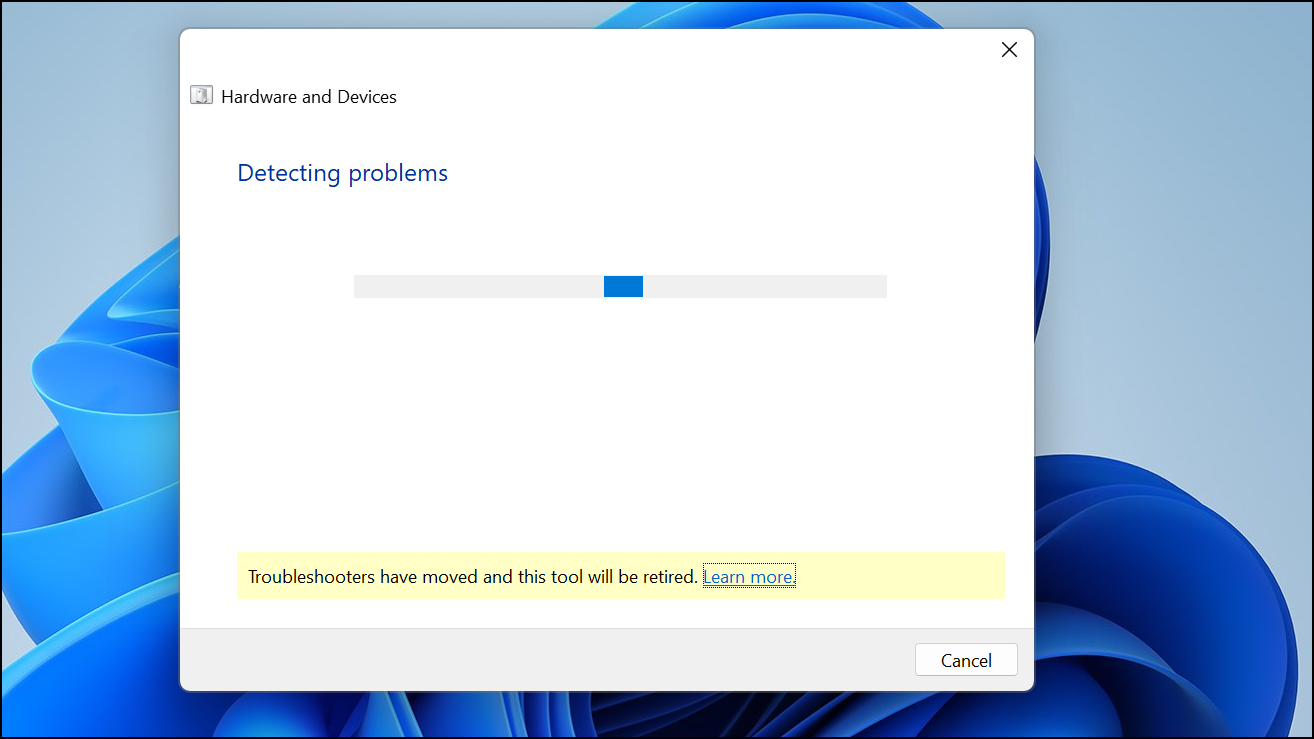
Step 3: In the troubleshooter window, click Next and follow the on-screen prompts. The tool will scan for issues and offer fixes where possible.
After the process completes, restart your PC and test by plugging in a USB device to see if the shutdown issue persists.
Check Connected USB Devices and Ports
Faulty or power-hungry USB devices can overload system power delivery or cause electrical shorts, leading to shutdowns. Isolating the problematic device or port helps prevent further disruptions.
Step 1: Disconnect all external USB devices except for essential peripherals (keyboard and mouse).
Step 2: Reconnect each device one at a time, testing system stability after each connection. If shutdown occurs upon connecting a specific device, that device or its cable may be faulty.
Step 3: Try connecting the suspect device to another computer with similar specifications. If the issue repeats, the device likely needs repair or replacement.
Step 4: Inspect the physical USB ports on your computer. Look for bent pins, debris, or signs of damage. Damaged ports can cause short circuits and should be repaired by a technician.
Inspect and Replace the Power Supply Unit (PSU)
Insufficient or failing power supplies can trigger shutdowns when additional devices draw power via USB. This is especially relevant for desktops or high-powered external devices.
Step 1: Determine your system’s power supply wattage (typically labeled on the PSU inside desktops). Compare it to the combined requirements of your system and all connected devices.
Step 2: If you use a laptop, try a different AC adapter with the same voltage and amperage ratings to rule out adapter failure.
Step 3: For desktops, consider replacing the PSU with a higher-wattage, quality unit if you suspect power delivery is insufficient. This step is best performed by users familiar with PC hardware or by a professional technician.
Upgrading or replacing a faulty PSU ensures stable power delivery and prevents shutdowns caused by overloading.
Temporarily Disable USB Ports (Last Resort)
Disabling USB ports is not a recommended long-term solution but may allow continued use of your PC until hardware repairs can be made.
Step 1: In Device Manager, right-click each USB controller or hub and select Disable device. Note that doing so may deactivate your keyboard or mouse if they are USB-based.
Step 2: Alternatively, some systems allow disabling USB ports via BIOS/UEFI settings. Access your BIOS during boot (commonly with Del, F2, or Esc keys) and look for USB configuration options.
Only use this approach as a temporary fix until you can address the underlying hardware or driver issues.
Resolving shutdowns caused by USB devices in Windows 11 typically involves updating drivers, adjusting power settings, and checking hardware for faults. Regular maintenance and prompt attention to warning signs can keep your system running smoothly.