
Windows 11 lets you project visual media, like photos, movies, web content, etc., from one device wirelessly to another compatible one using the Wireless Display feature. To use this, you first need to install this optional feature from the Settings app, but this can sometimes pose a problem and result in the 'wireless display install failed' error message. This can happen if your device is incompatible with Miracast, does not have network connectivity, or is connected to a weak network, or if you are using a metered internet connection. Here are a few solutions that can help you resolve the problem.
Check Miracast Compatibility
Before trying out any fixes, you need to verify whether your device is compatible with Miracast. Miracast is a wireless display standard that lets devices mirror screens wirelessly. This lets you project content from supported devices like laptops and smartphones to other devices like projectors and TVs without relying on a cable. To check Miracast compatibility,
- Open the Settings app using the
Win + Ishortcut, click System on the left, and select Projecting to this PC on the right.
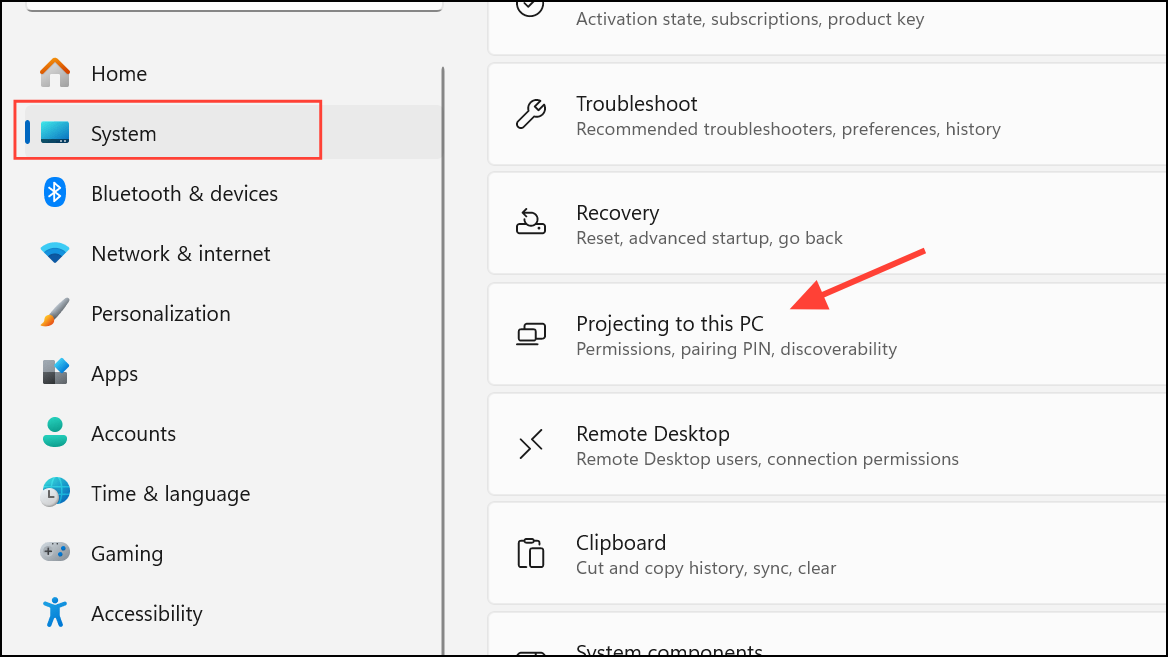
- Here, check whether your device is compatible with Miracast. If it isn't, it may be the cause of the error. If it is compatible but you are still getting the error, try out the solutions below.
Check Internet Connectivity
You need an active internet connection to be able to use the wireless display feature. So, make sure your device is connected to the internet and also verify that the connection is stable. If you've disabled your internet connection and your device is not online, wireless display installation can fail.
Connect To A Different Network
If the network you are connecting to is weak and offers poor internet connectivity, this can be another reason for the error to appear. If possible, switch to a different network and then try installing the feature again.
Turn Off Metered Connection
Using a metered connection when trying to install the wireless display feature can be another reason for the error. Wireless display installations may require more bandwidth, which is not possible on metered connections, resulting in installation failure. To turn off metered connection,
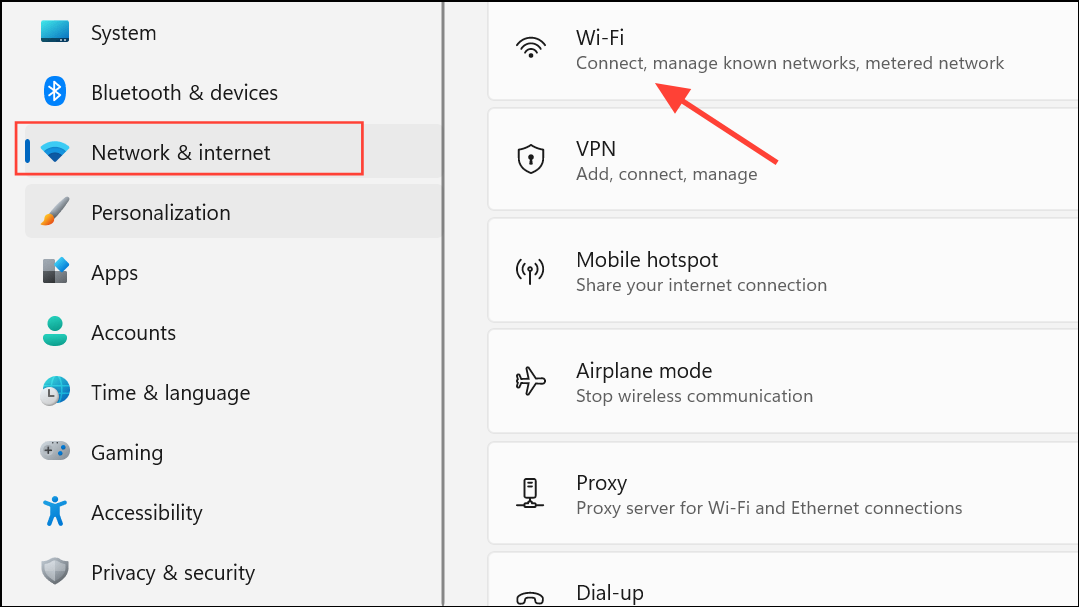
- Open the Settings app, click Network and Internet on the left, and select WiFi or Ethernet from the right, depending on your connection.
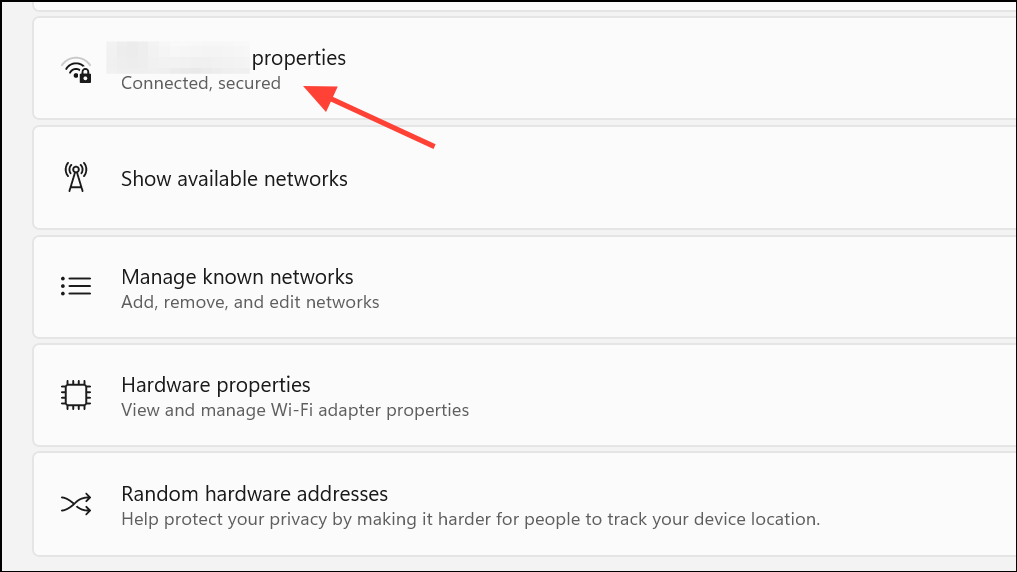
- Select Properties for your network connection on the next page.
- Now, you will see a Metered Connection option. Turn off the toggle to disable this option.
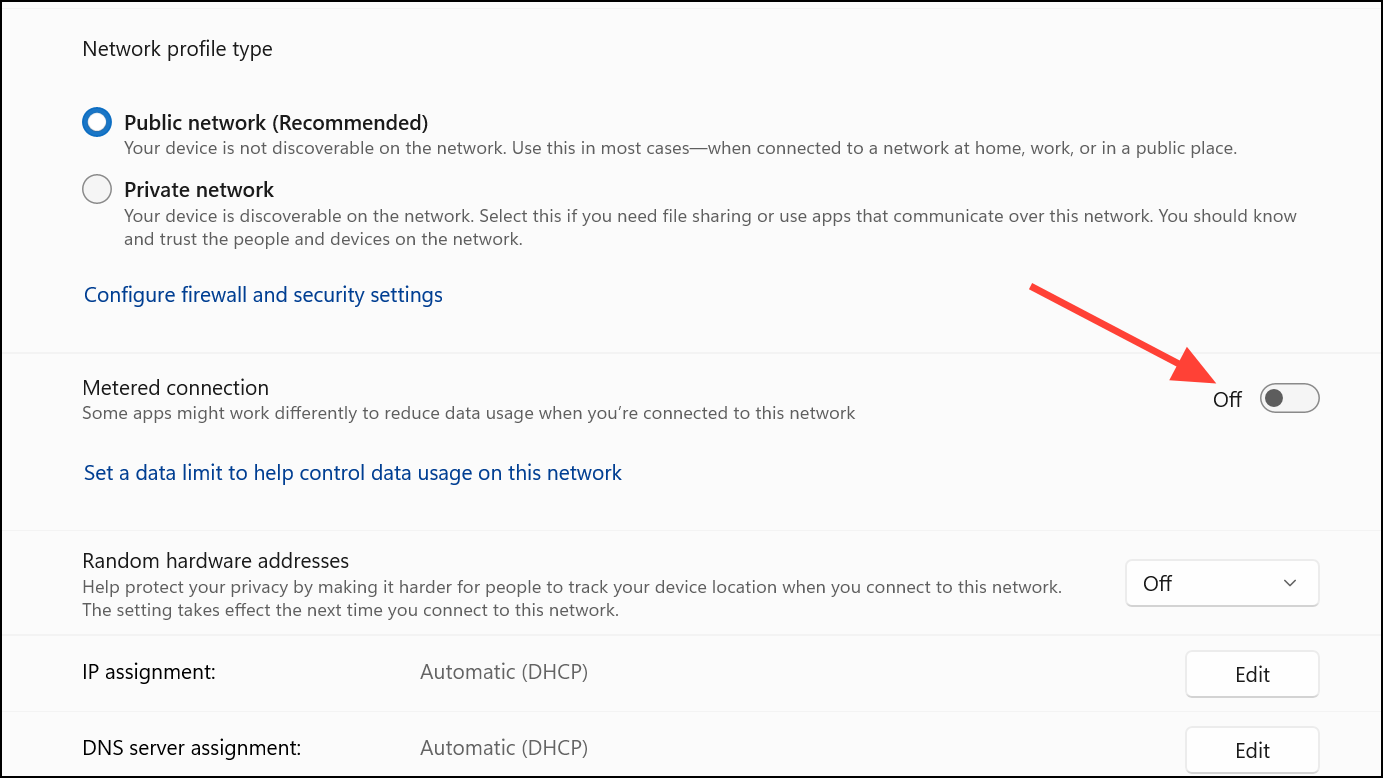
- After disabling metered connection, try reinstalling the wireless display and check whether the error has been fixed.
Optimize Network Connection
If your network connection is strong, consider optimizing it before installing the wireless display.
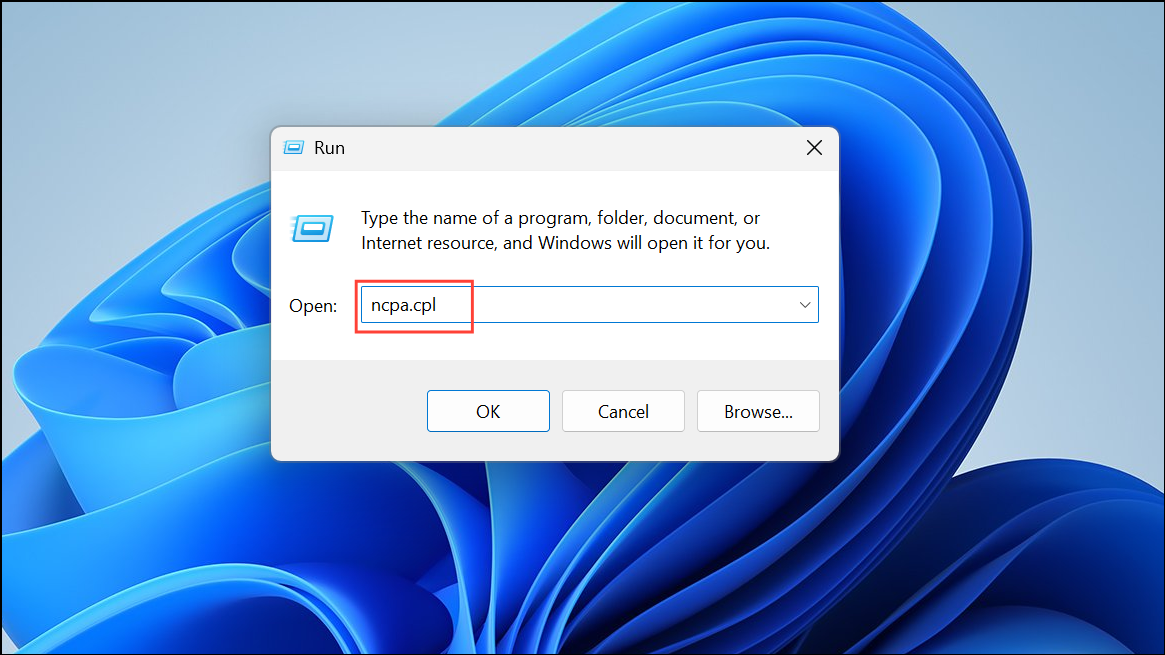
- Open the Run dialog using the
Win + Rshortcut, typencpa.cpland press Enter.
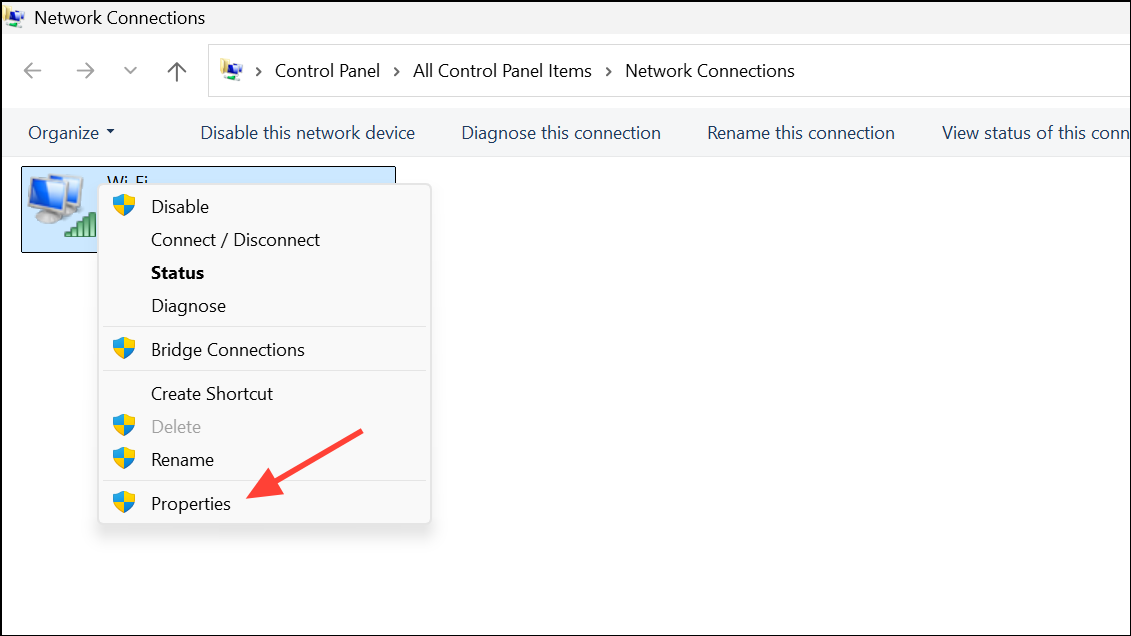
- In the Network Connections window that opens, right-click your network adapter and select Properties.
- Double-click Internet Protocol Version (TCP/IP) in the Properties dialog box.
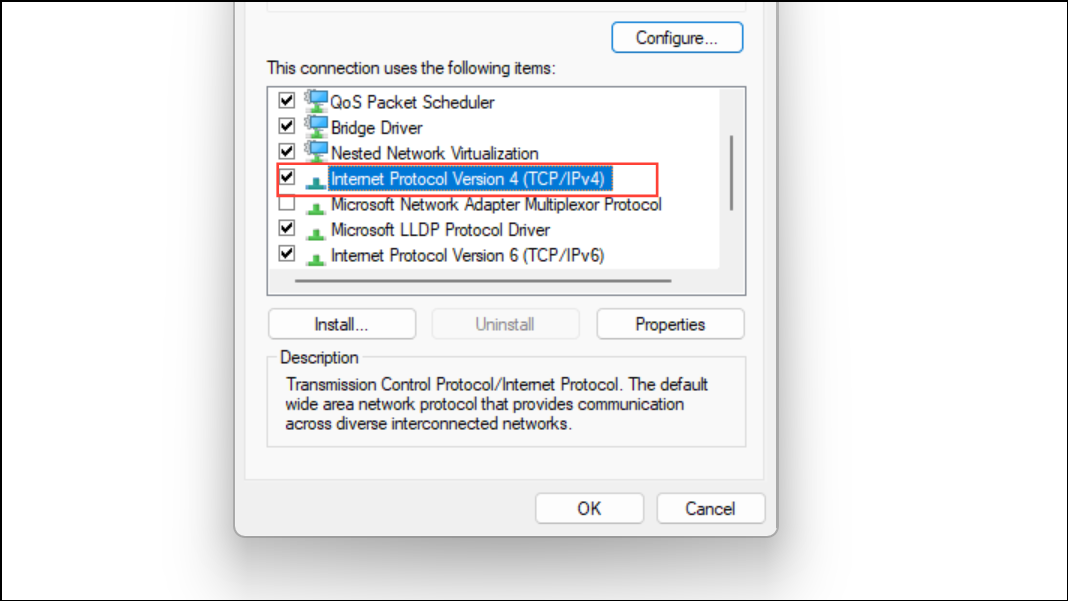
- Select Use the following DNS server address and enter
2.2.2.1in the Preferred DNS server and2.2.2.2in Alternate DNS server. Click OK.

- Close the Adapter Properties dialog box and the Network Connections window. Then try installing the wireless display feature again.
Install With Command Prompt or PowerShell
You can try installing the wireless display via Command Prompt if installation does not work from the Settings app.
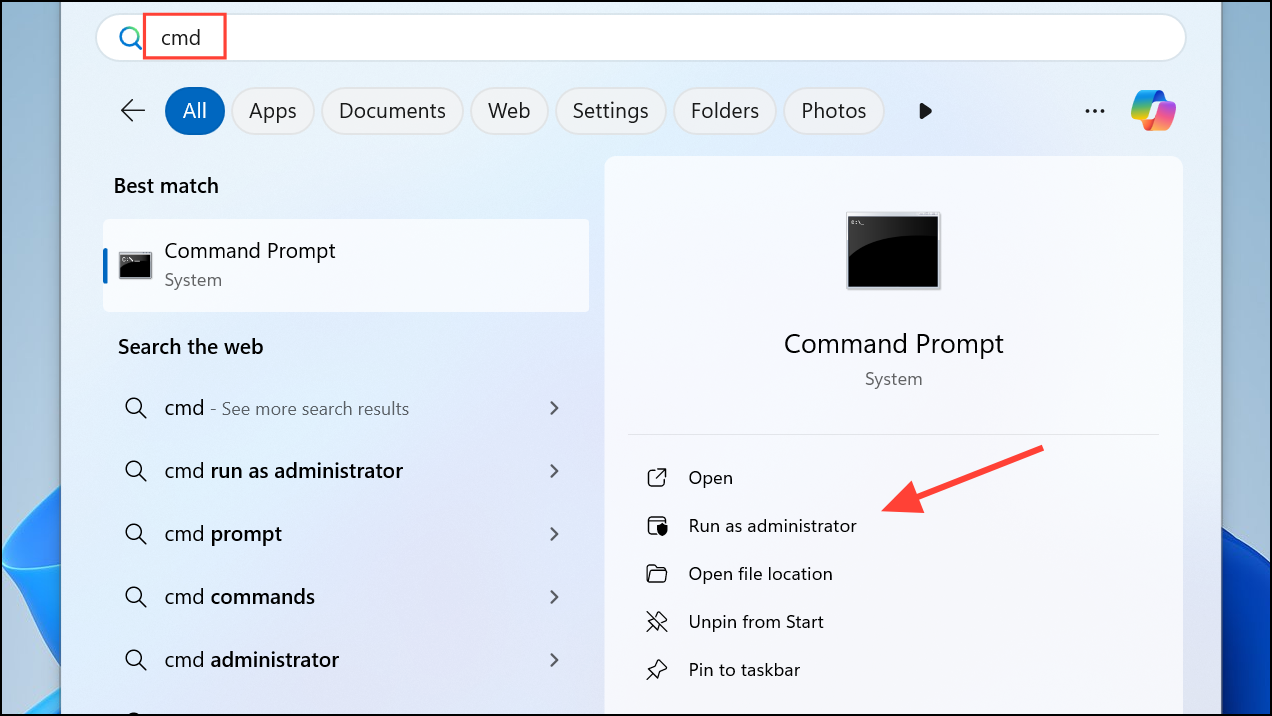
- Open Windows Search or Start menu, type
cmdand click Run as administrator to open Command Prompt with admin privileges.
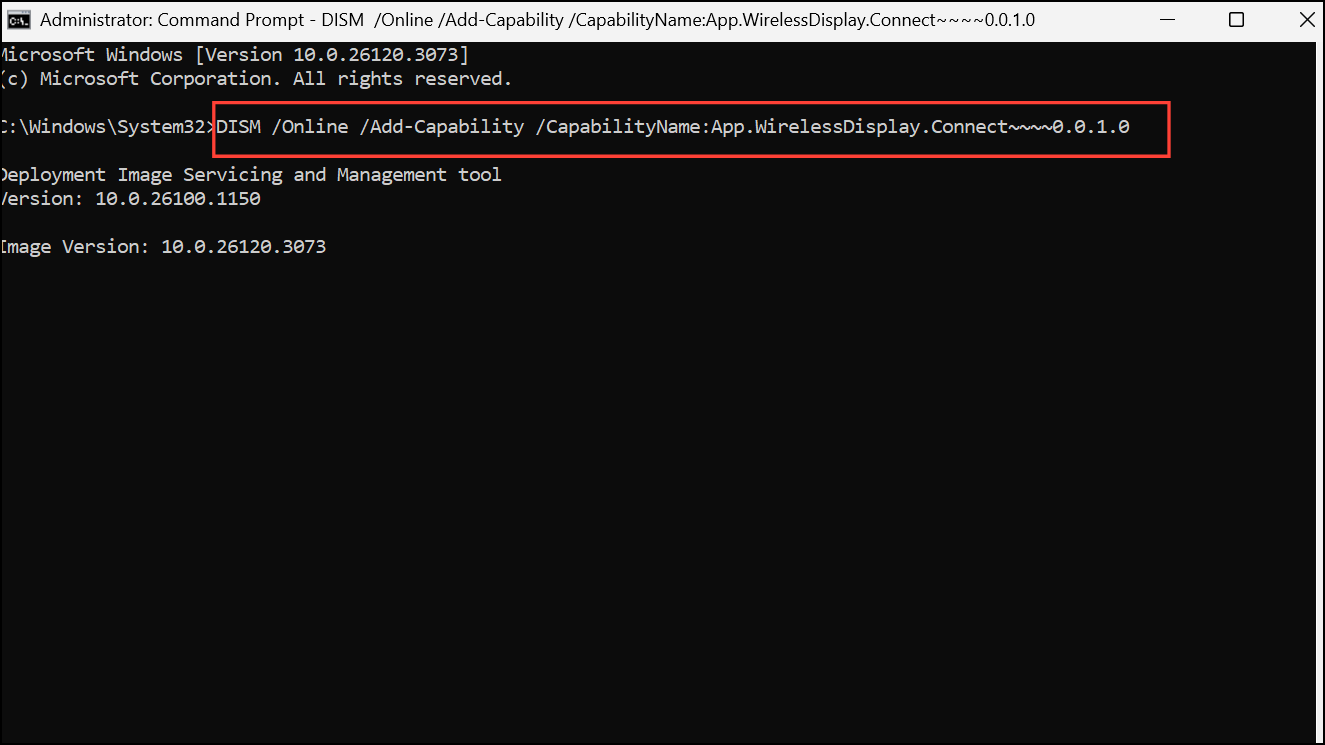
- When Command Prompt opens, type
DISM /Online /Add-Capability /CapabilityName:App.WirelessDisplay.Connect~~~~0.0.1.0and press Enter.
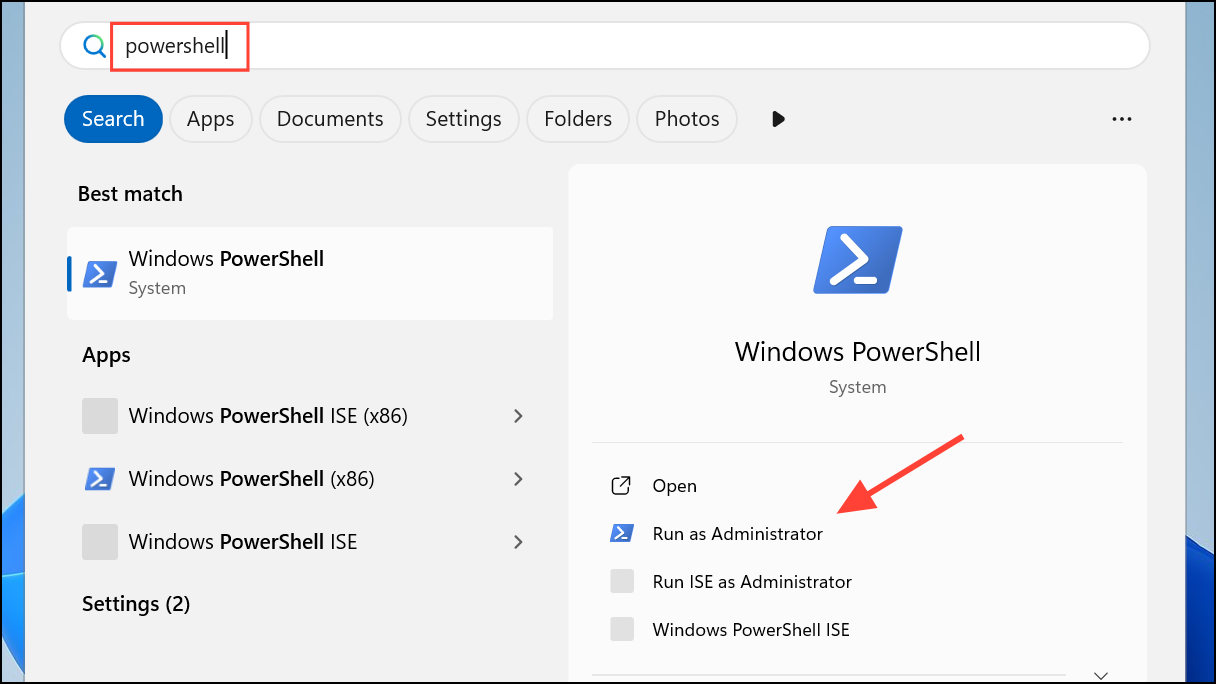
- Another way to install the wireless display is through Windows PowerShell. Open Windows Search, type
powershelland click Run as administrator.
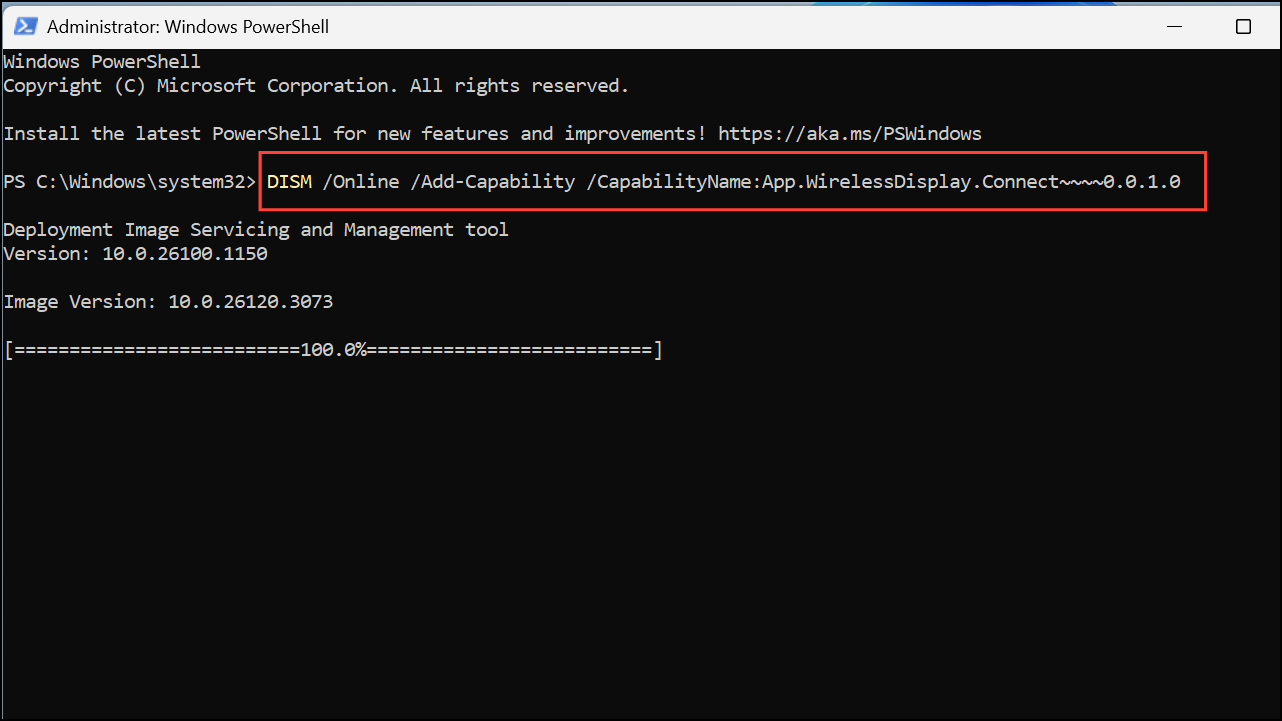
- Type
DISM /Online /Add-Capability /CapabilityName:App.WirelessDisplay.Connect~~~~0.0.1.0in PowerShell and hit Enter.
Clear Update Cache
Clearing the update cache can get rid of any old and outdated files that may be interfering with the installation.
- Open Command Promp with admin privileges as explained earlier.
- Type the following commands one by one in Command Prompt and press Enter after each one:
net stop wuauservnet stop bitsnet stop cryptsvcrd /s /q c:\Windows\SoftwareDistributionrd /s /q %temp%rd /s /q c:\Windows\tempnet start wuauservsc config wuauserv start=autonet start bitssc config bits start=autonet start cryptsvcsc config cryptsvc start=auto
wsreset.exe
DISM /Online /Cleanup-Image /RestoreHealthCheck for Updates
Outdated Windows versions may sometimes run into issues when trying to install features and programs. Make sure your system has the latest updates installed and install them if that is not the case.
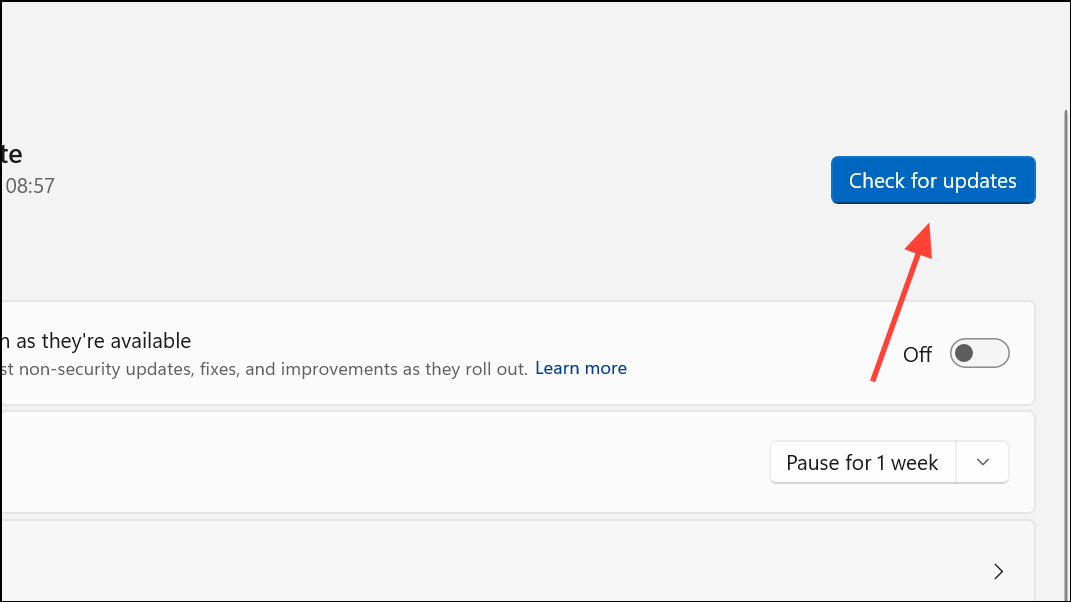
- Open the Settings app and click Windows Update on the bottom left.
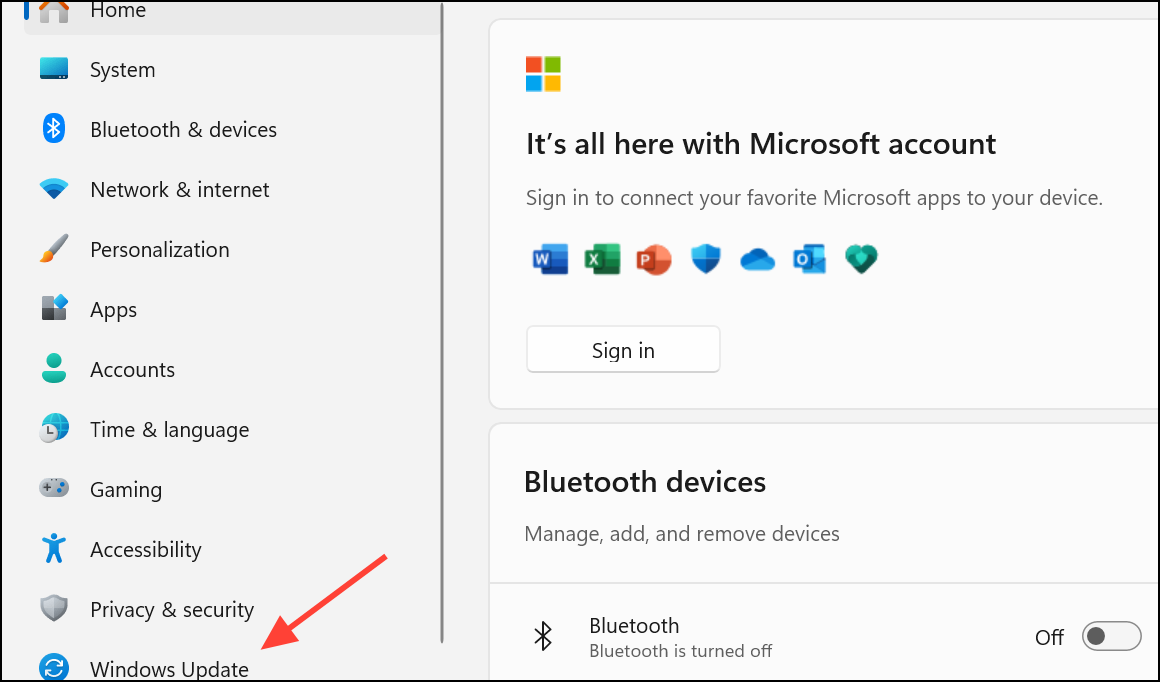
- Click the Check for updates button on the right. Windows will search for updates. If they are available, it will download and install them. You may have to restart your PC before trying to install the wireless display again.
Change Registry Keys
Changing the Registry Keys is yet another fix that can help you get rid of the error.
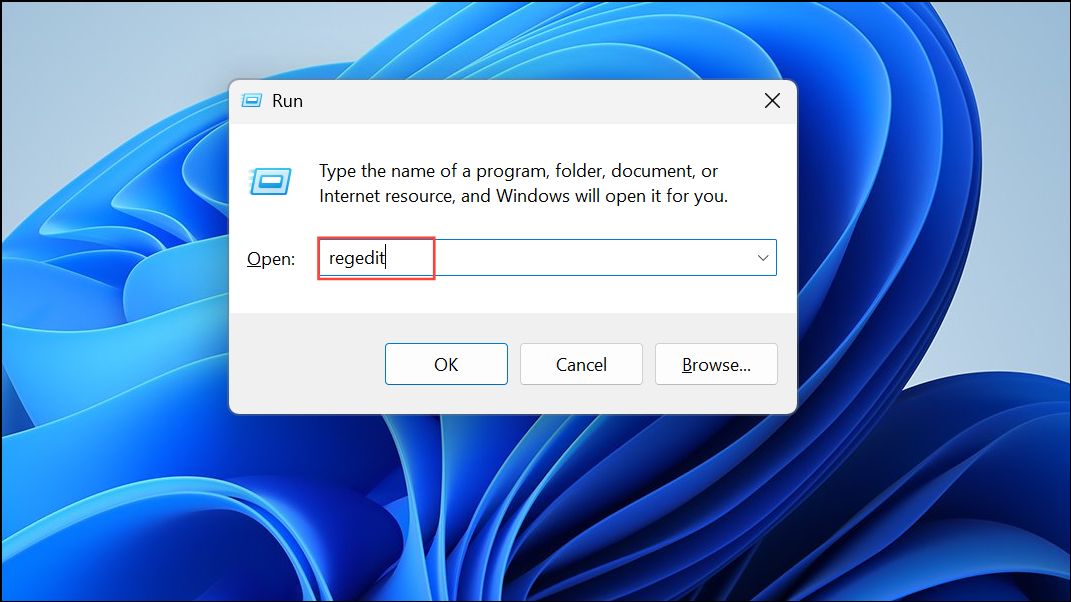
- Open the Run dialog with the
Win + Rshortcut, typeregeditand press Enter to open the Registry Editor.
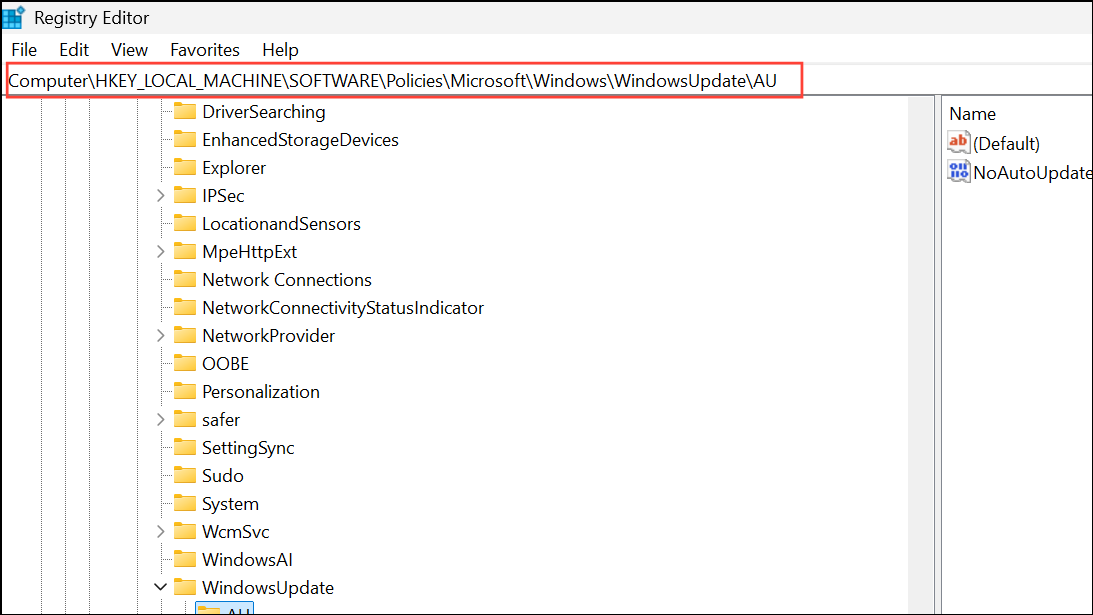
- When the Registry Editor opens, navigate to the following location using the address bar at the top:
HKEY_LOCAL_MACHINE\SOFTWARE\Policies\Microsoft\Windows\WindowsUpdate\AU
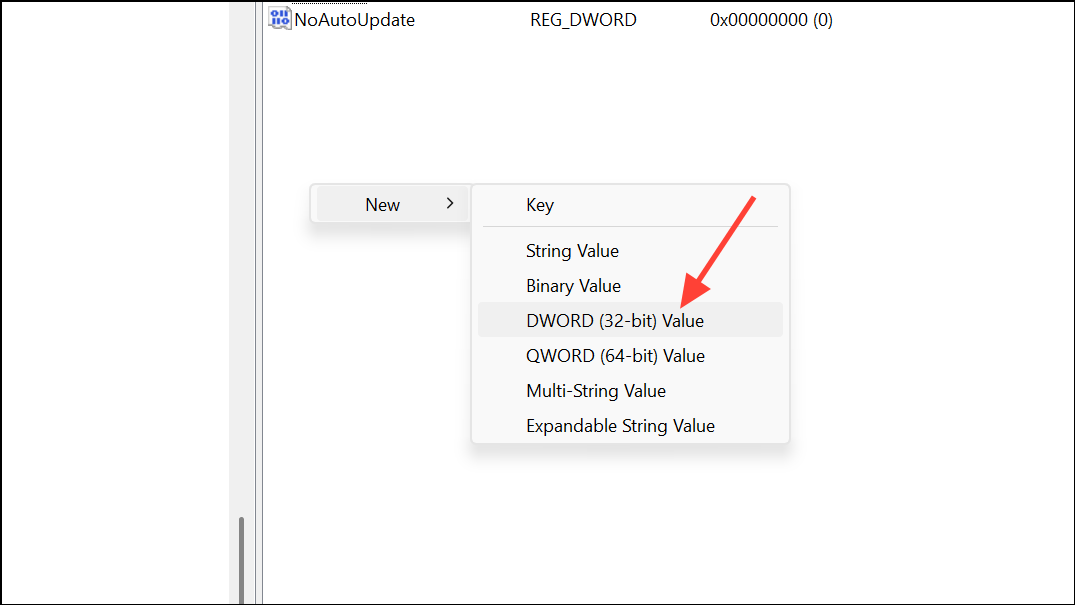
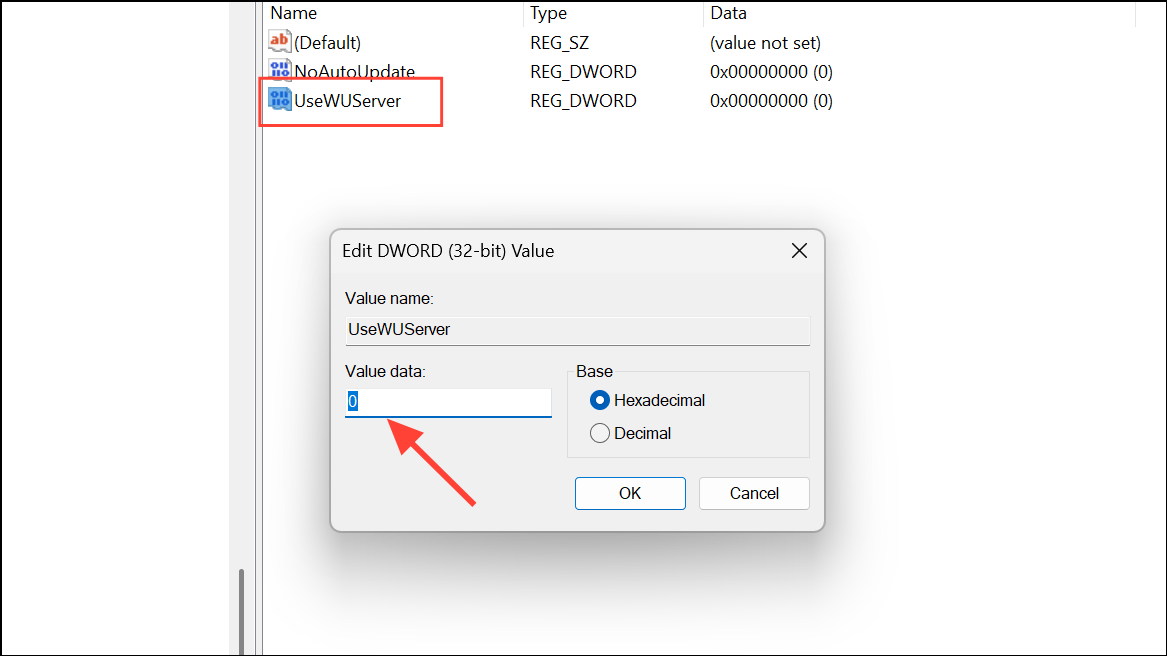
- Look for the UseWUServer entry on the right side. If there isn't one, right-click on an empty area in the right panel, go to New and select DWord (32-bit) Value. Name this entry UseWUServer.
- Double-click the UseWUServer entry and set its Value data to
0. Close the Registry Editor and try installing the wireless display again.
When trying to fix the Wireless Display Install Failed error, it is a good idea to temporarily disable your antivirus program to prevent it from interfering with the installation. Once you've fixed the problem and your wireless display is working properly, make sure to re-enable the antivirus to ensure your system remains safe.