
Franz the Dejected Assailant is a two-phase main boss fought in the Forma Storage Tower on MagMell Island during the optional Timeline Shift Decision: Noah. The fight is built around tight melee pressure, a small number of ranged tools in phase 1, then teleporting, beams, and Stone-inflicting attacks once he transforms.
Quick answer: Franz’s melee strings are almost always three hits or fewer, with a consistent delay on the final hit. Survive by dodging or parrying the first swings, then punish only in the small gap after each completed combo or during his slow telegraphed ranged moves in phase 2. When the cutscene triggers around 60–70% HP and his name changes to “Franz the Dejected Assailant,” expect new teleport and purple Stone attacks, but the same basic rule: wait out the full string, then attack.
Franz location and trigger (Timeline Shift Decision: Noah)
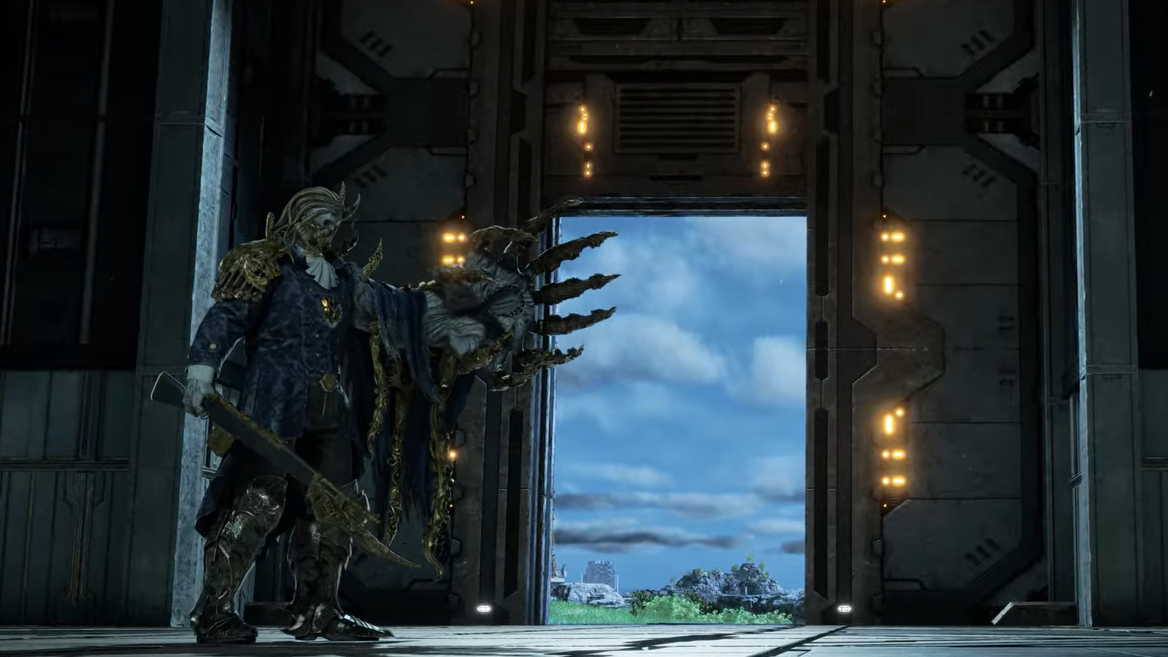
Franz appears as part of the optional Timeline Shift Decision: Noah quest, which unlocks once you return to the present after your first time travel with Lou, and can interact with Noah’s bond on the roof of the Forma Storage Tower on MagMell Island. Starting that decision sends you to MagMell in the past; Franz waits on the bottom floor of the tower, in a circular, obstacle-free arena.
Defeating him is the condition to resolve Noah’s past in that timeline and to reach the outcome tied to saving Noah and completing that decision chain. When the fight is done, and you use the Bond of Returning at the top of the tower, the world state in the present reflects Franz’s defeat.
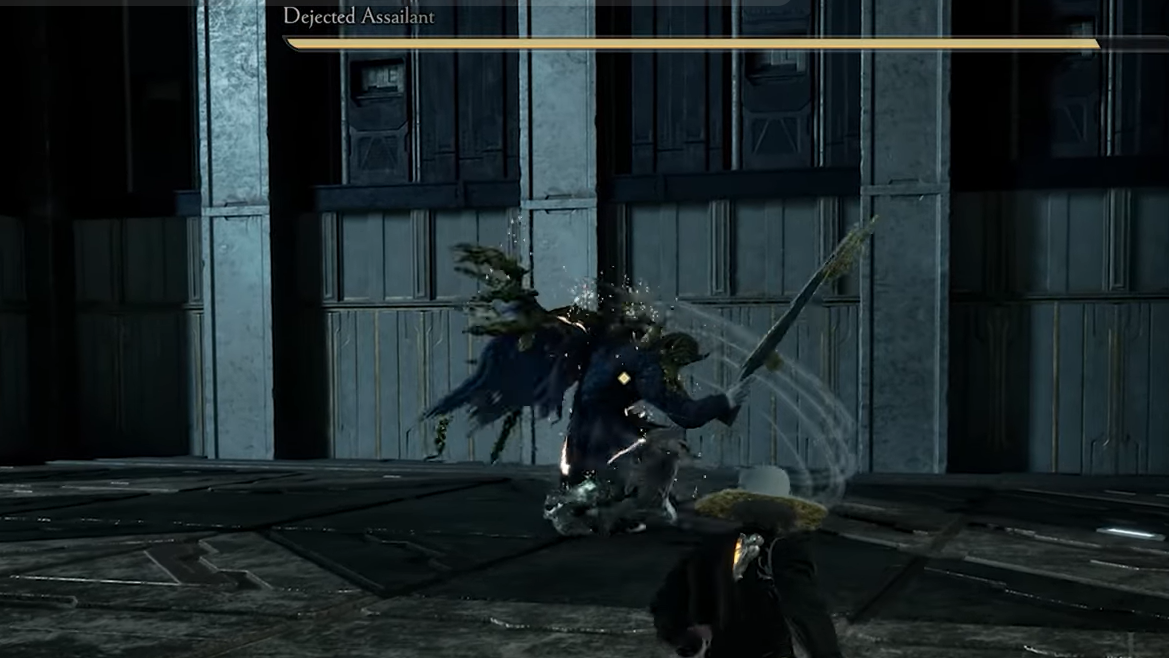
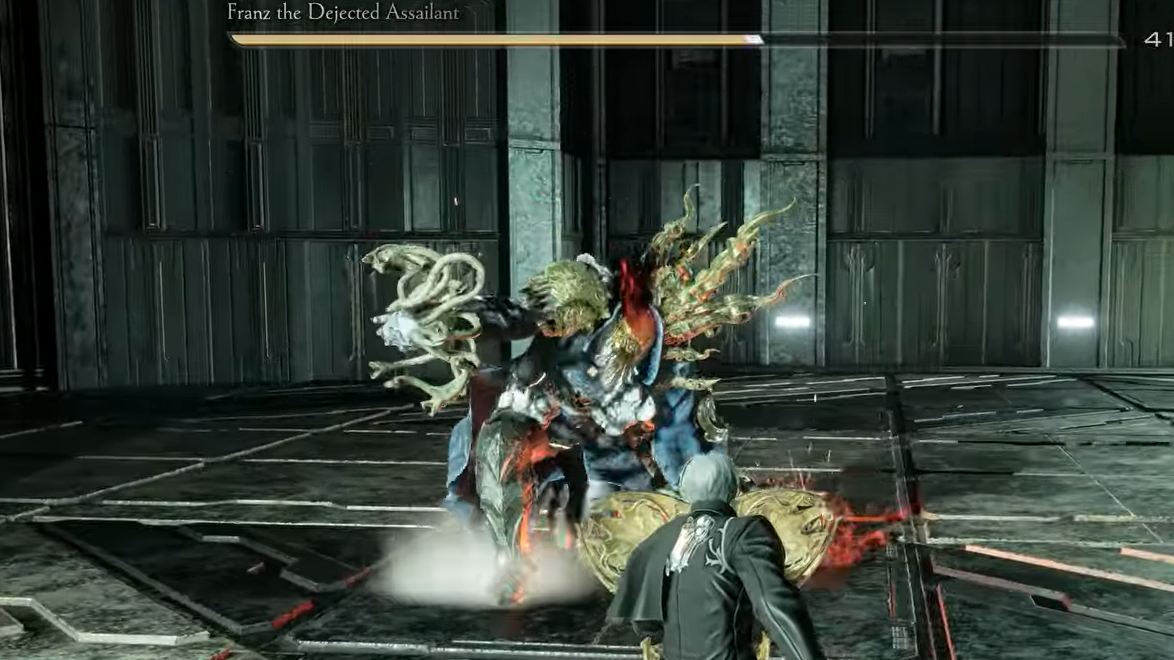
Dejected Assailant (Franz) phase 1: core moves and rules
Phase 1 uses the “Dejected Assailant” nameplate. Franz fights at close range with a large claw arm and a bayonet, plus basic gunfire when you try to kite him.
| Phase 1 move | Behavior | Safe response window |
|---|---|---|
| Claw swipes / Double Slash and Slam | Two fast claw swings followed by a heavier slam into the ground. | Dodge or parry the first two hits. The slam has a small delay; once it lands and the impact AoE disappears, there is a short opening for 1–3 attacks. |
| Charged Spin / Whirlwind | Franz reels the claw back and spins, hitting around himself twice. | Time a roll through each spin or guard briefly. When the second spin ends and he stops turning, he is briefly exposed at close range. |
| Bayonet combos | One or more wide melee slashes with the bayonet. | The swings are slower and clearly telegraphed. Dodging backwards or parrying near impact lets you respond with a short combo. |
| Slash–slash–stab combo | Bayonet slash, claw follow-up, then a long thrust with the bayonet. | The thrust has the largest gap. After dodging sideways around the thrust, you can safely circle in for a couple of hits. |
| Charge Rush / Claw Rush | Red-aura dash across the arena that can knock you down, sometimes flowing into a three-hit string. | This is a single, very readable startup. Dodging sideways at the last moment or parrying the impact both stop the follow-up for several seconds. |
| Bayonet Shots / Triple Shot | Three projectiles from mid or long range. He may fire from the ground or after jumping back or onto the wall. | Running laterally is more reliable than spam-dodging. When the final shot is fired and he recovers, he is open before he re-engages in melee. |
Mechanically, almost every physical attack in this phase is either a short combo or a single dash. Combos are capped at roughly three hits; the danger comes from the last hit being intentionally delayed to catch early dodges. Treat each full string as a unit: do not swing in the middle, and expect the delay on the finisher.
Parry and posture behavior in phase 1
Franz’s phase 1 posture (stagger) system is heavily tied to counters. Successful parries against his claw swipes, bayonet melee strings, or the red Charge Rush inflict high posture damage, and three to four clean parries in a short span can drive him into a full stagger state. During that stagger, you can perform a drain attack and commit to heavier follow-ups without retaliation.
Not every move can be parried. Standard melee swings and the rush can be, but ranged gunfire and the slam impact in multi-hit strings are intended to be dodged or guarded. Trying to parry the wrong component results in guard break or a direct hit and resets your window to build posture damage.
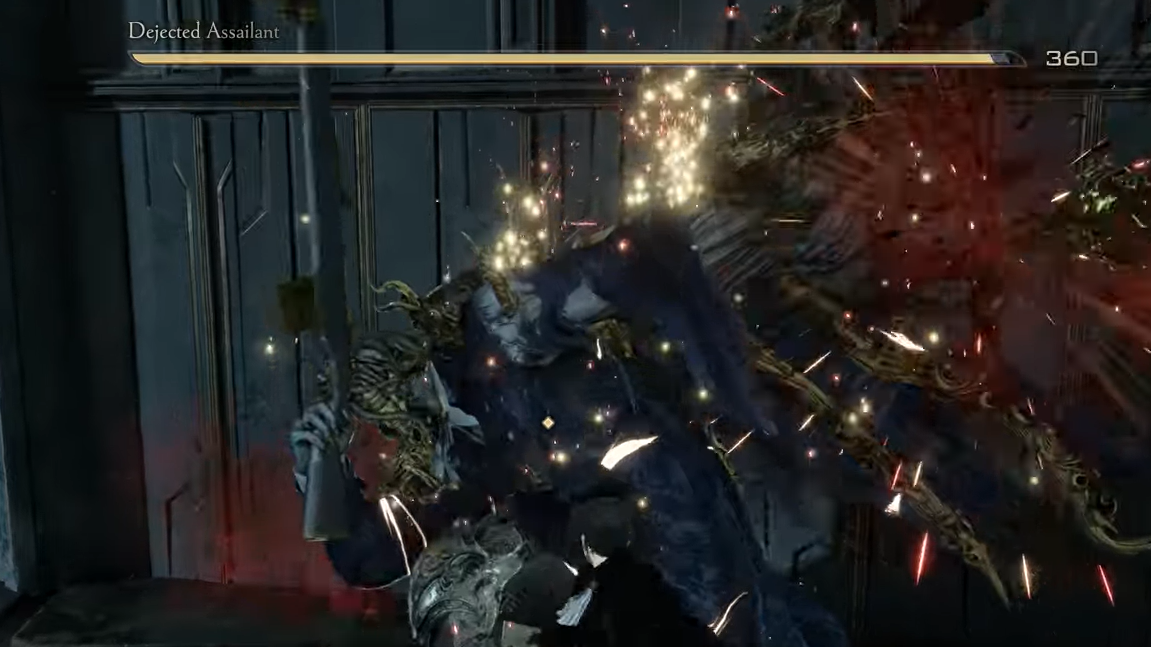
Phase change trigger and name swap
Franz transitions once his health drops to roughly 60–70 percent. A cutscene plays where he decapitates himself, and the UI name changes from “Dejected Assailant” to “Franz the Dejected Assailant.” That cinematic is the clear state change for the boss logic.
Mechanically, this phase change does not reset his health bar but immediately unlocks a different move table and new status effects. You do not need to perform any special condition beyond reducing his health to that threshold; the transformation is scripted, and it always happens during that fight instance.
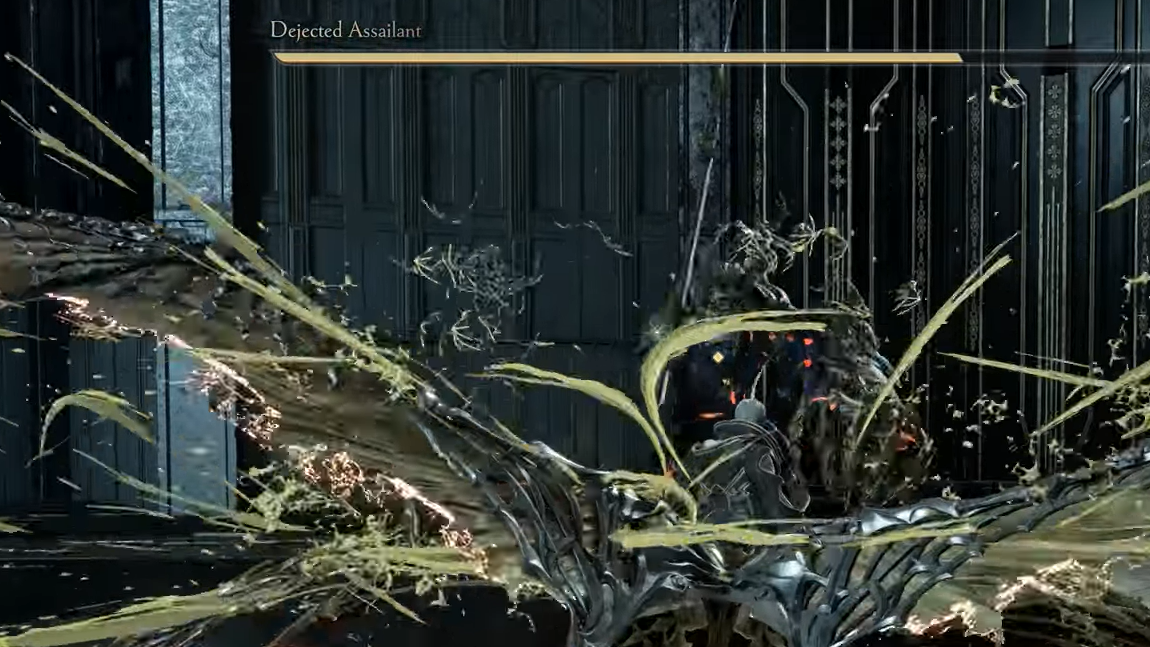
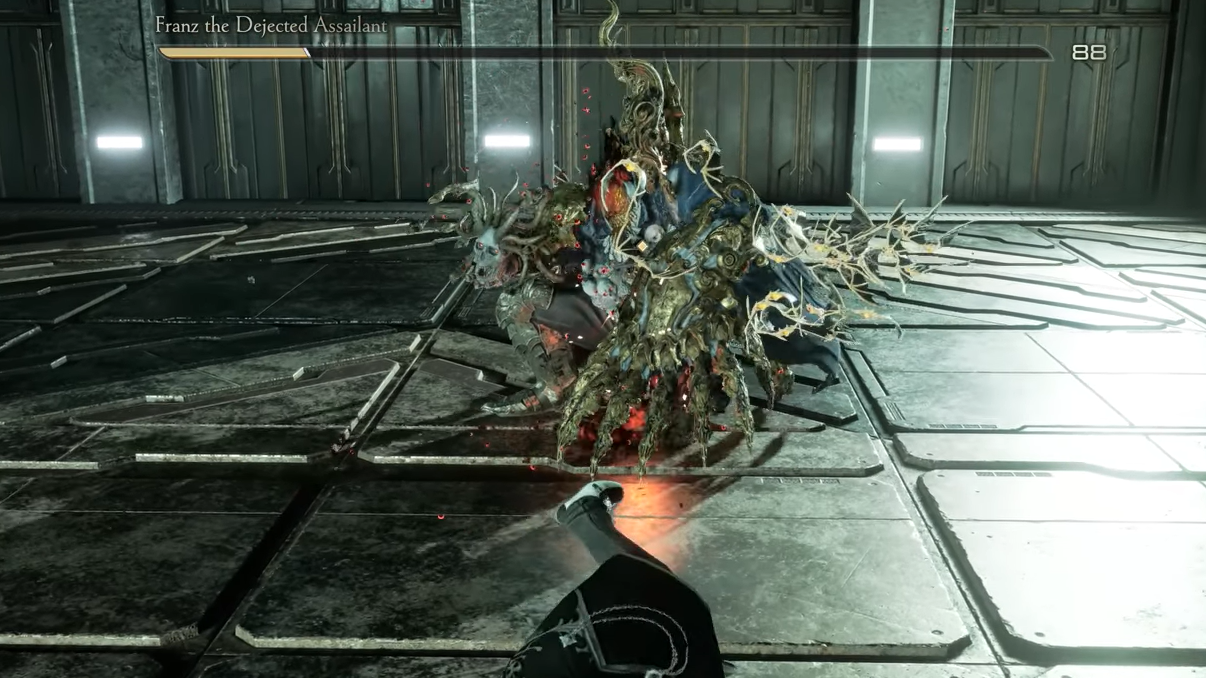
Franz phase 2: teleport, beams, and Stone
In phase 2, Franz uses the giant claw more aggressively, swaps the bayonet for his severed head, and gains teleport and beam attacks. The arena remains the same, but his ability set is expanded and more aggressive.
| Phase 2 move | Behavior | Safe response window |
|---|---|---|
| Red Claw swipe / projectile | The claw glows red; Franz either swings at close range or fires a red shot. | Dodging toward the line of attack avoids both variants. Once the animation finishes, he pauses briefly before chaining into something else. |
| Teleport combo / Vanishing Swipe | Franz flashes and reappears at your back, starting a short claw combo that ends with a ground smash and AoE pulse. | Standing still until he appears makes the first hit easier to dodge or parry. After avoiding the final smash and its second pulse, you get a small opening. |
| Claw Drag / Dragging Uppercut | The enlarged claw scrapes along the floor for a moment, then rises in a wide uppercut. | The drag period is long. You can step in for one or two hits from the side or behind, then dodge away from the uppercut’s path. |
| Double Slam / Double Slash with Double Slam | One or two standalone slams, or an extended version of the phase 1 string with two consecutive ground impacts. | Do not move in after the first slam. Wait for the second impact and disappearance of the AoE ring, then counter as in phase 1. |
| Arm Thrust and Burst | Linear thrust with the claw, followed by a delayed explosion from the impact point. | Dodge around the thrust, then step out of the marked area before the blast. The gap between thrust and blast is a safe time for a couple of swings. |
| Counter Jump and Slam | Franz quickly teleports upward and drops straight down on your position. | When he vanishes upward, roll at the moment he reappears above. The landing point briefly exposes his back. |
| Laser Beam / Claw Cannon (red) | Red beam from the claw, either straight or in a sweeping motion across the arena. | Blocking is unreliable; dodging through the beam at its leading edge or sprinting sideways is safer. While he channels or sweeps, his body is stationary and punishable from the flanks. |
| Head Swing | Wide melee swings with the decapitated head, functioning like bayonet slashes. | Same rule as the bayonet: evade or parry the swings, then claim a short punish window on recovery. |
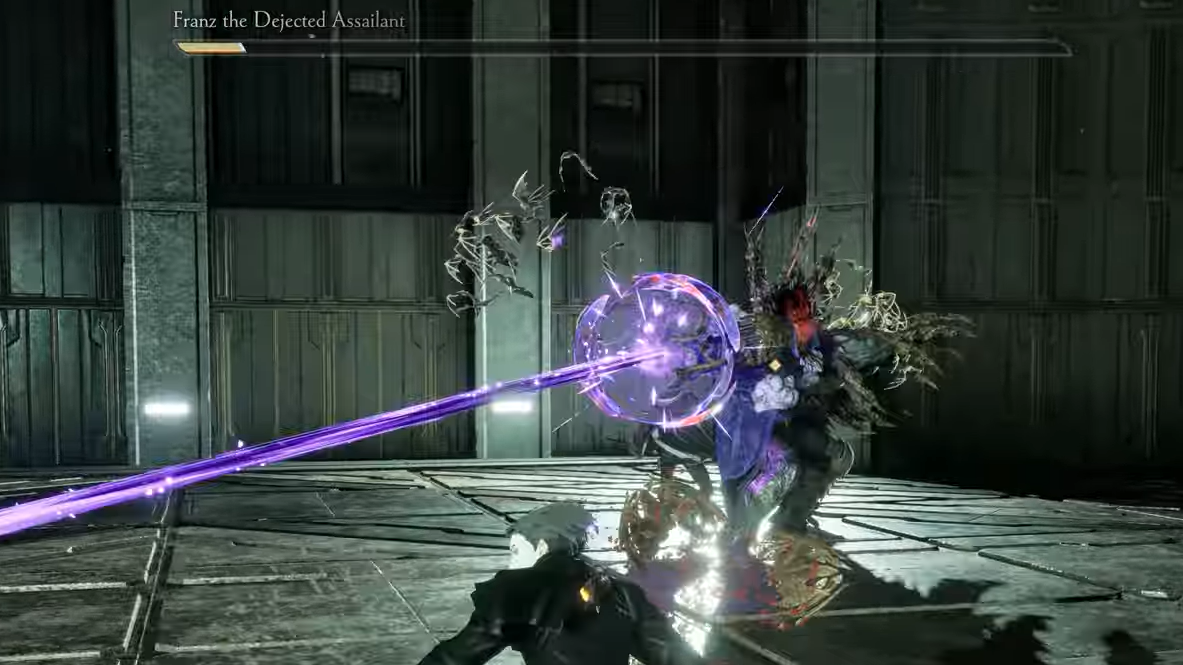
| Head Roar / Laser Drain (purple) | Franz holds the head forward and emits a long cone-shaped or line-shaped purple attack that can inflict Stone. | He stays fixed while channeling. Moving to his side or behind him during the charge allows uninterrupted damage for several seconds. |
| Purple wave / Purple shot / Magic Blasts | Single projectiles or a sweeping wave of purple energy from the head; all can inflict Stone. | Short, sharp dodges to the side or forward avoid contact. After the shot or wave passes, he requires a short reset before re-engaging. |
All purple-colored head attacks share one mechanic: they can build the Stone ailment. When Stone is applied, your character is immobilized and vulnerable for the duration, effectively guaranteeing a follow-up combo. Carrying and using Anti-Stone consumables around these attacks prevents the status from completing.
Dodge, guard, and parry mechanics against Franz
Franz’s encounter is tuned so that guarding alone is not sufficient. Block is meant for short emergencies, such as catching the first hit of an unexpected combo or mitigating a mis-timed dodge; extended guarding drains stamina very quickly and leads to guard breaks.
Dodging uses i-frames to bypass most of his hitboxes. The key is timing into the swing or beam rather than away from it. Rolling away often keeps you inside the tracking arc of moves like Charge Rush or the sweeping beams, while rolling toward the source at the right moment moves you through the hitbox and out of range of the follow-up.
Parry-capable defensive Formae, such as the Mutinous Bracer or Reaper jail, hook into these same windows. A parry that lands just before the point of contact on eligible melee hits both negates damage and applies heavy posture damage to Franz, moving the fight toward a stagger state. Projectiles, beam attacks, and the ground-impact AoE components are not parryable and must be dodged or blocked.
Reward state after defeating Franz
When Franz the Dejected Assailant’s health is fully depleted in phase 2, his behavior script ends and the arena locks clear. At that moment, several things become true at the game state level:
- The boss drops the Blood Code Superbia Bloodline: Frantz, which specializes in bayonet-focused play and applies a constant burden effect.
- The achievement A Friend’s Wish is awarded for defeating Franz.
- Noah grants a summoning pact, unlocking him as a selectable partner at any mistle.
These outcomes are deterministic: if the nameplate reads “Franz the Dejected Assailant” at the moment of defeat and the cutscene sequence back to the tower roof plays correctly, the Blood Code, achievement, and partner unlock all register for that save.
All of Franz’s behavior, from the first double claw swing to the final purple beam, follows consistent rules: short melee strings with a delayed finisher, a fixed health threshold for transformation, and long, predictable animations on ranged and beam attacks. Recognizing that structure is the key to finding safe openings in an encounter that initially feels relentless.