
Gambit Beneath the Shimmer is the finale of the Kaifeng Jianghu Legacy line in Where Winds Meet, folding together political intrigue, puzzle rooms, and one of the game’s most demanding boss sequences. It plays out inside an illusory version of Revelry Hall and ends by unlocking the Supreme Freedom Campaign, where the last encounter can be farmed for gear.
How to unlock Gambit Beneath the Shimmer
Gambit Beneath the Shimmer only becomes available late in Kaifeng. Several conditions need to be met before the quest appears.
Core requirements
| Requirement | Details |
|---|---|
| Jianghu Legacy 02 | Finish Shadows in Bloom in the Velvet Shade area near Revelry Hall. |
| Kaifeng main story | Clear Chapter 2: Universal Furnace, up to and including Furnace of Righteousness. |
| Exploration | Reach at least 6,000 Kaifeng Exploration Points. |
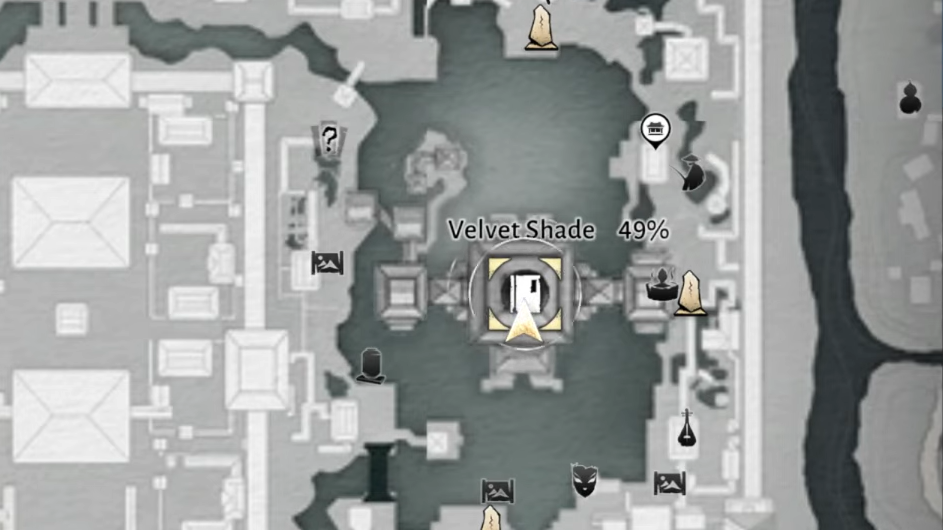
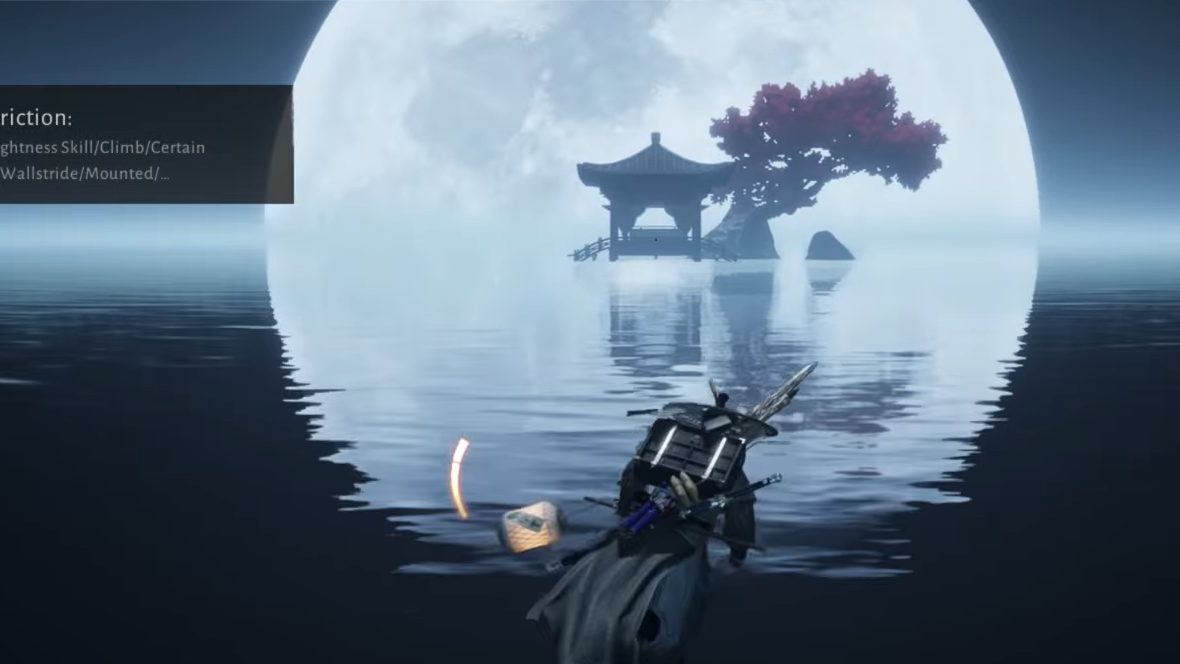
Once these are done, the Jianghu Legacy finale is available as Gambit Beneath the Shimmer in your Journal. The quest is set in Kaifeng City’s Velvet Shade district, with Revelry Hall as the entry point.
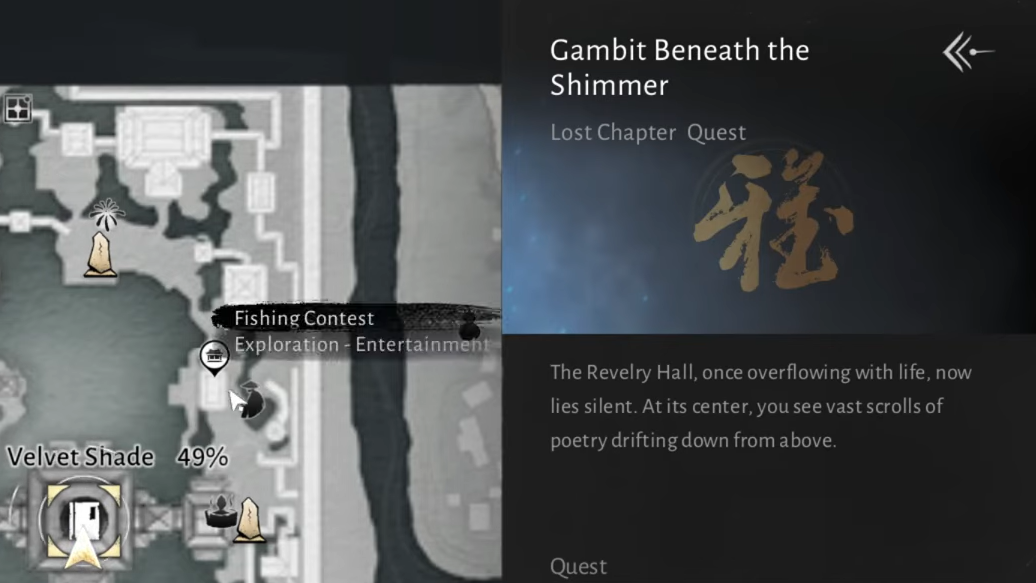
Step 1: Talk to the Wayfarer in Kaifeng City. This unlocks the Jianghu Legacy finale entry in your Journal.
Step 2: Open the Journal and track Gambit Beneath the Shimmer so the destination icon appears over Revelry Hall.
Step 3: Fast travel to Velvet Shade’s Boundary Stone and walk into Revelry Hall to trigger the first cutscene.
Quest structure and rewards
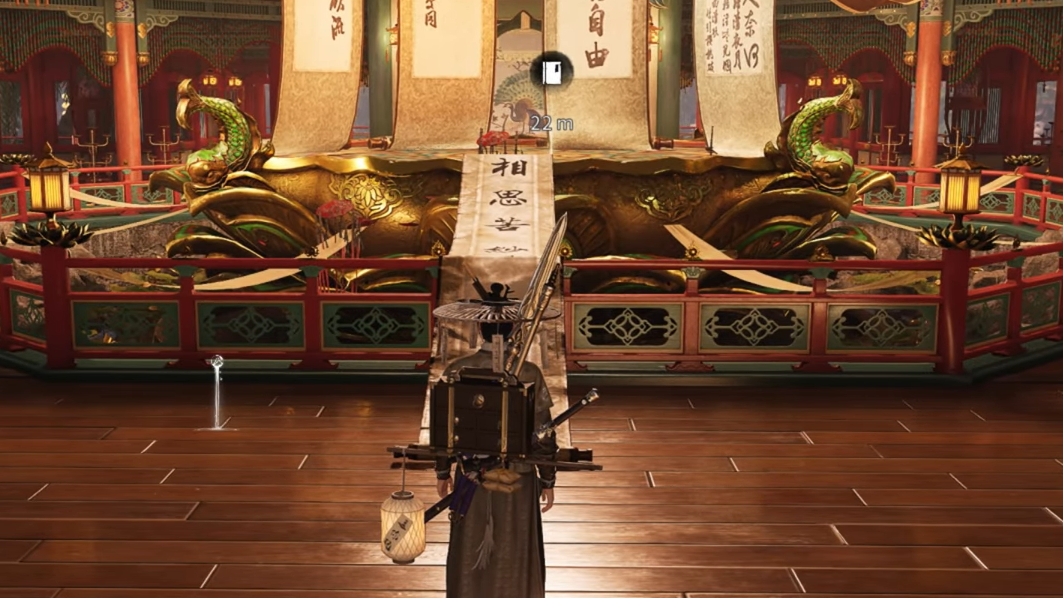
Gambit Beneath the Shimmer is a Jianghu Legacy Lost Chapter that transforms Revelry Hall into “Supreme Freedom,” a layered illusion built from chess boards, shadow‑play puzzles, and combat trials. Progress alternates between:
- Investigating lore notes (Shimmer’s Notes and letters).
- Solving four chess boards using a child‑shaped stone figurine as a piece.
- Solving four screen‑and‑shadow puzzles tied to a tragic story of gifted children.
- An Endless Street parry sequence.
- A survival fight against the Five-Clawed Golden Dragon.
- A four‑boss gauntlet inside Supreme Freedom.
Quest rewards (story clear)
| Reward | Amount / Notes |
|---|---|
| Lingering Melody | x1 |
| Medicinal Tales | x1 |
| Lv. 3 Ebon Iron | x4 |
| Echo Jade | x30 |
| Kaifeng Exploration Points | +50 |
| Enlightenment Points | +100 |
| Character EXP | 30,000 (Fextra) / 20,000 (Game8) — the exact number can vary with progression |
| Coins | 20,000 |
Completing the quest also unlocks the Supreme Freedom Campaign at Revelry Hall, a repeatable mode where you can refight the finale bosses for gear and cosmetics.
Supreme Freedom Campaign rewards (examples)
| Category | Examples |
|---|---|
| Armor | Tier 61 Rainwhisper or Moonflare set pieces (two per run, greaves excluded). |
| Appearance | Sovereign's Solitude outfit. |
| Materials | Stonesplit - Might Tips, Inner Way Note - Custom Chest, Oscillating Jade, Attunement Stone - Gold Inlay (chance). |
| Currency & EXP | Around 3,200 Coins and 6,800 Character EXP per clear. |
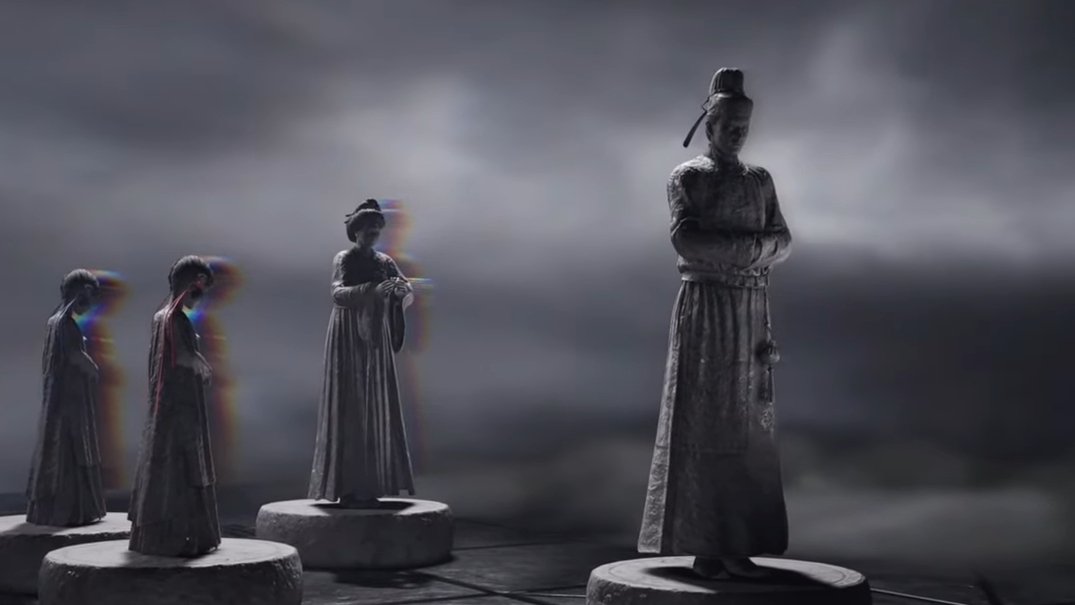
Supreme Freedom layout: butterflies, chess boards, and shadow screens
Inside the illusory Revelry Hall, golden butterflies do most of the navigation work. Each cluster leads either to a chess board or to one of the painted screens used for the shadow puzzles.
The main loop repeats across four floors:
- Follow butterflies to a chess board room.
- Read the lore scrolls on nearby pedestals.
- Pick up the highlighted Stone Figurine and submit it to the board.
- Play a partial game of Chinese chess.
- Retrieve the figurine and follow butterflies to a painted screen.
- Place the figurine on the pedestal, solve the screen’s shadow puzzle, then touch the screen.
- Watch a vignette about the children and make one of two dialogue‑flavored “choices.”
The choices—such as Unbound and Free vs. Drawn Prison, or Bated Breath vs. Injustice Provokes Outcry—affect flavor text and perspective on the story, but do not change the quest’s outcome or reward structure.
Shimmer’s Notes and political backstory
Scattered pages called Shimmer’s Notes expand on the Tang Coin Conspiracy and the split between North and South.
- Notes I–III describe how taxes and coin shortages hollow out the South, mention the Tang Coin confiscation policy, and set up an alliance with the Ember of the East for sanctuary.
- Notes IV–V outline plans to weaponize northern discontent and praise Ember of the East’s network‑building.
- Note VII links Ember of the East to the Young Wanderer.
- Note VIII questions whether the gold‑making vessel is real or just a cover for another objective.
- Note IX shows a diagram of the Gold-Making Vessel.
- Note X looks back on Kaifeng’s salvation and expresses hope that Jiangnan will one day be saved in the same way.
Use Wind Sense as you move between rooms; pages often sit slightly off the main path the butterflies suggest, on stair landings or in front of prominent paintings.
Chess board rooms: how the figurine and rules work
Each chess room revolves around a large Chinese chess board and several pedestals. The central pedestal holds a child‑shaped stone figurine mounted on a piece; other pedestals display letters tying Shimmer to figures like Murong Yuan, the Dao Lord, Hong Si, Zhang Cuo, and Zheng E.
The figurine is always the only pedestal you can truly “investigate.” The description clarifies which piece it represents on the board — for the first room, it is a red pawn fused with the child statue.
Key mechanics
- You play as the red side in an already‑in‑progress game.
- Red pawns move forward only until they cross the river, then can also move left or right.
- The goal is to capture the opposing general, not to clear the board.
- You can read a rules panel in the chess UI explaining each piece’s legal moves.
- You only need to finish the board; winning is recommended but not strictly required to progress.
A simple strategy in the first room is to march a pawn adjacent to the enemy general while keeping another pawn one space behind it as protection. The general often takes the bait pawn and then gets captured by the supporting pawn on your next move.
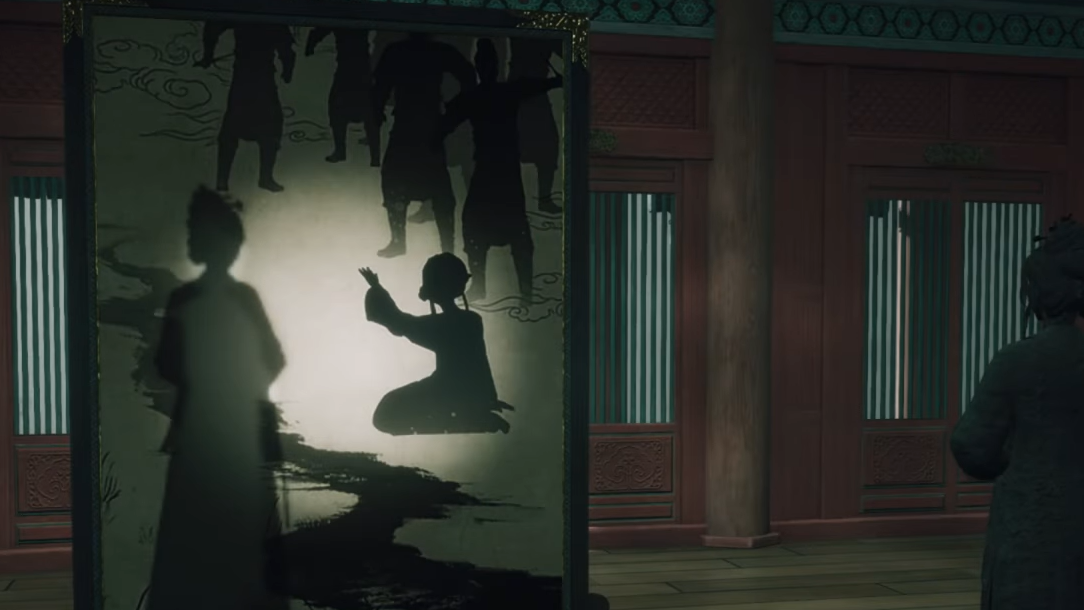
Shadow and silhouette puzzles on the painted screens
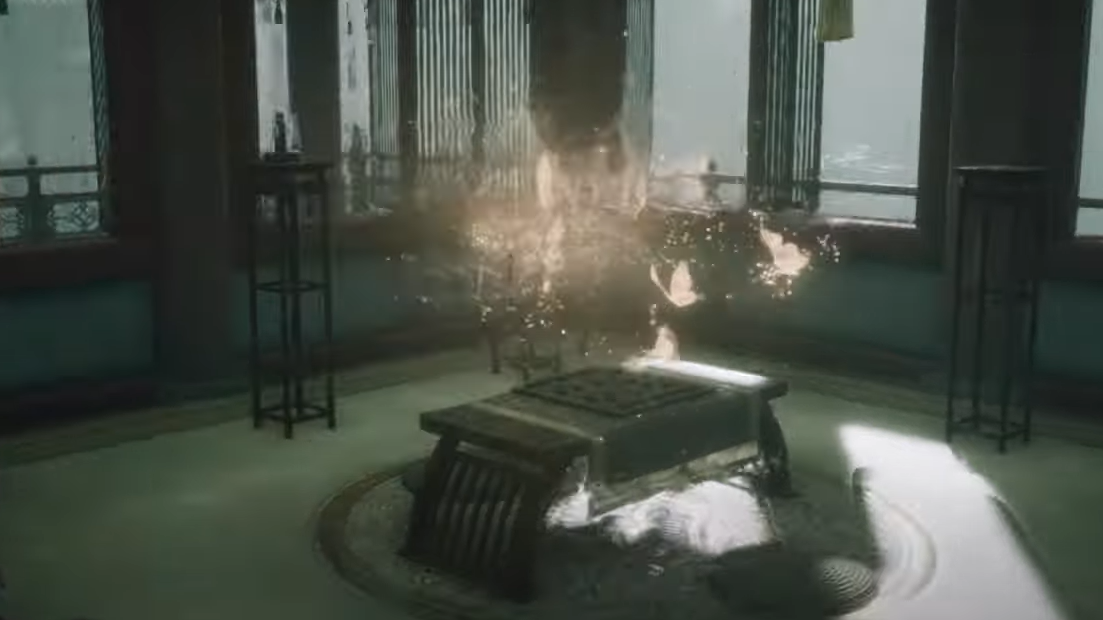
After each chess board, golden butterflies lead to a room with a tall painted folding screen, a candle, and a pedestal for the stone figurine. These puzzles use the figurine’s projected shadow as the “piece” you must fit into a silhouette drawn on the screen.
Each floor modifies the rules slightly:
- First screen — Rotate the figurine so the projected hand exactly meets the painted hand. Only rotation is needed.
- Second screen — Again, rotate to match the white outline. The figurine’s pose has changed, so the match point is different.
- Third screen — Adjust both rotation and depth. Moving the figurine backward makes the shadow larger; bring it to the right scale, then fine‑tune rotation.
- Fourth screen — Repeat the rotation‑plus‑scaling logic, but with a more complex, broken‑board backdrop after the story shifts to violence.
The screens present evolving scenes of the three children, their adoption into the Liang family, the hunt for the Celestial Robe Score, and the eventual slaughter of the Liang household. Each solved silhouette triggers a cutscene and one of the binary “choice” prompts.
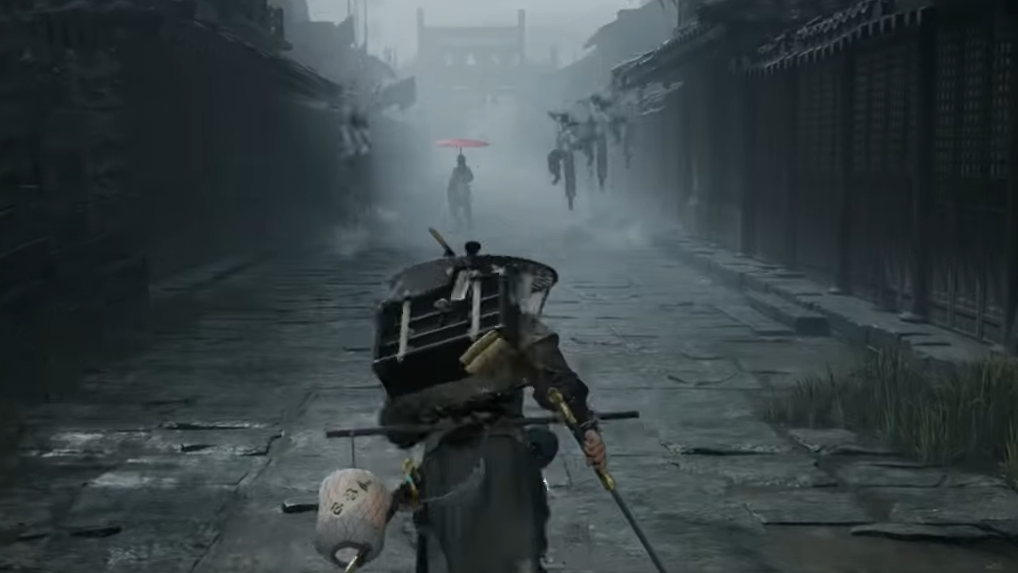
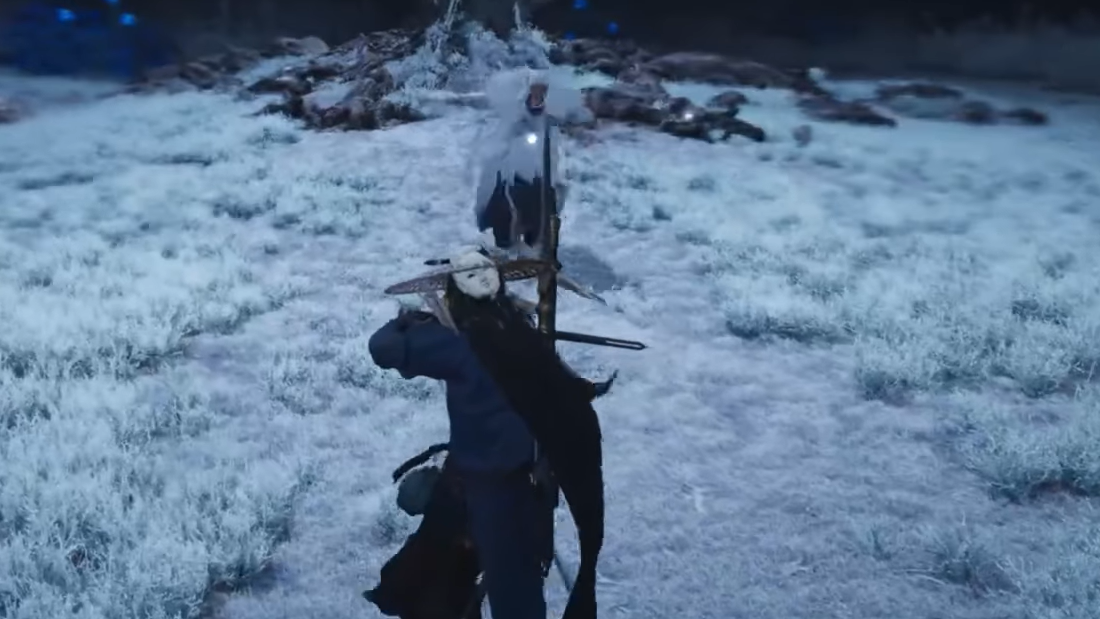
Endless Street: parry‑only chase segment
Once the final screen puzzle is complete, the illusion collapses into a monochrome street filled with white umbrellas and a single red umbrella in the distance. This is the Endless Street, a parry exam where you chase the Shimmer of South without any lock‑on targeting.
Rules for Endless Street
- You cannot directly target or freely attack enemies.
- You must use Deflect to parry all incoming attacks.
- Parrying red‑light attacks triggers Perception Skills that pull you closer to the red umbrella.
- Failing to catch the Shimmer of South before the timer runs out counts as a defeat.
The segment unfolds across three phases:
- Phase 1 (forward run) — Advance down the street, parrying normal swings to avoid chip damage, and focus on timing red attacks for leaps forward.
- Phase 2 (side‑scroll) — The camera shifts to a side view as you move left to right. Maintain rhythm; enemies often telegraph red strikes after a short string of normal hits.
- Phase 3 (closing ring) — Enemies surround you with spinning slashes. Continue deflecting until the last foe triggers a final red attack; a clean parry here closes the distance and ends the chase.
After catching the red umbrella, color floods back into the scene and the Shimmer of South animates a massive golden dragon statue, pulling you straight into the next encounter.
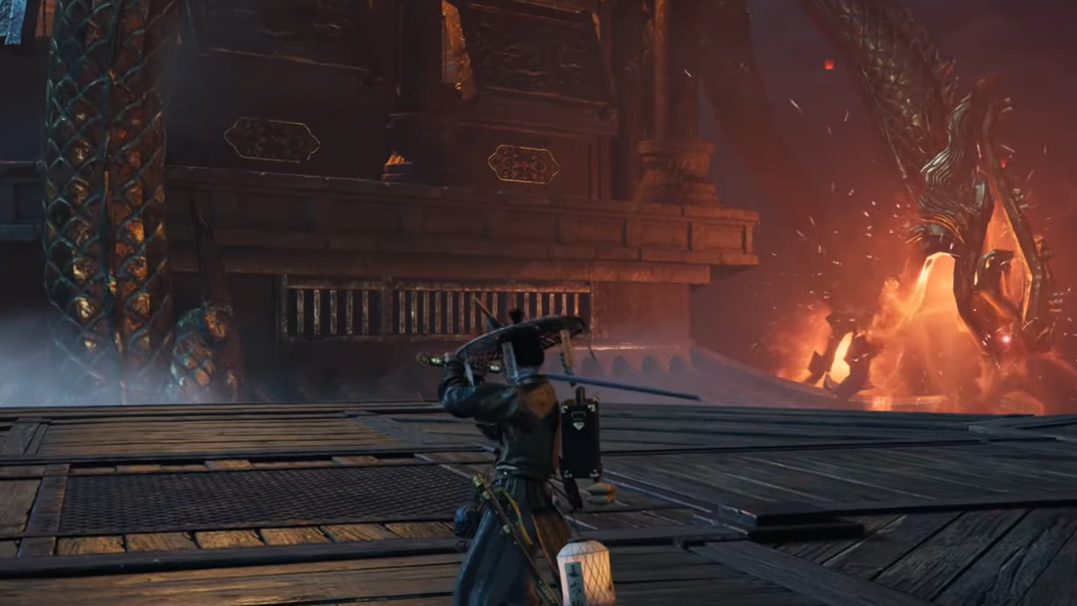
Five-Clawed Golden Dragon: how survival and damage work
The dragon sequence is less about raw DPS and more about reading telegraphs.
Core rules
- The Five-Clawed Golden Dragon is immune to normal attacks while its health bar is shielded.
- Deflecting the dragon’s “Sea of Coins” style projectile waves charges a Blade Momentum meter.
- At full Blade Momentum, parrying the dragon’s “Fire Rain” attack translates that charged energy into actual damage.
The fight usually plays out in three stages:
- Stage 1 — Wide, slower volleys of fire. Focus on clean deflects to build Blade Momentum while keeping your health intact.
- Stage 2 — Faster, multi‑hit fireballs. The timing tightens; think in short, even taps rather than mashing.
- Stage 3 — Two side dragons emit sweeping flame beams while the furnace winds up a self‑destruct. Stay out of the beams’ paths and be prepared for a final heavy hit before the scene transitions.
Once the shielded section of the health bar is fully depleted through these special parries, a massive self‑destruct marks the end of the dragon sequence and the beginning of the last arena.
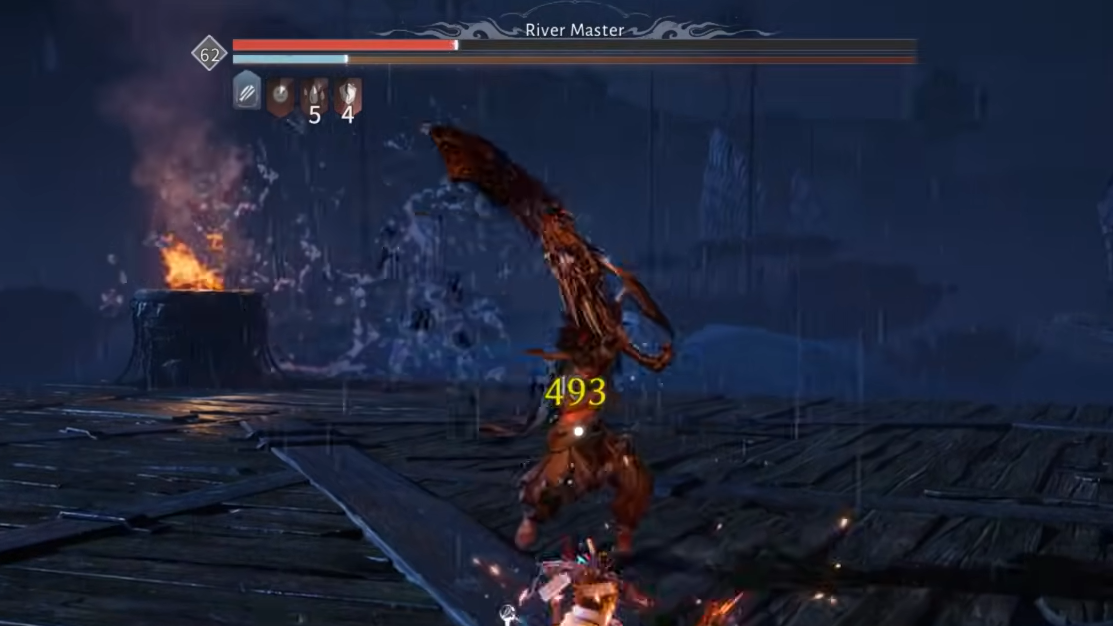
Supreme Freedom boss gauntlet: phantom Dao Lord, River Master, Murong Yuan, Zheng E
The final arena is a white void of paper with a lone hut. Inside sits the Shimmer, reading; approaching triggers the true test of the quest, a four‑boss gauntlet fought in one continuous run. Each boss appears as an ink‑black Phantom version of a campaign enemy:
- Dao Lord
- River Master
- Murong Yuan
- Zheng E (Zheng the Frostwing)
Phantoms dive through the “paper” floor and attack from below, use faster versions of their usual combos, and punish greedy aggression. If you die at any stage, you restart from the first Phantom, so stamina and discipline matter more than burst damage.
General gauntlet tips
- Activate the Hero’s Tomb near the lake and pagoda entrance before committing to the fight, so you have a close respawn point.
- Expect at least four phases; as soon as one Phantom falls, the next rises without a break.
- Treat each fight as a rhythm exercise: shorten combos, prioritize deflects, and hold back heals for when patterns get messy.
Murong Yuan, in particular, can hit for extremely high damage, with some yellow‑glowing attacks capable of deleting most of a health bar on high difficulties. Timing deflects on her multi‑hit strings, and capitalizing on Qi‑break execute windows are key to keeping the run from stalling here.
Individual boss notes from the Jianghu Legacy finale
Each Phantom mirrors its main‑quest counterpart with slightly altered pacing.
Murong Yuan (Jinming Pool: Petalfall Banquet)
Murong Yuan’s kit includes extended fan and blade strings, jump slams, and yellow telegraphs. In the campaign version, using Meridian Touch whenever she flashes yellow cancels the move and temporarily knocks her down, creating safe windows for heavy combos and Qi damage.
Inside Supreme Freedom, that same logic applies, but you have less room for error. Deflect her shorter, two‑hit sequences to build Qi pressure, then exploit execute opportunities quickly to avoid giving her time to chain dangerous patterns.
Zheng the Frostwing (Ever-Normal Granary)
Zheng E’s Phantom leans on:
- Fast multihit melee strings.
- Red‑glowing fan slashes that are hard to parry on reaction.
- Intervals where he rains ice spikes from above.
Meridian Touch is valuable here as well: save it for the red fan slash that feels hardest to time. During spike rain, keep Zheng E locked on and circle him, dodging only when he fires directly at you.
Dao Lord (Unbound Cavern)
Dao Lord’s defining move on his main quest is splitting into three bodies that attack at once, then diving underground and popping up to ambush you mid‑air. In the campaign, a bow works well during the underground phase; take quick shots as each clone emerges to shave off health.
In Supreme Freedom, an effective pattern is to:
- Sidestep or dodge his opening leaps.
- Stay just outside his melee range so his combos whiff.
- Dash in for a single hit after he finishes a string, then retreat before he can counter.
He has weak gap‑closing tools if you maintain this distance, turning the fight into a predictable hit‑and‑run pattern.
River Master (Heavenfall)
River Master punishes impatience more than any specific gimmick. His Phantom version still mixes long‑reach weapon swings with golden smash attacks that can chain into near‑KO combos if they connect, especially at higher world levels.
Shorten your combos to one or two hits after a clear whiff, then reset your position. Strategic Sword pairs well with his pacing, letting you poke safely between his more telegraphed smashes.
What Supreme Freedom changes after Gambit Beneath the Shimmer
Once the last Phantom falls and the paper battlefield tears apart, the Shimmer of South dissolves into fluttering pages and the Book of the Ember of East Jianghu Legacy volume closes. Back in the real Revelry Hall, a new mode appears: the Supreme Freedom Campaign.
Supreme Freedom lets you:
- Refight Murong Yuan, Zheng E, Dao Lord, and River Master in a campaign setting.
- Earn Tier 61 armor set pieces like Rainwhisper or Moonflare.
- Unlock the Sovereign's Solitude appearance and various high‑end materials and Inner Way notes.
For completionists, Gambit Beneath the Shimmer is the narrative capstone to the Tang Coin storyline in Kaifeng. For build‑focused players, it doubles as the gateway to one of the game’s most efficient late‑game boss farms.