
Takezo the Unrivaled begins in the Yotei Grasslands. Hear the tale from Ugetsu at the camp by the Coastal Dueling Tree on the southern coast to activate Dueling Trees across Ezo. There are five disciples tied to this myth. Some trees sit behind story gates, so expect to open more as you progress. Once all five duels are done, return to the Coastal Dueling Tree to draw out Takezo.
Dueling Tree locations, key behaviors, and rewards
| Duel | Where to find it | Key behaviors to read | Mid‑fight change | Reward |
|---|---|---|---|---|
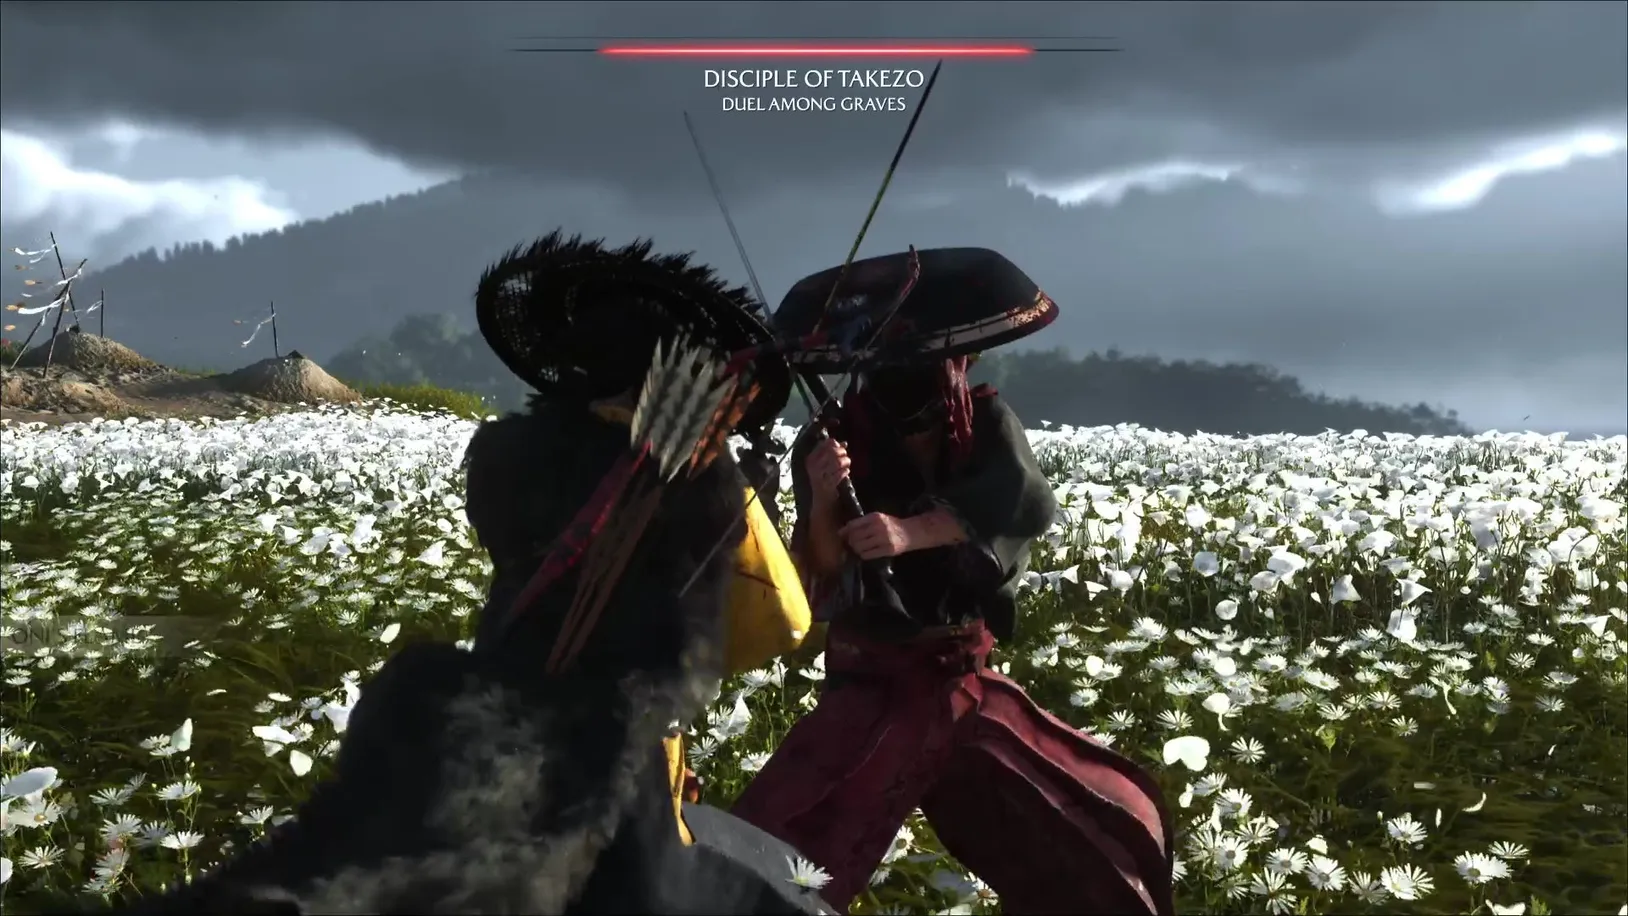
| Among Graves | Shikotsu River, Yotei Grasslands (white flower field) | Overhead strike into stab; unblockable shoulder check; announces a disarm draw | Swaps from katana to dual blades | Takezo’s Charm of the Unrelenting Warrior |
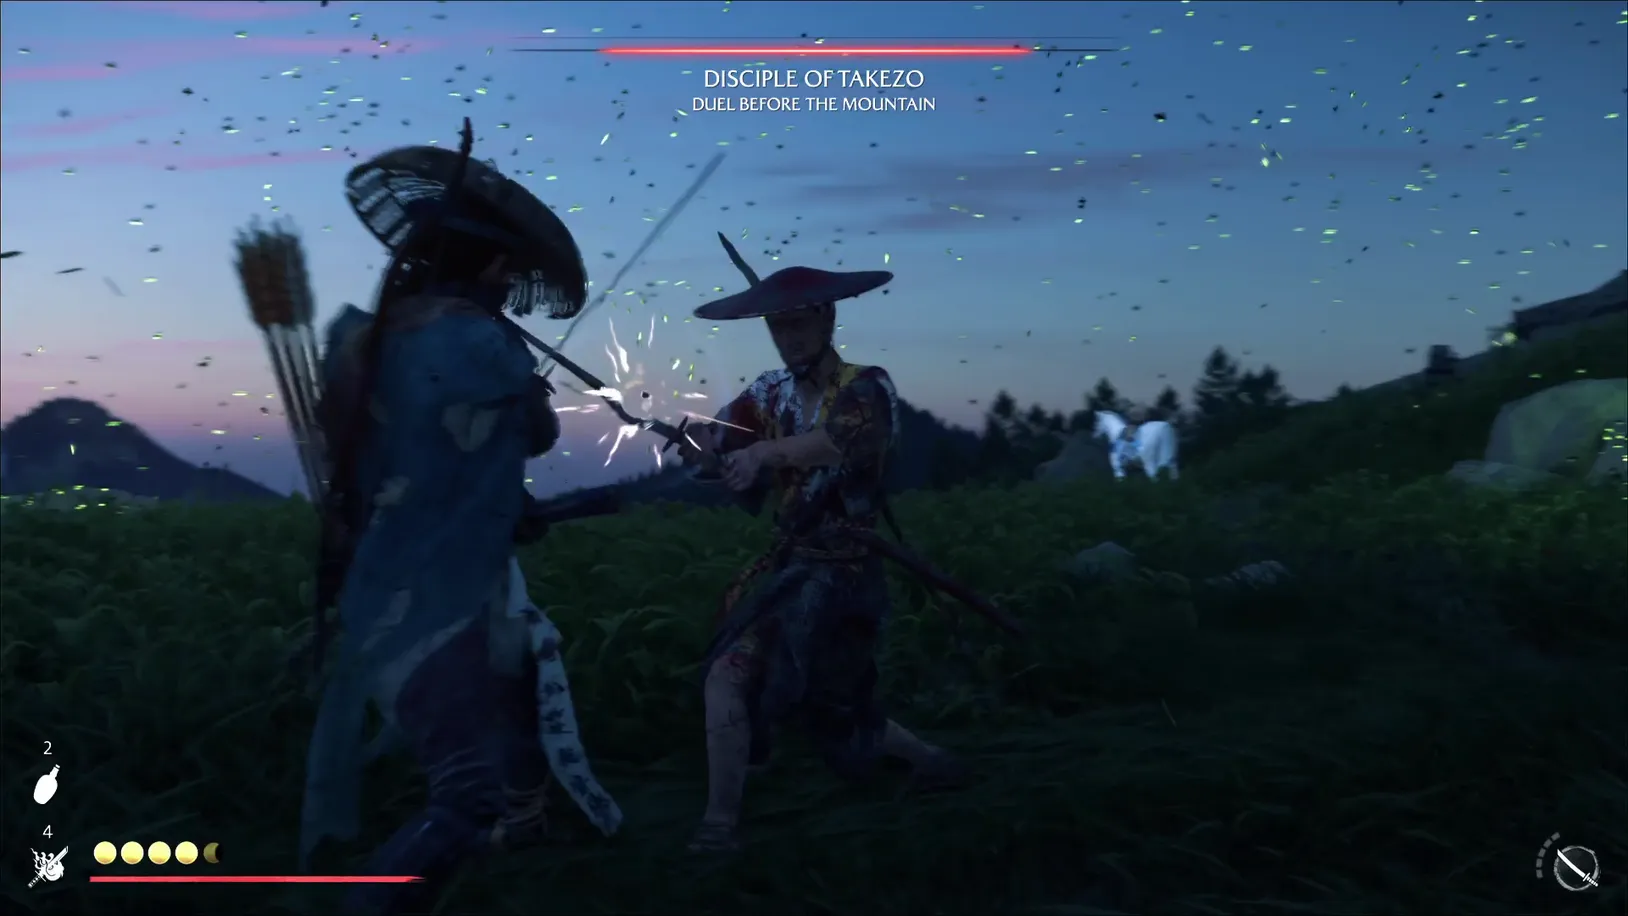
| Before the Mountain | Northwest of the Yotei River, Yotei Grasslands | Crouch fake‑out into quickstep; triple thrust string | Swaps to a spear at low health | Takezo’s Charm of Renewed Determination |
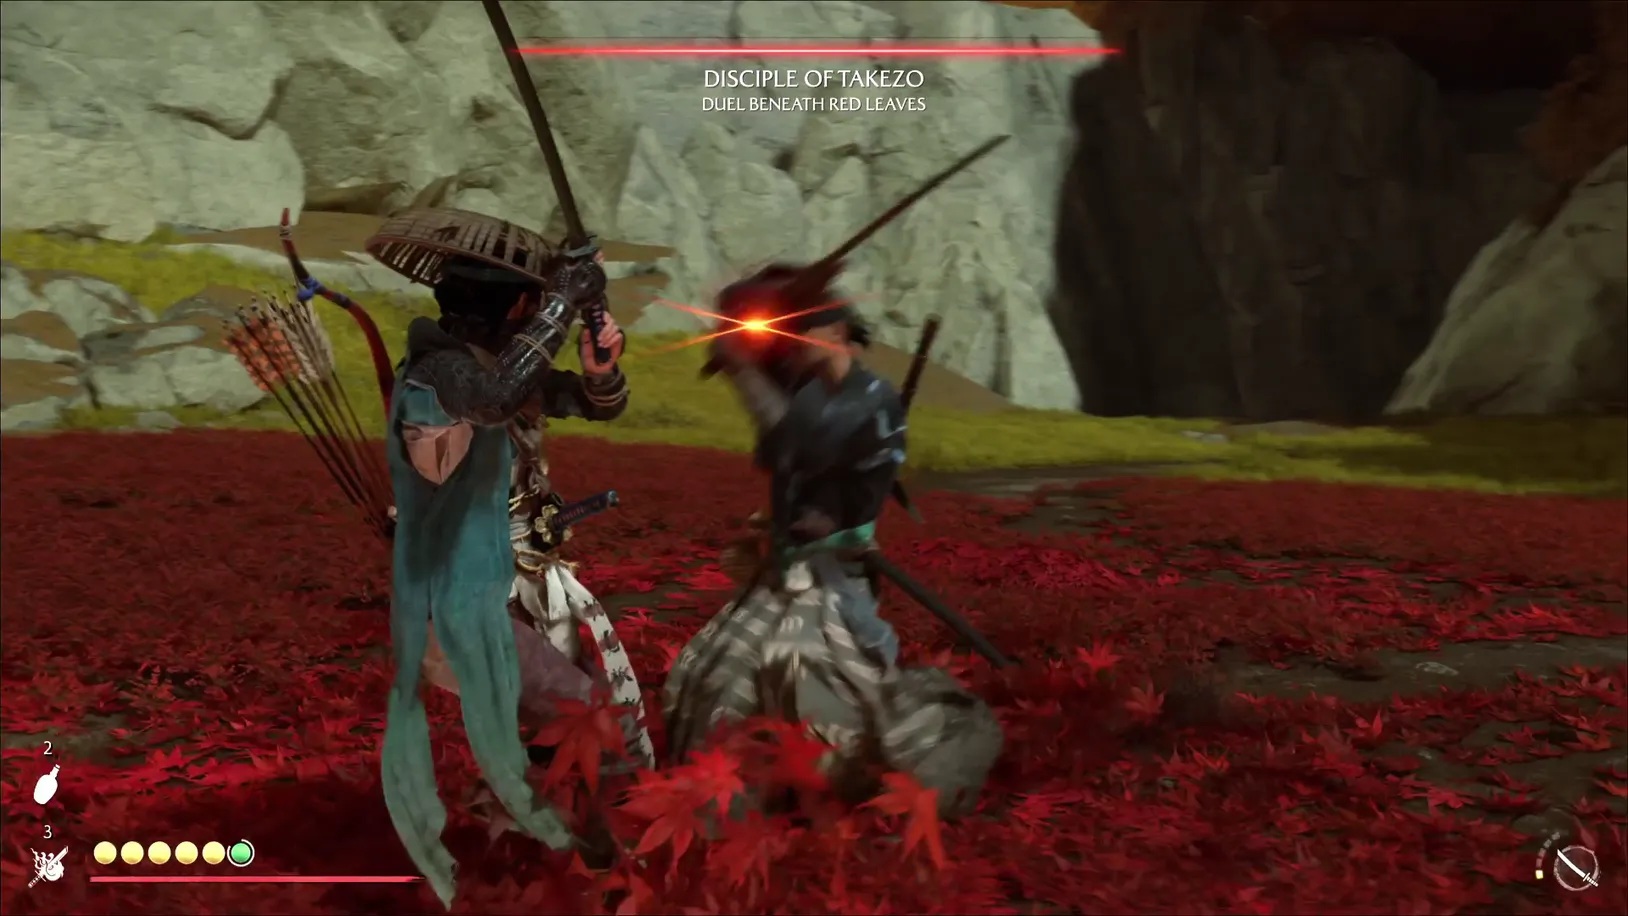
| Beneath Red Leaves | NW Tokachi Range, past Yubari Lake | Unblockable overhead + behind‑the‑back spin, then a parryable finish; spinning gap‑closer | Swaps to dual kama | Takezo’s Charm of Bold Deflection |
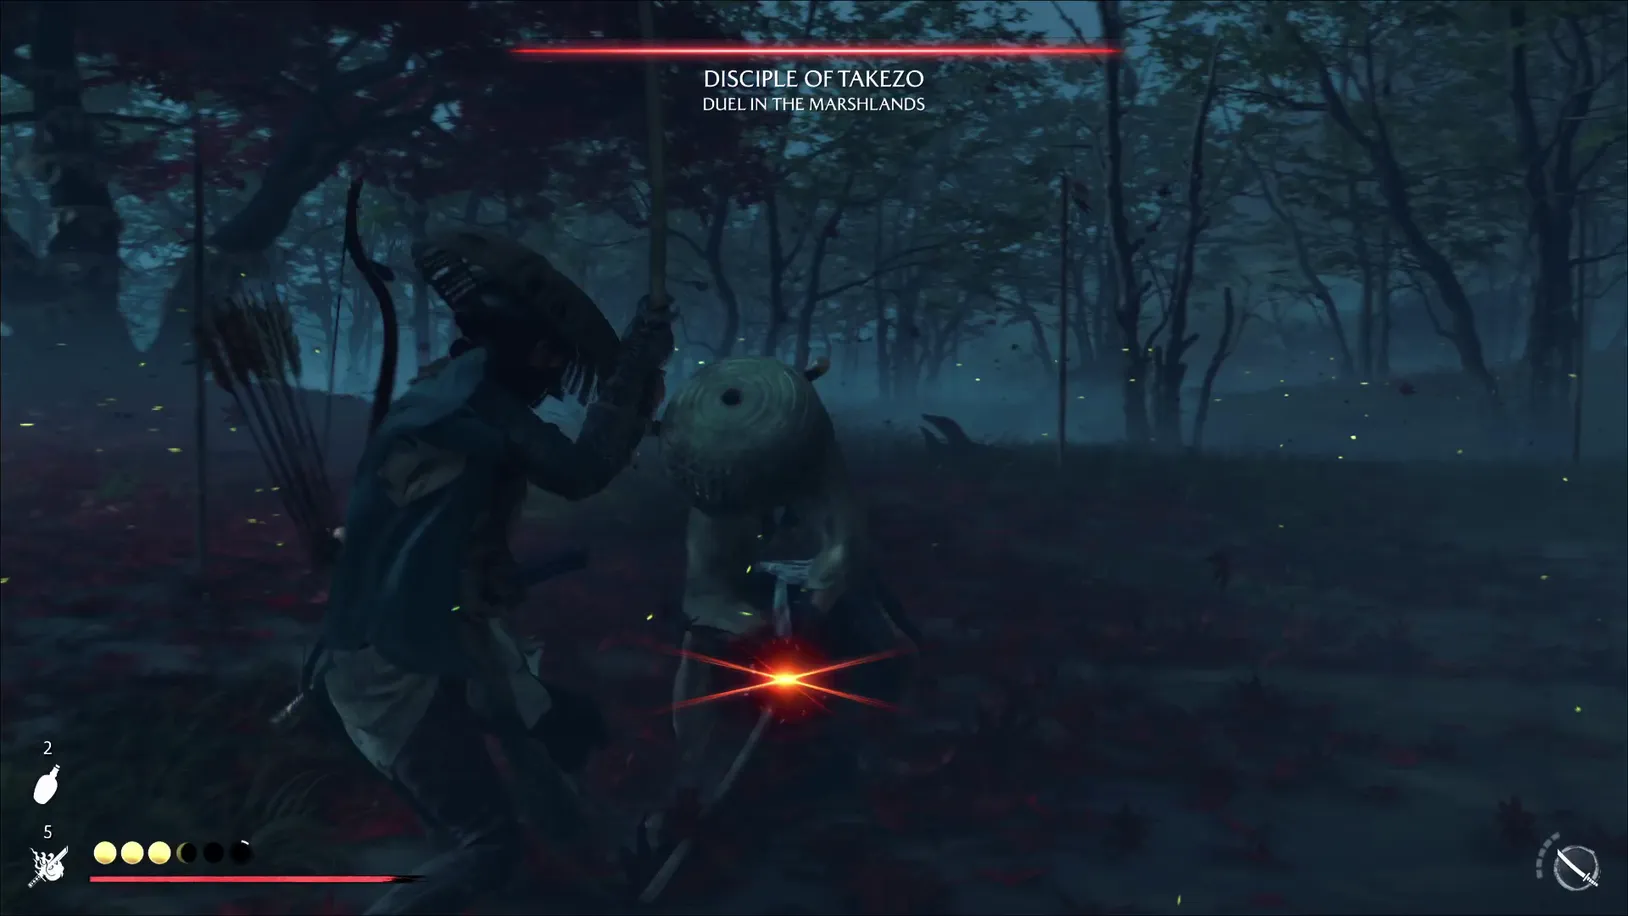
| In the Marshlands | Tomamu Marshlands, E Tokachi Range | Frequent red‑glint unblockables, including a three‑slice chain; slow, sheathed draw you can parry | Swaps to dual kama late | Takezo’s Charm of Bracing Victory |
| Among Ruins | Niikappu Falls, NE Tokachi Range | Opens with spear fundamentals; later katana chains with unblockables ending on parryable glints | Spears ↔ katana as the fight evolves | Takezo’s Charm of the Stout Heart |
What each charm does
| Charm | Effect |
|---|---|
| Unrelenting Warrior | Deals extra damage while your health is low |
| Renewed Determination | Generates Spirit when you take damage |
| Bold Deflection | Parries inflict additional stagger |
| Bracing Victory | Restores health when you kill a staggered enemy |
| Stout Heart | Improves the potency of healing |
How to approach each disciple
- Among Graves: The disarm is telegraphed by a sheath and callout—counter with your own draw. When he switches to dual blades, mirror with Dual Katanas; the overhead wind‑up stays consistent and is your cue to parry or sidestep.
- Before the Mountain: Don’t bite on the crouch feint—parry the actual swing after the quickstep. When the spear appears, Dual Katanas counter well; wide swings are slow, thrusts are fast—roll if you’re unsure on timings.
- Beneath Red Leaves: Treat the unblockable opener as a dodge check and look for the parryable final slash. The spinning advance is harder to time—sidestep rather than fishing for perfect parries. Kama phase favors steady guard with dodges on glints.
- In the Marshlands: Respect the red‑glint chains by moving off‑line early. The long, sheathed draw is a free parry window. If needed, quickfire stuns like Metsubushi will close the duel safely.
- Among Ruins: With spear starts, prioritize dodges over greedy parries. On katana, avoid the unblockable chains and punish after the glint enders. If he returns to spear, resume Dual Katana counters.

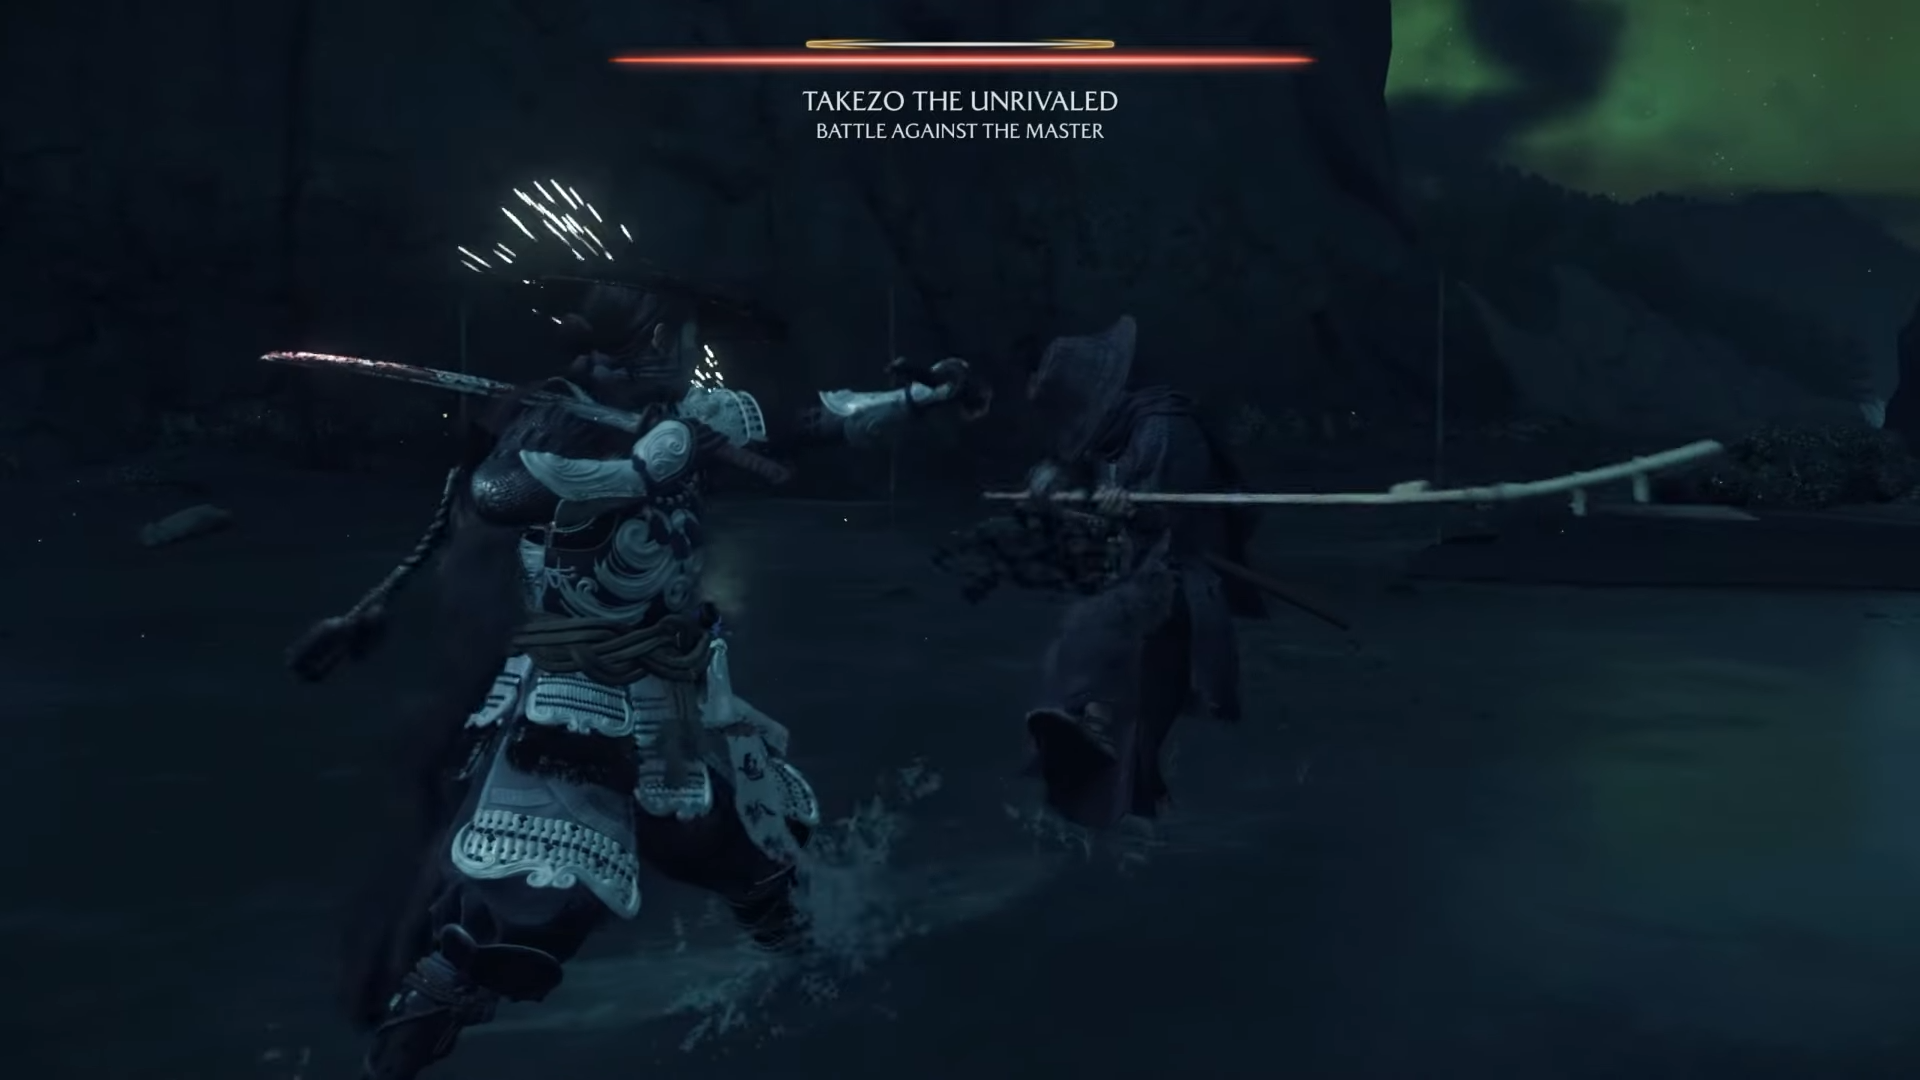
Face Takezo at the Coastal Dueling Tree
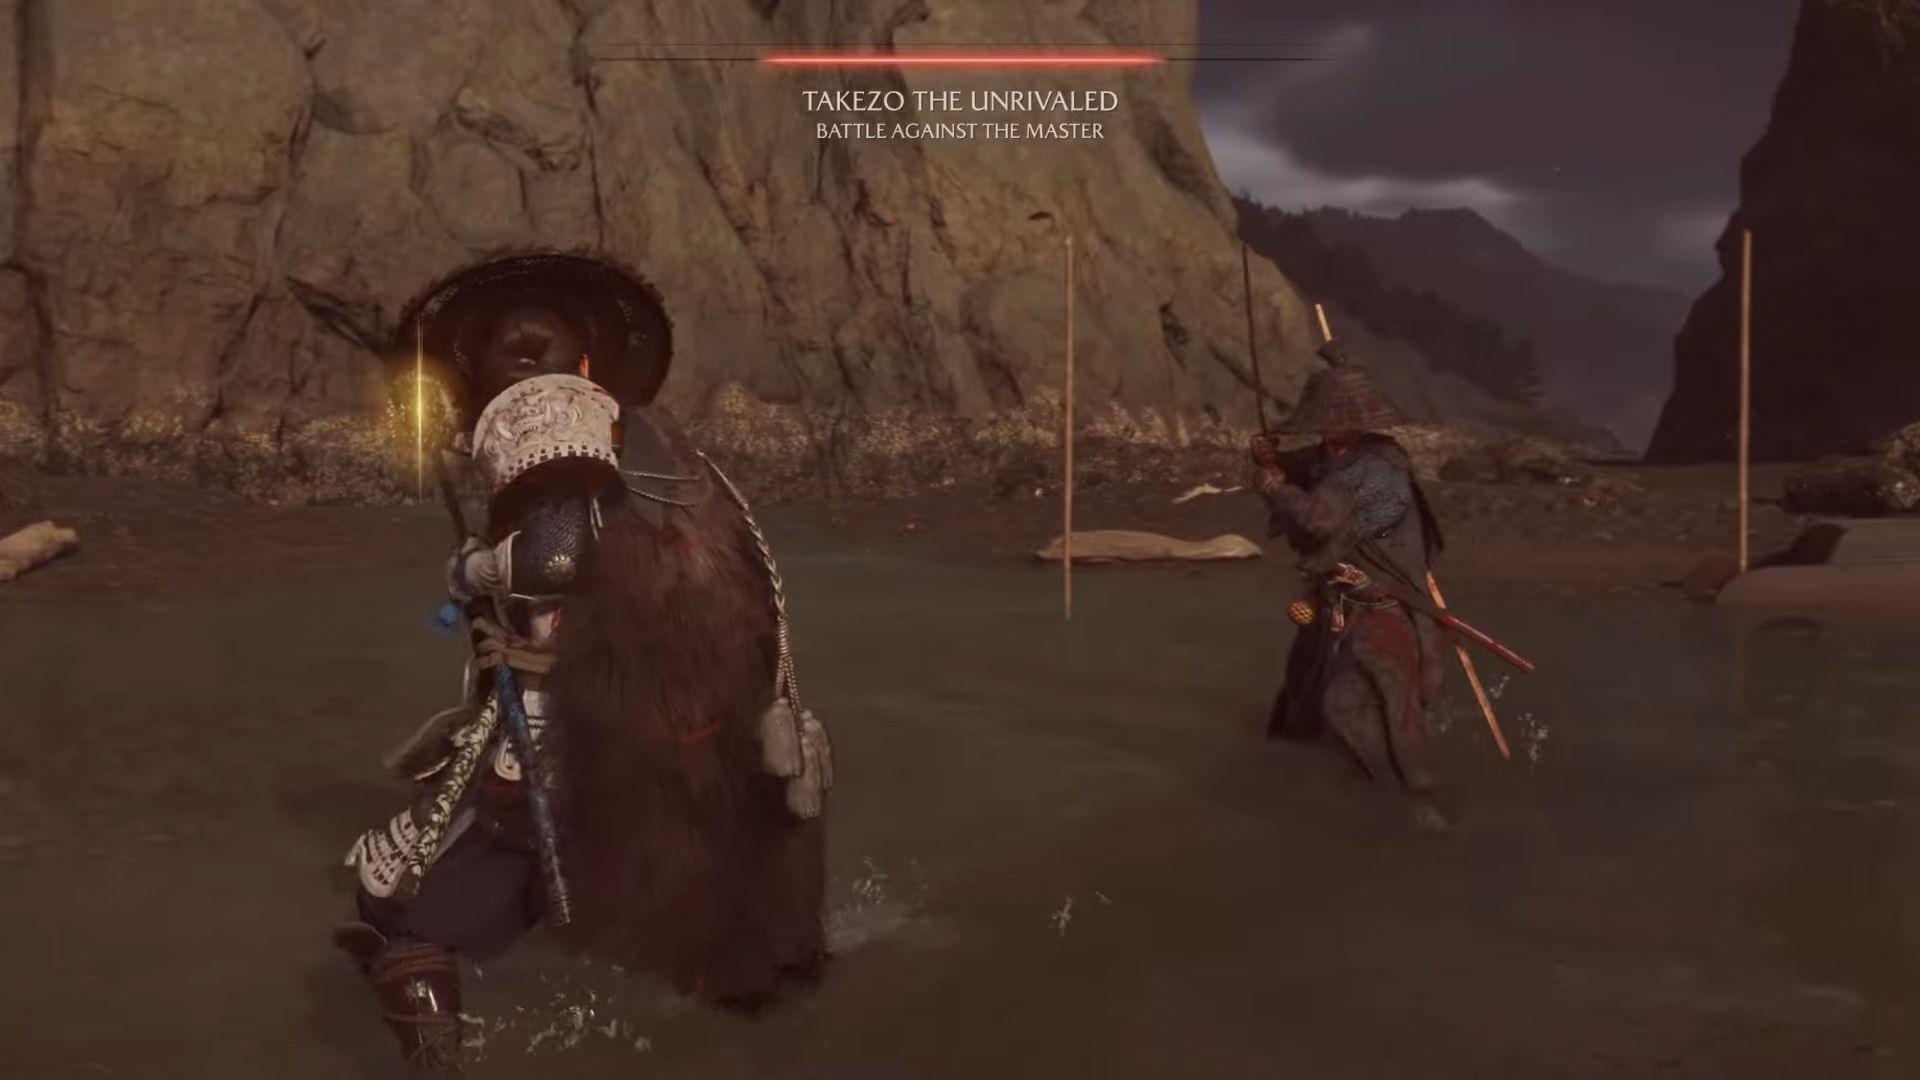
After the fifth disciple falls, meet the messenger’s request at the Coastal Dueling Tree and wait at the campsite. Follow Takezo to the beach for a two‑phase duel. Bring upgraded health, additional Spirit, and a fully sharpened kit; this fight hits hard and runs long.
Phase 1 (katana): Learn his tells. The most damaging is an unblockable shoulder slice preceded by a flourish—dodge on the glint. He chains three over‑the‑shoulder stabs that must be parried or avoided; mistime all three and you’ll likely go down. A crouch fakeout with two short steps holds the parry glint the whole time—wait for the actual strike. Watch for an unblockable hip draw and mid‑string kicks that disrupt parry rhythm. If you get clipped during a long combo, roll away to reset space. Don’t hesitate to use tools like Metsubushi, Oni’s Flame, or Smoke Bombs to create openings.

Phase 2 (weapon swaps): Takezo alternates between an oar (naginata‑like reach and cadence) and his katana. Oar swings are slow and consistently telegraphed with parry glints—stay patient and tap once. Every weapon change triggers an unblockable draw; the moment you see him holster, buffer a dodge. There’s a checkpoint between phases, but your Spirit and inventory aren’t replenished.
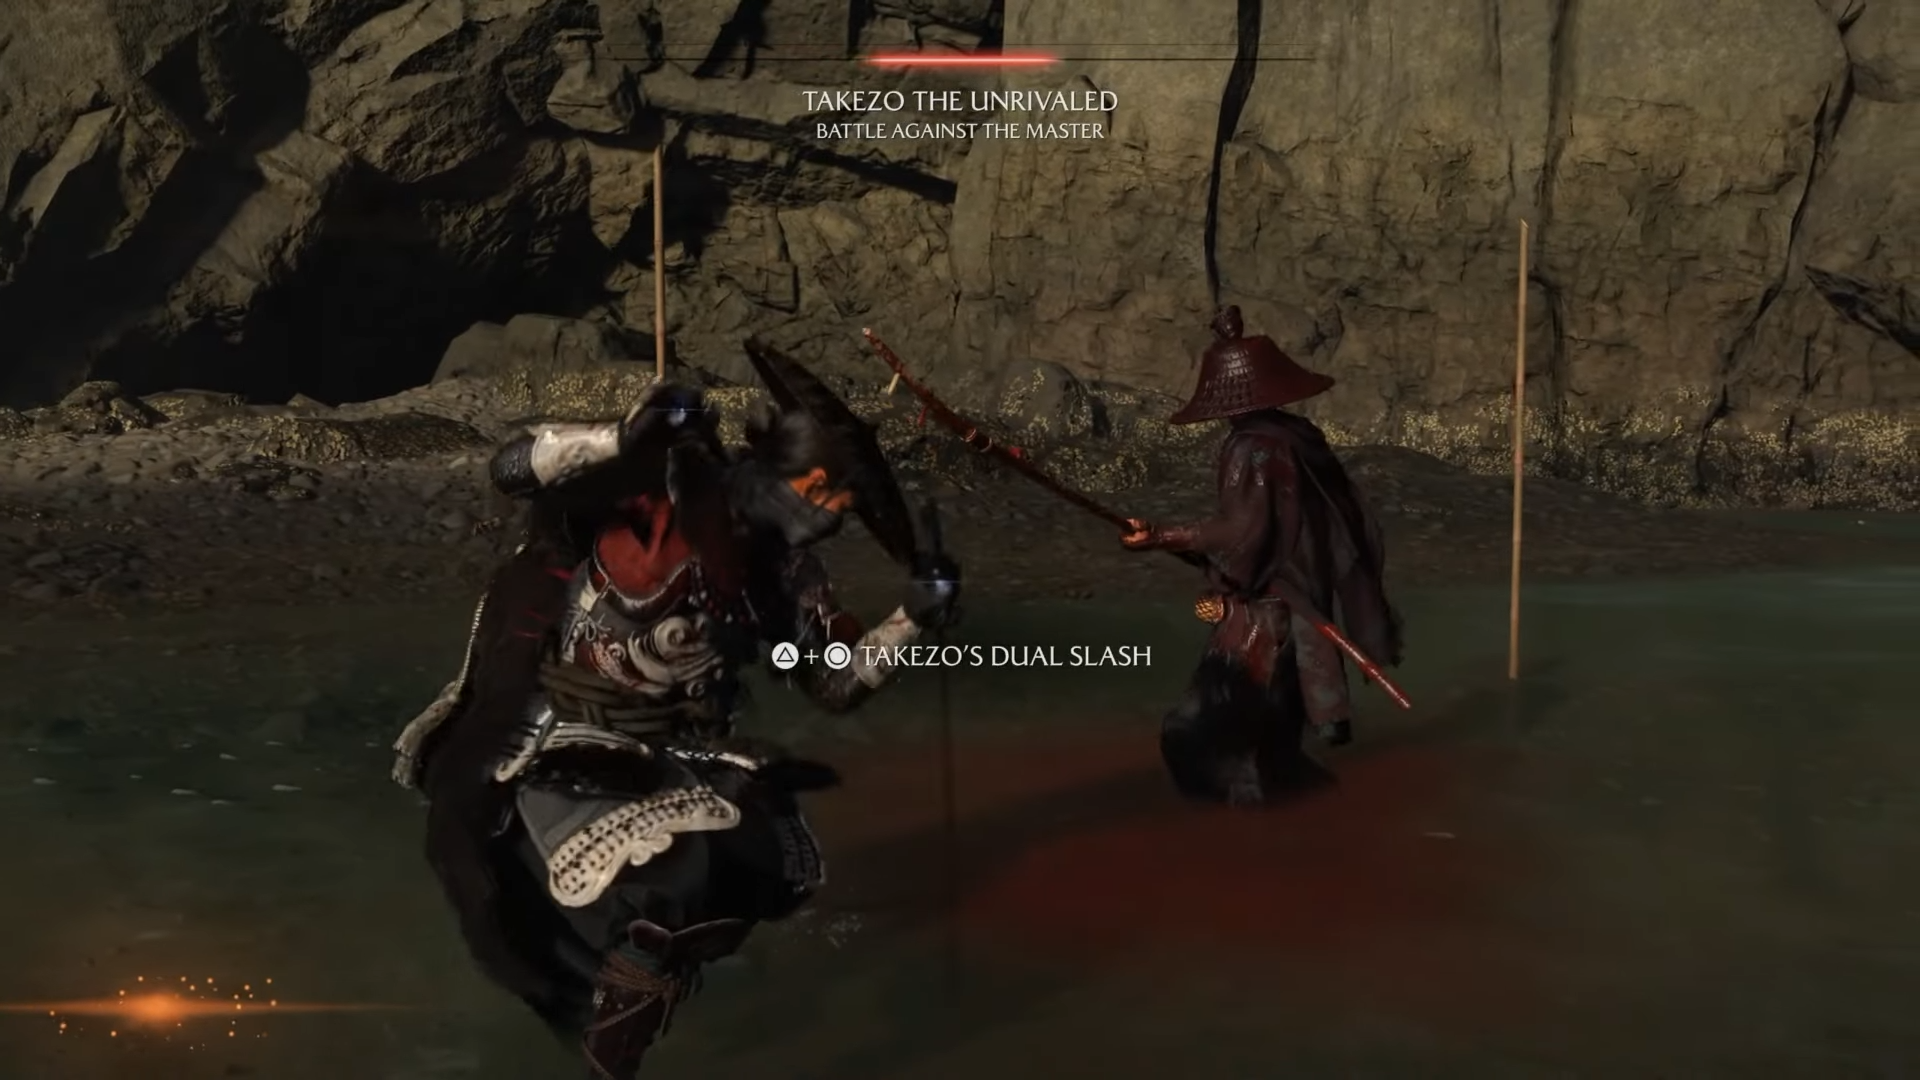
When his health drops to the final segment, he teaches you Takezo’s Dual Slash. Equip Dual Katanas and execute it by pressing Triangle + Circle together. Performing the technique concludes the myth and unlocks the Dual Katana Spirit Attack.
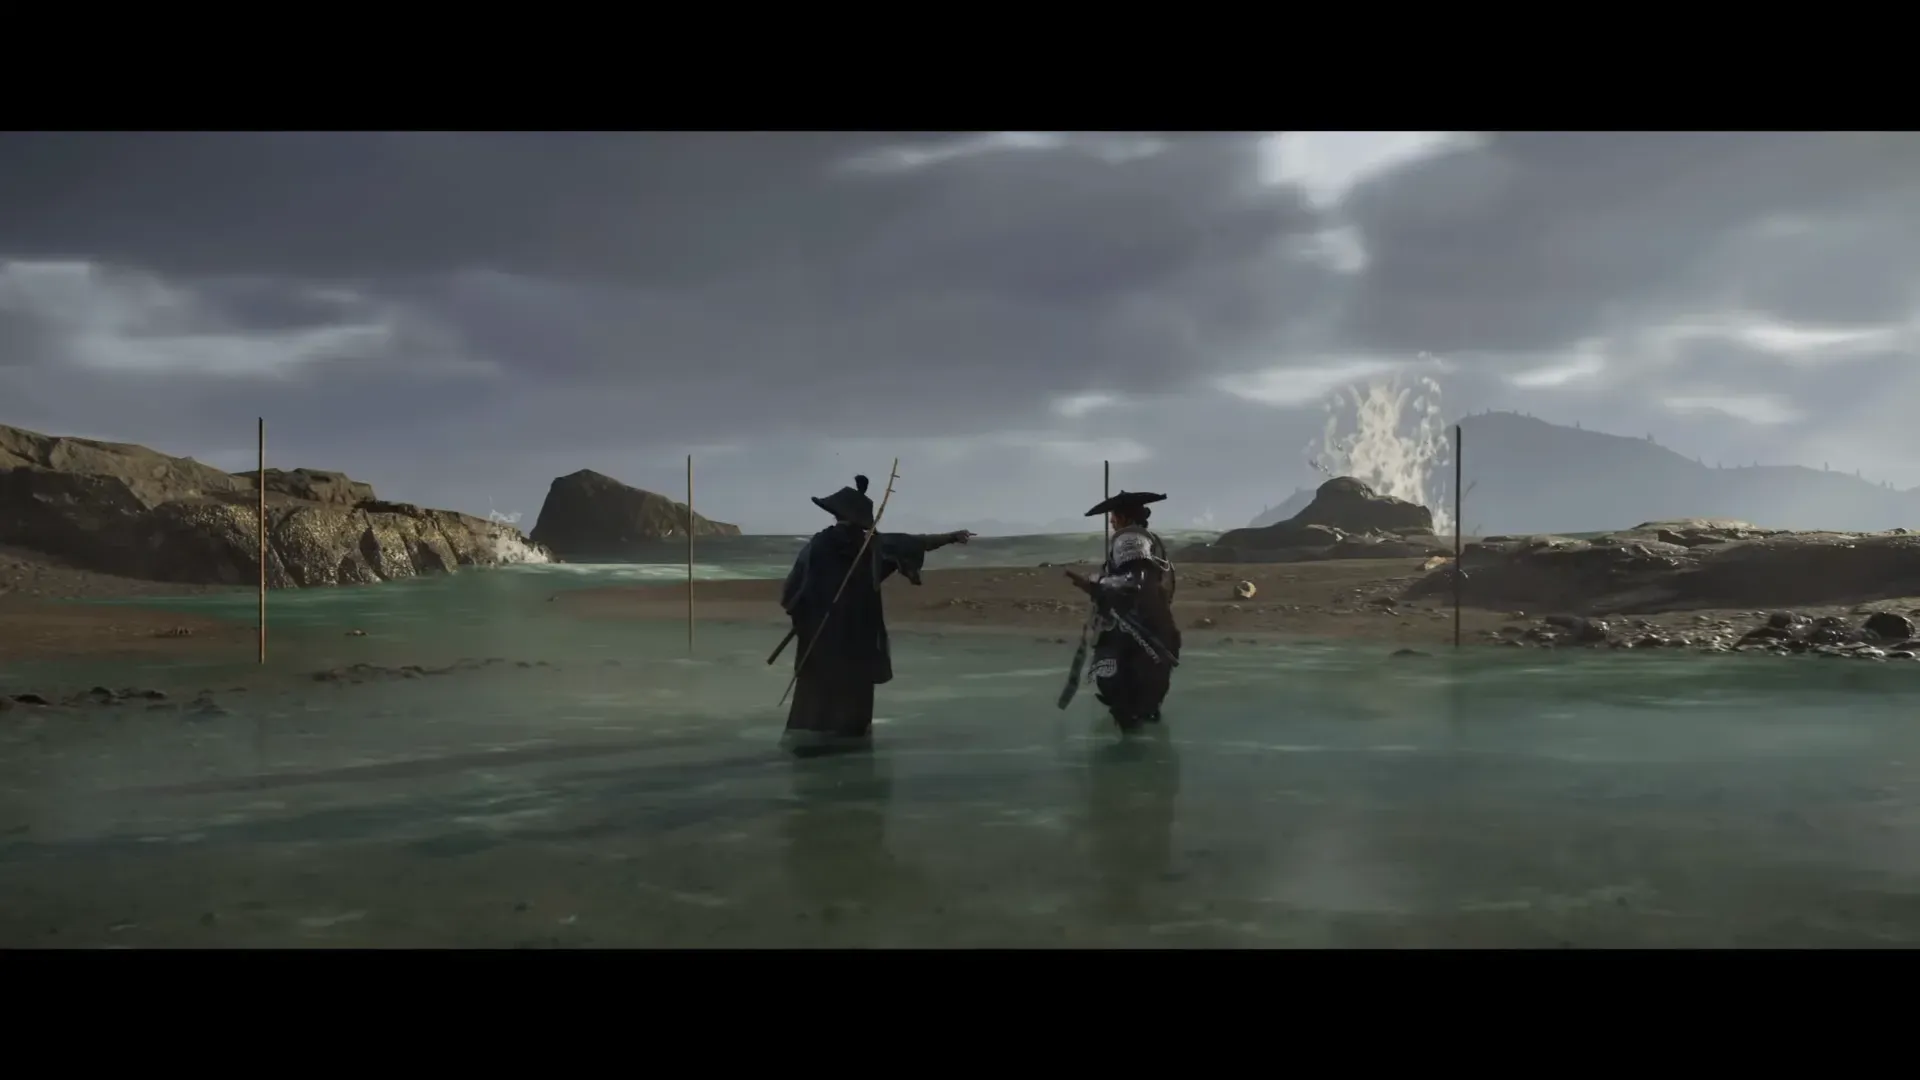
The Mount Yotei rematch (Five Teachings)
Takezo isn’t finished. He calls for a rematch at the peak of Mount Yotei once you’ve mastered his Five Teachings—equip all five of the Takezo charms at once. That requires enough charm slots unlocked later in the game. This encounter is designed as a late‑game challenge; expect heavier damage checks and environmental pressure at the summit. Defeating Takezo there grants additional cosmetic rewards tied to his legend alongside a trophy for completing the ordeal.
Work through the five trees in any order your map allows, bank each charm, and come prepared for a duel that rewards patience and clear reads. Once Dual Slash is yours, the path up Yotei is the last test of your timing—and your build.