
Charms define how Atsu fights, heals, loots, and sneaks in Ghost of Yotei. The standouts below are grouped by playstyle, with clear effects and reliable ways to get them. If you grab only a few early, make it the resource boosters and the parry tools — they accelerate every build.
Charm slots and upgrades: what changes your loadout
- You start with 2 Major slots and 4 Minor slots. After you collect 15 total charms, the four Minor slots convert to Major slots, letting you equip up to six Major effects.
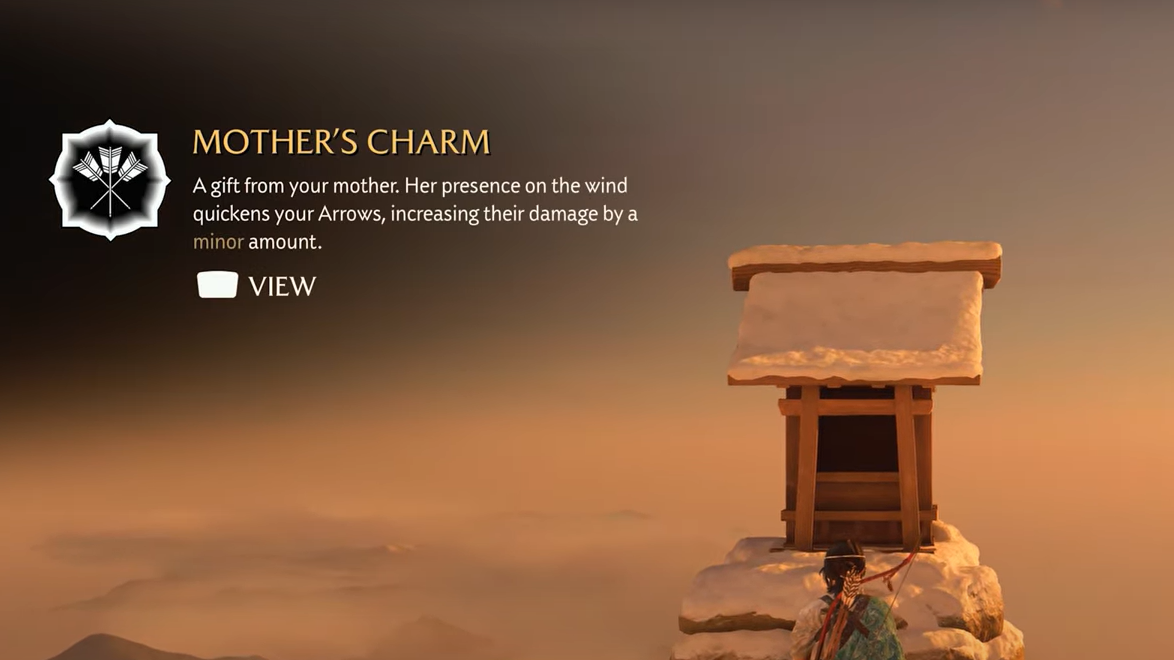
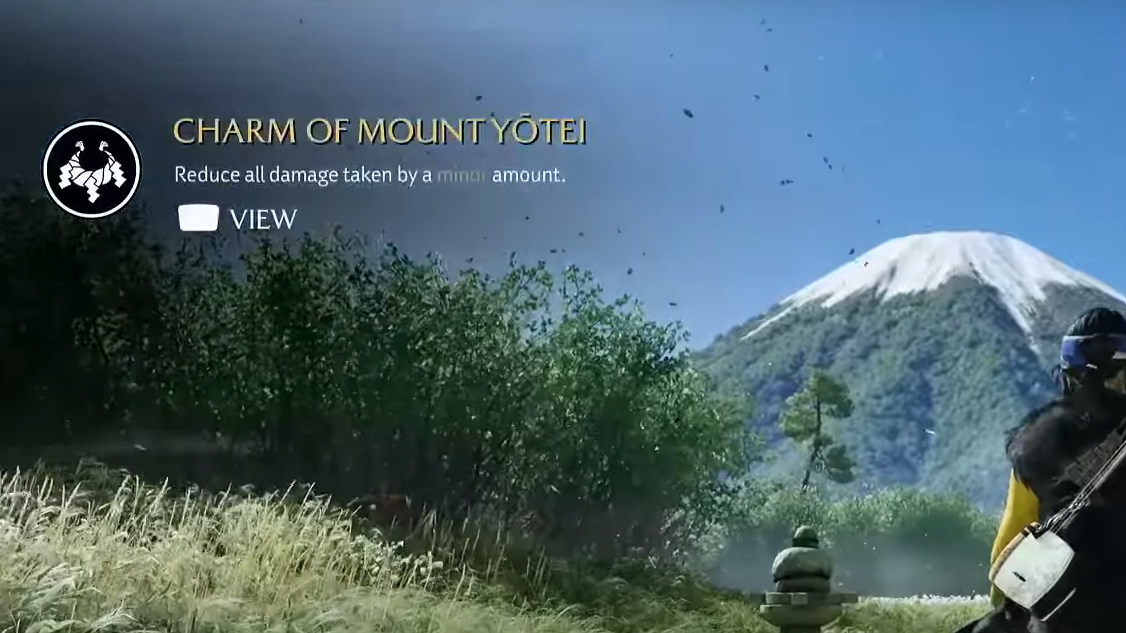
- Some charms level up by doing specific activities. Notable examples: Father’s Charm scales with Sumi‑e paintings; Mother’s Charm scales as you learn Shamisen songs; Charm of True Aim upgrades by landing kills with its lock‑on shot; Charm of Mount Yotei adds healing on Perfect Parry at higher tiers.
Tip: Equip an upgradable charm while working on its requirement — most won’t progress if they’re sitting in your inventory.
Essential early pickups (high impact, low friction)
| Charm | What it does | Where to get | Why it matters |
|---|---|---|---|
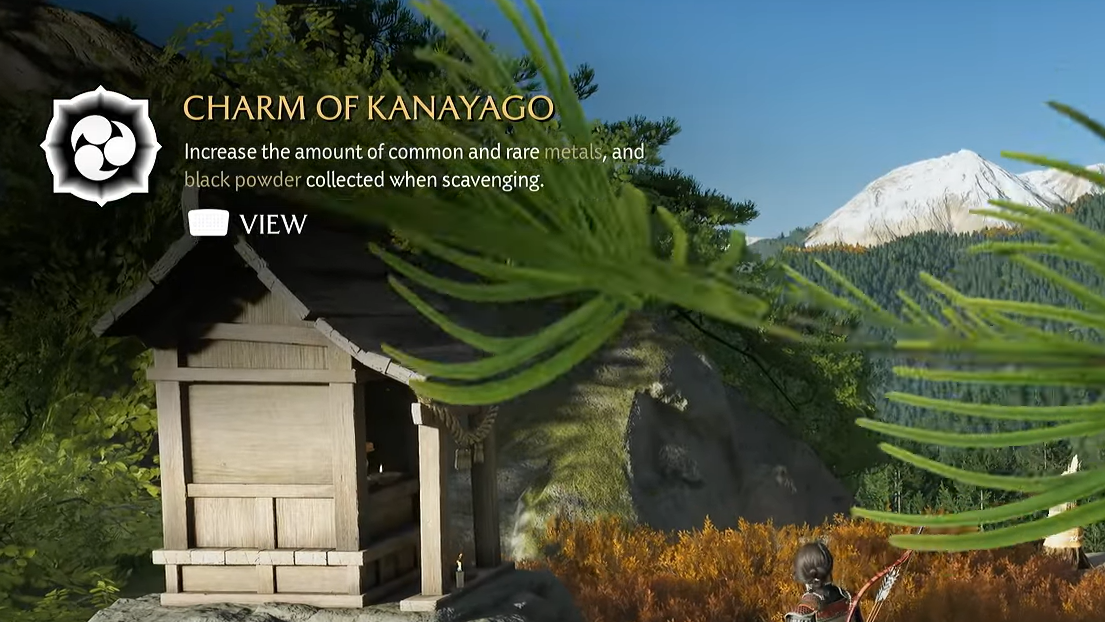
| Charm of Kanayago (Major) | Collect more common/rare metals and black powder. | Fall’s Rest Shrine (Yotei Grasslands). | Weapon upgrades are metal‑gated; this speeds everything up from the first hours. |
| Charm of Bountiful Harvest (Minor) | Collect more wood, flowers, and plants. | Tree stump near the lake by the Old Stables after “Old Trails.” | Pairs with Kanayago to accelerate bow and cosmetic paths while you explore. |
| Father’s Charm (Major) | Perfect Parries restore Health; upgrades via Sumi‑e paintings. | Mount Yotei Shrine (Yotei Grasslands). | Turns clean defense into sustain — invaluable while learning timing. |
| Mother’s Charm (Major) | Increases arrow damage; upgrades via Shamisen songs. | Mount Yotei Shrine (Yotei Grasslands). | Makes bows a true primary option, not just an opener. |
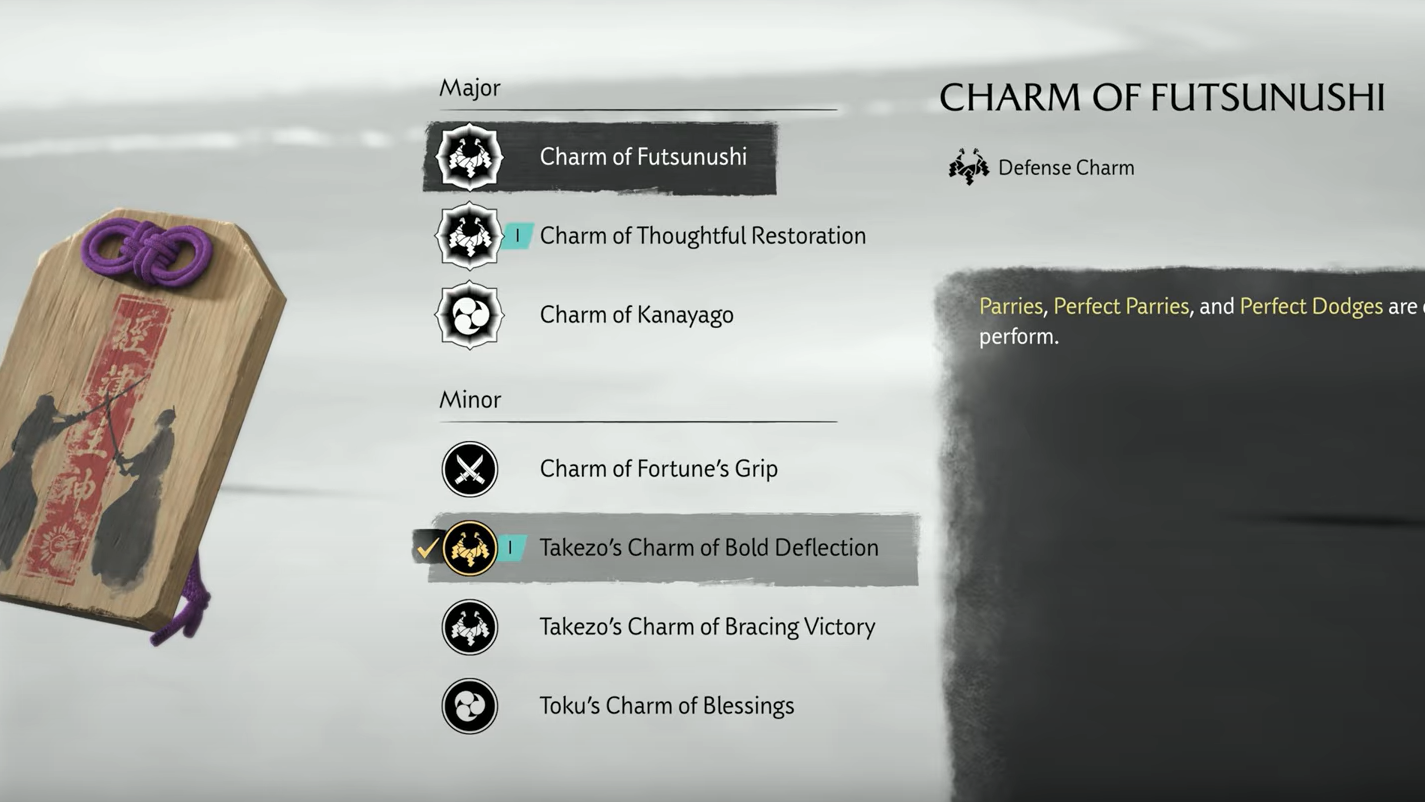
| Charm of Futsunushi (Major) | Wider timing windows for Parry, Perfect Parry, Perfect Dodge. | Faithful Leap Shrine (Tokachi Range). | Staple for melee consistency; stacks well with Father’s Charm. |
| Charm of Last Chance (Minor) | Triggers Heal automatically when you would take lethal damage. | Buy from Taro the Scavenger. | A forgiving safety net for early bosses and crowded camps. |
Melee and timing: parry‑driven picks
| Charm | Effect | How to get | Notes |
|---|---|---|---|
| Charm of Futsunushi (Major) | Makes Parry/Perfect Parry/Perfect Dodge easier. | Faithful Leap Shrine (Tokachi Range). | Core for any melee build; mitigates tighter timing in Yotei. |
| Father’s Charm (Major) | Perfect Parries restore Health; upgradable. | Mount Yotei Shrine (Yotei Grasslands). | Health gain scales with Sumi‑e progress; pairs perfectly with Futsunushi. |
| Takezo’s Charm of Bold Deflection (Minor) | Parries inflict extra Stagger damage. | Defeat a Disciple at the Dueling Tree. | Speeds guard breaks, opening quick finishers and crowd control. |
| Charm of Hachiman (Major) | +1 to maximum Standoff streak. | Progress through “The Oni”/Revenge line (Azure Wind Shrine, Ishikari Plain). | Front‑loads encounters by deleting one more target at the gate. |
Ranged: damage, focus time, and a true panic button
| Charm | Effect | How to get | Notes |
|---|---|---|---|
| Mother’s Charm (Major) | Arrow damage up; upgradable with Shamisen songs. | Mount Yotei Shrine (Yotei Grasslands). | Baseline DPS bump for Yumi/Hankyu; easy to strengthen over time. |
| Charm of Kibitsuhiko (Major) | Headshots extend Concentration duration; upgradable. | Risen Fog Shrine (Nayoro Wilds). | Skilled shots chain slow‑mo across groups; great with drawn‑bow damage boosts. |
| Charm of True Aim (Major) | Yumi locks onto enemies and fires high‑damage arrows; upgradable. | Finish the Mythic Tale “The Legend of Opusnupuri” (Nayoro Wilds). | Reliable emergency delete against elites; upgrades fire multiple lock‑on arrows. |
| Charm of Amenowakahiko (Major) | Headshots have a chance to earn Spirit. | Blooming Ridge Shrine (Yotei Grasslands). | Feeds heals and techniques from disciplined ranged play. |
Defense and sustain: reduce damage, raise max HP, auto‑recover
| Charm | Effect | How to get | Notes |
|---|---|---|---|
| Charm of Mount Yotei (Minor → multi‑tier) | Reduces damage taken; at higher tiers, heals after Perfect Parry. | Complete the Reliquary of Courage (align statues toward Mount Yotei). | Early to obtain, long to master — the final form anchors tanky builds. |
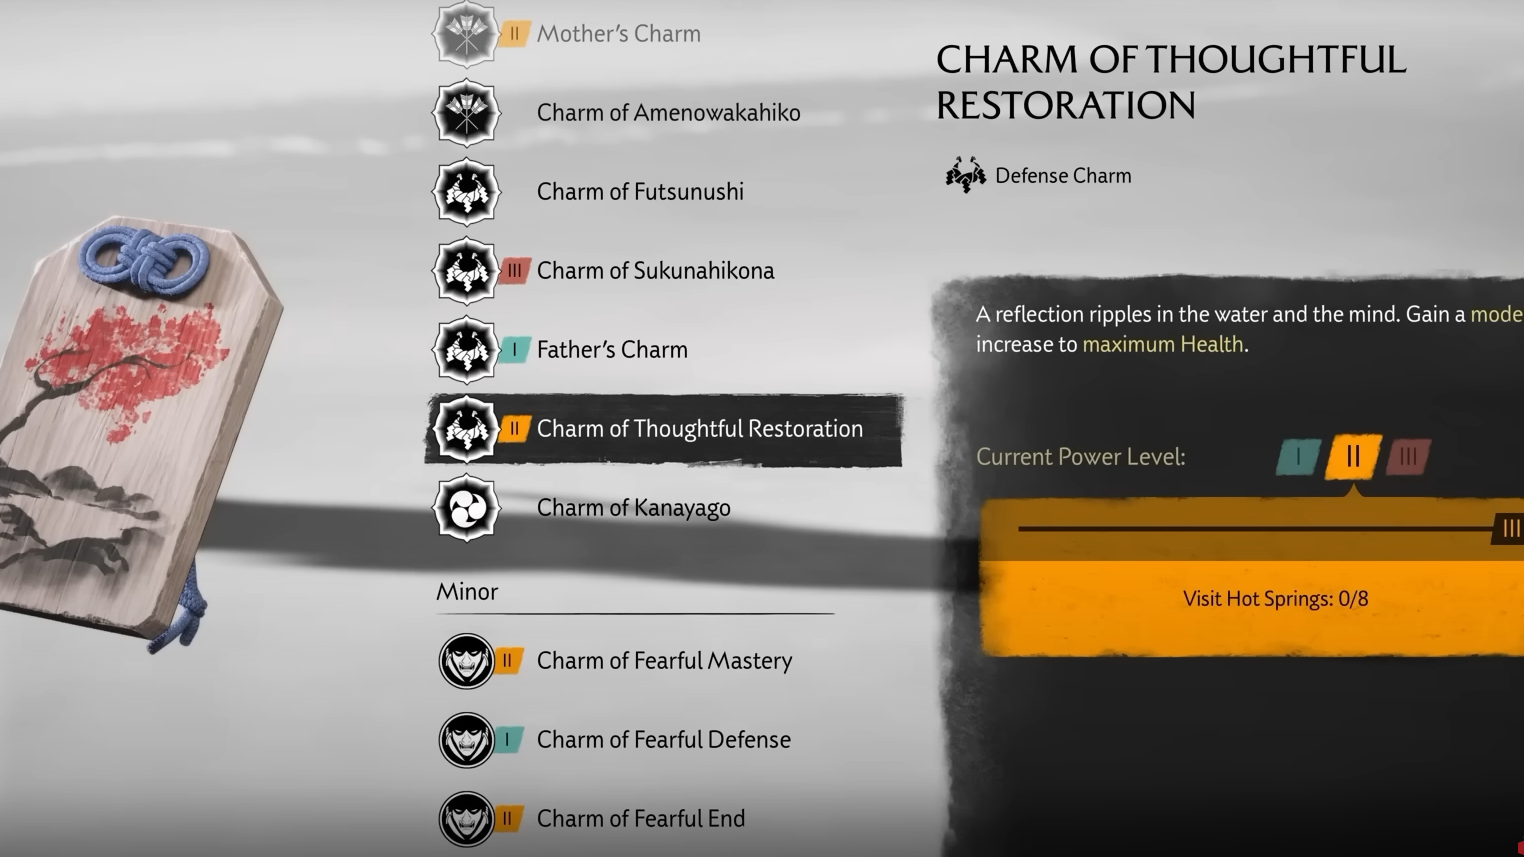
| Charm of Thoughtful Restoration (Major) | Increases maximum Health; upgradable by visiting Hot Springs. | Bathe in your first Hot Spring. | Passive durability that scales with exploration — no micromanagement. |
| Charm of Last Chance (Minor) | Heal triggers automatically on lethal damage. | Purchase from Taro the Scavenger. | Pairs well with Spirit‑gain charms to ensure you have the resource to fire. |
| Charm of Healing (Minor) | Heal Technique potency increases while at half Health or less. | Purchase from Taro the Scavenger. | Simple throughput boost for clutch restores during scrappy fights. |
| Charm of Amaterasu (Major) | Defeating enemies restores Health. | Included with the Digital Deluxe Edition. | Kill‑to‑heal synergy that smooths attrition during long routes. |
Stealth and crowd control: assassinate, terrify, and reset
| Charm | Effect | How to get | Notes |
|---|---|---|---|
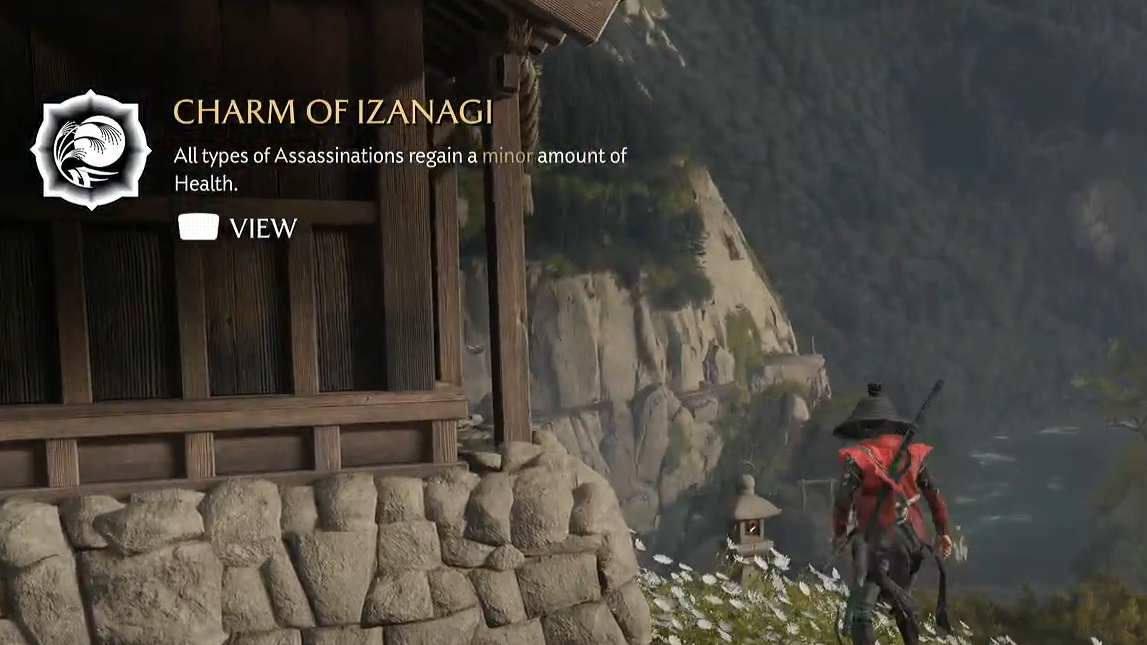
| Charm of Izanagi (Major) | All assassinations restore Health; upgradable. | Sun’s Peak Shrine (Ishikari Plain). | Lets you clear large encampments silently without burning Spirit on heals. |
| Charm of Assassin’s Resolve (Major) | Assassinations grant additional Spirit. | Flowing Water Fox Den (Yotei Grasslands) → pray at the Inari Shrine. | Feeds techniques and emergency heals as you thin the herd. |
| Charm of Fearful End (Minor → upgradable) | Assassinations have a chance to Terrify nearby enemies. | Onryo Gift Altar after main progress in Ishikari. | Creates panic windows for chain kills or clean disengages; scales to a stronger chance. |
Spirit and utility: fuel your kit, fund your upgrades
| Charm | Effect | How to get | Notes |
|---|---|---|---|
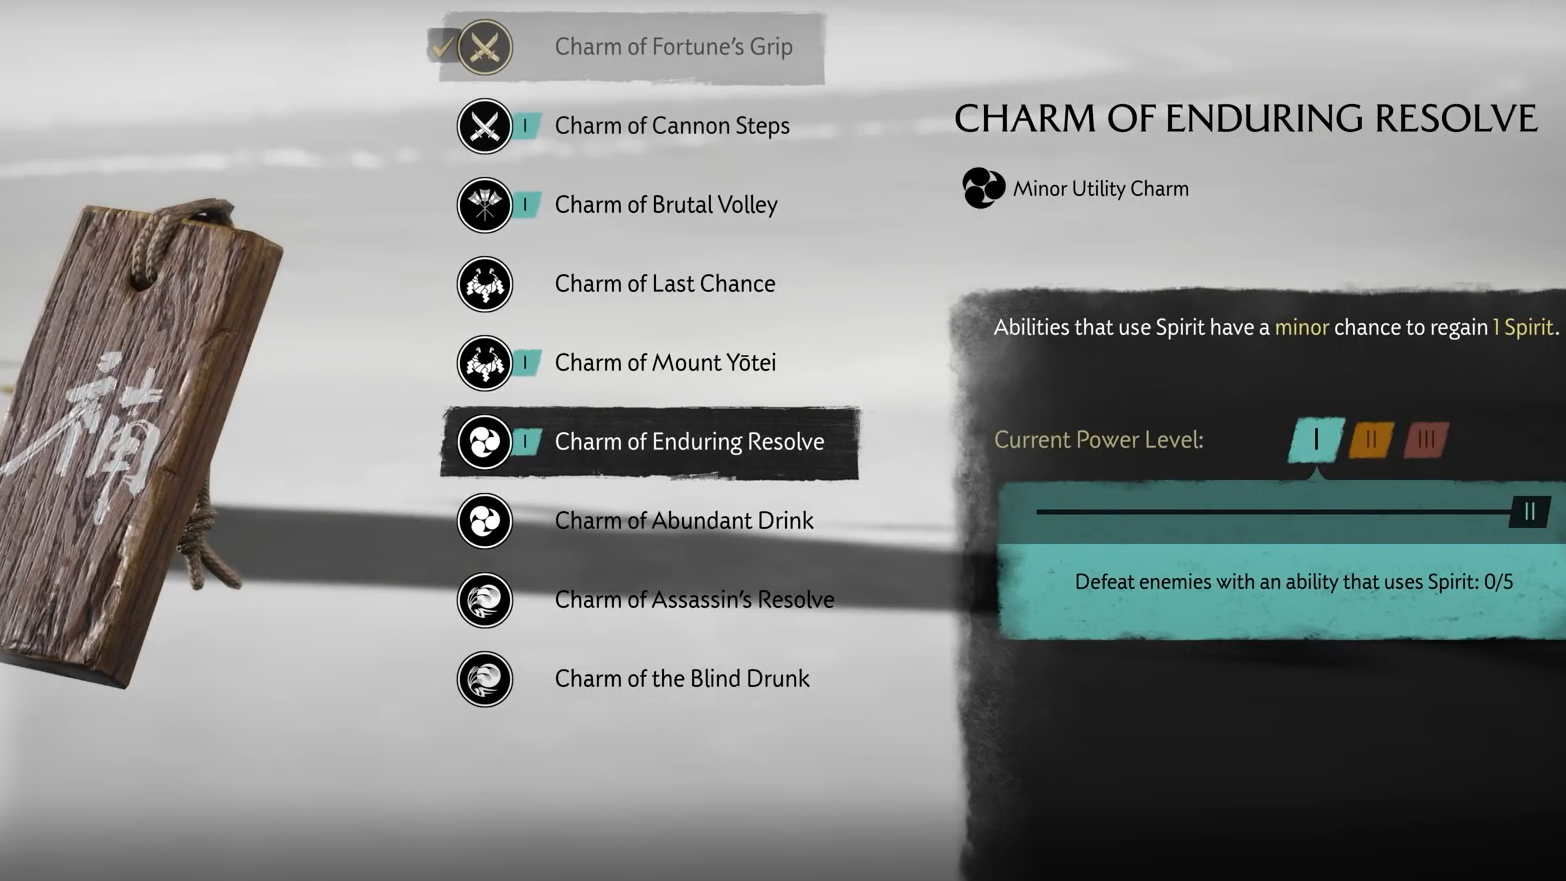
| Charm of Enduring Resolve (Minor) | Abilities that use Spirit have a chance to refund 1 Spirit. | Twin Path Fox Den (Ishikari Plains) → pray at the Inari Shrine. | Smooths out high‑Spirit builds that lean on techniques or frequent healing. |
| Toku’s Charm of Blessings (Minor) | Increases Spirit earned. | Buy from Taro the Scavenger after “The Loss We Carry.” | Pairs with Assassin’s Resolve or ranged headshot loops to keep the meter full. |
| Charm of Kanayago (Major) | Collect more metals and black powder. | Fall’s Rest Shrine (Yotei Grasslands). | Keep it slotted while roaming; swap to combat charms before big fights. |
| Charm of Bountiful Harvest (Minor) | Collect more wood, flowers, plants. | Tree stump by the lake near the Old Stables (after “Old Trails”). | Use alongside Kanayago to fast‑track bows, dyes, and camp supplies. |
Onryo safety net: revive and keep pressure
| Charm | Effect | How to get | Notes |
|---|---|---|---|
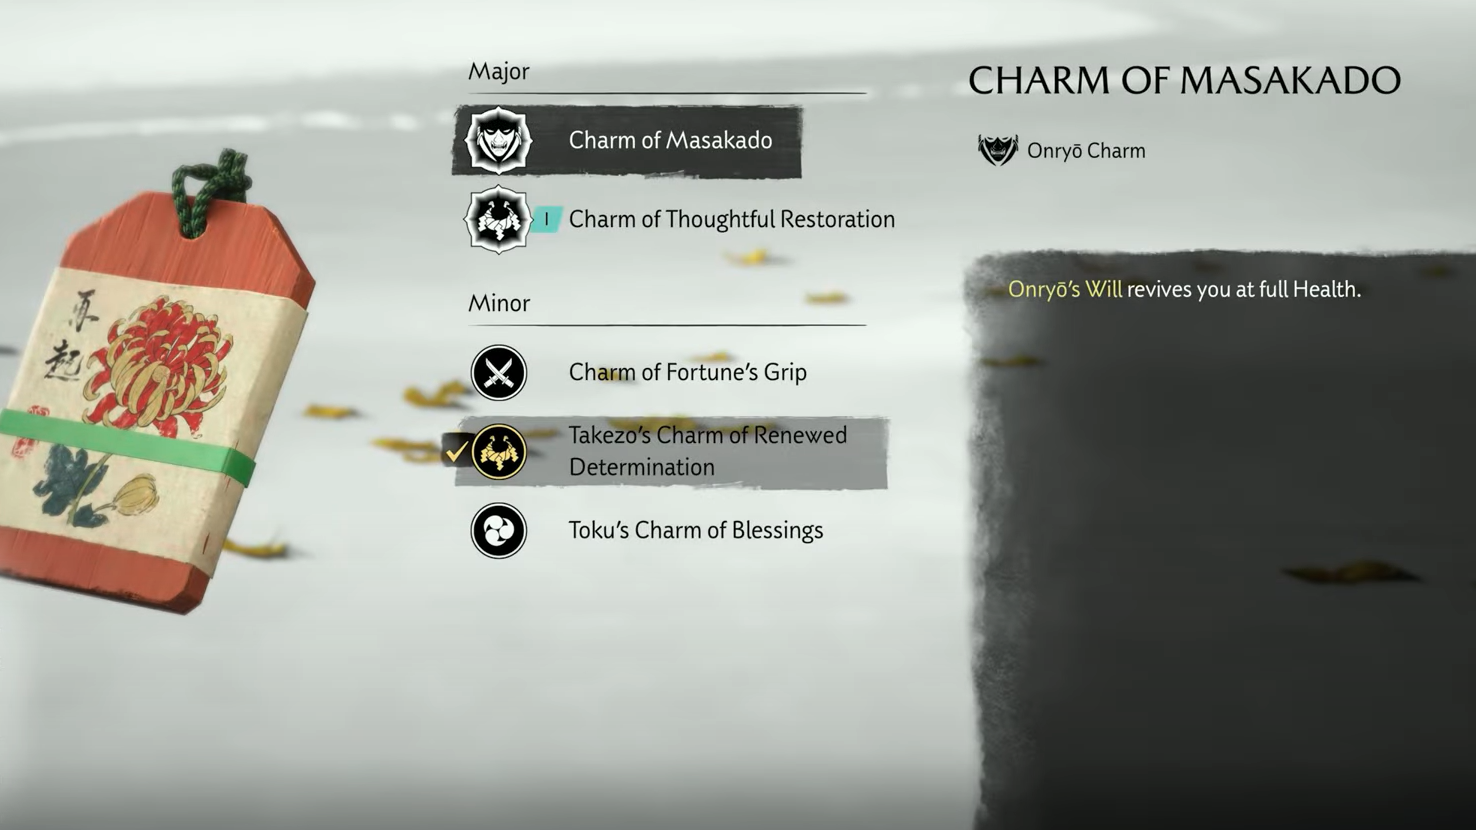
| Charm of Masakado (Major) | Onryo’s Will revives you at full Health. | Amber Respite Shrine (Tokachi Range). | Transformative for aggressive players spending Spirit liberally between revives. |
Quick loadout ideas by playstyle
| Playstyle | Core charms | What you get |
|---|---|---|
| Parry duelist | Futsunushi, Father’s Charm, Bold Deflection, Thoughtful Restoration | Forgiving timing, parry‑based healing, fast staggers, bigger health pool. |
| Master archer | Mother’s Charm, Kibitsuhiko, Amenowakahiko, True Aim | High bow DPS, extended Concentration, Spirit on headshots, panic nuke. |
| Silent assassin | Izanagi, Assassin’s Resolve, Fearful End | Health on kills, steady Spirit income, crowd panic for chain clears. |
| Explorer/economy | Kanayago, Bountiful Harvest (+ optional Enduring Resolve) | Faster upgrades from better drops; Spirit refunds while roaming. |
Where to go first (if you’re short on time)
- Mount Yotei Shrine: grab both Father’s Charm and Mother’s Charm early in Yotei Grasslands.
- Fall’s Rest Shrine: secure Charm of Kanayago to ease every upgrade path.
- Faithful Leap Shrine: pick up Charm of Futsunushi to stabilize parry timing.
- Tree stump near the Old Stables: after “Old Trails,” collect Charm of Bountiful Harvest.
- Reliquary of Courage site: complete the alignment puzzle for Charm of Mount Yotei and start progressing its tiers.
Builds are flexible, but your first hours go further with one defensive crutch, one resource booster, and one damage enabler. Slot Kanayago while you roam, swap to your combat set before major encounters, and keep an eye on upgrade challenges attached to your charms. The moment you cross 15 total charms and unlock four more Major slots, your loadout opens up — and the game’s hardest camps start to feel manageable.