
Picking the right armor in your first hours of Ghost of Yotei sets the tone for every fight, infiltration, and hunt. The sets below are confirmed to be obtainable early and provide distinct boosts to stagger damage, stealth reach, survival, timing-based counters, and archery output. Use the quick prep steps, then follow the per‑set instructions to unlock each efficiently.

Quick prep to speed up early unlocks
Why this matters: Completing a few early errands opens vendors, coin sources, and activities that directly support the armor quests below (bounties, storytellers, and resource collection).
Step 1: Clear the Old Inn near Yotei’s Shadow Inn. This unlocks the bow merchant, the armorer, the cartographer, and the bounty board, giving you the services you’ll use once the sets are obtained.

Step 2: Rescue Taro the Scavenger north of the Old Inn. He becomes a roaming vendor for dyes, charms, and gear, which helps you outfit new sets as you acquire them.
Step 3: Start taking bounties. Bounties supply coin for upgrades and eventually lead to the Bounty Master Armor questline.

Key terms used in this guide
Stagger: The guard‑break state that opens enemies to finishers or heavy damage. Sets that increase stagger speed reduce time spent on armored targets.
Perfect Parry/Dodge: A last‑moment input window that triggers superior counters or slow‑motion openings compared to standard timing.
Spirit: A resource used for techniques and certain heals; some sets increase spirit generation on specific actions.
Concentration: The bow slow‑time aim meter; hits and perks can refill it, letting you line up more precise shots.
Weapon alignment: Matching your weapon type to the enemy’s style to improve defense timing and unlock on‑stagger effects with specific armor.
Spider Lily Armor — stagger and crowd control
What it does: Speeds up guard breaks, triggers small area stagger waves when you break an enemy’s guard, and causes foes to drop throwable weapons more often. Throwables ignore blocks and are excellent for deleting tough targets quickly.
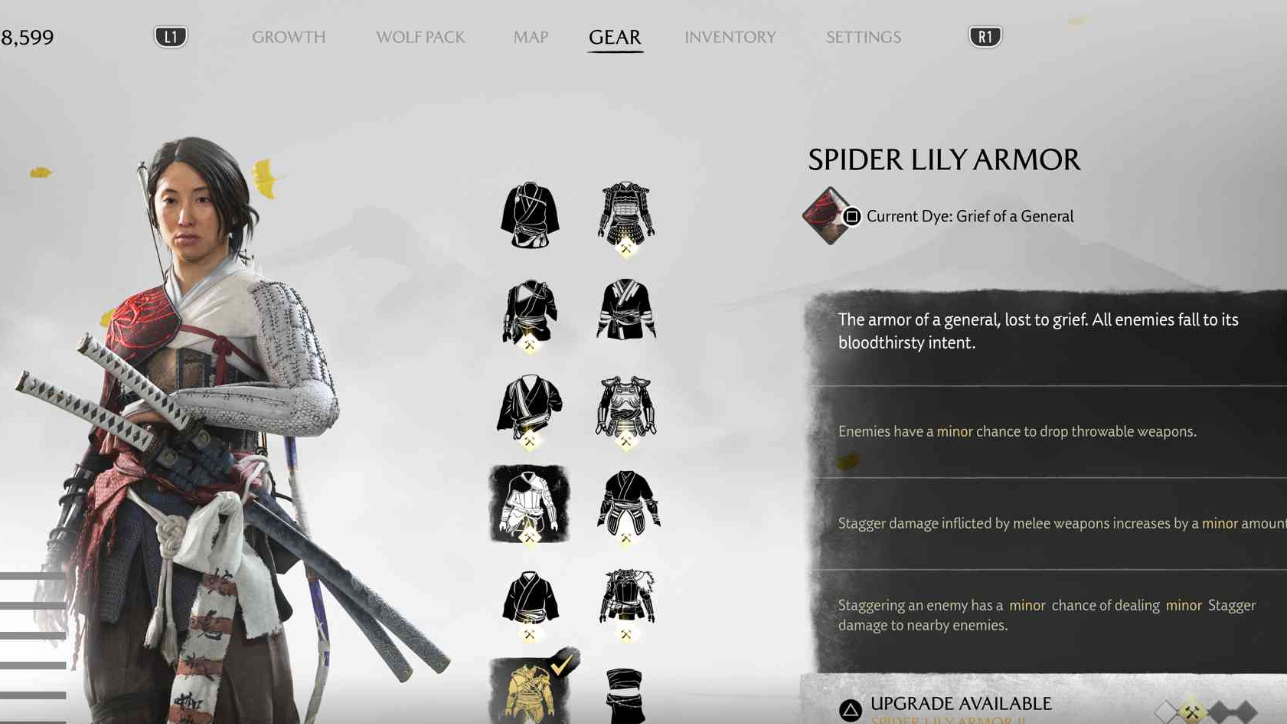
- Faster guard breaks shorten duels with shielded or heavily armored enemies.
- Area stagger on guard break briefly disrupts nearby threats in groups.
- Frequent throwable drops give you unblockable finish options on demand.
How to get it
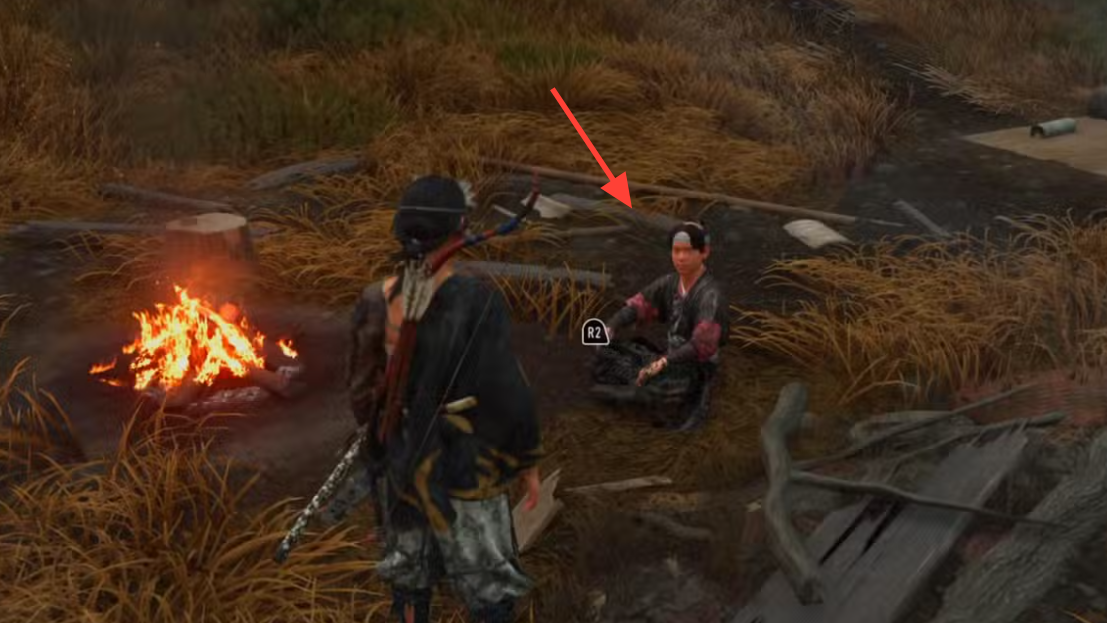
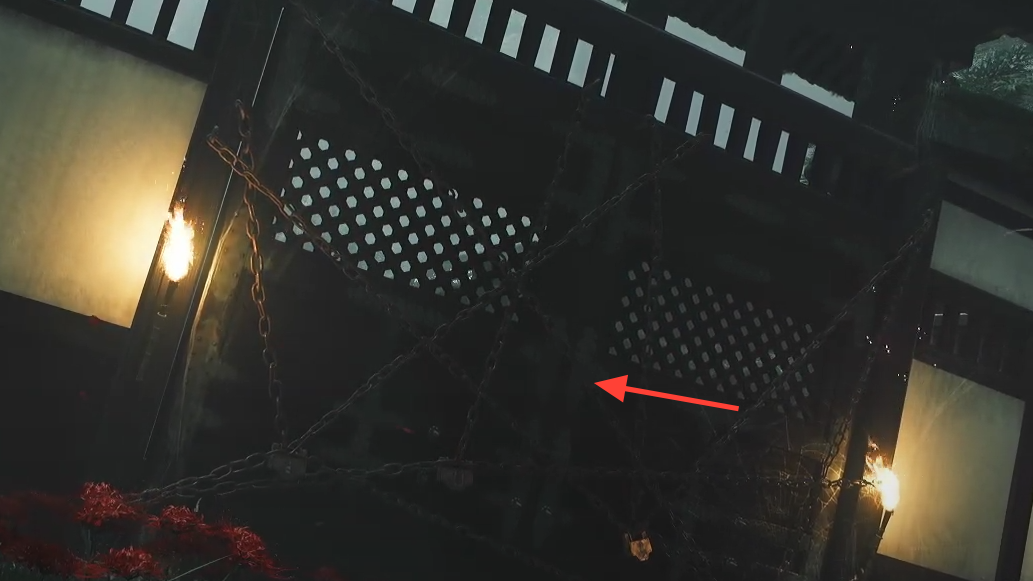
Step 1: Enter the mysterious gate in the first region to meet the storyteller Ugetsu. Starting his tale flags the haunted estate objective on your map.

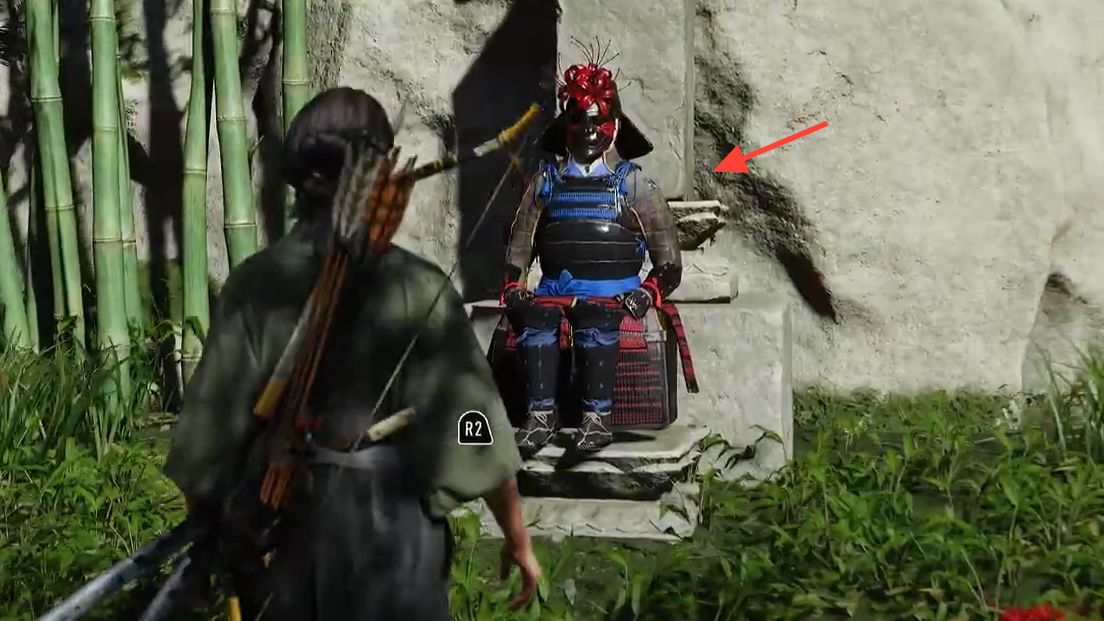
Step 2: Search the estate for three obvious keys: one in the courtyard gardens, one inside the main chambers, and one in the underground cellar. Check corners and side rooms systematically.
Step 3: Navigate the bamboo labyrinth to secure the final key. Follow spider lily trails; each correct path adds bamboo to a central stand, which acts as your progress indicator.
Step 4: Open the locked gate with all four keys and finish the tale’s confrontation. Equip the set and practice converting stagger breaks into throwable eliminations.
Bounty Master Armor — timing-first defense
What it does: Disables standard parries, significantly widens perfect parry and perfect dodge timing, and allows strong follow‑ups that pierce defenses and can chain between nearby enemies. Spirit gains also improve during combat flow.
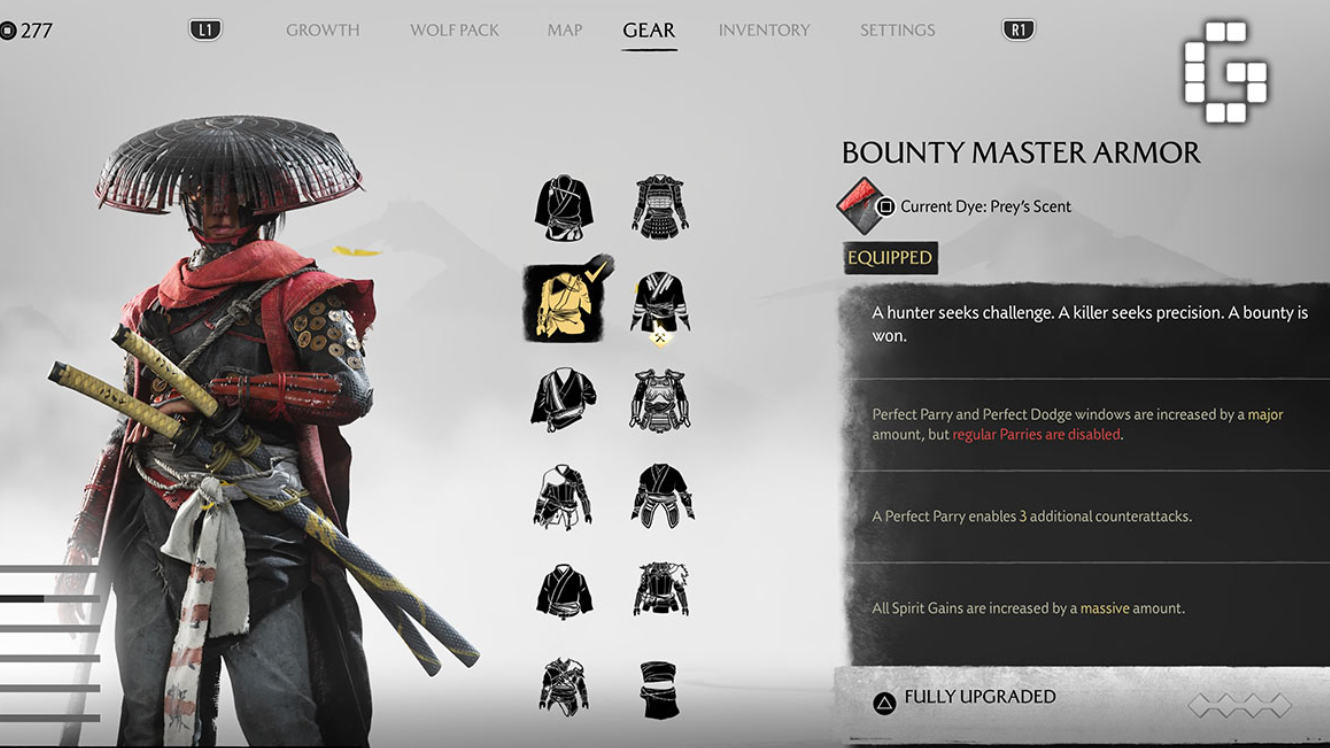
- Ideal if you’re confident reading attack glints and rhythms.
- Follow‑ups after a perfect parry can jump to adjacent targets, accelerating crowd control.
- Caution: Blue‑gray glint attacks require a perfect parry; you cannot fall back on regular parries with this set equipped.
How to get it
Step 1: Use fast travel to reach Yotei’s Shadow and interact with Kojiro’s bounty board. Accept and complete standard bounties to progress the board narrative.

Step 2: Finish roughly four contracts to unlock a special bounty tied to the armor. Track the target as instructed and prepare for a tougher fight.

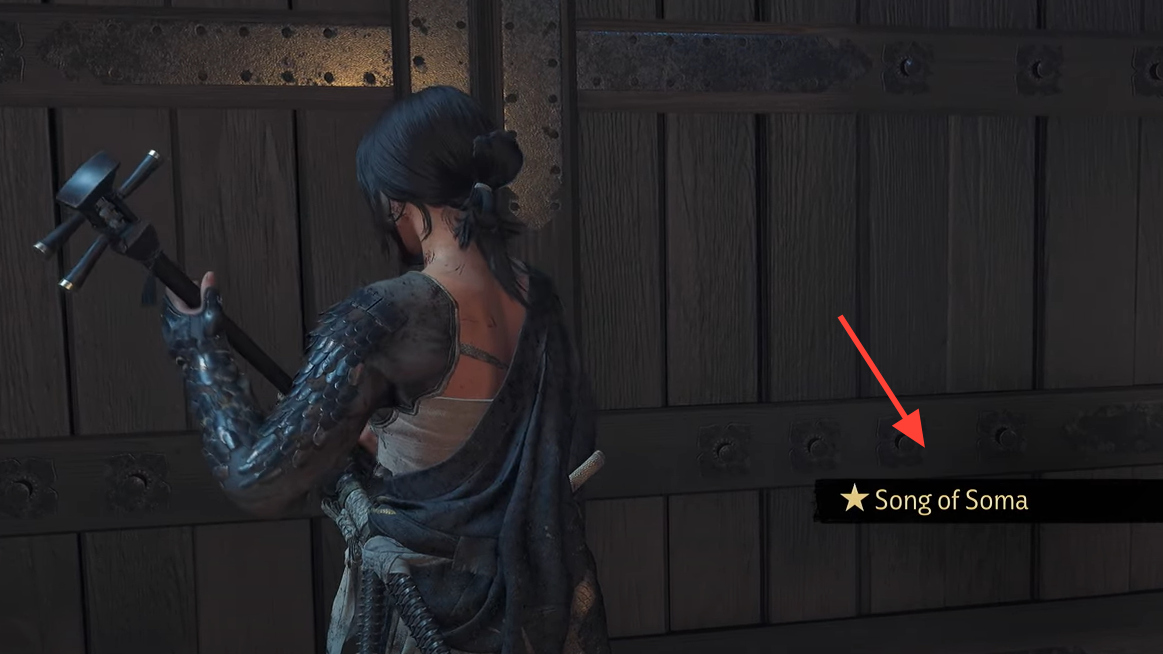
Step 3: Solve the cave door puzzle by equipping your Shamisen and playing the special song that appears in your interface. The correct performance opens the path.
Step 4: Defeat the target to earn the armor and immediately test it in low‑risk encounters to calibrate your perfect‑timing windows.
Crimson Kimono — stealth radius reduction and longer reach
What it does: Shrinks enemy detection distance by a large margin (around two‑thirds smaller), extends kusarigama assassination range substantially, and permits chain assassinations up to five targets when you weave in kunai throws.
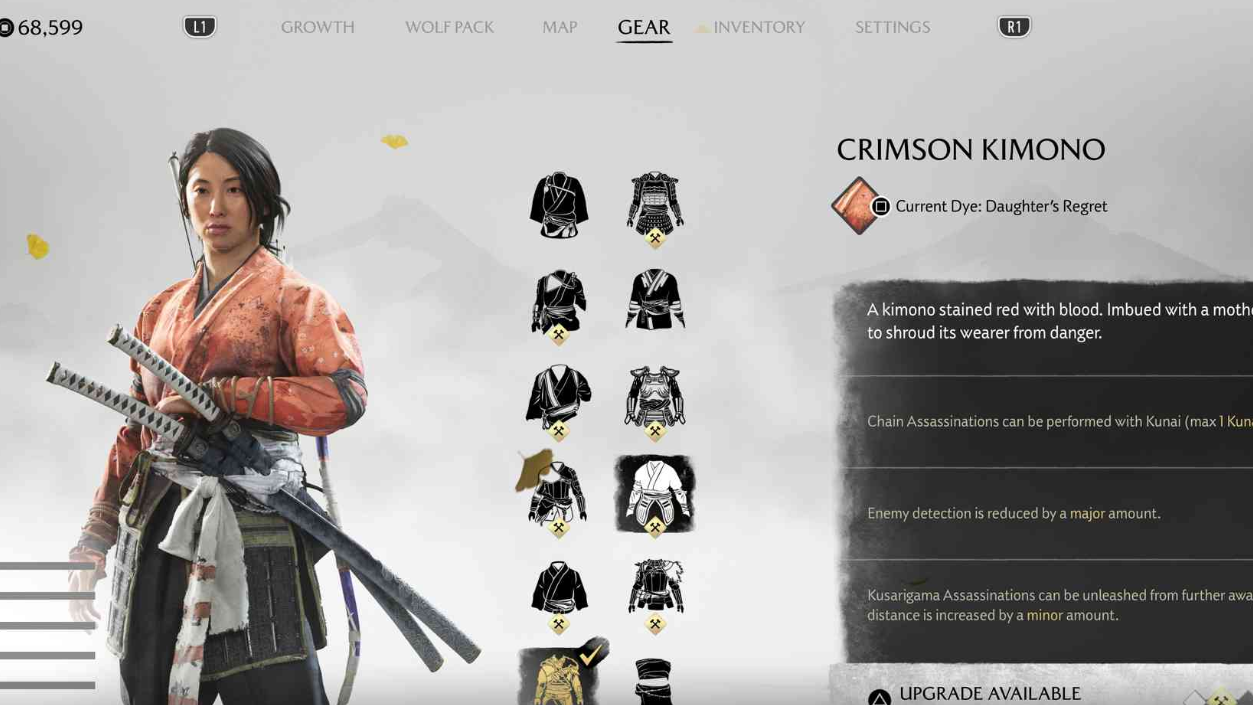
- Optimizes camp clearing by allowing safe approaches from farther away.
- Kunai‑assisted chains remove clustered patrols rapidly; bring enough knives.
- Pairs well with stealth charms to reduce alerts after quick kills.
How to get it
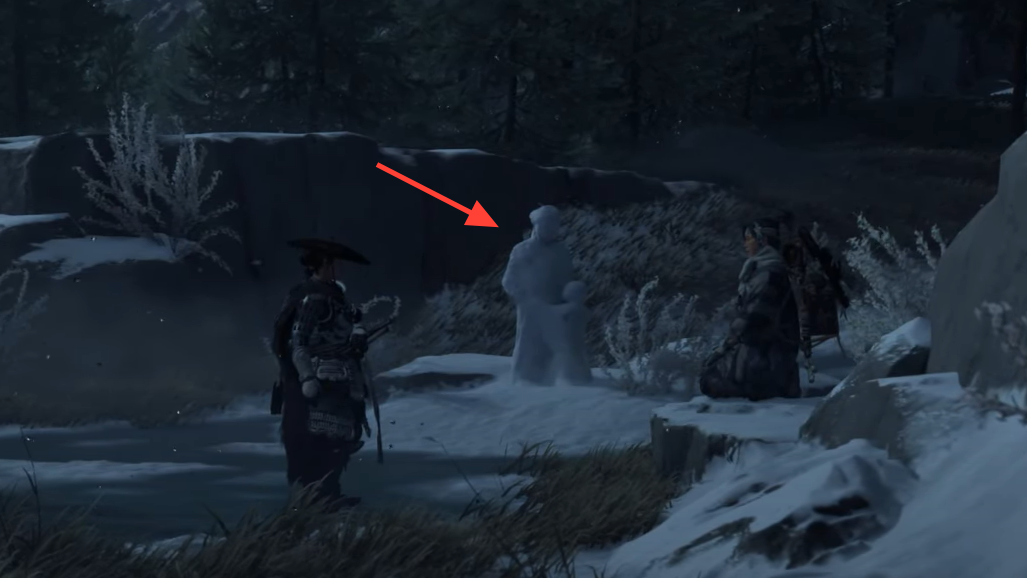
Step 1: Follow the main path to reach Dashio Ridge, then locate Ugetsu in the Sakura Forest to begin the mythic tale.

Step 2: Investigate snow sculptures in the area as quest markers. Each discovery advances the tale’s trail.
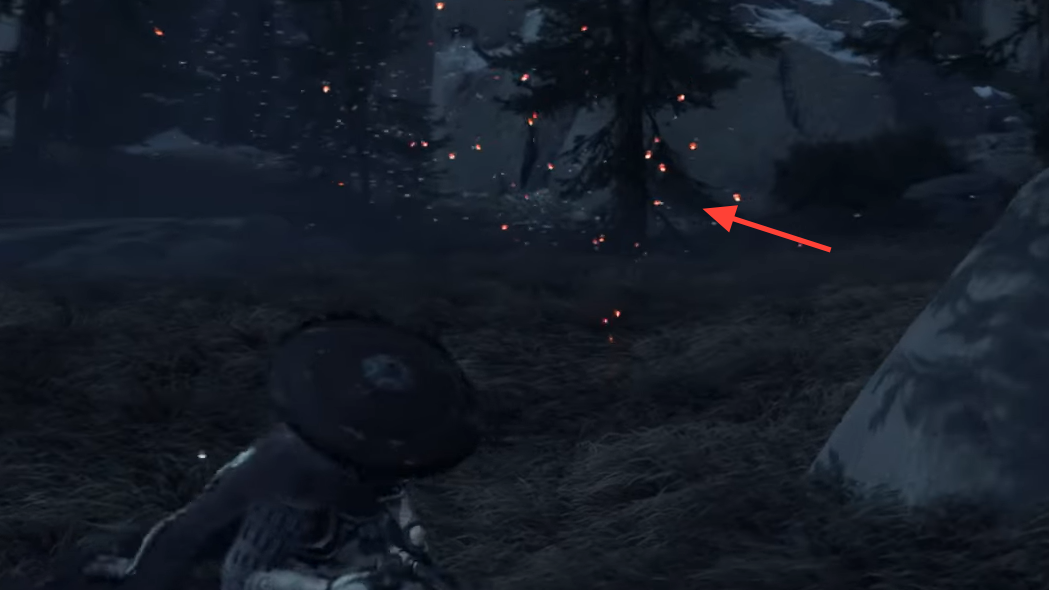
Step 3: Track insect swarms to the next points of interest. Move patiently and use terrain to avoid incidental patrols.
Step 4: Use Guiding Wind to stay on route when clues thin out. Before the final steps, restock kunai so you can immediately leverage extended chain assassinations after you equip the set.

Armor of the Undying — alignment-based sustain
What it does: Rewards correct weapon alignment by restoring health when you stagger aligned enemies, widens perfect parry/dodge timing during proper alignment, and sometimes increases stagger from charged heavy (Focus) attacks.
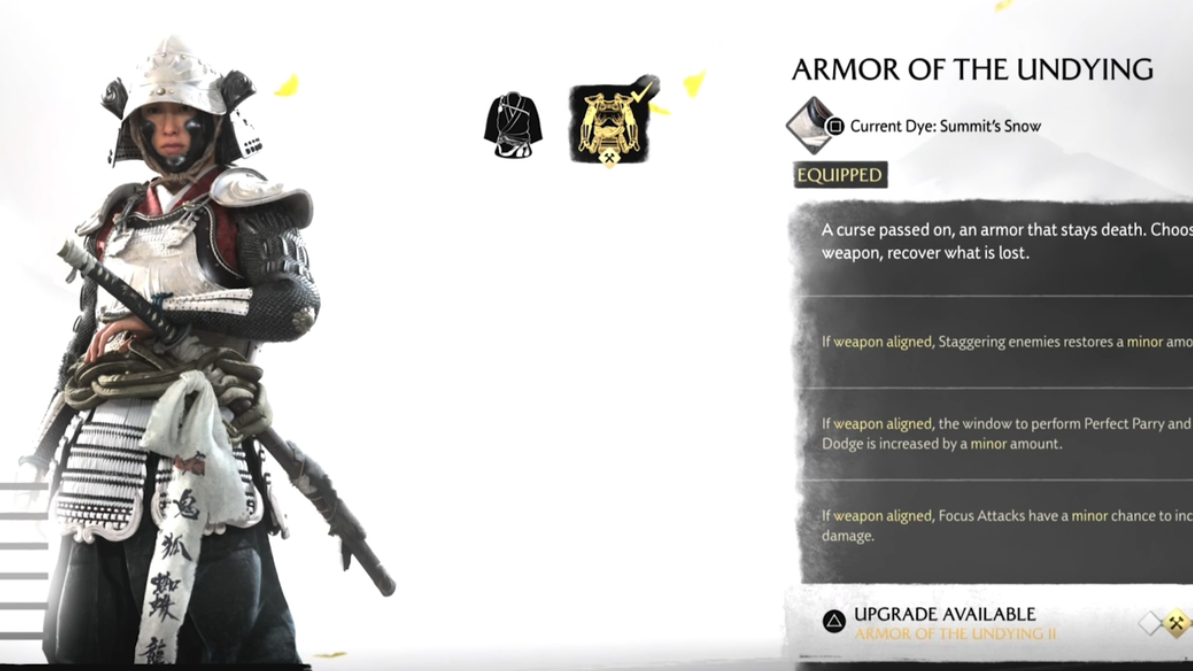
- Health restoration per aligned stagger is roughly half a spirit‑orb’s worth, and it can trigger multiple times in longer fights.
- Align weapons to enemy types to stabilize defense; this reduces mistakes under pressure.
- Great for extended routes or boss attempts where attrition usually wears you down.
How to get it
Step 1: Speak with Ugetsu near the Old Inn after the early quests to start the Undying Samurai tale. If you miss him there, check his marker in Ishikari Plains later.
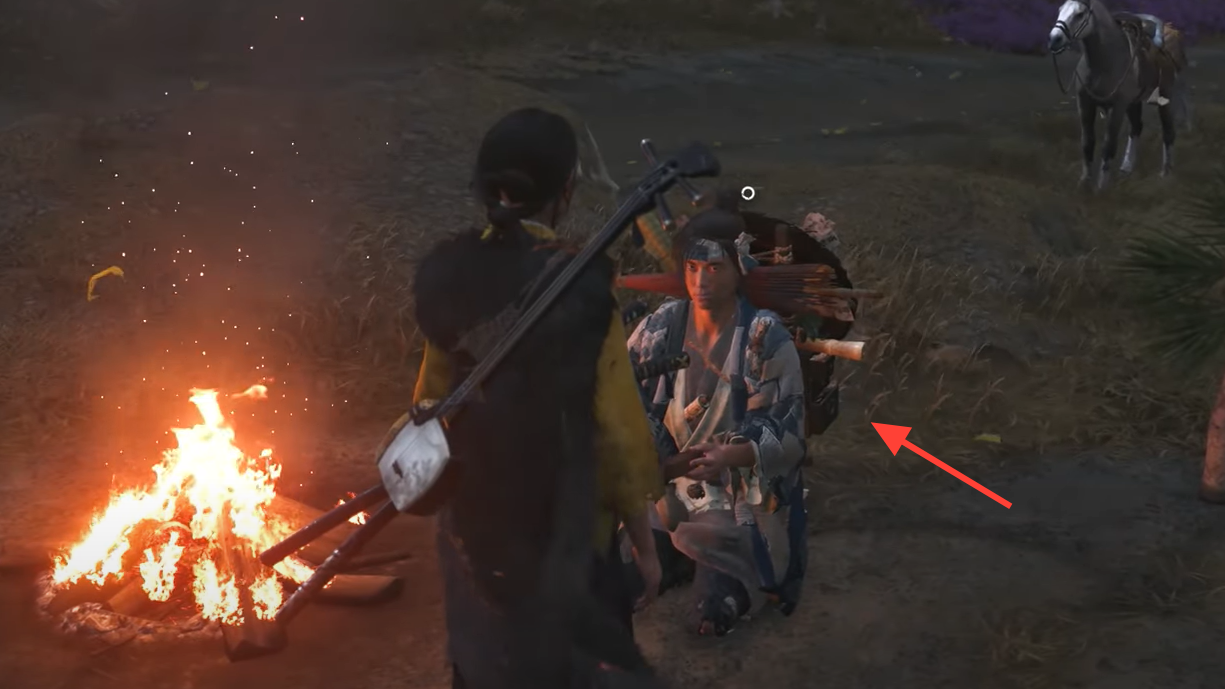
Step 2: Collect four windchimes using Guiding Wind to locate them. Listen for chime sounds and watch for moving cloth to home in on each location.

Step 3: Travel to the Undying Samurai’s Lair, west of the Rumoi River along the coast. Place the chimes to trigger the duel.

Step 4: Win the duel to claim the armor. Practice swapping to the weapon that best matches your opponent to consistently trigger the on‑stagger heal.

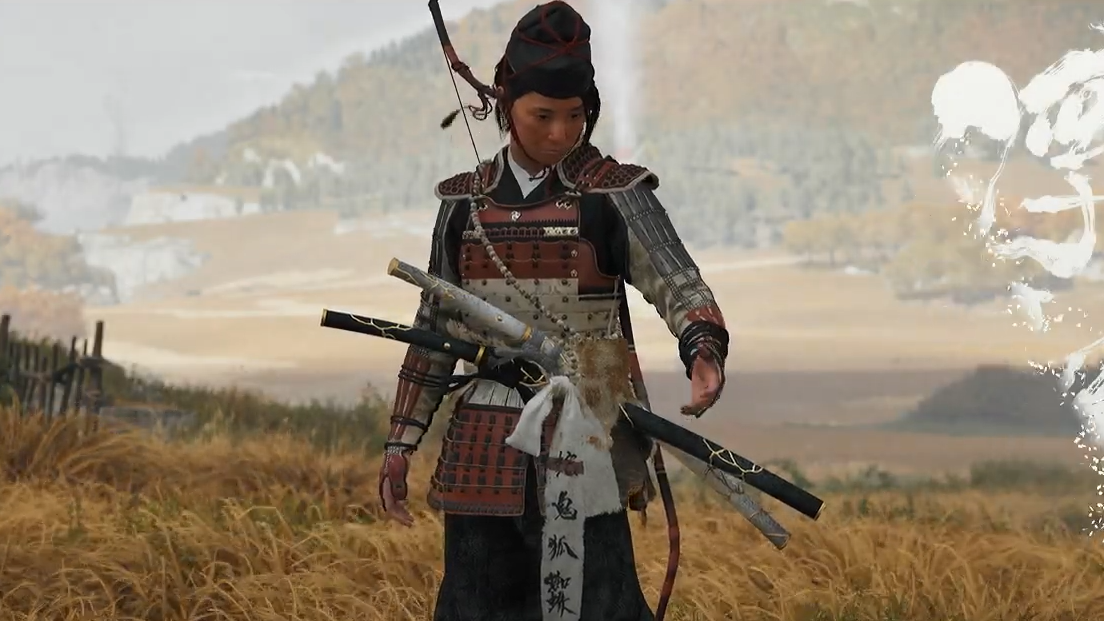
Dragonfly Armor — high‑impact archery and faster concentration loop
What it does: Adds a brief blue‑glint window at full draw; firing in that window markedly increases arrow damage and flat‑tens drop. Empowered hits also refill concentration faster, and reload speed improves for a snappier cadence.
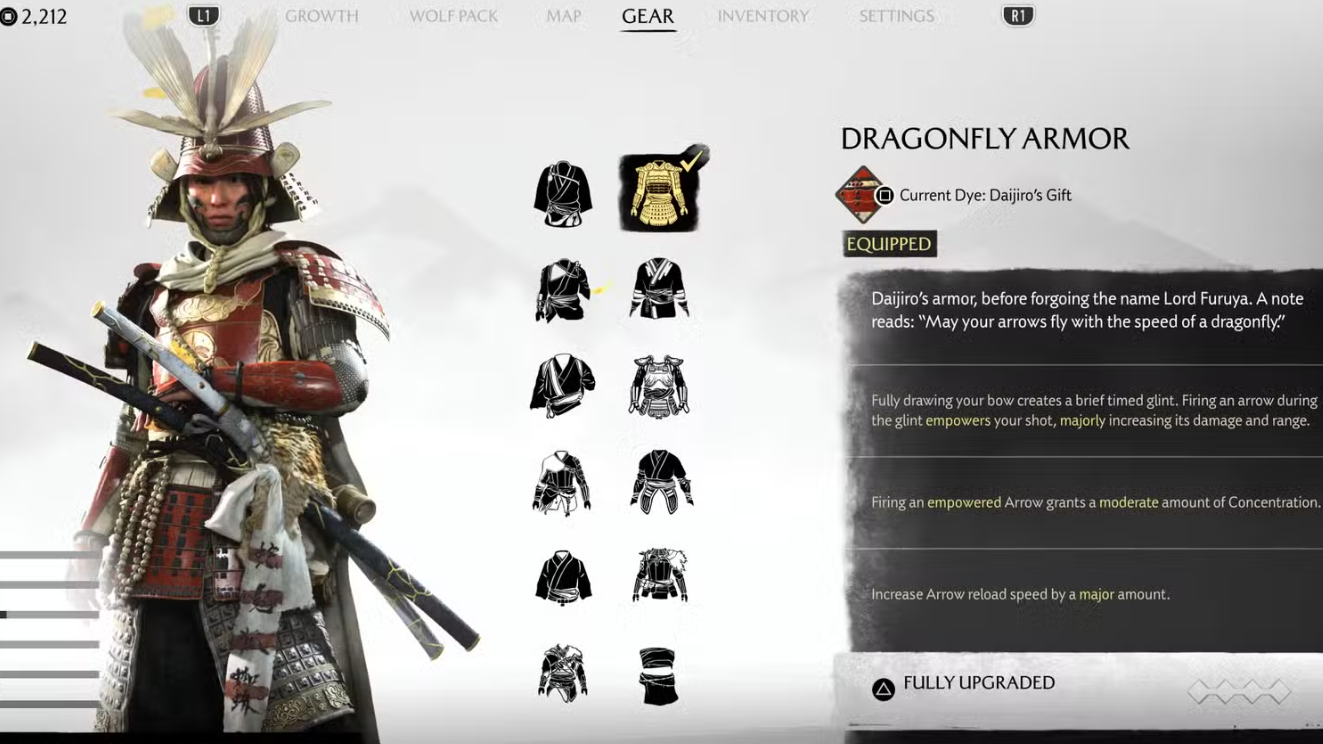
- Short bow gains are dramatic: heavily armored targets drop in roughly half the usual arrows when you hit the glint window.
- Reduced drop helps land headshots at distances that normally require compensation.
- Concentration refills keep slow‑time available for prolonged archery sequences.
How to get it
Step 1: Ride to Cairn Forks in the Tekkashi Range. Listen for nearby NPC conversations that reference the Dragonfly story.
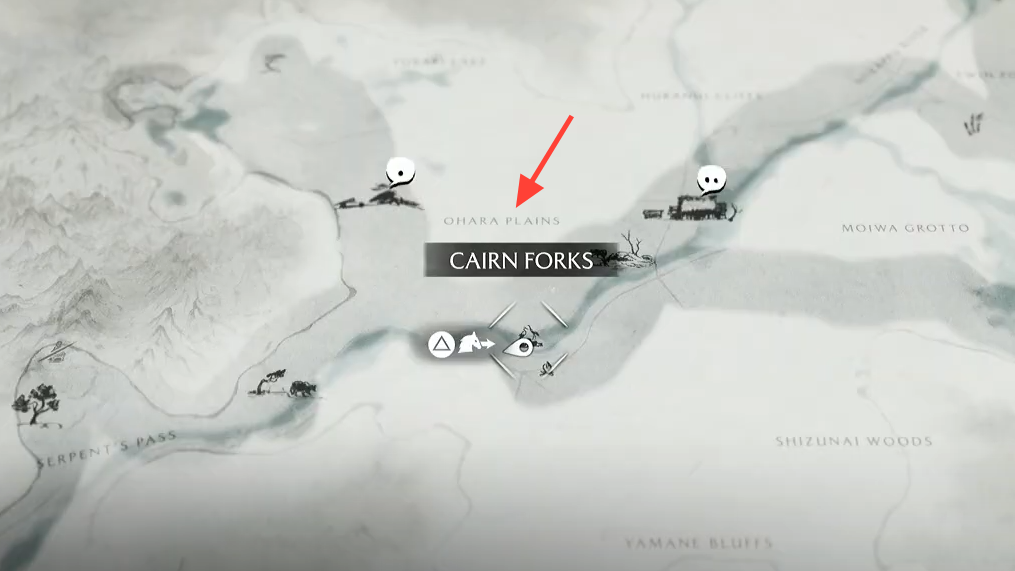
Step 2: Join the conversation to start the quest. Follow the markers through light exploration and combat without expecting heavy puzzles.

Step 3: Finish the encounters and claim the armor. In a safe area, practice holding to full draw and releasing inside the blue‑glint timing to lock in the damage spike.
Which to unlock first (by playstyle)
Use your preferred approach to order these early unlocks for the biggest immediate gains.
- Aggressive duelist: Spider Lily Armor for quicker guard breaks and throwable finishers.
- Stealth runner: Crimson Kimono for reduced detection and five‑target chain eliminations.
- Survivor in long fights: Armor of the Undying for steady healing through aligned staggers.
- Archer: Dragonfly Armor for glint‑timed damage spikes and longer concentration uptime.
- Timing specialist: Bounty Master Armor if you reliably hit perfect parries and dodges.
Upgrade notes: After equipping, visit the armorer to invest resources and improve perk values. As you recruit and develop your Wolf Pack, you can further refine armor perks through their systems, improving performance without changing your visual style.
Focus on one set that matches your current goals, unlock it with the steps above, then expand into the others to round out your toolkit. Early specialization speeds up fights, reduces alerts, and cuts downtime between encounters.