
Spoilers ahead: the story beats below begin once you enter Saito’s training fortress.
Unlock and start location
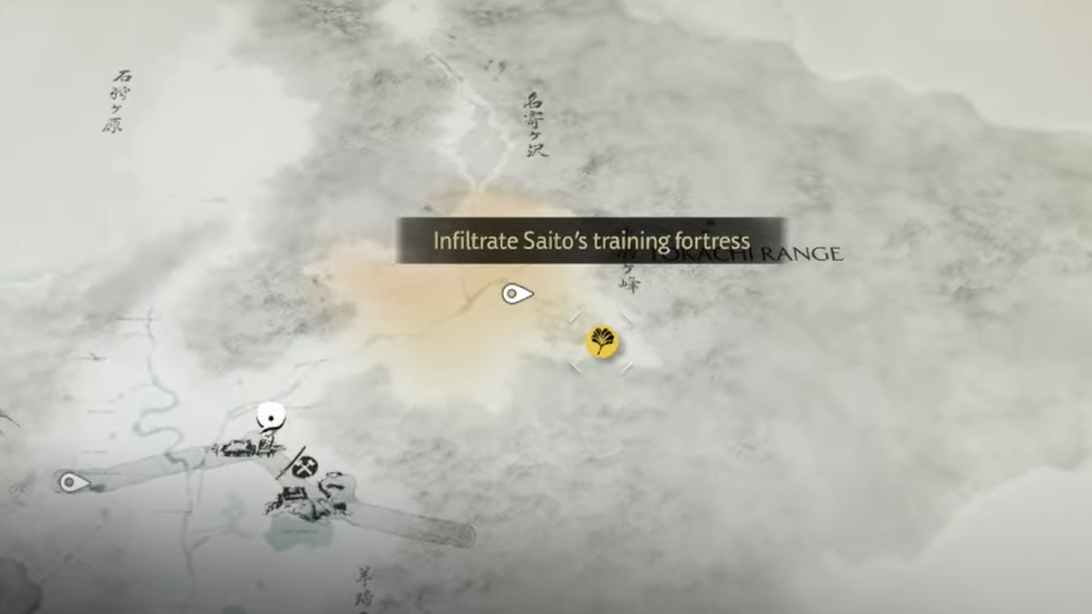
Shogun of the North becomes available after completing The Way of Dual Katana. Set the objective on your map and follow the guiding wind toward the Tokachi Range, far northeast of the Yotei Grasslands. The fortress sits on the southeastern edge of the Tomamu Marshlands; expect a long ride.
On the way, Haranui’s Rest Inn is a handy stop for merchants, a Bamboo Strike nearby, and a short detour that can lead to the Dragonfly Armor tale. Paths lined with white flowers grant a brief speed boost; use them to chew through the distance.
Use the password at the gate
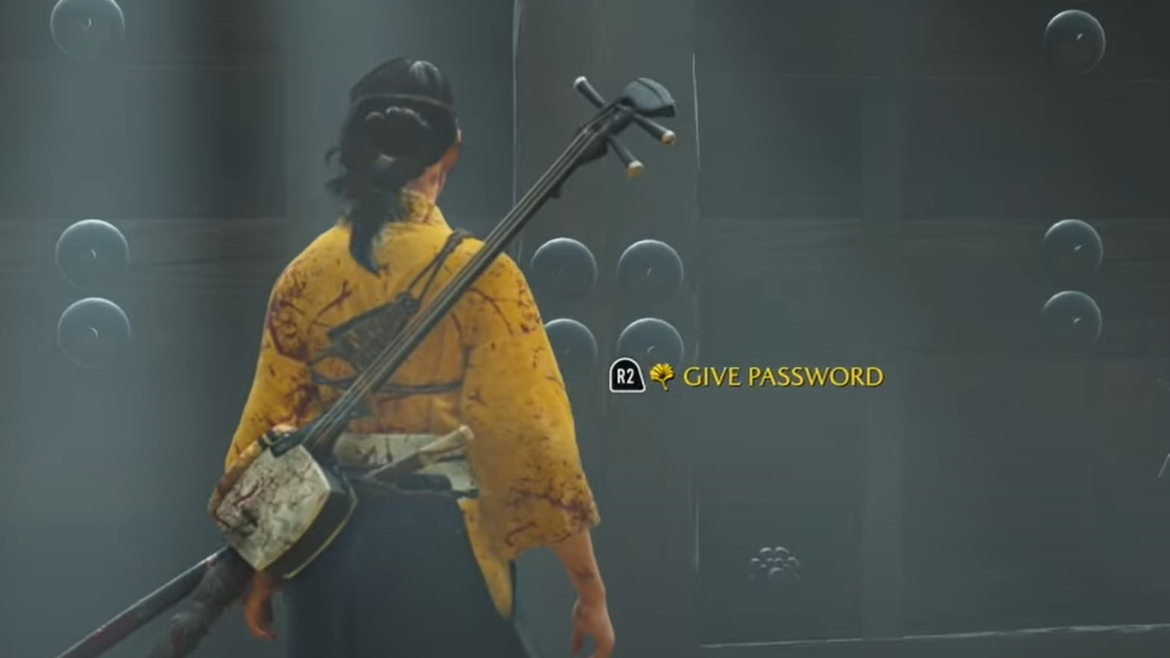
Approach the outer gate and shoulder past the waiting ronin. Interact with the large double doors to give the passphrase. When prompted, select the line exactly as written:
A tiger forced up the mountain still bears teeth and will return twice as strong.The guards wave you through.
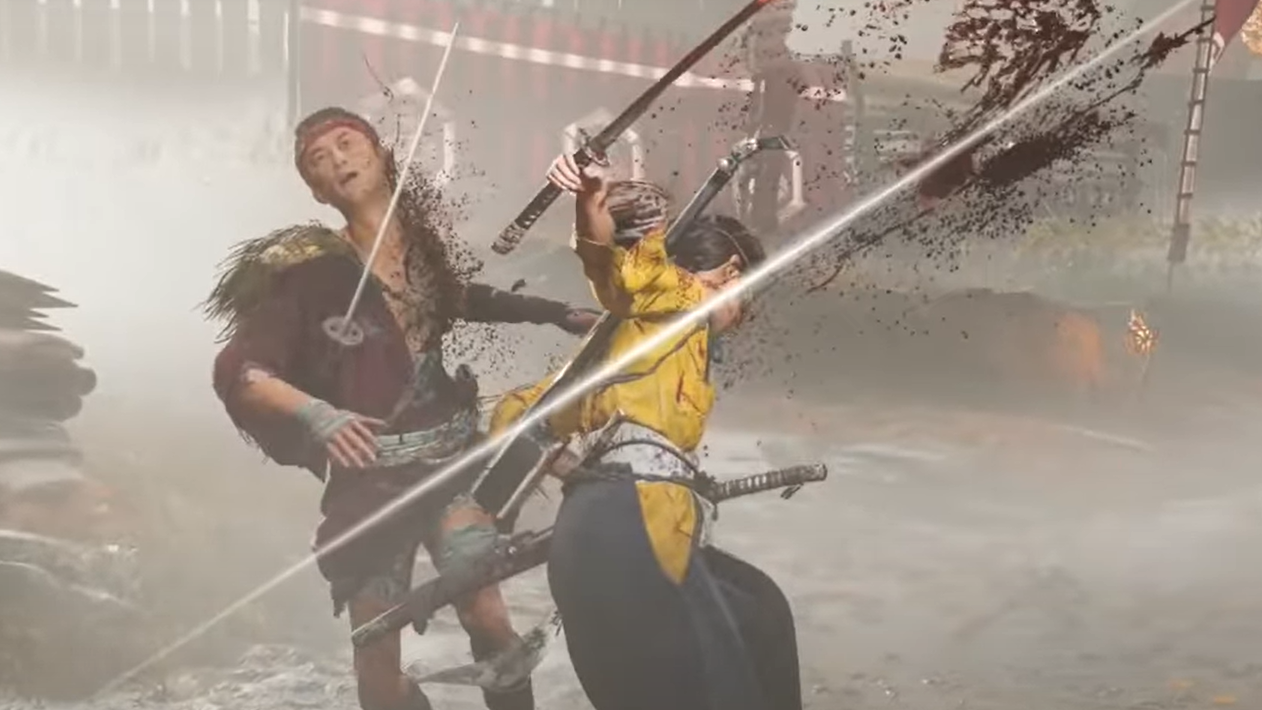
A forced lesson: the feint standoff
Inside, an outlaw recognizes Atsu and challenges you. This standoff is designed to teach that enemies can feint; you’ll likely get clipped but lose only a small amount of health. Cut down the outlaw and his nearby ally to proceed.
Stealth tools and enemy alertness (quick refresher)
- Tall grass fully conceals Atsu while crouched (press R3).
- Yellow outlines and an on-screen prompt indicate you can assassinate (triangle). You’ll need the right talents to stealth-kill Brutes and Leaders.
- Line of sight breakers—carts, walls, hanging cloth—are as useful as grass. Ropes and ledges let you hop between roofs without being seen.
Guards escalate in three steps:
- Glance: a white flash and ring appears; duck back into cover and it resets.
- Suspicion: a yellow orb appears; they inspect the spot you were seen.
- Combat: a red orb appears; nearby enemies join the fight. Break line of sight and wait out the search if this happens.

Fastest stealth route to the keep
| Area | Action | Notes |
|---|---|---|
| Stables | Slip into the tall grass. Optional: assassinate the back-turned guard to loot the chest. | Two more guards idle across the way; ignore or remove from cover. |
| Ropes to ledge | Climb the stable roof and take the rope across to a ledge. | Two guards sit at a fire below; stick to grass to bypass. |
| Narrow doorway | Squeeze through the large wooden door ahead. | The side door to the right is locked. |
| Left rock path | Turn left by the lantern, climb the big rock to bamboo scaffolding. | Short cutscene reveals Saito’s position. |
| Spyglass moment | Raise the spyglass and look southeast to track Saito leaving the inner gate. | He’s your compass from here on. |
| Pond and brute patrol | Drop to grass, clear or evade two nearby guards, then follow the grass along the water. | Wait for the Brute to face away near the tree before crossing. |
| Fabric screens | Use hanging cloth for cover; eliminate the lone guard between grass patches. | Time your movement when two guards walk toward the tree by the wall. |
| Fence gap | Ignore the ramped doorway across the pond; move to the wooden wall and squeeze through the narrow gap. | Leads to the cliffside crevasse. |
| Cliff climb | Scale handholds to a tree, then grapple across and continue climbing to the next fence gap. | Keep an eye out for grapple prompts on branches and beams. |
| Storage room | Wait for the lone guard to turn his back; pass through and loot arrows/resources. | Quiet interior; easy to slip by. |
| Camp rooftops | Enter grass, use the cart to climb the storage roof, then take the rope bridge. | Clear a patrol and the barrel inspector if needed. |
| Stairs & fence | Descend behind hanging cloth and lumber to the right-hand stairs; squeeze through the fence gap up top. | Small loot box sits near the grass. |
| Final ascent | Climb and grapple above the scaffolding to a small window. | Interact with the window to enter the keep and end the stealth segment. |
Assassination attempt and the duel setup
From the rafters, you’re positioned over Saito with an assassination prompt. He anticipates it. The attempt fails, and he leads you to a small arena for a one-on-one duel.

How to beat Lord Saito (yari) with Dual Katana
Keep Dual Katana equipped—its parries and pressure work well against Saito’s long reach. Many of his initiations show a brief blue glint: that’s your parry-only cue. Don’t lunge; let him come to you, parry with rhythm, then take guaranteed damage during his brief recoveries. When he’s gassed after a big swing, step in with a single heavy to break stance, then chain quick hits until he resets.
| Saito attack | Visual tell | Answer |
|---|---|---|
| Four quick strikes | Blade pulled behind him | Parry all four; the last parry opens a punish window. |
| Fast chop → stab | Tip pointed straight at you (blue glint) | Parry the chop, be ready to parry the immediate follow-up thrust. |
| Charge into five-hit string | Spear held defensively during approach (blue glint) | Parry the first four; the final slow swing can be blocked, or interrupt it with a quick attack to catch him winded. |
| Dash back → overhead chop | Spear raised above head after a short retreat | Delay your parry; he hesitates before the chop, then often adds one more hit. |
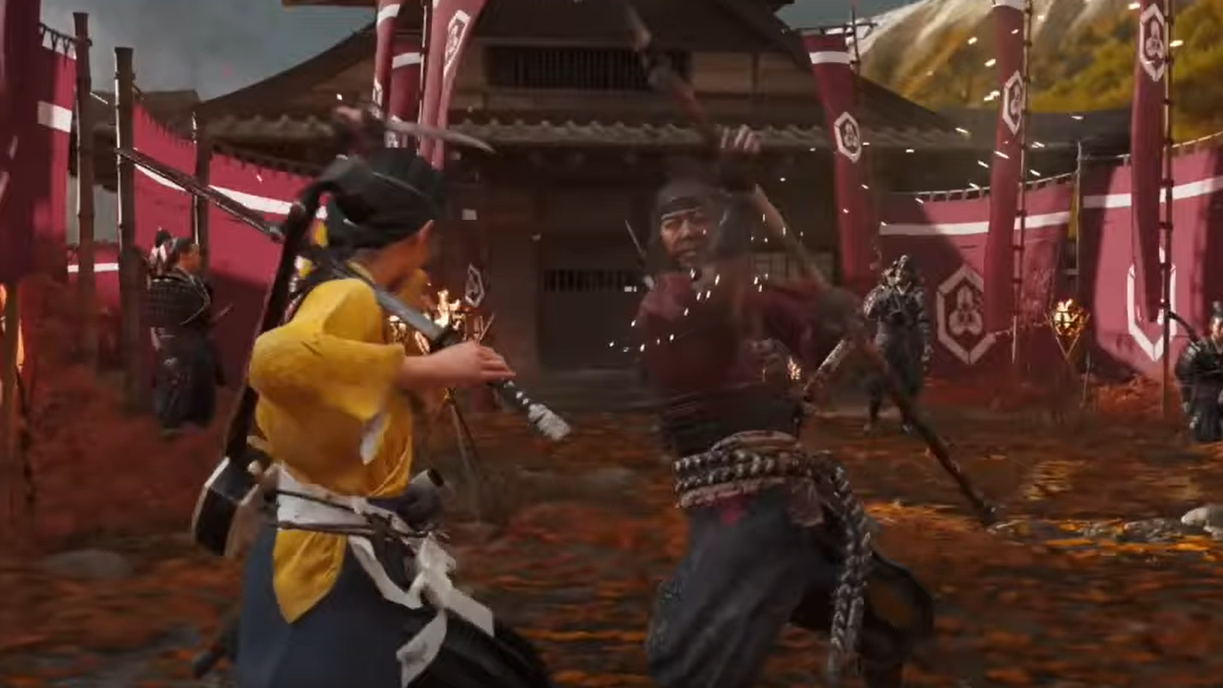
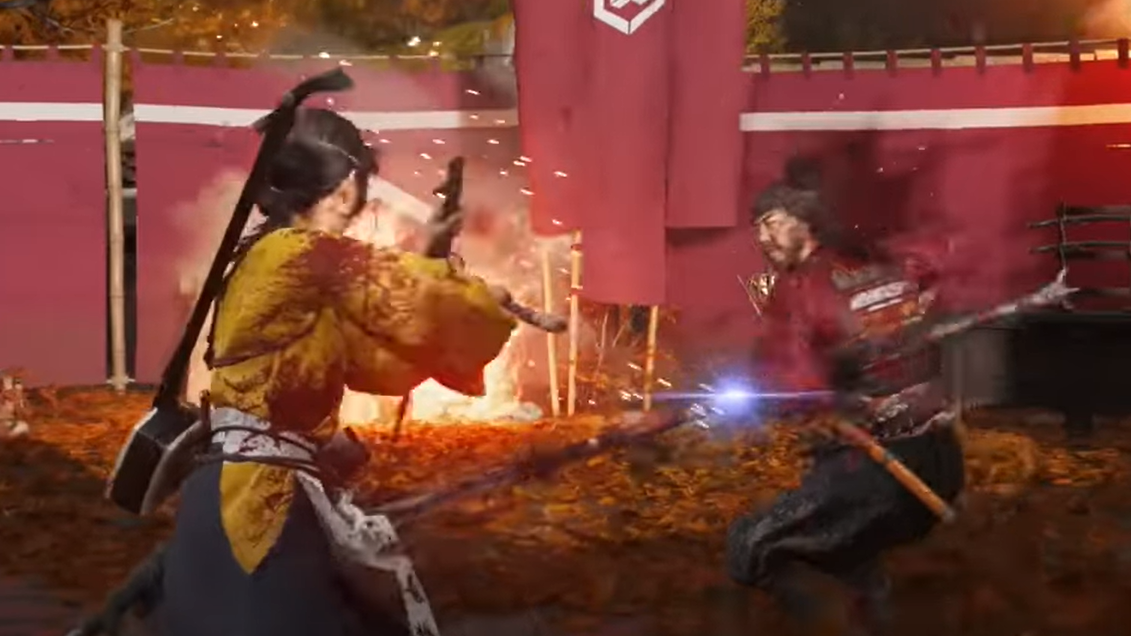
Phase two: the arena burns
Midway through, burning arrows rain in. The floor catches fire around the edges, shrinking safe space. Saito keeps the same moveset, but the visual noise can bait early parries—double down on patience. After enough damage, a brief weapon lock triggers; an explosion interrupts, Saito withdraws, and Atsu collapses from exhaustion.
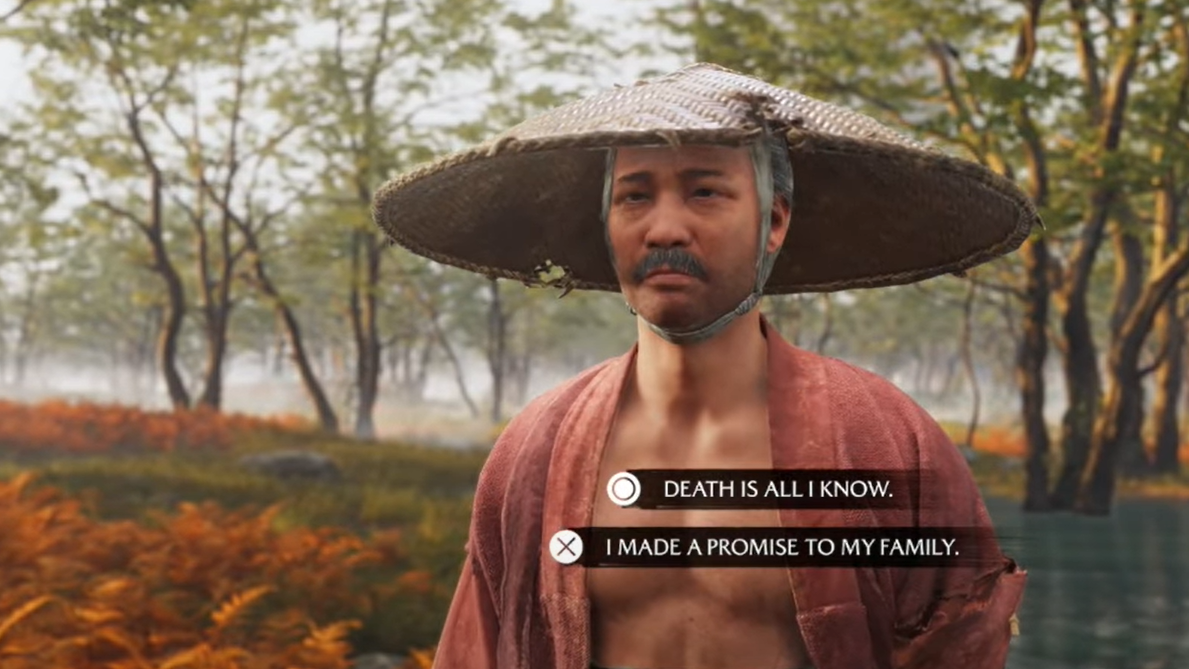
Outside the fortress, Hanbei explains the larger attack that forced Saito’s retreat. You’re offered a short response—“Death is all I know.” or “I made a promise to my family.”—with no impact on outcomes.
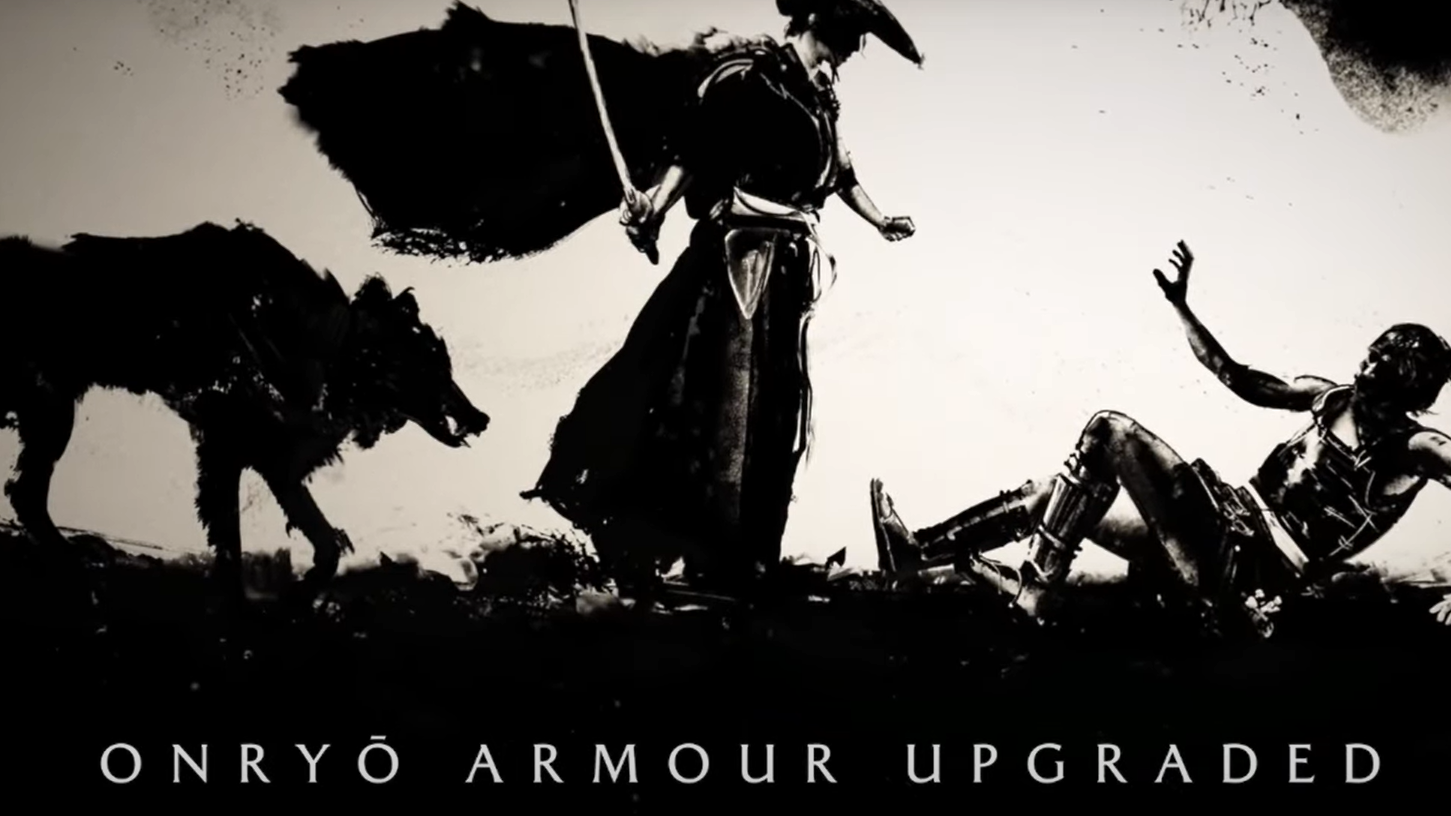
Rewards: Onryo Armor upgrade
Completing Shogun of the North upgrades the Onryo Armor to level two. New boons focus on fear and follow-up damage:
| Boon | Effect |
|---|---|
| Terror on Spirit kills | Minor chance to Terrify when you kill with a Spirit Attack or thrown melee weapon. |
| Wolf apparition | Moderate chance for the wolf to appear when enemies are Terrified. |
| Damage vs. Terrified | Moderately increased damage to Terrified enemies. |
There’s also a new cape—a cosmetic flourish that pairs nicely with the fear-forward kit.
Where to go next
If you’ve already uncovered clues for the other members of the Yotei Six, their threads now branch from here. Otherwise, track The Yotei Six to gather more leads.
| If you’ve unlocked… | Next mission |
|---|---|
| The Oni | The Road to Ishikari Plain |
| The Kitsune | Spirits of Teshio Ridge |
| The Saito Brothers | The Way of the Odachi |
If you prefer to tidy up the Tokachi Range before moving on, sweep remaining activities in the marshlands now; the fortress route you just took is equally useful in reverse for quick resource runs.