
In the Trenches is a side task in Gray Zone Warfare given by the vendor Turncoat. You need to infiltrate a Lamang Liberation Army (LLA) trench complex, locate three separate documents scattered across the site, read each one, and report back. The concept is straightforward, but the trench area is one of the most dangerous AI-defended locations in the game — expect aggressive snipers, elevated guard stands, and tight corridors that punish careless movement.
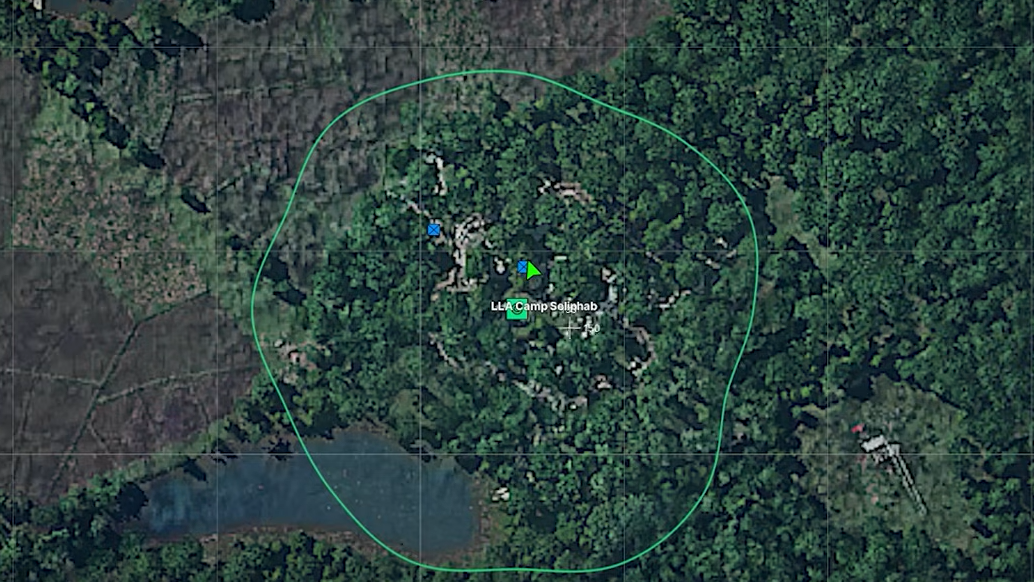
Quick answer: Head to the trench complex near coordinates 129, 151. Find and read the LLA Operational Note (northwest bunker), the LLA Strategic Directive (south bunker), and the LLA Internal Comms (central building). Turn in all three to Turncoat to complete the task.
In the Trenches objectives and rewards
| Detail | Value |
|---|---|
| Quest giver | Turncoat |
| Type | Side task |
| Objective | Read and report three LLA documents |
| XP reward | 300 EXP |
| Cash reward | $870 USD |
| Reputation (first completion) | +255 Turncoat (+170 on repeats) |
| Failure penalty | −17 Turncoat reputation |
| Failure condition | Dying while the task is active |
| Cooldown after failure | At least 20 minutes |
Where to find all three documents
The three intel items are spread across different parts of the trench network. You can collect them in any order, but clearing enemies as you go is strongly recommended — the AI here is noticeably tougher than what you encounter in starter towns.
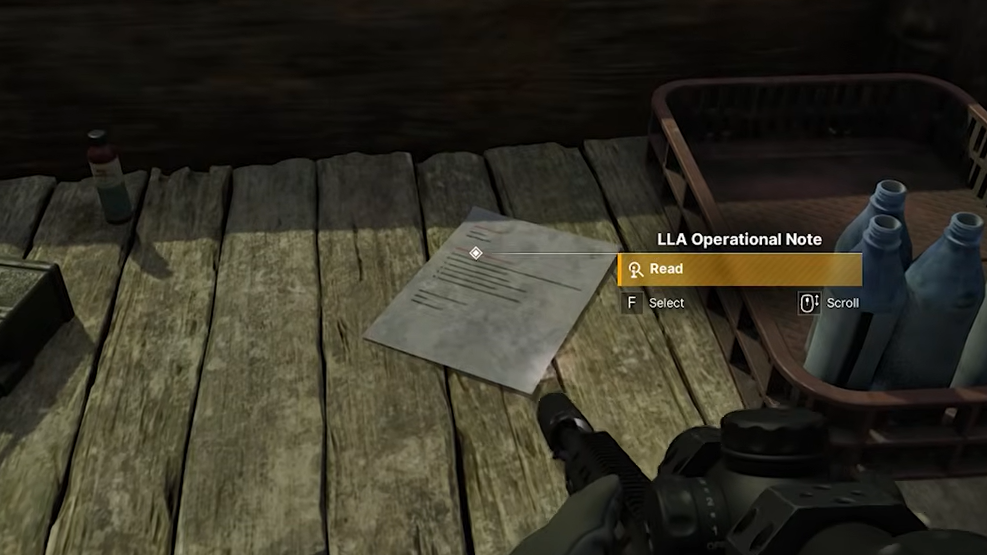
LLA Operational Note — Northwest bunker (129, 151)
Step 1: Make your way to the northwest section of the trench area. The coordinates are roughly 129, 151. You're looking for a bunker-style structure partially dug into the trench wall.
Step 2: Inside the bunker, find the table with the Operational Note sitting on it. Interact with the document to read it, which automatically logs it as secured for the quest.
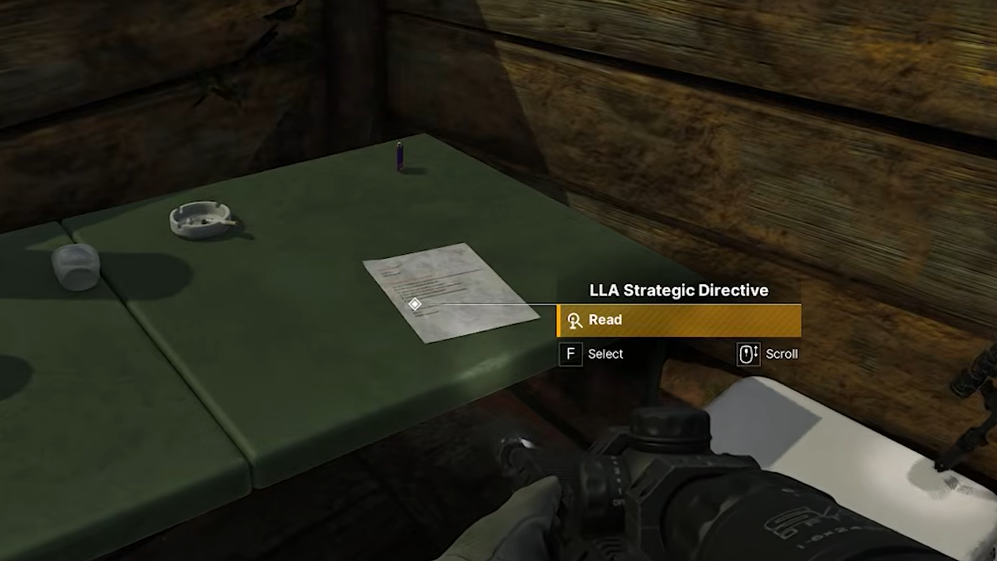
LLA Strategic Directive — South bunker (130, 149)
Step 1: Move south through the trench network toward coordinates 130, 149. There is a small hut-like structure in this section of the trenches.
Step 2: Enter the hut and locate the second table. The Strategic Directive is on it. Read and secure it the same way as the first document.
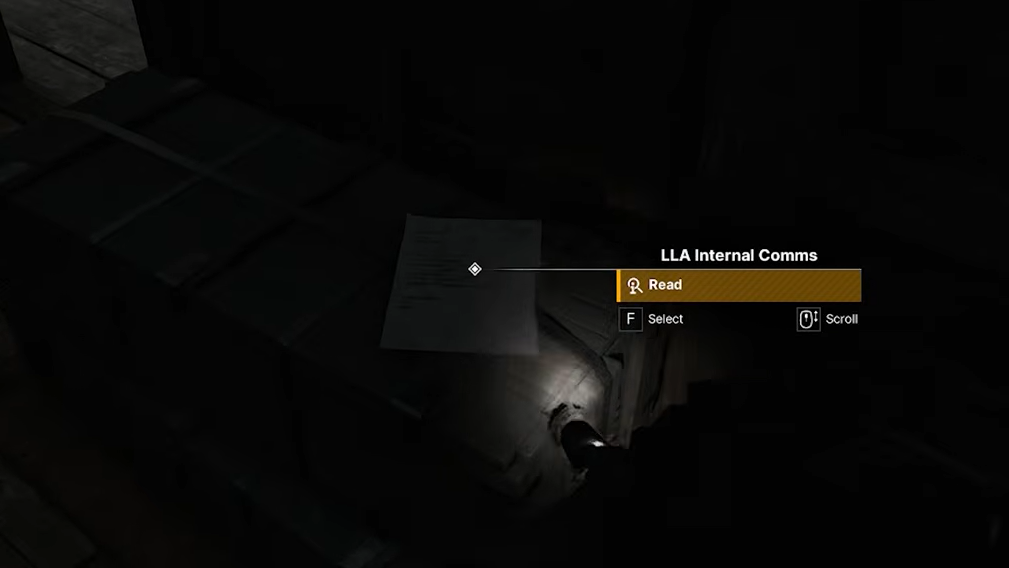
LLA Internal Comms — Central building
Step 1: Head to the centermost part of the trench complex. The main LLA hideout is a building that sits in the middle of the camp — it's the largest structure in the area.
Step 2: Gain entry to the building and find the room with a computer. Adjacent to the computer, a few stacked boxes hold the final note on top. This is the LLA Internal Comms. Read it to complete the collection.
Step 3: With all three documents secured, extract from the area and turn in the quest to Turncoat.
How to approach the trench without getting killed
The biggest challenge in this task isn't finding the documents — it's reaching them alive. The LLA camp has elevated sniper stands that can spot and hit you from 150 meters or more, even at night, and even when you're prone in tall vegetation. Many players report being shot through cornfields and from angles where no enemy is visible. Here's what works.
Approach from the south or east. Coming from the southern edge of the map and dropping into a deep, wood-walled trench near the pond (close to one of the sniper stands) is a reliable entry point. The eastern side of the complex also has a trench entrance that provides cover once you're inside. Approaching from the north through the cornfield tends to get you picked off by the elevated positions before you can reach any cover.
Go at night with NVGs and an IR laser. Nighttime significantly reduces the AI's effective engagement range once you're inside the trenches. Equip night-vision goggles and an infrared laser for target acquisition. Shooting out lantern lights inside the complex further tilts the advantage in your favor.
Stay low inside the trenches. Some trench sections are shallow enough that you need to crouch or crawl to stay below the sightlines of enemies positioned on top. Once you're in the trench network itself, the fighting becomes more manageable — close-quarters, corridor-style engagements where grenades are very effective.
Watch for enemies outside the trench. Not all AI defenders stay in the trenches. Some patrol the ground above, and if they catch you in a low section while they hold the high ground, you're at a severe disadvantage. Listen for their voice lines — though be aware that audio echoes strangely in the trench, making it hard to pinpoint exact positions. Some enemies stay silent, so don't rely on sound alone.
What happens if you fail
Dying while In the Trenches is active counts as a failure. You lose 17 reputation with Turncoat, and the task enters a cooldown of at least 20 minutes before it becomes available again. In practice, some players have experienced longer waits. If the task doesn't reappear after an extended period, try completing other active tasks in the same region — the game appears to cap the number of simultaneously available missions (roughly eight), and clearing some of them can cause previously failed tasks to cycle back in. Occasional cooldown bugs have been reported, and the developers are aware of the issue.
In the Trenches is one of the more intense side tasks in Gray Zone Warfare, turning a simple document-retrieval objective into a genuine combat gauntlet. Gear up for a fight, pick your approach angle carefully, and don't linger in the open. The $870 payout and Turncoat reputation bump are well worth the effort — just make sure you read all three documents before you extract.