
Guild versus Guild (GvG) mode in Where Winds Meet is a large-scale competitive format that combines MOBA mechanics with the game's martial arts combat. Two guilds face off with up to 30 players on each side, fighting to destroy towers, eliminate a boss creature, and carry an objective back to base. Success requires coordination between frontline fighters, support roles, and commanders who spend resources on team-wide buffs.
Quick answer: To win a GvG match, destroy at least one enemy tower, kill the enemy goose, and carry the fortune tree back to your base before time expires or further than the opposing team moves it.
Match Schedule and Entry
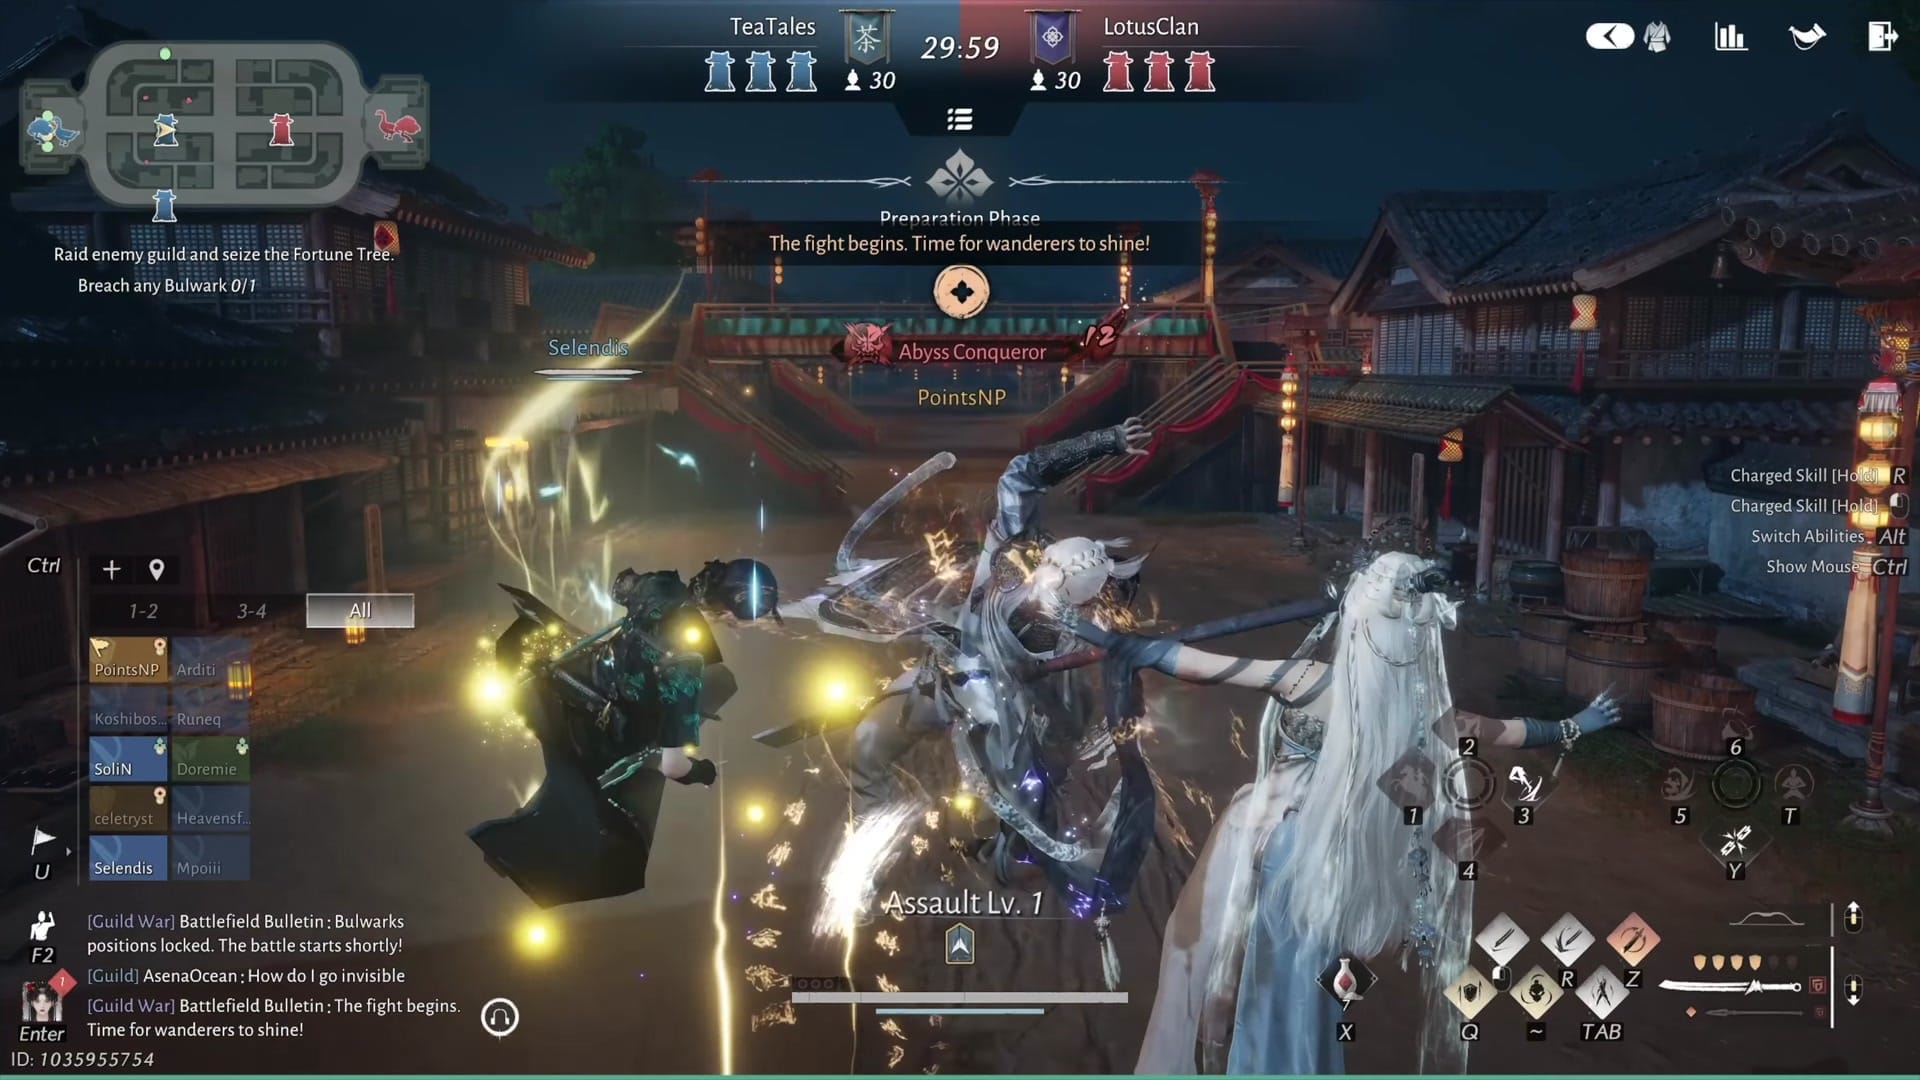
On North American servers, matchmaking opens at 8:30 PM EST on Saturdays and Sundays. Players can participate in up to four matches per week. After matchmaking completes, you receive a notification to join the Guild War, which triggers a five-minute preparation phase before combat begins.
Preparation Phase
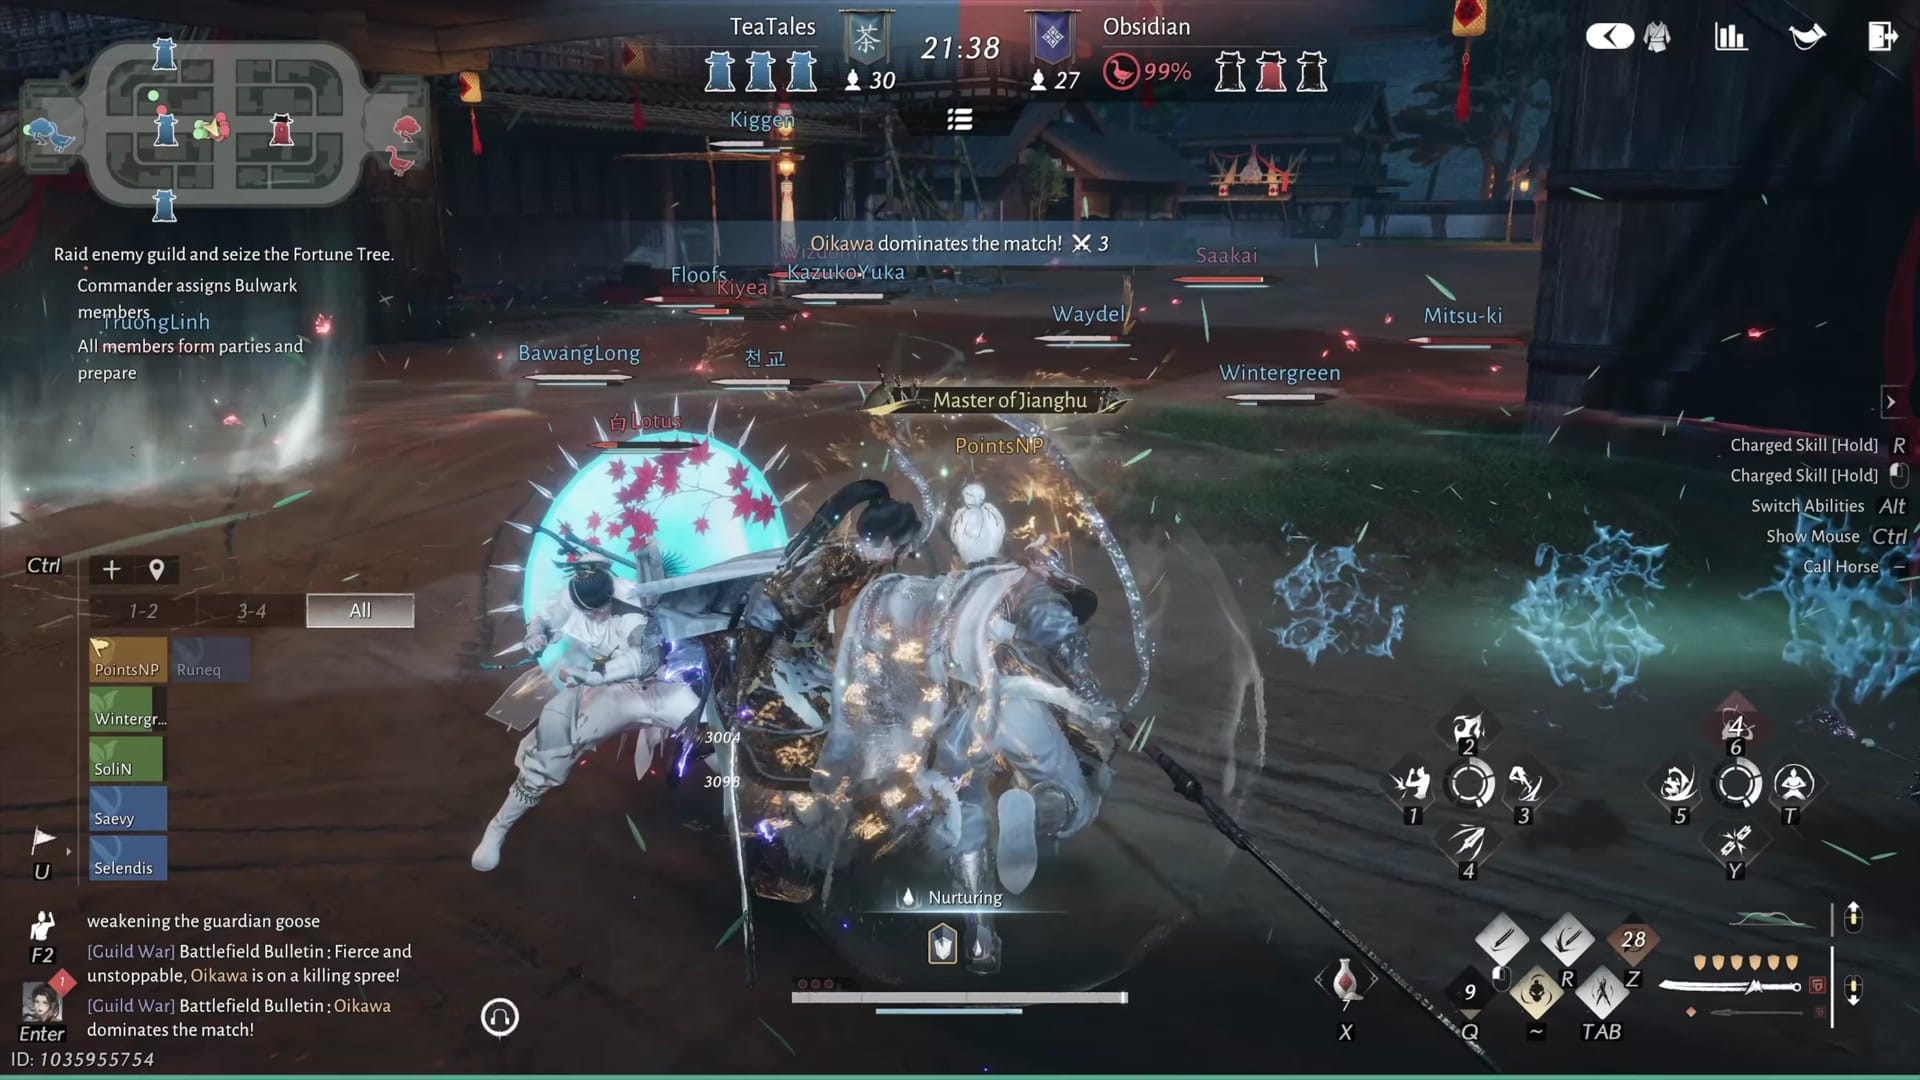
During the five-minute prep window, commanders assign one to three players to start at the Bulwark, a forward spawn point that lets those players reach the frontlines faster when the round starts. Press 5 on your keyboard to dismount once you arrive.
Merge your teams and mark tanks and healers so they remain visible during large fights. Equip your GvG build and select Mystic skills with strong area-of-effect damage. Mount up immediately when the match begins and ride to the frontlines.
Core Objectives
Three sequential goals determine victory. You must complete them in order, though the match can end early if time runs out or one team secures a decisive lead.
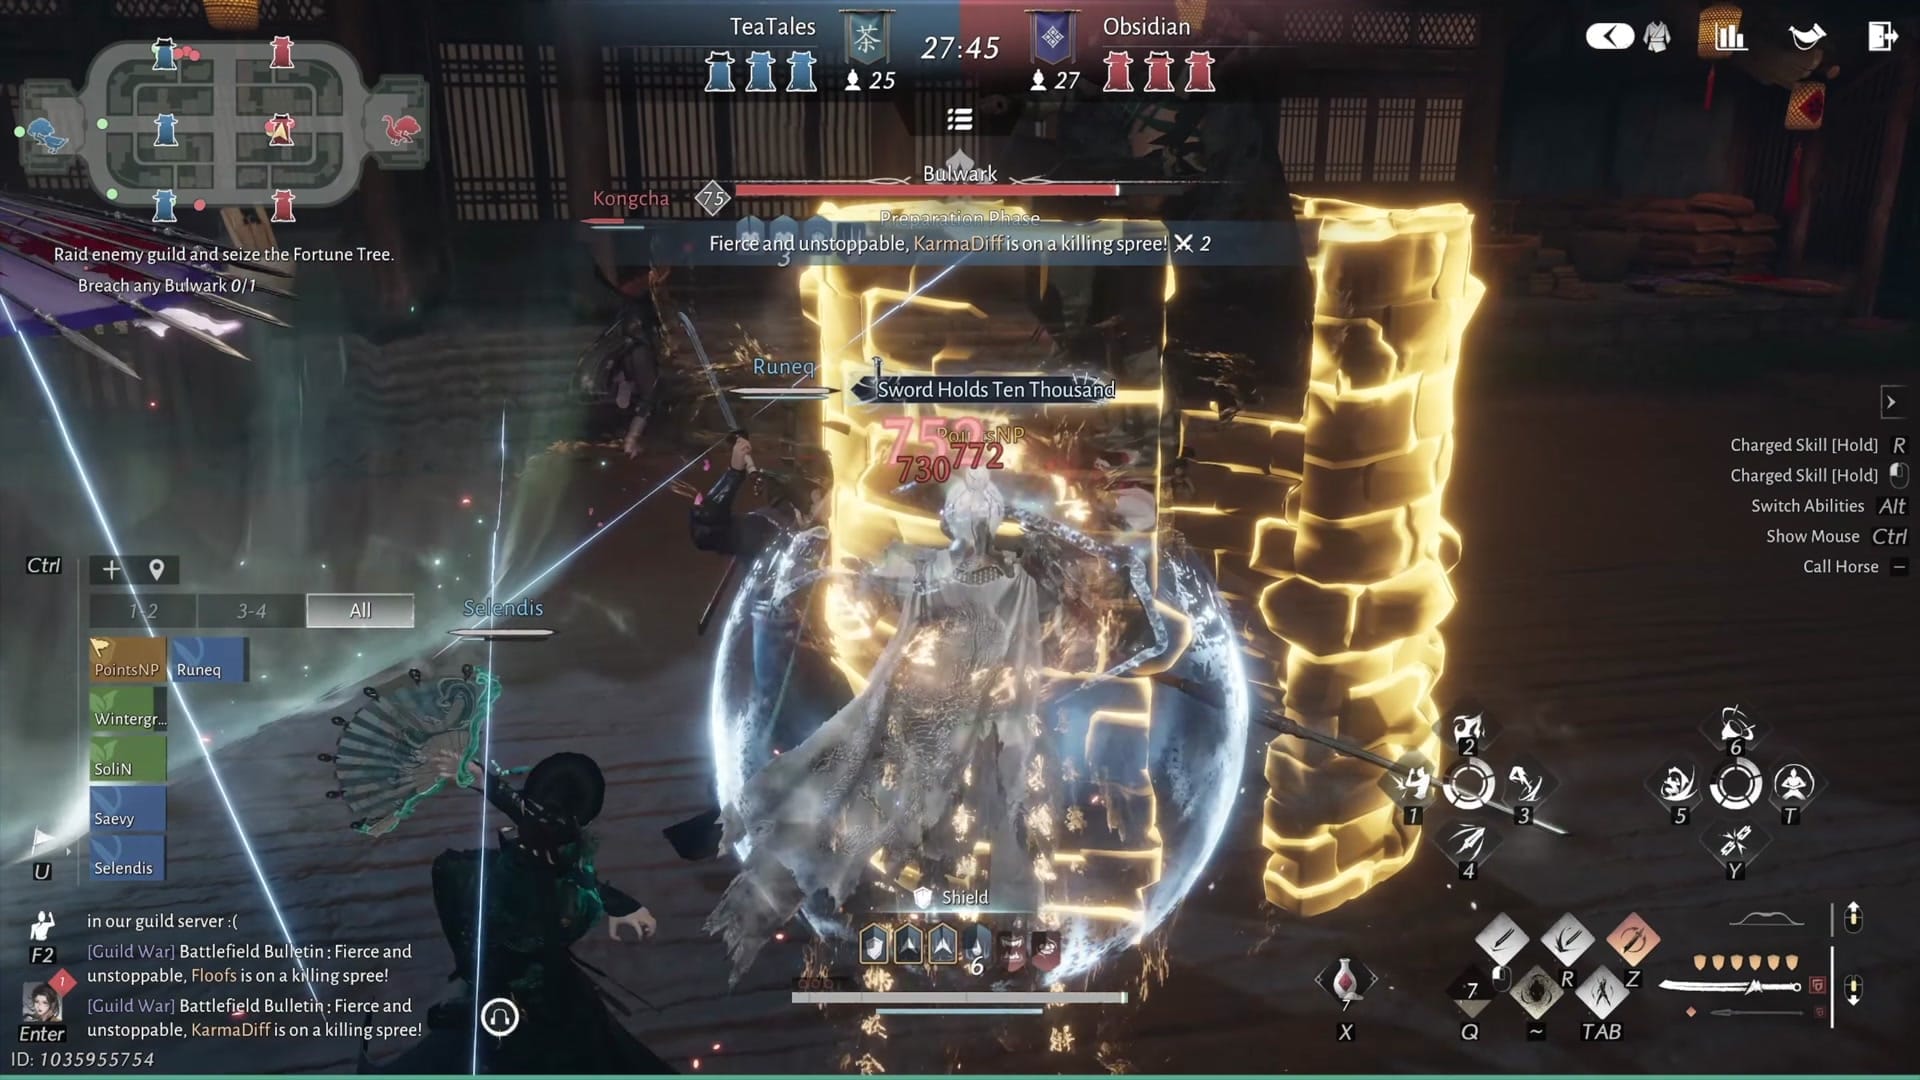
Destroy Enemy Towers
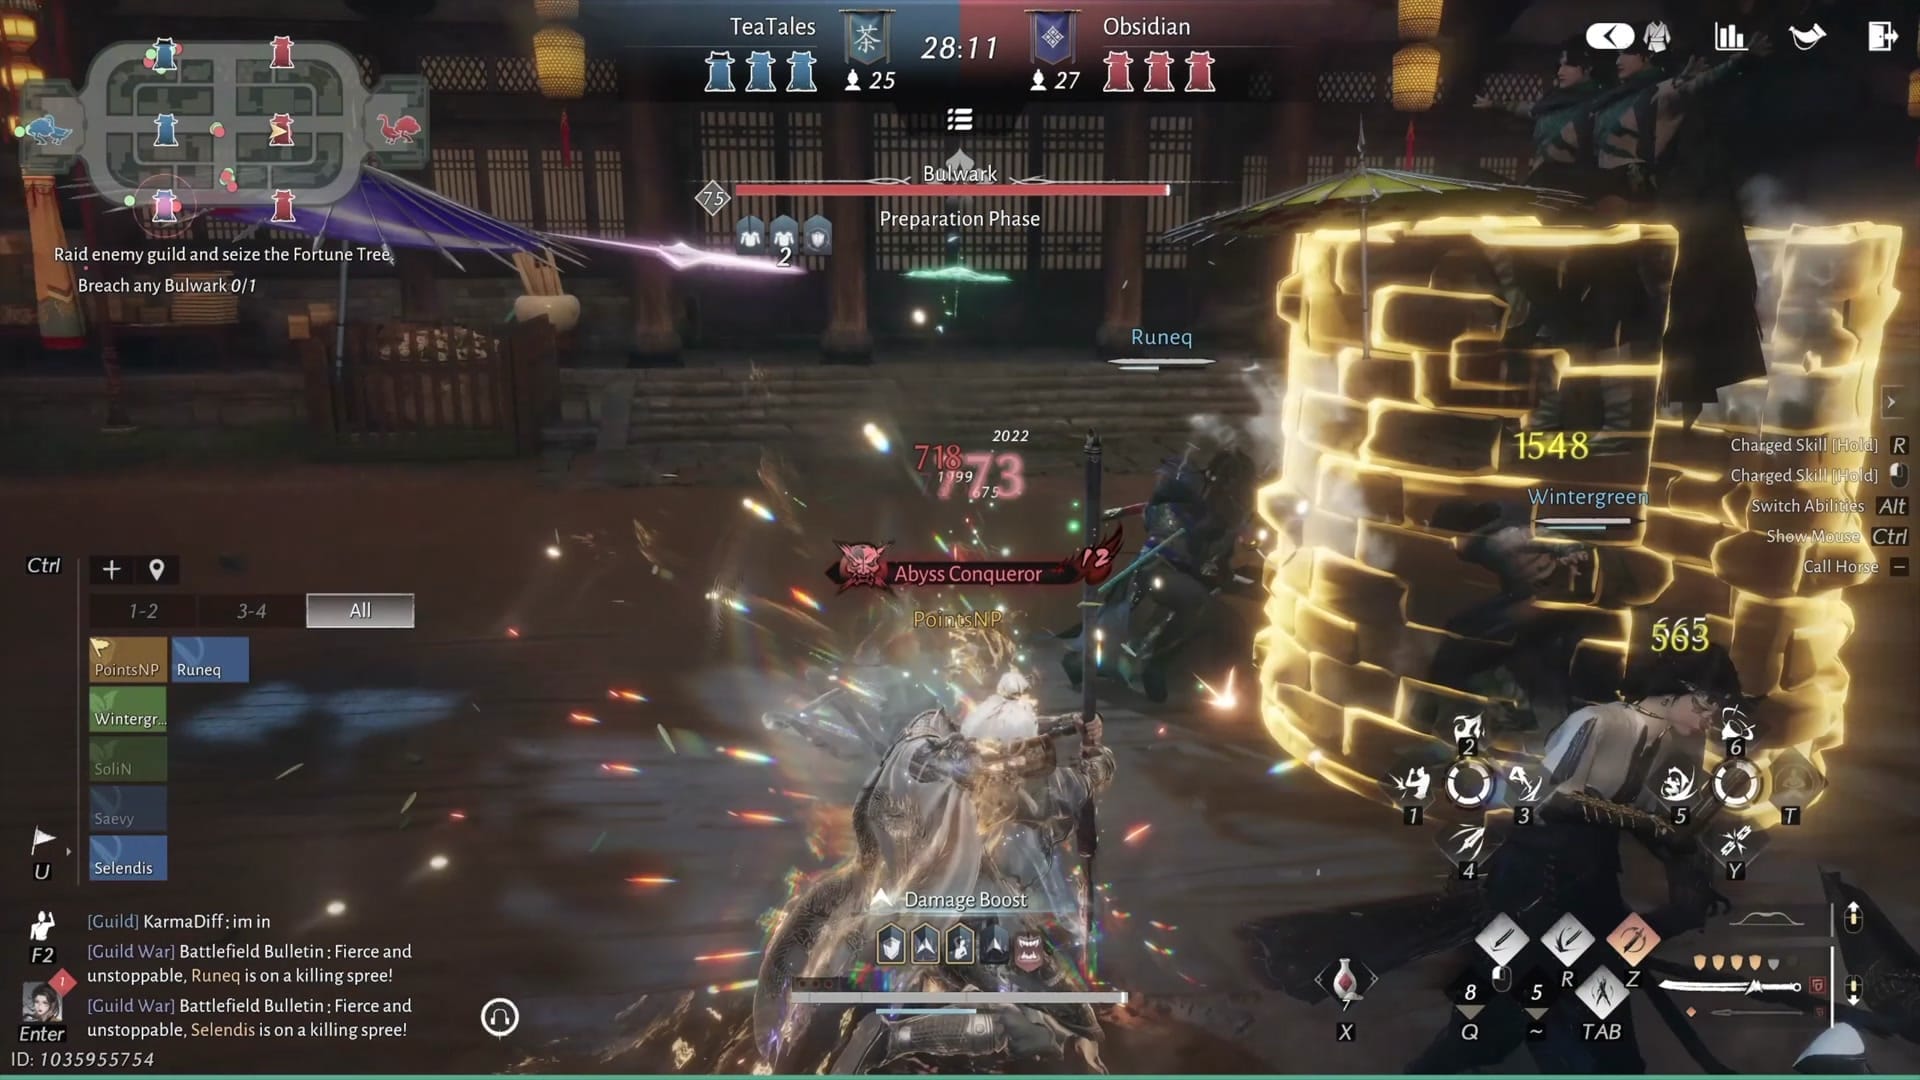
Each team defends three towers. You must destroy at least one enemy tower before you can attack the goose. Each additional tower you destroy applies a debuff to the enemy goose, reducing its effective health or defenses.
With a full 30-player roster, splitting forces to take multiple towers can be effective. Smaller teams should focus on the middle tower to avoid spreading too thin. Fight near enemy towers whenever possible so your area-of-effect abilities and Chi waves damage both players and the structure. Players can also mount towers to activate defensive skills, though the exact effects vary.
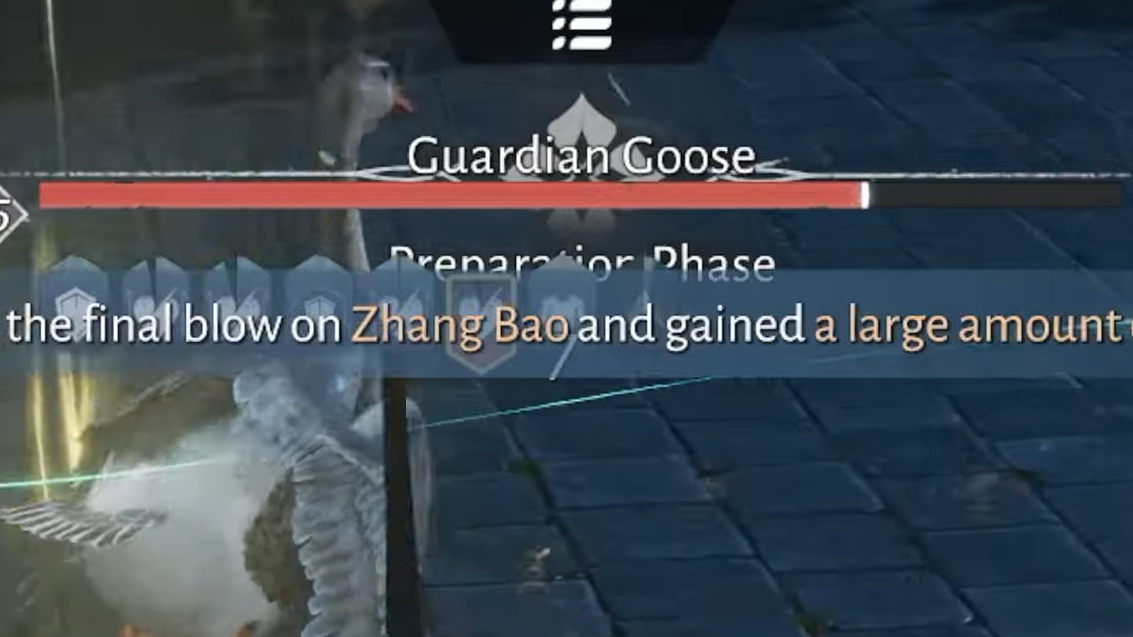
Kill the Enemy Goose
Once at least one tower falls, advance to the enemy base and attack the goose. Commanders will activate skills that boost damage against the goose by up to 100 percent for short windows. Coordinate your weapon EX skills during these buffs to maximize burst damage. Watch for the Hair Pulling buff icon and focus all attacks on the goose when it appears.
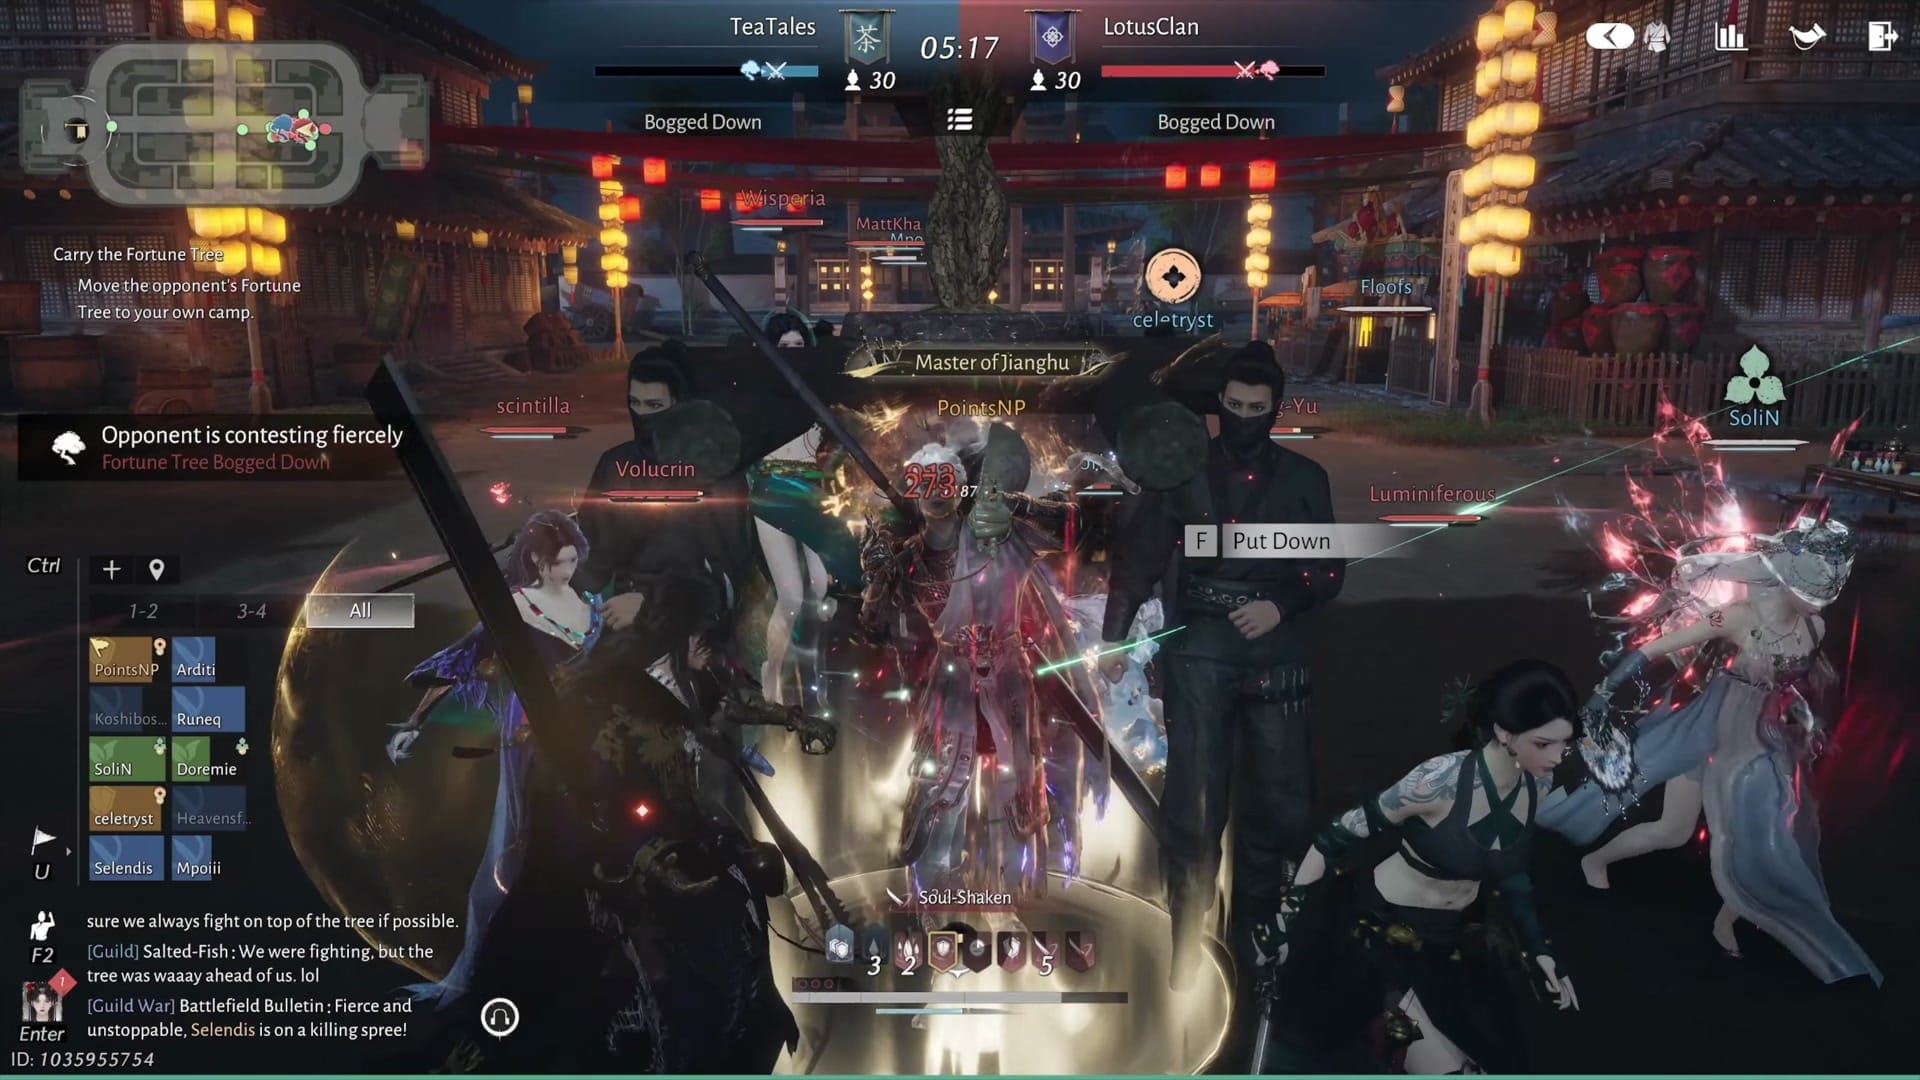
Move the Fortune Tree
After the goose dies, one player interacts with the enemy fortune tree to pick it up. The carrier moves very slowly, similar to the prisoner mechanic in Prison Break mode, and requires escort from the rest of the team. The match ends when the tree reaches your base, or when time expires. If neither team completes the objective, victory goes to the team that moved the tree farther or dealt more damage to towers and the goose.
To defend your own fortune tree, cluster around the carrier. More players near the tree slow its movement. Inkwell fan users should deploy windwalls to block the carrier's path.
Neutral Mobs and Minibosses
Every five minutes, neutral mobs spawn in the area between bases. Assign several players to kill these mobs, as they drop fun coins, the currency commanders spend on team buffs. Frontline Zeal, the most important buff, costs fun coins and stacks permanently throughout the match.
At the 25-minute and 15-minute marks, a miniboss spawns in the middle lane at a random vertical position. The player who lands the last hit secures the reward for their team. The first miniboss grants a large amount of fun coins. The second miniboss provides a team-wide buff. While not mandatory for victory, these bonuses significantly improve your team's position.

Halftime Show
At the 20-minute mark, the match pauses for a halftime event. One assigned performer from each team fights in a 1v1 duel. The winning team receives one of three advantages: a selected enemy tower loses 60 percent of its health, the enemy goose loses 20 percent of its health, or your fortune tree moves faster for a duration.
Commander Skills
Commanders manage a pool of fun coins and spend them on skills that buff the team or debuff enemies. Each skill has a cost and cooldown. Prioritize Frontline Zeal above all other skills, as it provides a permanent stacking buff that increases damage against towers and the goose while boosting Fortune Tree movement speed. The cost increases with each use, so budget carefully.
Hair Pulling boosts your team's damage against the goose by 100 percent for 10 seconds. Time your weapon EX skills to land during this window.
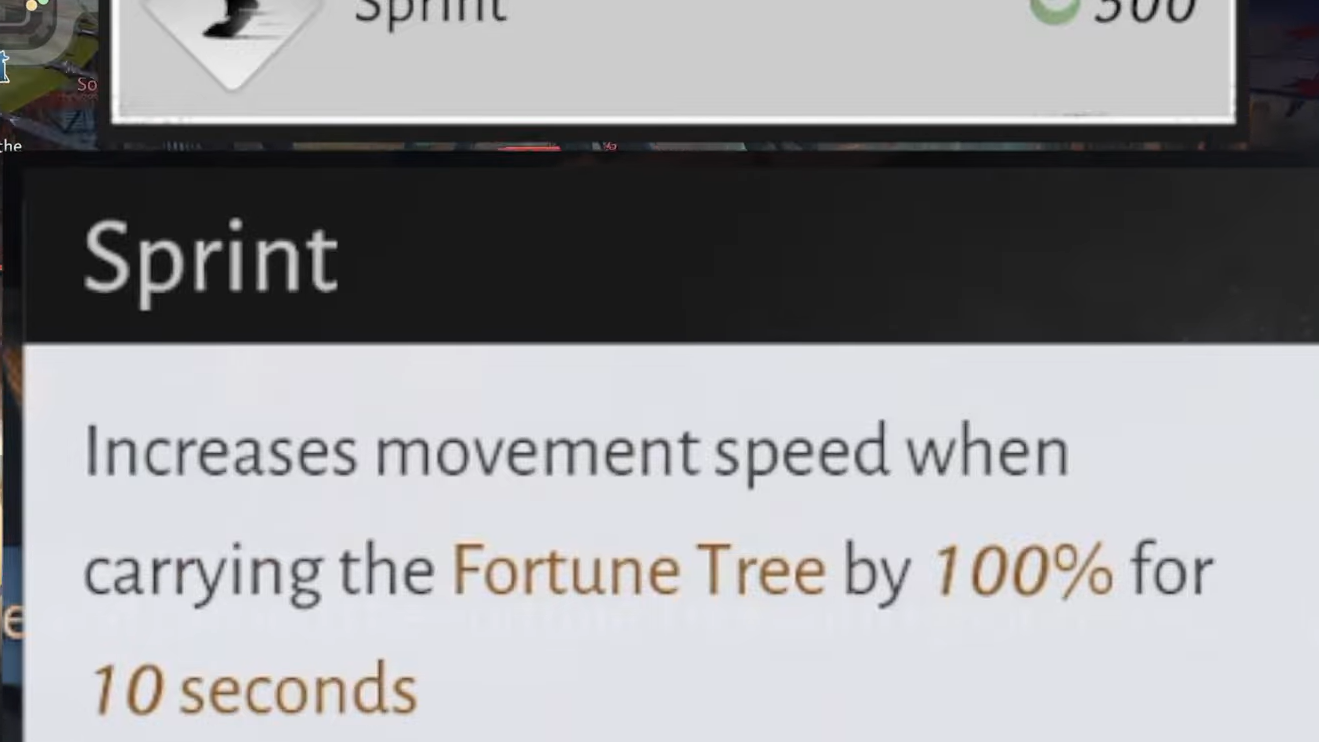
Sprint increases the Fortune Tree Carrier's movement speed by 100 percent for 10 seconds. Combine this with Relentless Advance, which makes the tree ignore interception for five seconds. This combo helps push the tree out of the enemy base, where movement becomes easier once you reach the lane.
Last Stand reduces your team's respawn time by 30 percent for one minute. If your team is two towers behind, the reduction increases to 60 percent. This skill becomes critical in the late game when respawn timers grow longer.
Bounty Strike increases damage to the fortune tree carrier by 40 percent for 10 seconds, making it easier to stop the enemy's advance.
Desperate Surge reduces enemy healing received by 60 percent for 15 seconds. Pair this with Moblade's Vacuum skill and Inkwell's Fanned Wind box to trap enemies, cut their healing, and eliminate them quickly.
You Got a Problem? increases your team's damage against towers by 100 percent for 10 seconds. Use this when your team is grouped and ready to focus fire on a tower.
Refight is an expensive skill that reduces remaining cooldowns for EX skills by 50 percent and increases damage and healing by 10 percent for 30 seconds. Save this for decisive moments when multiple EX skills can turn a fight.
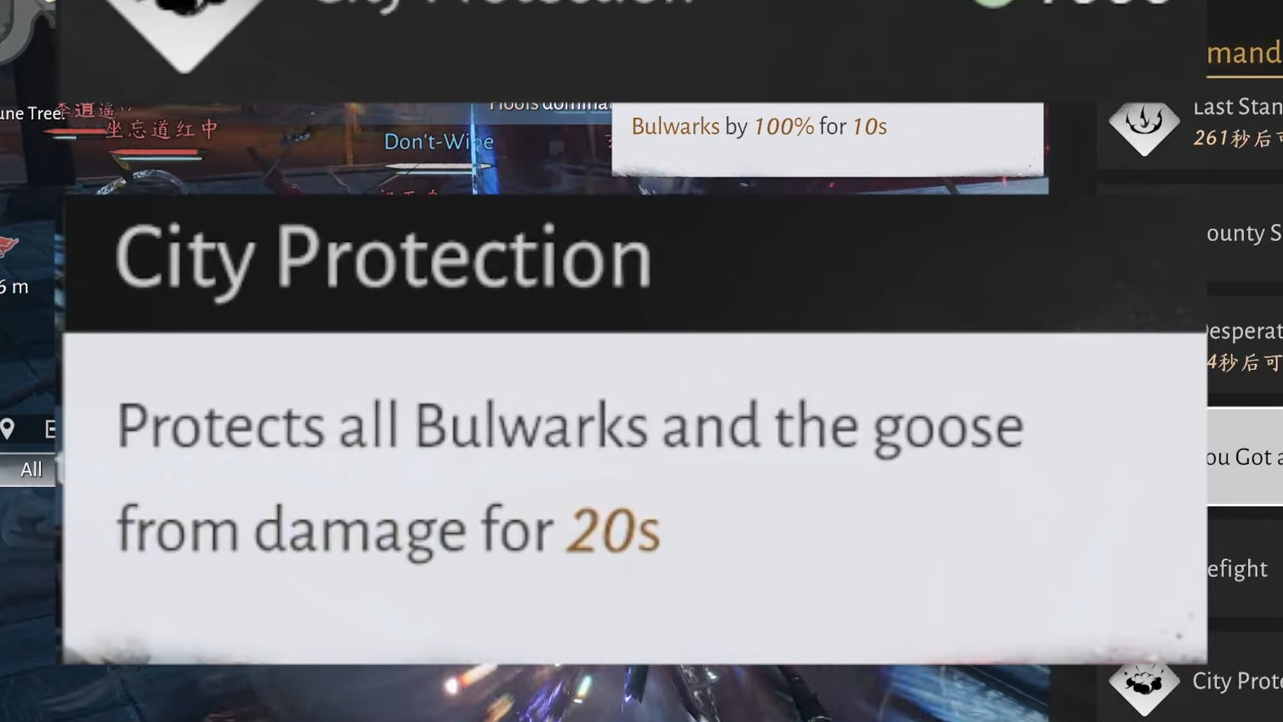
City Protection prevents all damage to your towers and goose for 20 seconds. Use this defensively when the enemy commits to a push.
Team Composition and Strategy
GvG rewards teams that coordinate positioning, weapon selection, and role assignments. Tanks and healers should be clearly marked so teammates can locate them during chaotic fights. Area-of-effect Mystic skills deal massive damage when enemies cluster around objectives. The Nameless Sword's Chi waves are particularly effective for hitting both players and structures.
Smaller guilds should avoid splitting their forces across multiple towers. Focus on the middle tower, then advance as a group to the goose. Larger guilds can divide into multiple squads to pressure different lanes and secure neutral mobs simultaneously.
Respawn times increase as the match progresses, making deaths more costly in the final minutes. Avoid overextending without support, and use the Last Stand commander skill to keep your team in the fight during critical moments.