
Mara is a Support Warden in Highguard who turns enemy deaths into protection and map pressure for her team. She excels at keeping allies alive during sieges and enabling aggressive respawns deep in contested territory.
Quick answer: Use Sacrifice on downed enemies to keep Soul Armor ready, rotate overshields before every push or defense, and hide Immortal Coil near objectives so your team can instantly rejoin fights without exposing the spawn point.
Highguard Mara overview
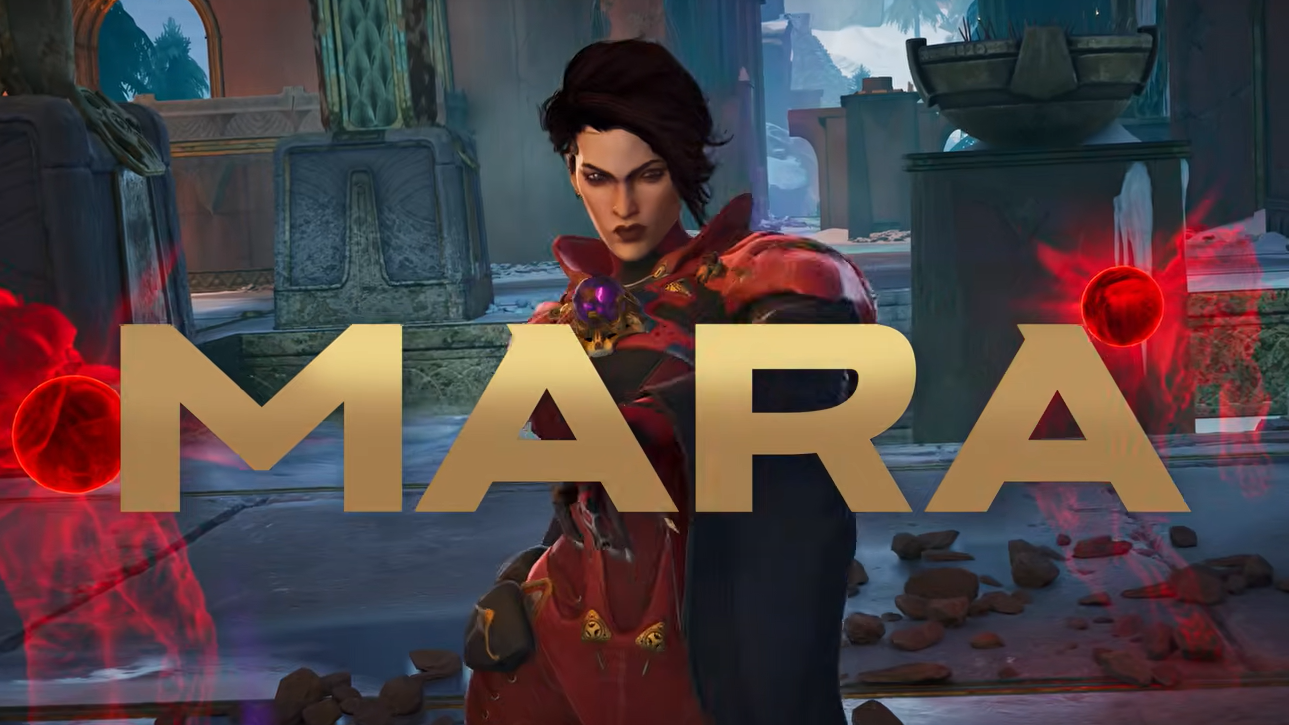
Mara is described as a witch-like conjurer who wields shadow magic tied to life and death. She joins The Iron Vigil as a Warden, using soul energy to protect allies and manipulate where fights take place.
In gameplay terms, she fills a classic support role:
- Overshields
- Team sustain
- Safe respawns
She is rated A-Tier and fits best on teams that want to play coordinated sieges rather than pure dive compositions.
Mara abilities and what they do
| Ability | Name | Effect |
|---|---|---|
| Tactical | Soul Armor | Grants allies an overshield that absorbs incoming damage. |
| Passive | Sacrifice | Consumes downed enemy players to recharge the tactical. |
| Ultimate | Immortal Coil | Creates a spawn point for your team with limited uses. |
Soul Armor (Tactical)
Soul Armor is the core of Mara’s kit. It projects an overshield onto allies, absorbing damage on top of their normal health and armor.
Key implications:
- Best used just before a team pushes or when expecting a counter-push.
- Significantly increases effective time-to-kill on shielded allies.
- Combines well with frontline Wardens who thrive while trading damage.
Sacrifice (Passive)
Sacrifice lets Mara convert downed enemies into energy to refuel Soul Armor.
Practical benefits:
- Rewards teams that confirm kills near Mara’s position.
- Encourages Mara to play close to skirmishes instead of camping far back.
- Keeps Soul Armor cycling during extended sieges if fights are going in your favor.
Mara’s identity revolves around this loop: enemies fall, she feeds on their souls, and allies are sent back into the fight with reinforced shields.
Immortal Coil (Ultimate)
Immortal Coil places a shadowy spawn point on the map that your team can use to return to battle. It has limited charges and disappears after enough uses.
Core uses:
- Forward respawn during sieges on enemy bases.
- Safe re-entry while defending key structures.
- Momentum swings after a wipe by getting allies back instantly.
Proper placement of Immortal Coil can decide an entire raid phase, especially when objectives are far from default spawns.
Best ways to play Mara
Ideal role in team compositions
Mara works best when paired with one aggressive Warden and one defensive or utility Warden. Examples of synergy patterns include:
- An Assault Warden that benefits from overshields while diving.
- A Defensive or Destructive Warden holding or breaking structures while Mara keeps them protected.
She should rarely be your primary fragger. Instead, she enables teammates to stay in winning positions longer and rejoin faster when they fall.
Positioning and movement
Mara wants to stay close enough to fights to use Sacrifice safely while avoiding being the first target.
General positioning rules:
- Anchor near cover with clear lines to your frontliner and to enemy bodies.
- Shift forward after winning trades so Sacrifice can refresh your tactical.
- Retreat behind your team when your ult is down, or Soul Armor is unavailable.
Think of Mara as a backline controller who occasionally steps into midline range to capitalize on fallen foes.
How to use Soul Armor effectively
When to cast Soul Armor
Timing Soul Armor correctly is more important than raw usage count. Aim to cast it at moments of highest impact:
- Right before your team starts a siege push through choke points.
- As soon as the enemy begins their offensive on your base.
- After trading damage when allies are low on shield but still in safe cover.
Avoid throwing it out when teammates are scattered or mid-rotation with no immediate threat. The overshield is strongest when a fight is imminent.
Synergy with other Wardens
Soul Armor amplifies Wardens who already strain enemy resources:
- Frontline Assault Wardens can absorb more damage while outputting their burst.
- Defensive Wardens holding walls gain extra time to react to breaches.
- Recon or utility Wardens can safely take peeks to gather information.
Communicate with your team so they delay their big plays until your tactical is ready. Treat Soul Armor like a mini-ultimate for key engages.
How to get value from Sacrifice
Securing enemy souls safely
Using Sacrifice recklessly can get Mara killed. Approach downed enemies with intention:
- Only move in when nearby threats are cleared or controlled.
- Coordinate with your team to watch angles while you perform the Sacrifice.
- Prioritize bodies that are close to cover so you can disengage after channeling.
On defense, Sacrifice is especially strong because enemy bodies often fall just outside your structures, letting you refuel without overextending.
Maintaining tactical uptime
The goal with Sacrifice is to keep Soul Armor ready for every important engagement.
To do that consistently:
- Use Soul Armor early in a fight, then immediately look for Sacrifice opportunities on downed foes.
- After winning a skirmish, quickly convert any remaining bodies before rotating.
- During long sieges, create a rhythm: shield, fight, Sacrifice, reposition, shield again.
Well-timed Sacrifices can compensate for Highguard’s long time-to-kill by constantly refreshing your team’s extra layer of protection.
How to place Immortal Coil
Best Immortal Coil locations
Immortal Coil is only as strong as its placement. It needs to be near the action but not exposed.
Strong placement concepts:
- Behind solid cover close to siege objectives.
- In side rooms or upper levels that are hard to clear incidentally.
- On flanking routes that give respawning allies a safe re-entry path.
Never drop Immortal Coil in open sightlines where enemies can destroy it while clearing a lane.
Offensive vs defensive usage
Immortal Coil shifts depending on whether your team is attacking or defending.
| Situation | Placement goal |
|---|---|
| Attacking | Forward, hidden spawn near the enemy base to keep pressure constant after deaths. |
| Defending | Safe spawn behind your defensive line so teammates can instantly rejoin without crossing open ground. |
On offense, a well-hidden Coil inside or just outside the enemy base can turn one successful breach into multiple waves of pressure. On defense, it prevents staggered returns from default spawns.

When to pick Mara over other Wardens
Mara is most valuable when your team needs survivability and spawn control more than raw damage or hard crowd control.
Consider picking Mara when:
- Your squad already has strong damage-focused Wardens.
- You expect extended sieges where respawn proximity decides outcomes.
- You prefer a support role focused on shields, positioning, and objective play.
She can feel weaker in purely chaotic deathmatch-style lobbies where teammates rarely coordinate or play around overshields and forward spawns. In structured teams that communicate, her impact scales dramatically.
Basic Mara game plan summary
To get consistent results with Mara, follow this simple loop:
- Open fights by casting Soul Armor on allies about to engage.
- Fight from safe midline positions, avoiding being the first target.
- Use Sacrifice on downed enemies as soon as it is safe to recharge Soul Armor.
- Place Immortal Coil in a hidden, strategically useful location close to objectives.
- Repeat overshield and Sacrifice cycles during sieges while your team exploits the forward spawn.
Played with discipline, Mara quietly controls the flow of battles, turning every enemy death into more staying power and map control for her team.