
Skip frustration by tackling Groal the Great with a plan: unlock the closer bench in Bilewater, clear the six-wave arena cleanly, then choose a high‑success strategy to end the fight. All tips below apply to the PC/console release of Hollow Knight: Silksong.
Before you start: recommended kit and checkpoints
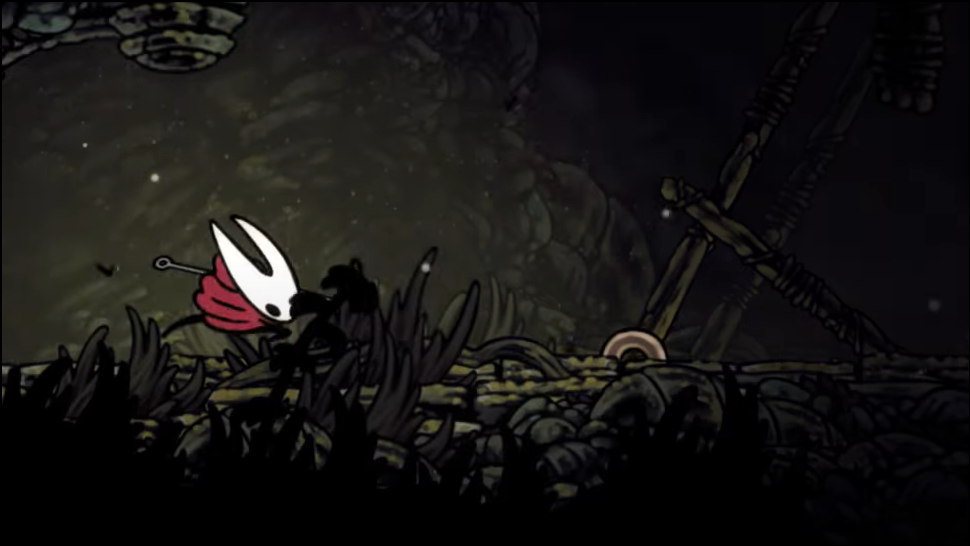
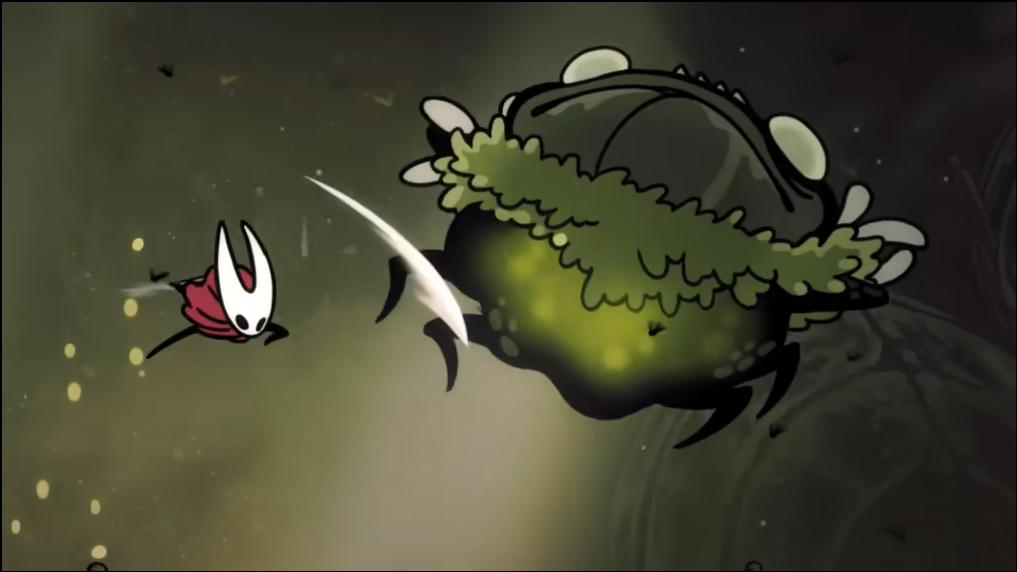
Groal sits at the top of Bilewater (Bilehaven). The arena floor is “maggot water”: it won’t kill you, but it blocks healing until you spend a full Bind to cleanse. Expect double-damage hits and a lengthy runback unless you unlock a closer bench.
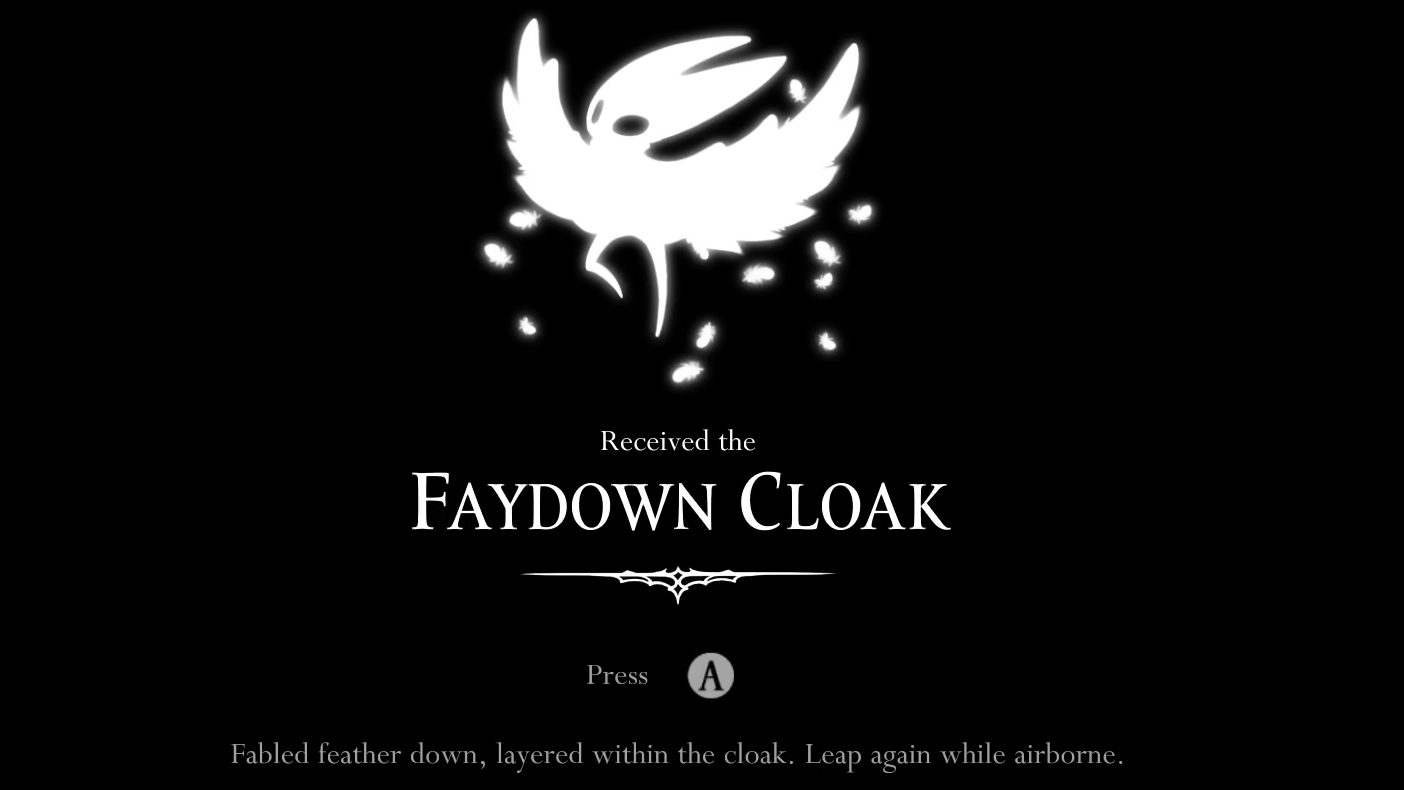
- Movement: Double jump (Faydown Cloak) makes the ascent and the fight notably safer.
- Mitigation: Wreath of Purity temporarily prevents maggot infestation; it buys you time if you slip into the water.
- Control and positioning: Ascendant’s Grip lets you cling to walls to bait darts and create healing openings.

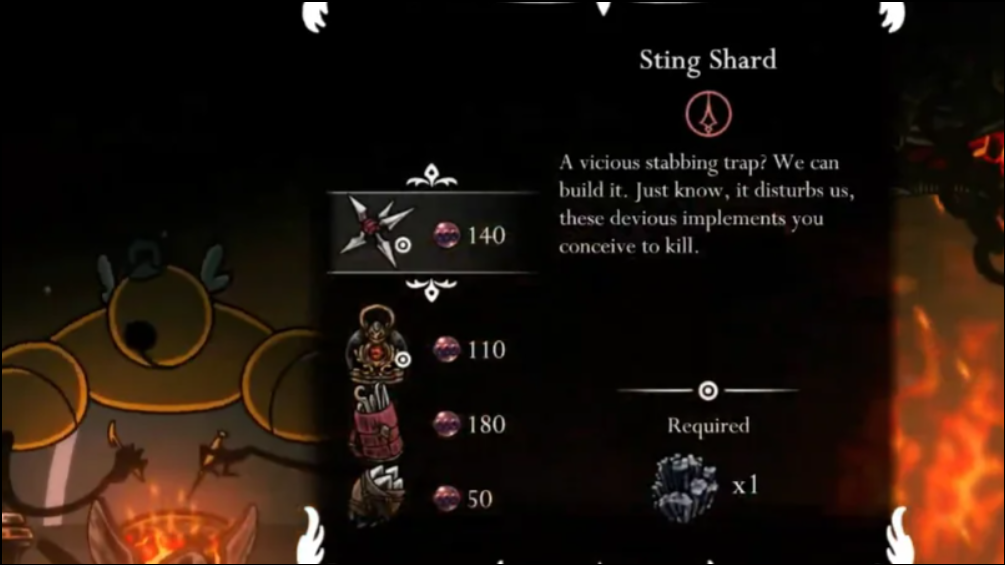
- Damage tools: Sting Shard (air “mine”), Curveclaw (throwable blade), and other ranged traps work well. Pollip Pouch adds venom to tool hits and speeds the kill on large targets.
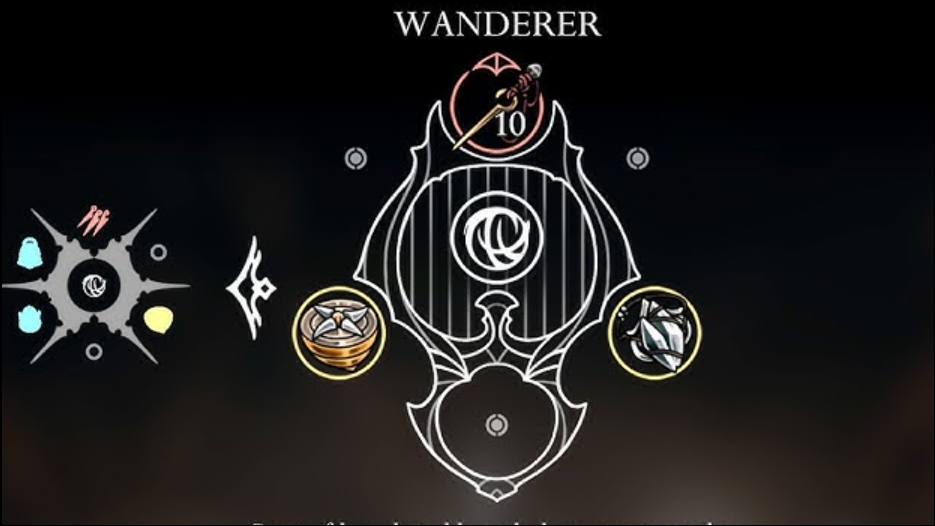
- Crests that help: Architect (for heavy tool use) or Wanderer/Witch (for pogo‑centric play).
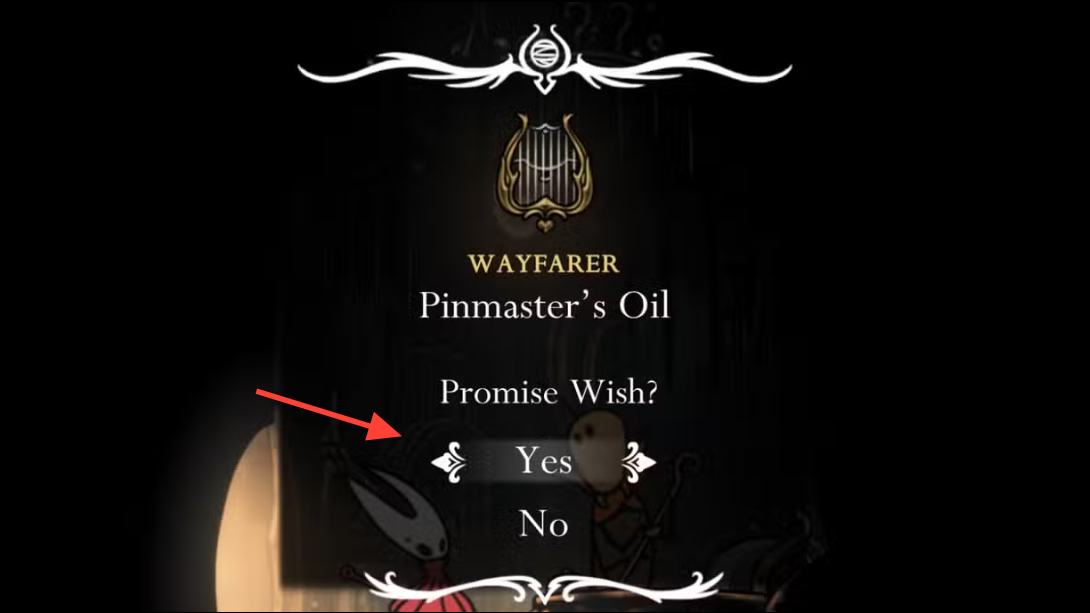
- Power: Pinmaster’s Oil (needle upgrade) reduces the number of clean hits needed.
Unlock the hidden Bilewater bench (cuts the runback)
This bench is close to the gauntlet/boss and dramatically shortens retries. It’s concealed through maggot water and a breakable wall.
Step 1: From mid‑Bilewater, head into the long horizontal corridor on the right side of the ascent. Keep moving right into the next room. This room is your entry point to the hidden path.
Step 2: In that room’s far right corner, drop into the maggot water to uncover a submerged tunnel. Swim right to the next vertical shaft. Enter deliberately—maggots won’t kill you, but they will block healing.
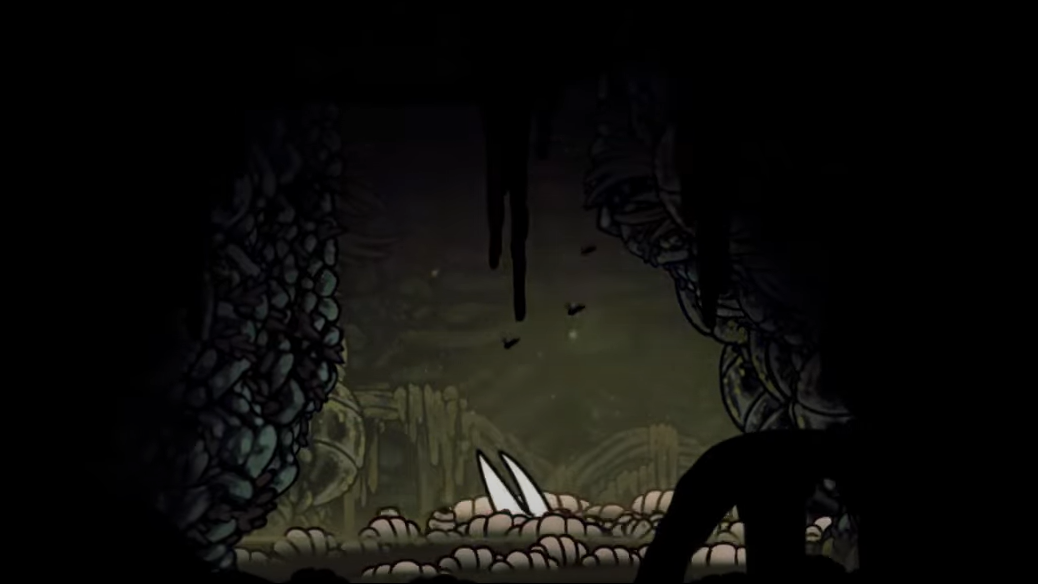
Step 3: Fall down the narrow shaft to reach a tucked‑away bench room. Sit to set your respawn here. Before you leave, attack the cracked wall on the left to open a shortcut for later returns.

Reach Groal’s arena with resources intact
The climb from the hidden bench is short but packed with hazards that can bleed masks and silk.
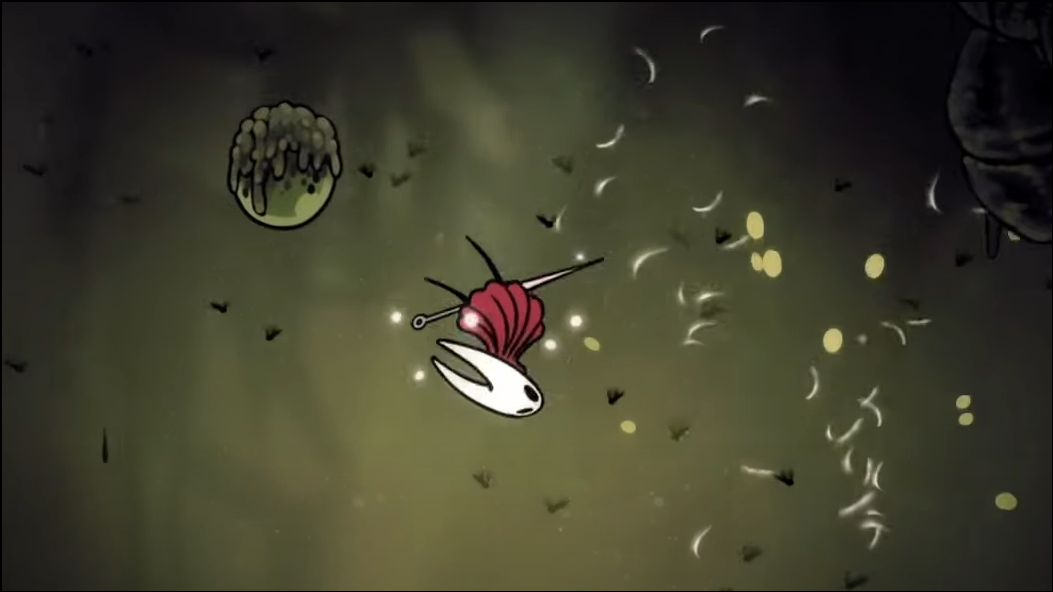
Step 1: Prioritize mask conservation over speed. If you fall into maggots, decide immediately: either spend a Bind to cleanse at the next safe platform or commit to reaching the arena and using its silk stashes and wave downtime.

Step 2: Use wall‑cling (Ascendant’s Grip) to bait sideways dart shots into safe angles. When you see traps or bounce orbs ahead, wait out patterns rather than forcing jumps through unstable timing.
Step 3: Enter the arena stocked: aim for full masks and a near‑full silk spool. Don’t spend tools on the approach—you’ll want them for the boss.
Clear the six‑wave arena consistently
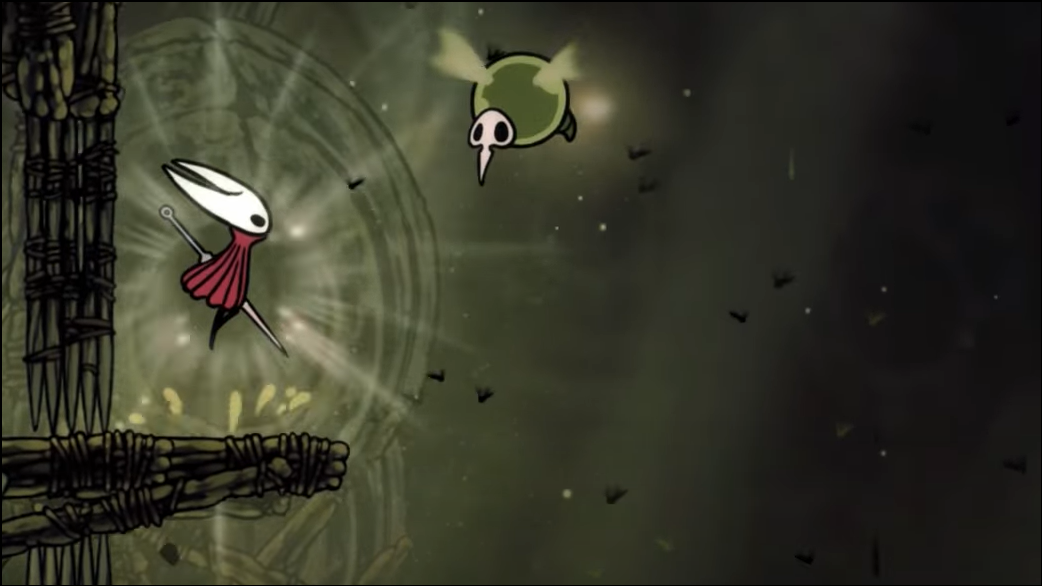
Groal doesn’t appear until the arena locks you into six waves of Stilkin and trap events. Treat this like a mini‑boss with its own script.
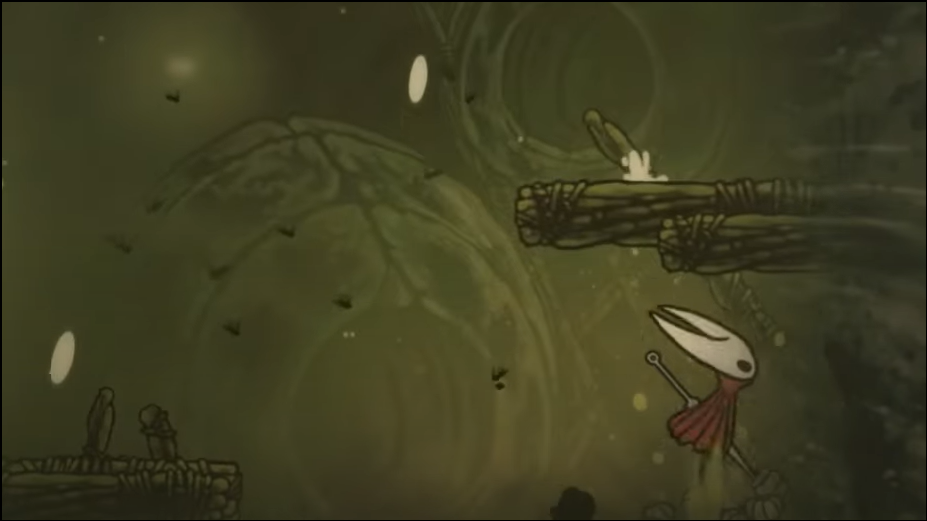
Step 1: Fight from the outer raised platforms (far left and far right). These reduce accidental slips into the water and keep dart trajectories predictable.
Step 2: Stick to walls between spawns. Clinging lets you redirect enemy aimed shots, drop in with controlled hits, and immediately hop back to safety.
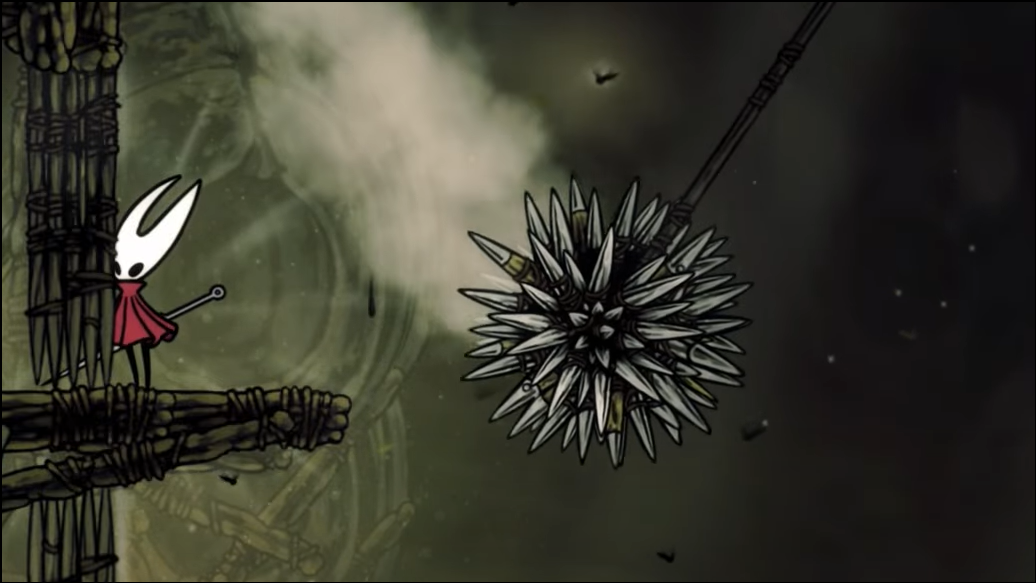
Step 3: When the spike‑ball trap swings across the arena (it appears mid‑gauntlet and later returns for a second pass), hug the extreme corner of a side platform to avoid both arcs.
Step 4: Save every tool for Groal. The waves are manageable with basic needle play; tools are far more valuable once the boss is active.
Step 5: If your cocoon is present, hold it as an emergency top‑up for the boss rather than popping it during the waves.
Method 1: Corner‑in‑maggots tools strategy (most reliable)
This method neutralizes most of Groal’s attacks and converts the fight into a tool check. It’s especially strong with Architect + venom tools.
Step 1: As Groal surfaces, top up masks, then drop into the bottom left or bottom right corner pool. Tuck in tightly under the side platform. From here, most attacks will miss or pass overhead.
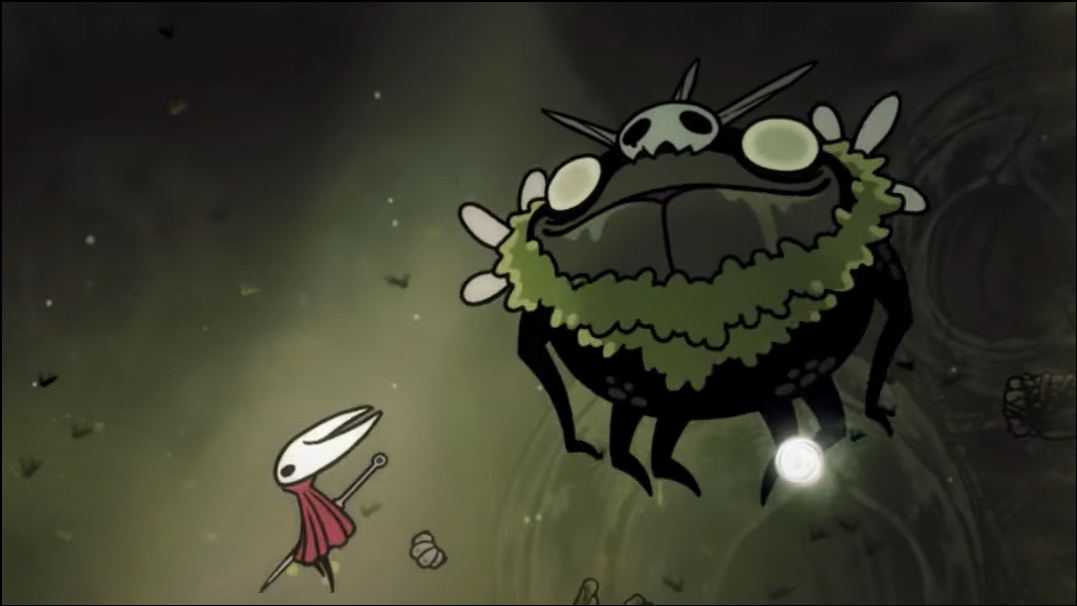
Step 2: Throw traps at Groal whenever he’s above water. Sting Shard and Curveclaw (with Pollip Pouch) deal repeated hits on this large target. Time a toss just as he resurfaces after a dive for guaranteed contact.
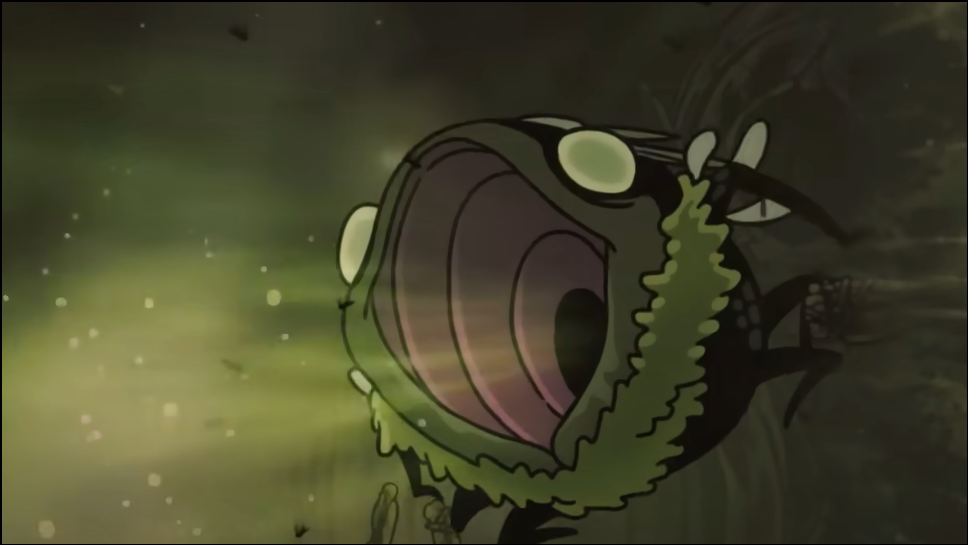
Step 3: Watch only three threats from the corner: his breach (dive up into you), spit bombs that explode just above the waterline, and the phase‑two soul projectiles. If particles indicate a breach under you, scoot toward the center and re‑seat in the corner after the splash.
Step 4: For phase‑two soul shots, hop deeper into the nook or momentarily rise to let the line pass, then settle back down. If swallowed, mash attacks—you’ll hurt him inside and get spat out with room to reset.
Step 5: Heal only after a dive or during his spit animation. Those windows are long enough, even with adds present, and spit aims laterally away from the corner.
Method 2: Aerial pogo strategy (fast if confident)
If you prefer classic platforming pressure, stay airborne and punish Groal’s openings. Wanderer/Witch crests synergize with down‑slashes.
Step 1: Maintain height over the center third of the arena. Use double jump to reposition above Groal’s head and angle safe pogos.
Step 2: Pogo during the spit tell (stomach glows green). The orbs fire sideways or on a shallow arc; being above him avoids the blasts and lands damage.
Step 3: On dive cues (small hop then plunge), drift to a flank and prep a descending punish as he resurfaces. Avoid striking on his inhale—contact damage and suction are high risk.
Step 4: In phase two, jump early to “lead” soul projectiles high, then dash back under his line to keep pressure. Reserve tools to finish the last quarter of his health quickly.
Step 5: Heal after a dive or mid‑spit while positioned above or below him; these are the safest timings without the corner setup.
Groal’s moves and quick counters
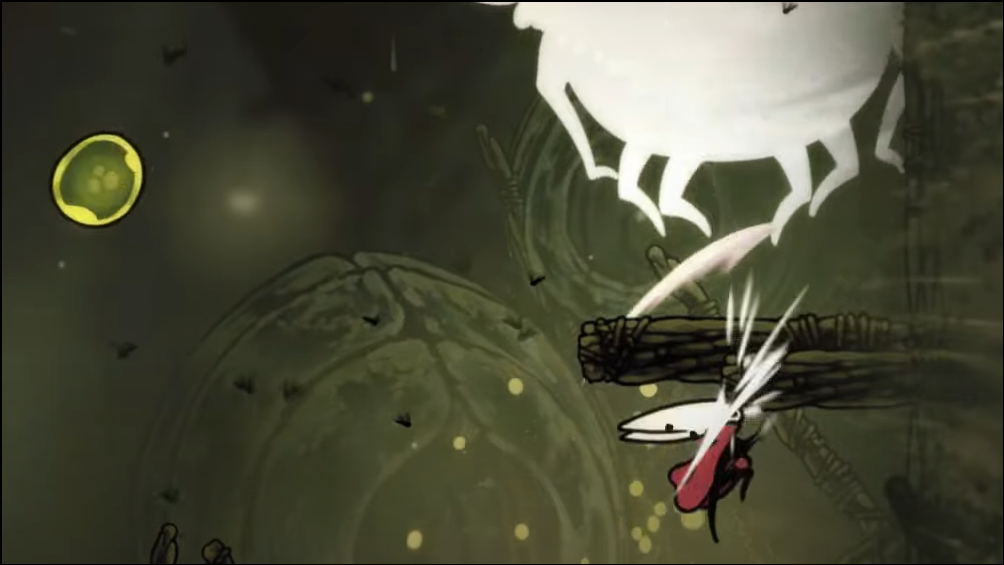
- Spit (two explosive orbs). Counter: Get under him or pogo from above; orbs vanish if they land in water.
- Inhale (suction cone, contact damage). Counter: Dash away or cling to a wall; avoid attacking head‑on. If eaten, attack to escape while dealing damage.
- Dive/Resurface (plus add spawns or trap trigger). Counter: Sidestep the entry/exit spot; punish the resurface, then reset.
- Phase‑two Soul shots (2–3 horizontal projectiles). Counter: Jump to pull aim high, or sink into a corner pool and wait it out.
- Stagger (rolls into the water). Note: You can’t capitalize much—reset position and prep your next safe sequence.
Rewards and what changes after the fight
Groal has roughly mid‑tier health (about 650). Defeating him spawns a permanent bench in the arena and opens the hut to the left containing the Seeker’s Soul (used later for progression). You’ll also unlock a shortcut out of the zone, and new Stilkin Trappers begin appearing across Bilewater.
With the hidden bench set and a repeatable plan (corner tools or aerial pogo), Groal becomes a short, controlled encounter. If the area still feels punishing, grab Wreath of Purity first and return—the fight becomes far more forgiving.