
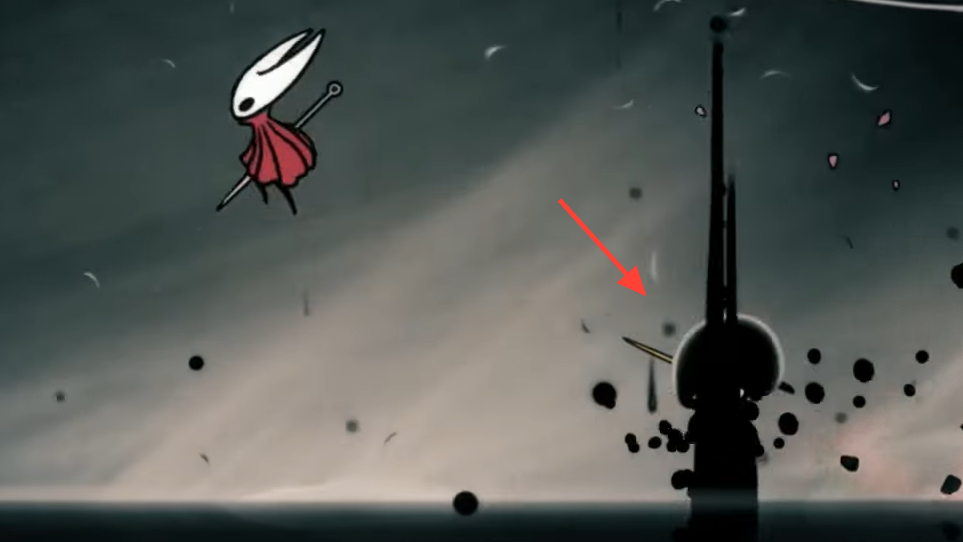
Lost Lace is Silksong’s secret final boss: a fast, duel-style encounter that layers void hazards onto Lace’s prior moveset. She has 1,800 health and waits in The Abyss beneath the Void Ocean; you’ll need the Everbloom to reach the arena. Mechanically, the fight unfolds across three phases, each adding screen control tools that punish panic movement and greedy offense.
Access and arena (what to expect before you drop)
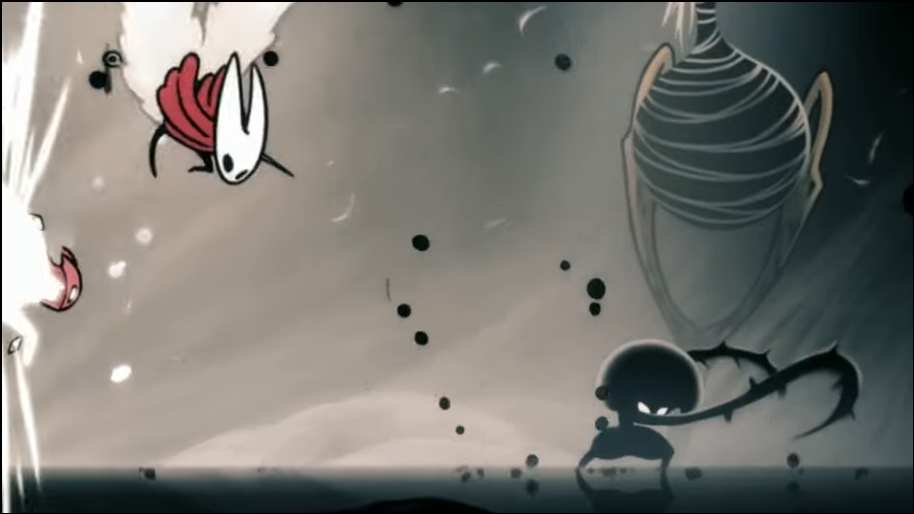
The arena is wide with high walls and few landmarks. Visibility tightens as the fight escalates, especially in phase three when void effects darken the screen. Plan on doing some of your repositioning along the walls and high in the air to buy time for reads. Contact damage is punishing, and players commonly lose runs by dashing into Lace as she emerges from the floor. Reducing unnecessary movement is as important as learning punishes.
Phase 1: core moves and safe punishes
Phase 1 is a souped‑up duel with Lace’s Cradle kit plus void elements. Learn these anchors first:
- Dive (floor emerge): She burrows and pops up near you, landing or leaping. Keep her on screen and move minimally until you see the exit point; jump or short‑dash to clear the emerge and counter on landing.
- Dash series with tendril trails: Two rapid dashes that can chain into a third if you’re far or grounded. The safest punish is after the final stop: approach on foot, strike once or twice, then reset. Jumping too early often baits her into an upward slash or diagonal chase.
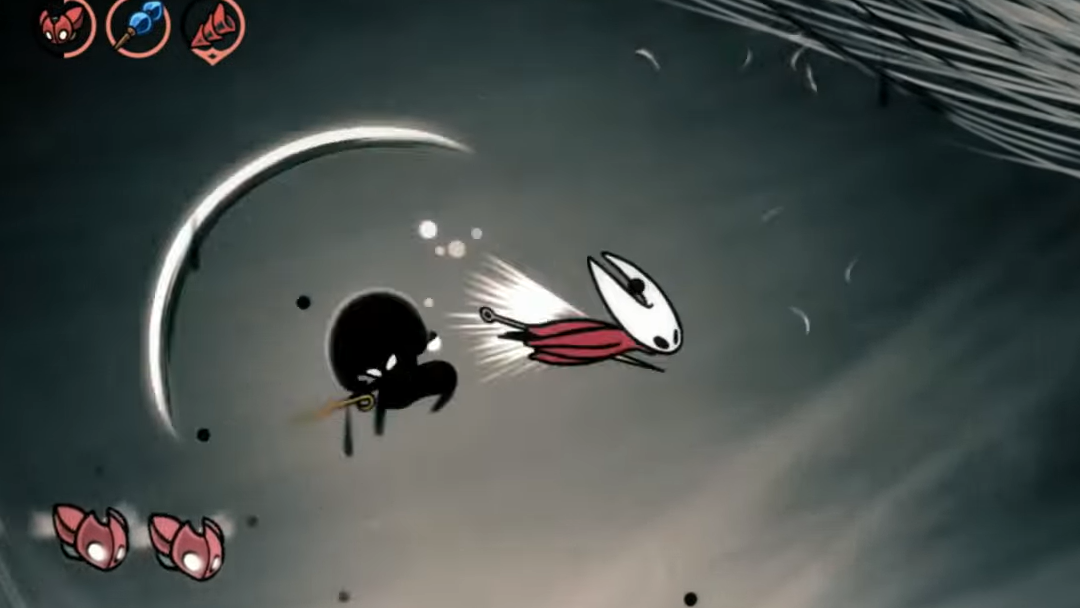
- Void Tendril (ground or diagonal from air): On the ground, she lashes straight; from the air, it’s a 45‑degree swipe. If she hops, step directly underneath and up‑slash, then take one more hit as she lands.
- Triple Slash (forward swings): Respect the third swing—most players get clipped trying to trade. Wait it out; the end lag is brief but real.
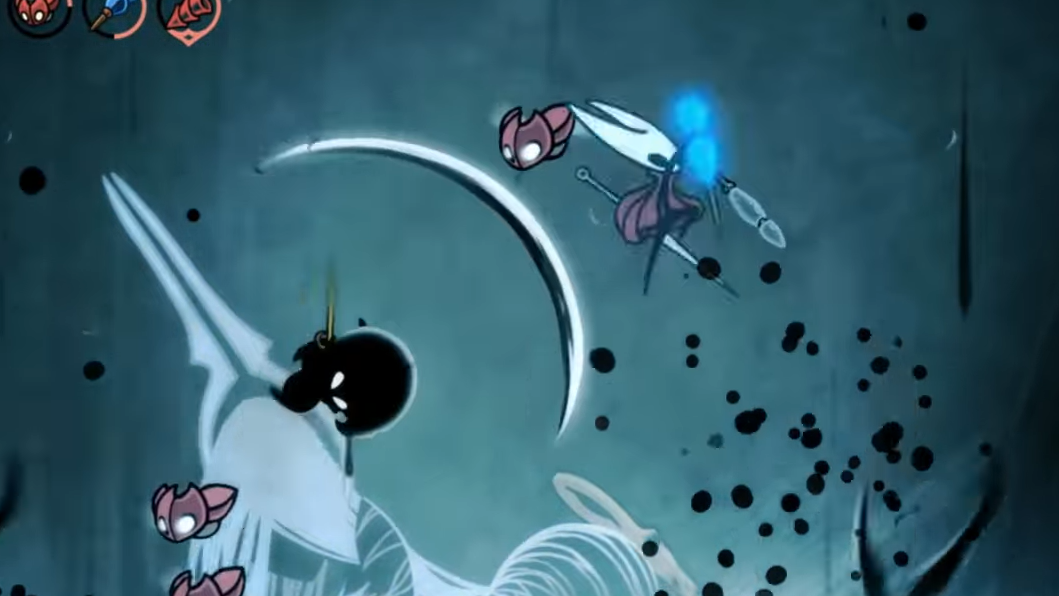
- Guard (parry stance): If you strike her guard, she either flurries forward or dives and reemerges into a diagonal flurry. The universal answer is to jump, then dash through her to the far side. You’ll either be out of range or land behind her for a small punish.
Discipline here carries the run: stick to one‑ or two‑hit punishes, prioritize staying on camera with her, and avoid full‑screen dashes that invite a floor emerge directly into your path.
Phase 2: void pillars, projectiles, and the “blob” punish window
Phase 2 begins with a laugh cue and adds void screen control on top of Phase 1:
- Void Tendril Summon (four pillars): Four evenly spaced ground spots quiver, then vertical tendrils rise. Jump toward a gap the moment you see the tells; she may burrow and reappear alongside a pillar—stay alert for an immediate follow‑up.
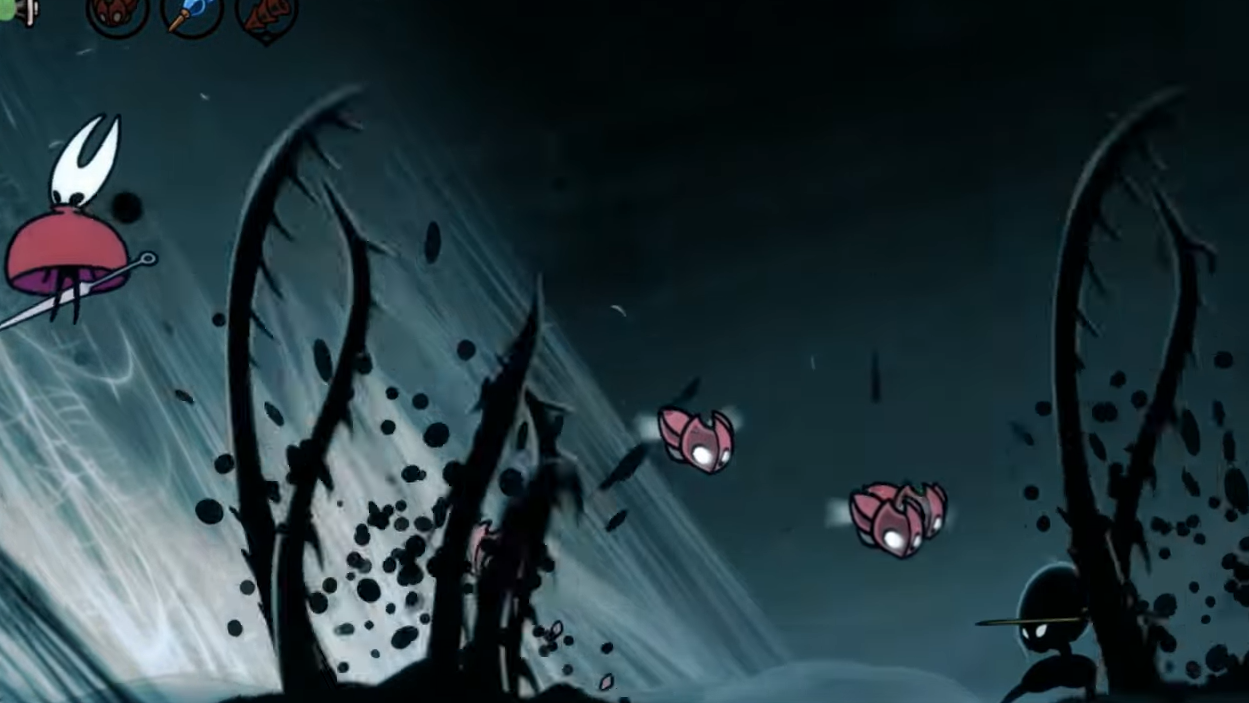
- Void Blob Summon → circular blades: She hops and fires six blobs to each side; after landing, each blob erupts into a circular fan of void blades. This is your longest, cleanest punish. Stand directly beneath her during the lob and attack; the blobs land to the sides, not under her. Exit the center before the eruptions finish.
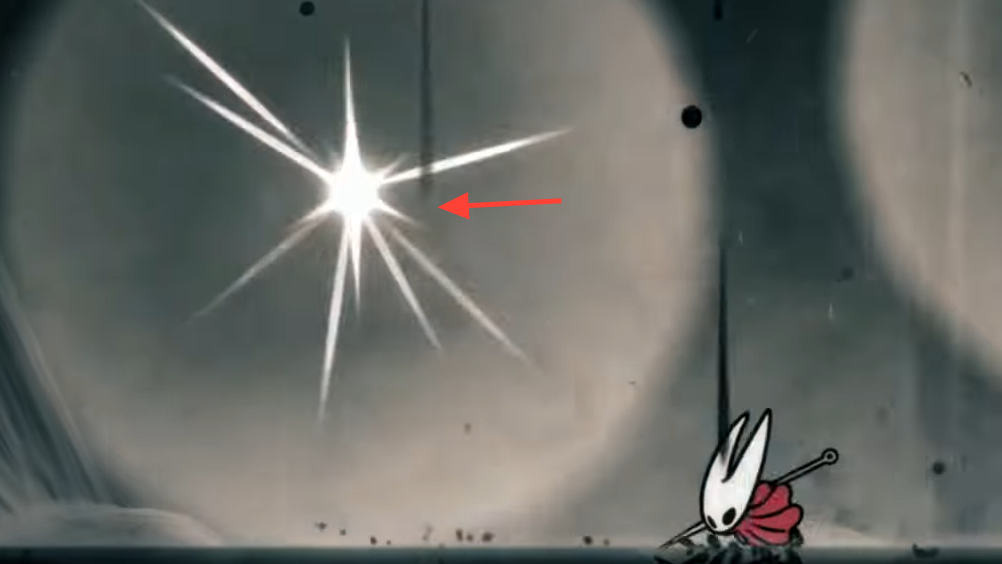
- Void Projectile Summon (three shots): Three lights appear in the air, each firing in sequence. You can avoid them by timing a short move or dash after each shot—no need to burn major mobility here. Lace often tries to appear under you afterwards; be ready to hop and reset.
- Dive (altered): Her floor dive now sprouts tendrils at the entry/exit point; don’t chase the hole. Wait for the exit and punish the landing, or simply vacate and stabilize.
Phase 2’s failure mode is floor noise. Keep your eyes on the quiver tells and where Lace will re-enter. Prioritize the Blob Summon punishes; use them to bank damage without overextending.
Phase 3: void waves and star swarms
Between phases, the arena ruptures, two massive void waves sweep across, and Grand Mother Silk drops. After that, Phase 3 accelerates her entire kit and adds two arena‑wide threats:
- Void Waves (full‑width sweeps): A huge tendril wave enters from one side, then the other, taller than a normal jump. Common answers are clinging to a wall and going over the crest with your long movement, or using aerial mobility tools to skim the top. The hitbox is lower than it looks—ride the lip rather than overcommitting into a corner.
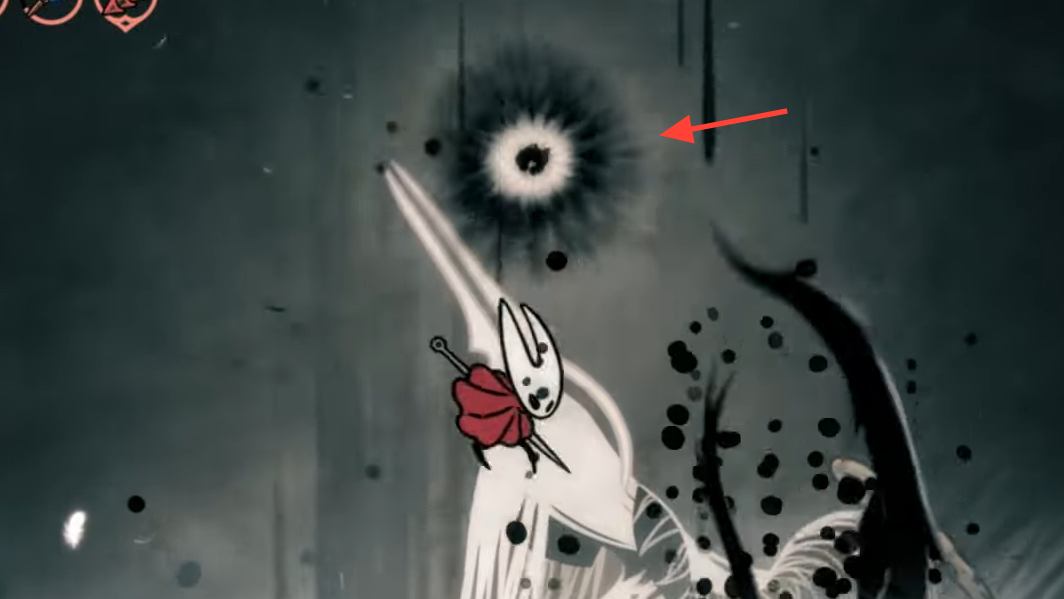
- Star Summon (white telegraphs → slash swarms): Four to five circular telegraphs appear in the air; a moment later, each bursts into a swarm of slashes. Getting caught triggers a short cinematic that inflicts three Masks, then she dives and raises a ring of tendrils on reentry. The counterplay is twofold: stay grounded and stand in the gaps between telegraphs, then punish her dive exit once she appears—jump to clear the follow‑up tendrils.
Lace strings moves faster here and often denies her own punish windows by immediately dropping back into the void. Shift your win condition: let autonomous damage carry more weight, and only take guaranteed needle hits after landings, dive exits, or the Blob Summon equivalent if it appears.
Loadouts that work (and why)
You don’t need a specific crest to win, but certain pieces solve consistent problems in this fight:
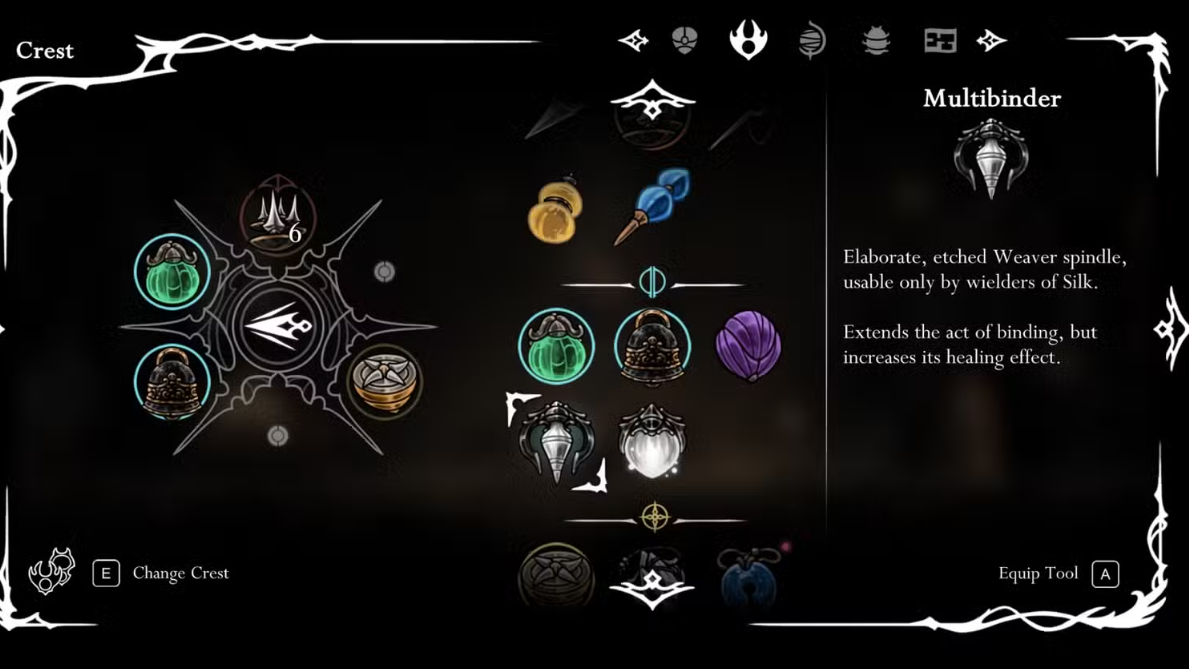
- Survivability: Multibinder and Injector Band pair well to lock in faster, chunkier heals when you secure a window (Blob Summon, post‑landing, or during high‑air stalls). Players also report success with Warding Bell to protect short heals in Phase 2.
- Mobility/control: Cling Grip is valuable specifically for Void Waves; hugging a wall simplifies timing the crest jump over the sweep. Long‑range moves like Clawline or a second cloak let you clear from wall to wall without gambling on floor space.

- Passive damage: Tools like the Cogfly help in Phase 3 when needle punishes shrink; deploying one or two lets you prioritize dodging. Floor tacks/traps (Architect‑style builds) can also “fill the gap” while you play reactive, though Lace will destroy tools if they’re placed poorly.
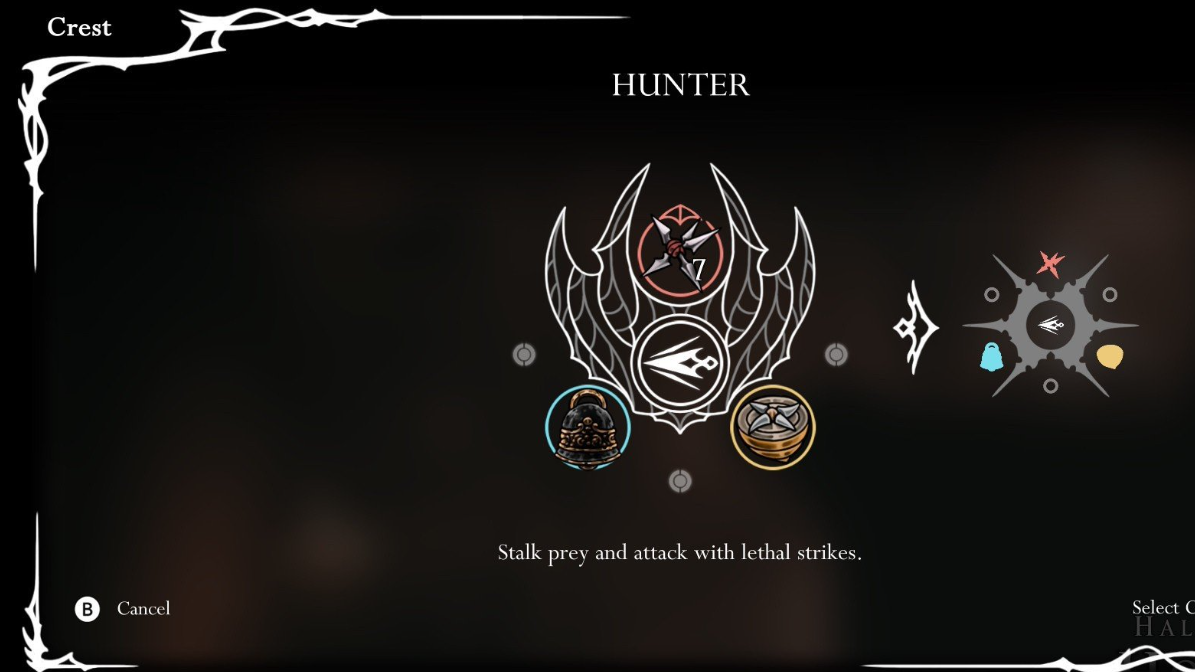
- Playstyle crests: Reaper supports pogo‑centric punishes (reliable on the dash series and diagonal slashes). Wanderer offers range and pace to match her teleports. Architect can “cheese” portions with trap spam if you already know the patterns.
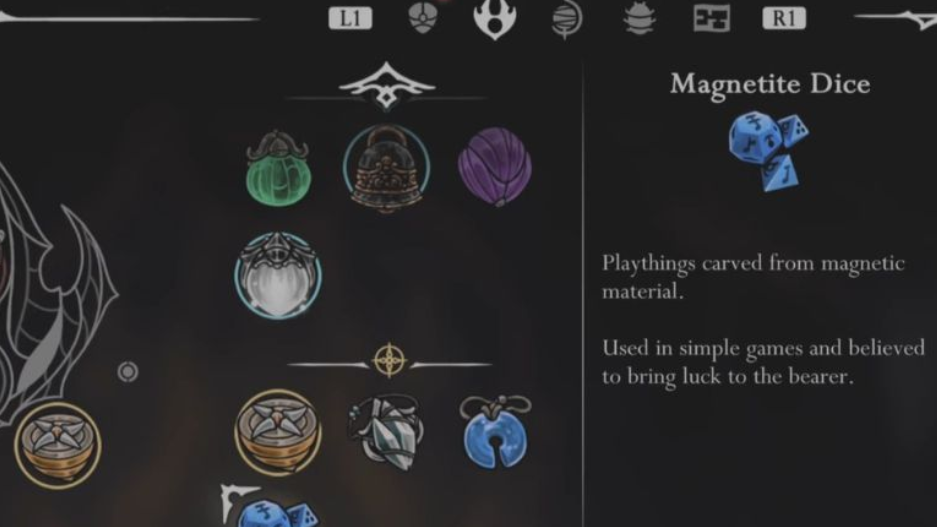
- Yellow slot: Magnetite Dice is a frequent pick because occasional prevented hits swing attrition fights; most other yellows offer less in constant pressure.
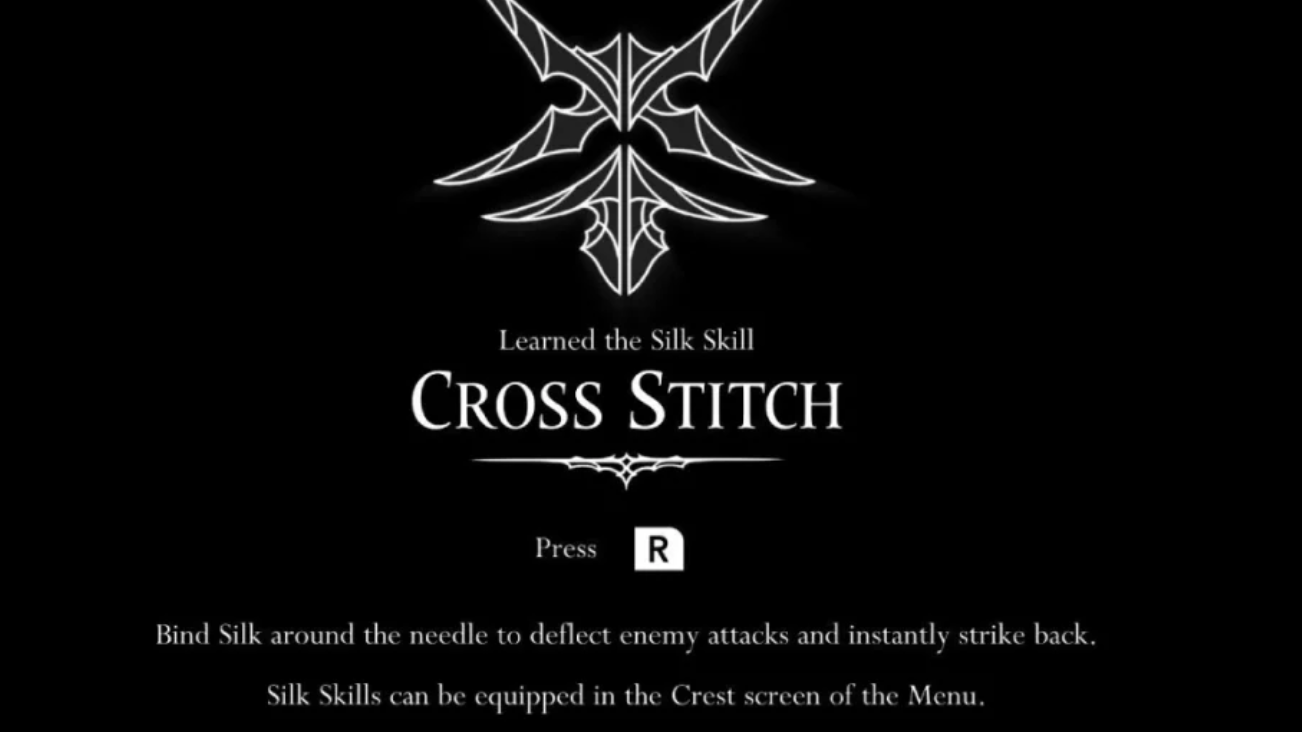
- Silk skills: Cross‑Stitch cleanly punishes the Guard flurry if you trigger it intentionally; many players still bank silk primarily for heals.
Healing windows you can actually get
- During Blob Summon while standing beneath her (short, single heal—don’t get greedy; exit before eruptions).
- High‑air stalls after wall jumps: on many sequences you can double‑jump and float long enough to squeeze a heal. Watch for the Phase 2 star circles—they can spawn high.
- After landings from diagonal chase or the end of a three‑dash string; a single heal is often safe if you’re already spaced.
Positioning and visibility (how to stop “telefrag” damage)
The most common complaint isn’t an attack—it’s Lace emerging inside your path and dealing heavy contact damage. Three habits fix most of it:
- Keep her on screen. If you lose her, halt lateral dashes until she reappears. She tends to emerge near your pathing; standing still or jumping in place avoids sprinting into her.
- Move after confirms, not before. React to the actual emerge tell, not the idea of it. A short hop clears most emerges; full dashes create collisions.
- Don’t chase through tendril pillars. In Phase 2+, she loves to hide behind active or fading pillars and swing as you cross. Wait one beat for the visual to clear, then reposition.
If Phase 3’s black‑on‑black effects overwhelm you, turn off screen shake and bias for vertical resets: wall‑cling, hop the wave lip, then drop into a punish. You’ll trade fewer hits for far more consistency.
Reliable punishes to memorize
- Dash series: Jump over dash two, land just outside the tendril trail, and punish the stop after dash three with one to two hits.
- Diagonal air lash: Step under, up‑slash once, then hit once as she lands—back off immediately.
- Guard: If you trigger it, jump and dash over her. If she flurries on the ground, you’ll be behind her; if she does the dive → diagonal flurry, you’ll be out of range.
- Blob Summon: Stand under her and commit a small combo; step out before blades erupt.
- Star Summon (Phase 3): Stand in the gaps between telegraphs; as soon as she dives, look for the reentry and take a fast single punish, then jump to clear the spawned tendrils.
Common mistakes (and the correction)
- Greed: Going for three‑plus hits. Cap punishes at one or two unless she’s mid‑summon.
- Panic dashes: Full‑length dashes after hitting her often place you on her reemerge. Replace with short hops or micro‑steps.
- Cornering yourself on waves: Running to the far wall leaves no out. Instead, wall‑cling early and crest the wave’s lip.
- Healing on the floor in Phase 3: Unless she’s mid‑summon, treat floor space as unsafe. Take heals high, after a wall jump, or during Blob/landing windows.
What changes after the win
Defeating Lost Lace unlocks the Sister of the Void achievement and resolves the final sequence in The Abyss. If you’re chasing 100 percent, consider revisiting earlier areas with your full kit; some late traversal questions are easier to answer once this fight is behind you.
The throughline: Lost Lace rewards measured play. Keep her visible, pick the guaranteed punishes, and let your build handle the rest—especially in Phase 3, where surviving the script is the real check.