
The Mask Maker is a hidden NPC tucked high in Mount Fay. Reaching the workshop takes precision platforming and a specific movement kit; once there, you’ll get lore-rich dialogue and an optional interaction that reveals more lines. Use the steps below to chart a reliable route from The Slab to the Mask Maker’s door.
Requirements and preparation
You’ll traverse tall, spike-filled rooms and vertical wind columns. Plan to bring mobility tools and buy the regional map to simplify navigation.
- Abilities:
Double Jump(obtained in Mount Fay via the Faydown Cloak) andClawlinefor horizontal gaps. - Navigation: Mount Fay area map, sold by Shakra after you discover them in this region.
- Safety: Stock healing and expect a few failed attempts while learning the enemy cycles in spike rooms.
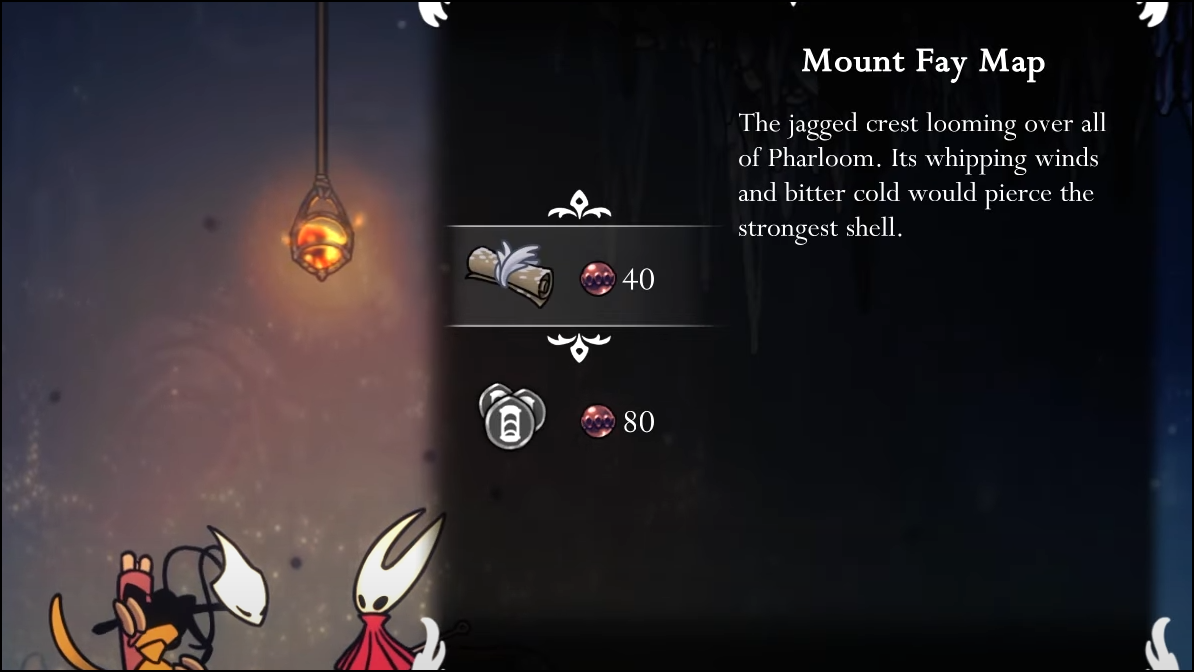
Get the Mount Fay map (Shakra)
Step 1: From the fast travel point in The Slab, head west into Mount Fay. This path opens once you’ve advanced the route to the mountain.

Step 2: Use Clawline to cross the looped hanging chains in the western corridor. These links form repeatable grapple points that get you across wide gaps safely.

Step 3: Continue west until you hear Shakra humming. Drop into the chamber and speak with Shakra to purchase the Mount Fay map, which reveals vertical shafts and landmark rooms in the area.
Reach the Mask Maker (upper-left Mount Fay)
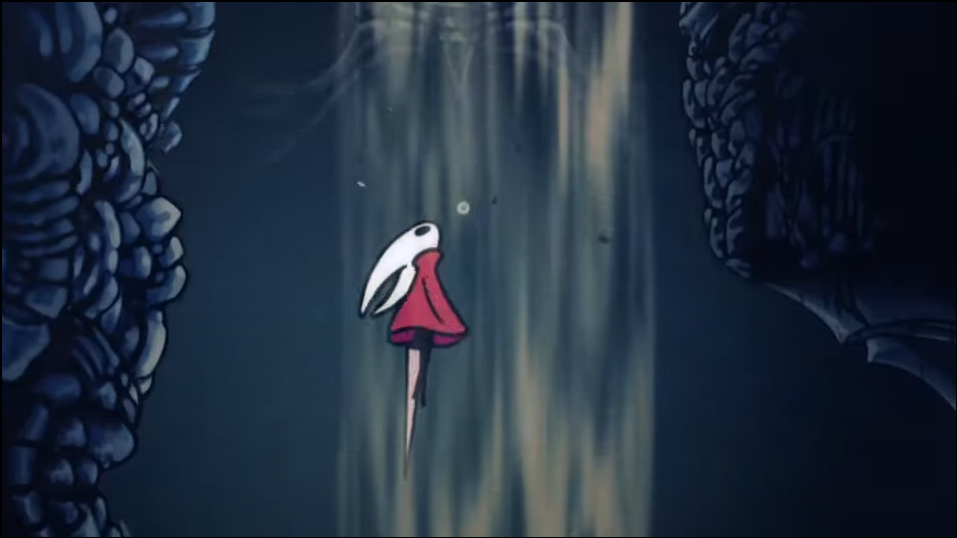
Step 1: Locate a tall chamber with a strong updraft (jetstream) shown on your map as a vertical room. Enter and ride the wind upward to gain altitude quickly.
Step 2: As you ascend, step briefly onto the first right-side platform you encounter, then proceed west into the next room. This lateral shift positions you for the hidden climb.
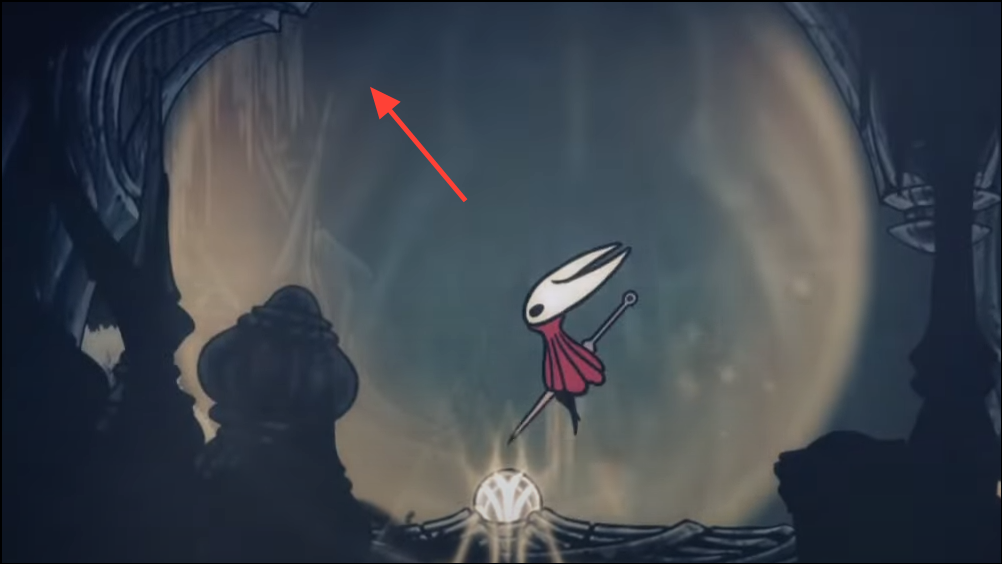
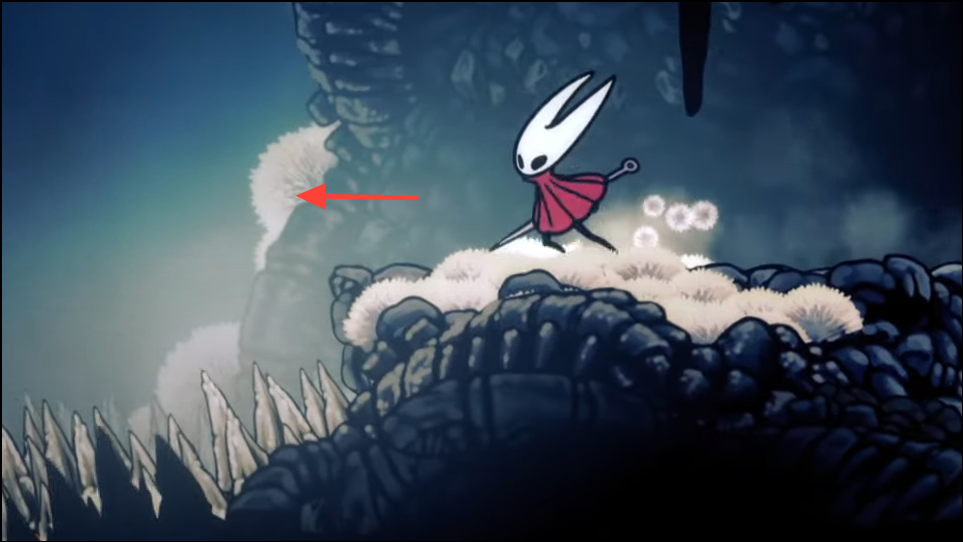
Step 3: Move west until you reach a large vertical drop. Look down to confirm there’s open space below without an immediate safe platform.
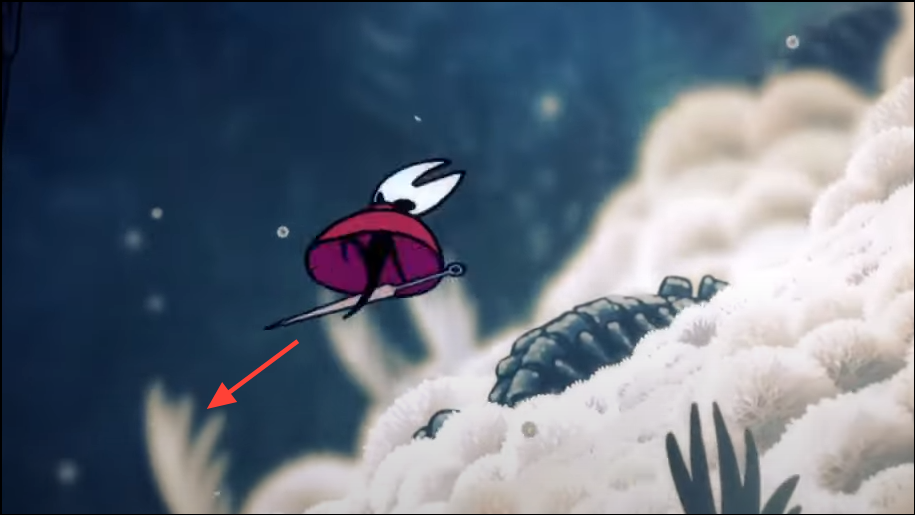
Step 4: Drop off the ledge and angle your fall toward the southwest. Aim for the lower-left landing you can walk on rather than committing to the central pit.
Step 5: Continue west through the ruined passage until you enter a chamber lined with floor spikes. Pause and observe enemy movement patterns before attempting the ascent.
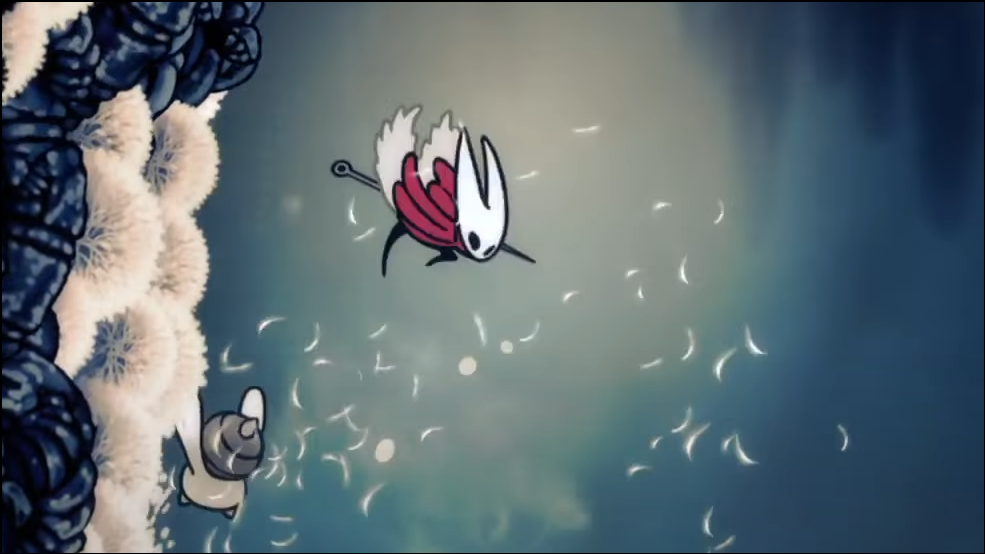
Step 6: Start climbing by chaining Double Jump with careful wall holds. Time your jumps to coincide with enemies passing close enough to use as midair stepping stones.
Step 7: When an enemy is in reach, pogo or bounce off it to gain extra height over spike clusters. Avoid rushing; wait out cycles to secure safe positioning.

Step 8: Exit at the top of the spike room and continue upward through the next vertical space. Keep using Double Jump to bridge wider gaps between small footholds.
Step 9: In the final ascent, repeat the enemy-assisted climb when needed. Preserve silk for recovery if a miss sends you back to a previous ledge.
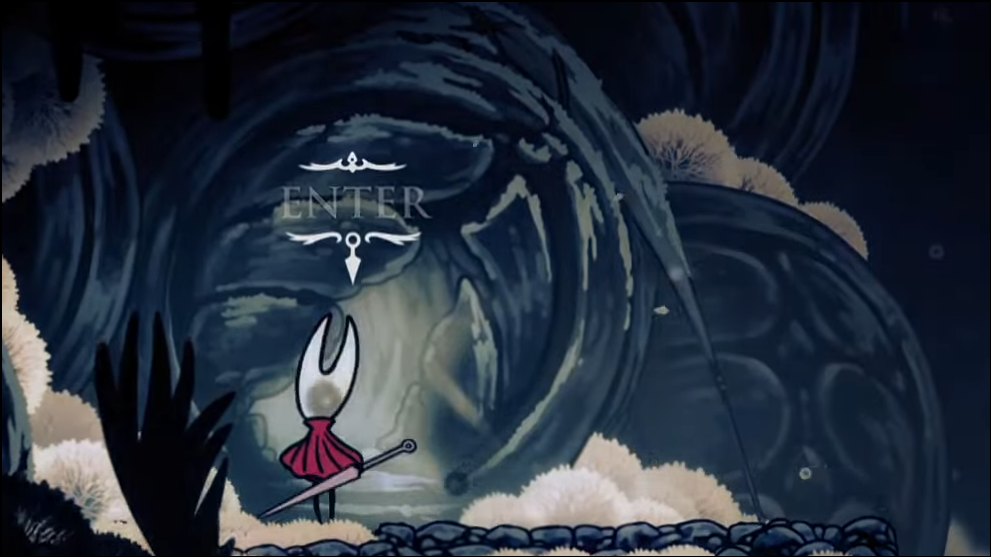
Step 10: At the northwest peak of this section, look for an interact prompt at a small entry. Choose “Enter” to step into the Mask Maker’s workshop.
What the Mask Maker offers
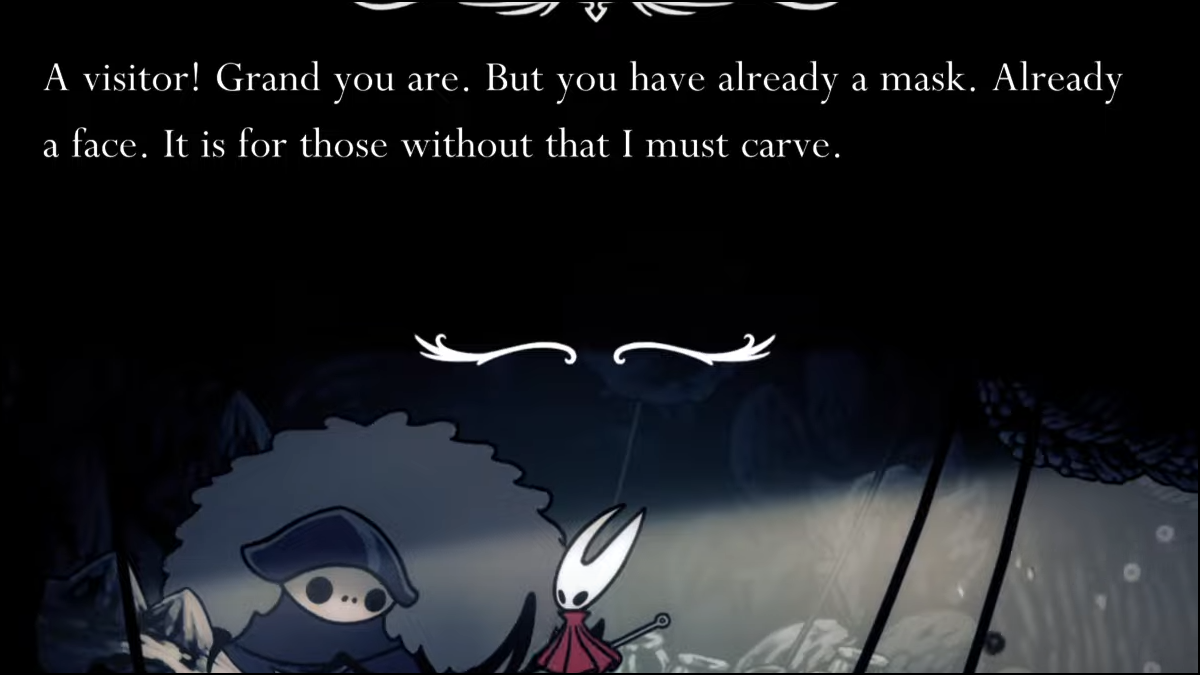
Step 1: Speak to the Mask Maker to hear new lore about the setting and their craft. This is a narrative discovery; there is no direct quest reward tied to the first visit.
Step 2: Optional: use Hornet’s Charge Attack against the Mask Maker to knock off their mask. This reveals the face beneath and unlocks additional dialogue lines that expand the lore.
Step 3: If you prefer a nonviolent first meeting, complete the conversation before attempting the optional strike. You can revisit later to trigger the mask-off dialogue.
Traversal tips for the climb
- Map cue: The jetstream room is your anchor; if you lose your place, return there and reattempt the westward path.
- Enemy timing: Treat enemies as moving platforms. Waiting one extra cycle often prevents a full reset into spikes.
- Bench planning: Rest at the nearest bench before the spike rooms to reduce run-back time when practicing the ascent.
- Clawline discipline: Grapple only to clear horizontal gaps you’ve scouted; blind swings can drag you into spike floors.
- Return trip: The shortcut paths you opened en route to Mount Fay’s summit make backtracking faster after your visit.
Once you’ve met the Mask Maker, consider marking their room on your map for future visits. The area’s enemy cycles make it a good place to practice controlled jumps and pogo timing.