
The Hunter’s Journal in Hollow Knight: Silksong is a built-in bestiary that records every foe you defeat. Once unlocked, it appears as its own pane in the menu and updates automatically, with extra “Hunter’s Notes” added after you reach specific kill counts. It’s a long-term progression track with midgame and completion rewards, and it’s easy to miss a few entries without a plan. Below is a concise route to unlock the Journal, use it effectively, and complete the trickier entries without getting locked out.
Unlock the Hunter’s Journal
Step 1: Reach Greymoor after obtaining the Drifter’s Cloak from the Seamstress. The cloak is required to access the area and is a natural milestone in Act 1 progression.
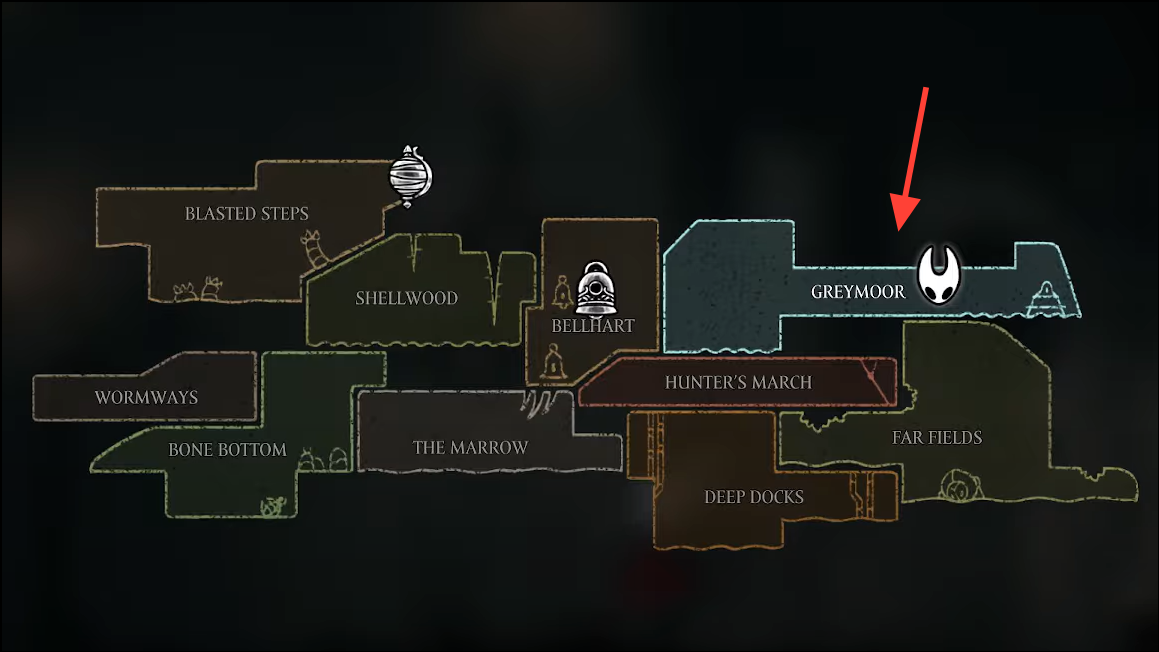
Step 2: From the Greymoor entry, head left to the large locked building and wrap around to its left side to find the entrance to the Halfway Home. This detour avoids the front door and leads you into the inn.
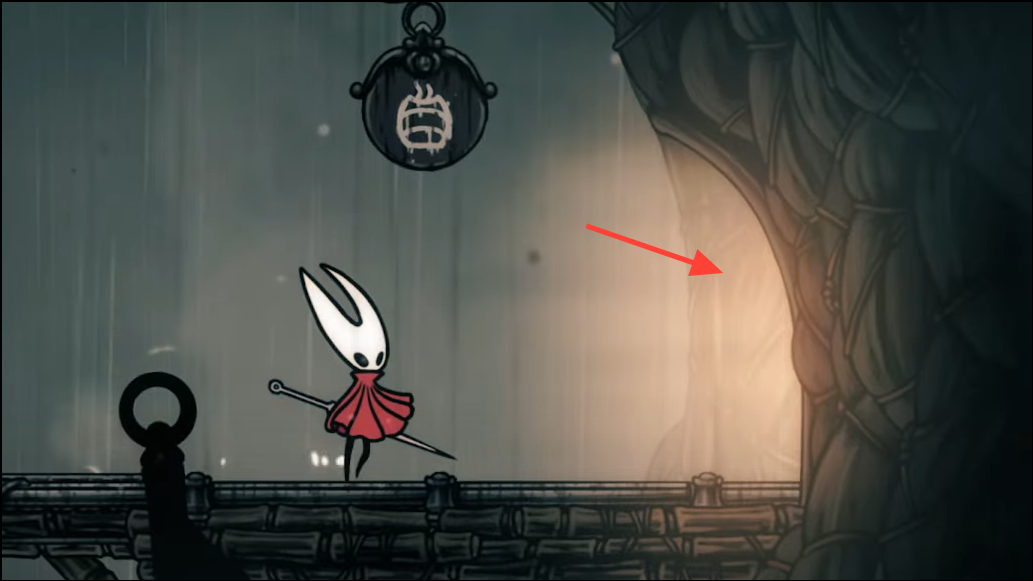
Step 3: Rest at the bench if needed, then climb to the attic. Nuu, an NPC in the top room, is your contact for the Journal.
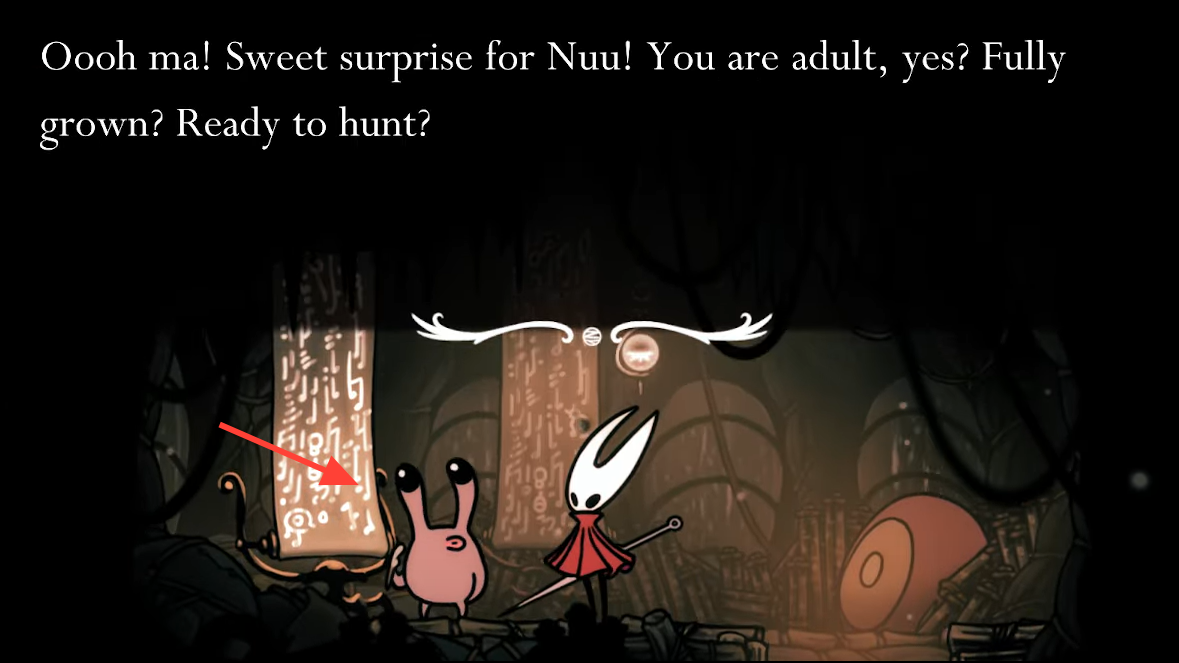
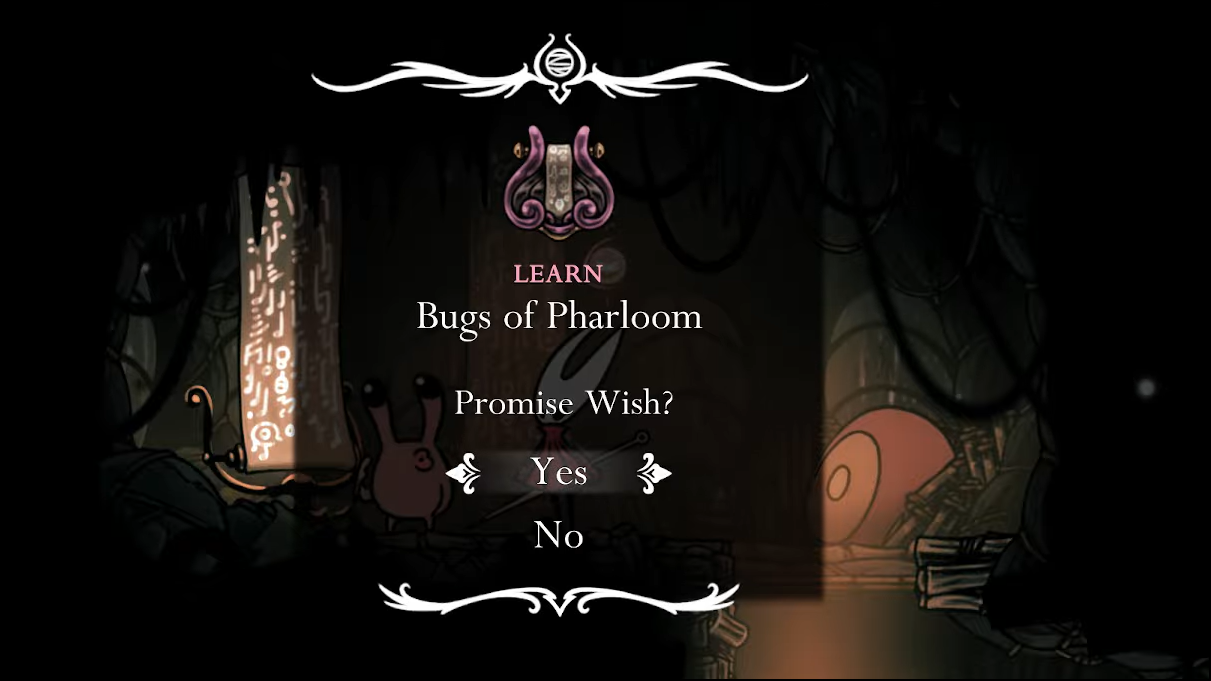
Step 4: Speak with Nuu to receive the Hunter’s Journal and the Bugs of Pharloom request. The Journal tab is now permanently available in your menu, and any enemies you defeated before acquiring it are added retroactively, including their current kill counts.
How the Journal Works
Step 1: Defeat a foe once to add its base entry. The Journal shows a portrait and a short description for each new enemy you slay.
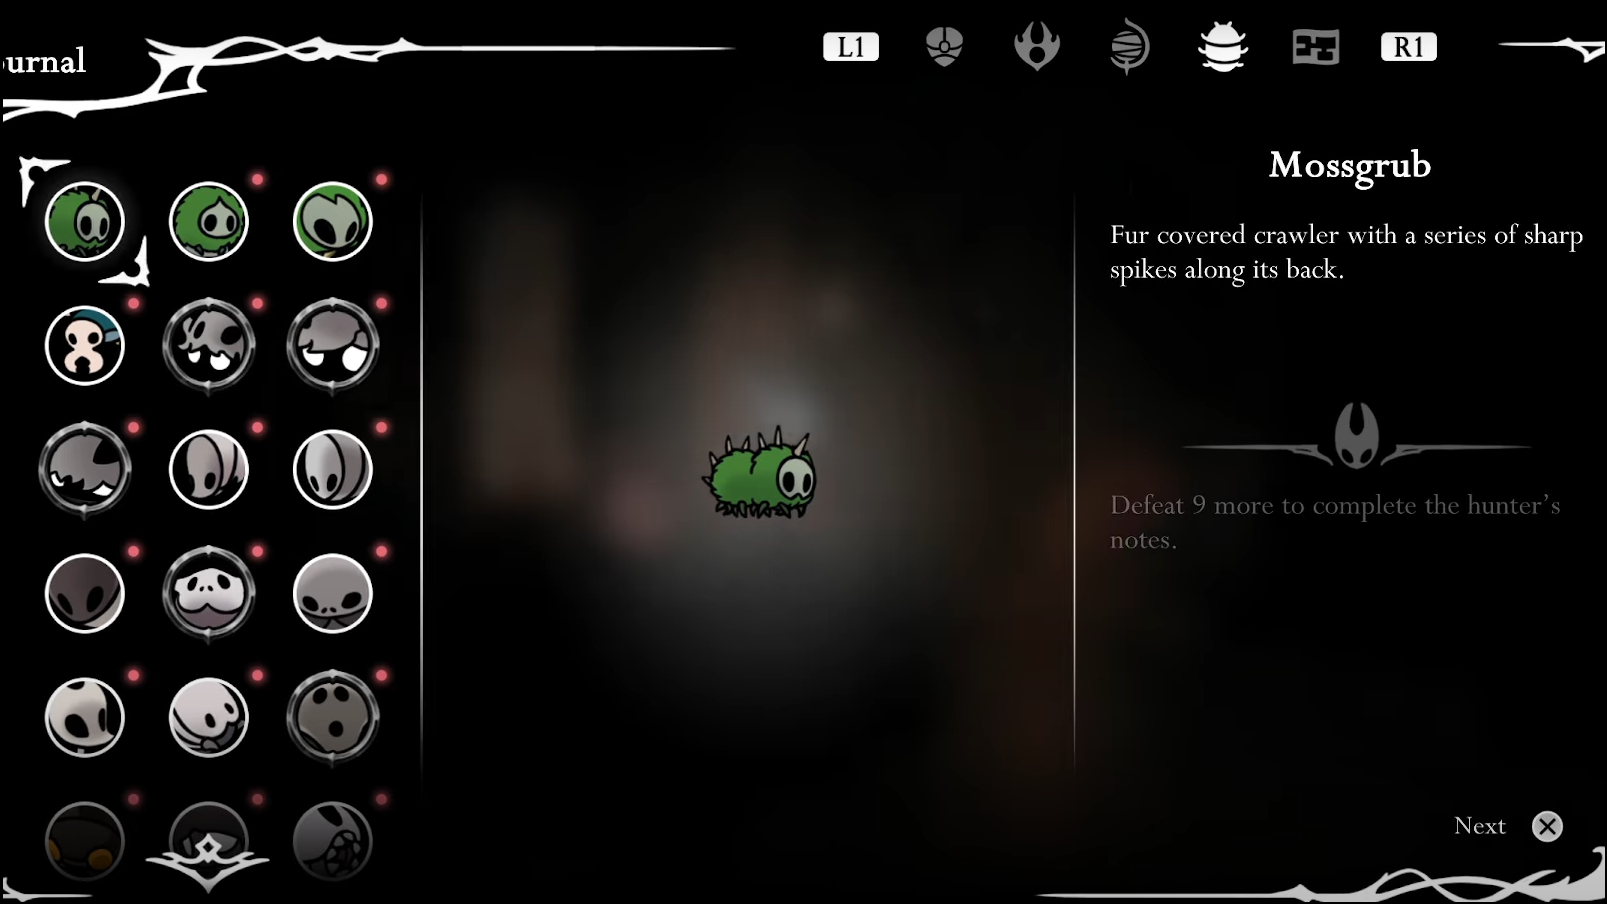
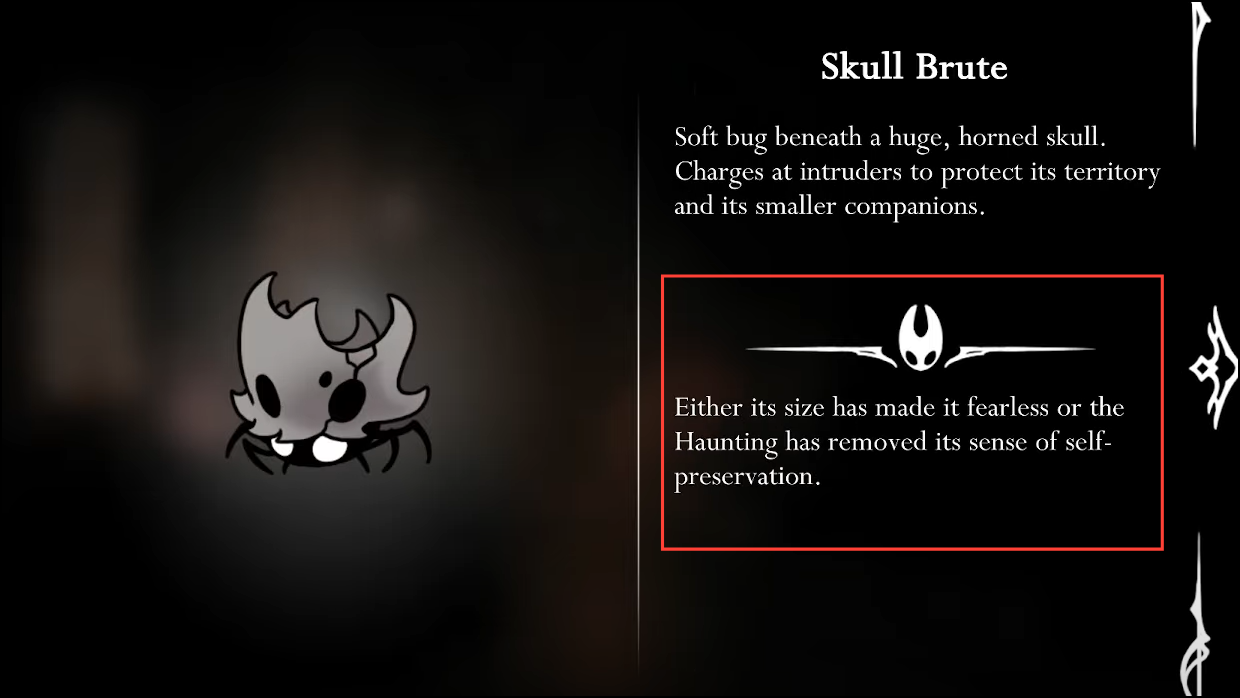
Step 2: Meet the per-enemy kill threshold to unlock Hornet’s notes. These add brief lore plus fighting tips, and they are what “completes” an entry.
Step 3: Look for the “completed” border. Finished entries display a distinct frame around their icons so you can scan for remaining work at a glance.
Missable-Safe Planning (What to Do and When)
Silksong’s world shifts between acts, and some foes relocate or change variants. Follow these focused strategies to avoid common pitfalls while you fill the Journal.
Memory Realms auto-finish the grind
Step 1: Clear “memory” areas such as Verdania and the Coral Tower naturally, reaching their bosses. These sequences are self-contained and time-limited.
Step 2: Upon being forced out after the boss, the game finalizes Journal requirements for enemies unique to that memory chain. This prevents post-boss grind or lockouts for those foes.
Act 3 swaps: where to find earlier enemies later
Step 1: For Craw variants (Craw, Tallcraw, Squatcraw), check Craw Lake at the far right of Greymoor. Standard versions can still appear there in Act 3; kills count even if they transform mid-encounter.
Step 2: For Wormways creatures (Grom, Gromling), they continue to spawn in the upper/eastern Wormways in later acts. Use a Silk Skill to land the finishing blow on Grom; needle hits alone typically won’t register the kill.
Steel Soul specifics and truly optional entries
Step 1: The Steel Soul–exclusive “Summoned Saviour” appears only in that mode and contributes to the Journal in Steel Soul runs. It is not required in a standard file.
Step 2: Shakra is tied to Act 2 timing. If missed, it does not block the primary Journal reward; you can still complete the core Journal goals without that entry.
Clear The Mist while you’re there
Step 1: Wraiths populate The Mist. Finish their note threshold during your traversal instead of leaving it for later, as the route is easy to move past once solved.
Step 2: Follow the glowing moths’ reactions to your Needolin to find exits quickly and get more Wraith encounters while you learn their patterns.

Shortcuts for Tricky Entries
These single-target tips resolve some of the most commonly stalled entries.
Step 1: Squirrm (Blasted Steps): Stand in the sandy pit and play the Needolin. After a brief delay, Squirrm surfaces; secure the kill quickly before it burrows.
Step 2: Void Tendrils (Abyss): Read the lore tablet tied to the tendrils. This entry completes by interacting with the lore, not by defeating a foe.
Step 3: Rhinogrund (Far Fields/Memorium): If the early Rhinogrund fled Pilgrims’ Rest, continue the story and revisit the region. Players report the entry can be secured from later spawns—including a reappearance scenario near Mort’s shop if the upper door gear is broken and the area is reloaded from a bench.
Step 4: Giant Drapemite (route between Memorium → Putrified Ducts): Cross the bridge to trigger multiple Drapemite waves; exit and re-enter to reroll until the giant variant appears.
Step 5: Shardillard (multi-area, does not respawn): Journal it the first time you see it in places like Sinner’s Road, Greymoor, Far Fields, Sands of Karak, Deep Docks, or The Marrow. Because shards don’t reliably respawn, don’t postpone the kill.
Faster Completion: Practical Farming Tips
- Use easy-reset rooms. Enemies clustered near a bench let you loop kills rapidly without long runbacks.
- Prioritize multi-spawn arenas. Rooms that trigger waves (flies, mites, choirbugs) accelerate thresholds versus patrolling single spawns.
- Bounce projectiles where possible. Several projectile users take reflected damage, speeding up clears and saving Silk for burst skills.
- Revisit after act transitions. New variants and condensed spawns in Act 3 often reduce travel time per kill.
Rewards and Milestones
Step 1: On receiving the Journal, Nuu asks you to collect 100 entries (“Bugs of Pharloom”). Hitting this target grants an early memento and marks meaningful progress.
Step 2: Two in-game achievements are tied to the Journal: one for granting Nuu’s wish at mid-progress, and one for receiving the Hunter’s Memento after finishing entries with their notes. Platform naming may vary, but both are awarded from Journal progress rather than story bosses.

With the Journal unlocked in Greymoor and a plan for memory areas, Act 3 swaps, and a handful of stubborn foes, finishing every entry becomes a steady checklist instead of a grind. Keep an eye on non-respawning targets like Shardillard, and you’ll wrap the notes with time to spare.