
Equipping the Wanderer’s Crest converts Hornet’s diagonal bounce into a straight downward slash, closely matching the Knight’s pogo from the original game. The change makes bounce-specific platforming more predictable and can simplify sections that expect a vertical downslash.
What the Wanderer’s Crest does
Crests are gear sets that alter Hornet’s basic attack pattern, her downward “bounce” (pogo), and the layout of tool slots. Wanderer’s Crest shortens Hornet’s reach but increases swing speed, and crucially, replaces the default 45-degree bounce with a vertical downslash.
- Downward attack: switches to a fast, straight downslash that lets you land directly on targets and hazards you can bounce from.
- Attack profile: faster, short-range strikes that favor close control and rapid hits.
- Tool slots on Wanderer’s Crest: available 1 white, 1 red, 2 yellow; unlockable 2 blue, 1 yellow via Memory Lockets.
- Slot growth: Collecting Memory Lockets adds tool slots to each Crest, expanding loadout flexibility.
Requirements and recommendations
You can reach the Wanderer’s Crest early with a single purchase and a short traversal sequence. A movement upgrade helps, but isn’t strictly required.
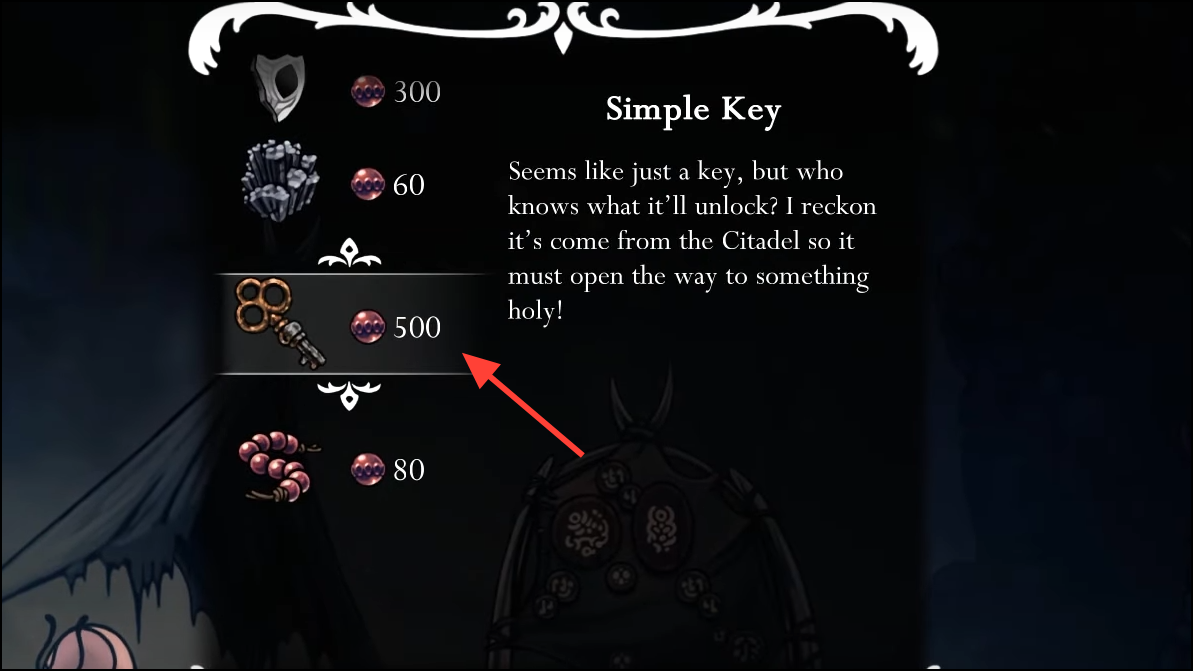
- Simple Key: Buy one in Bone Bottom for 500 Rosaries to open a locked door on the route.
- Swift Step (recommended): the dash/sprint from Deep Docks lets you clear a mid-air gap cleanly.
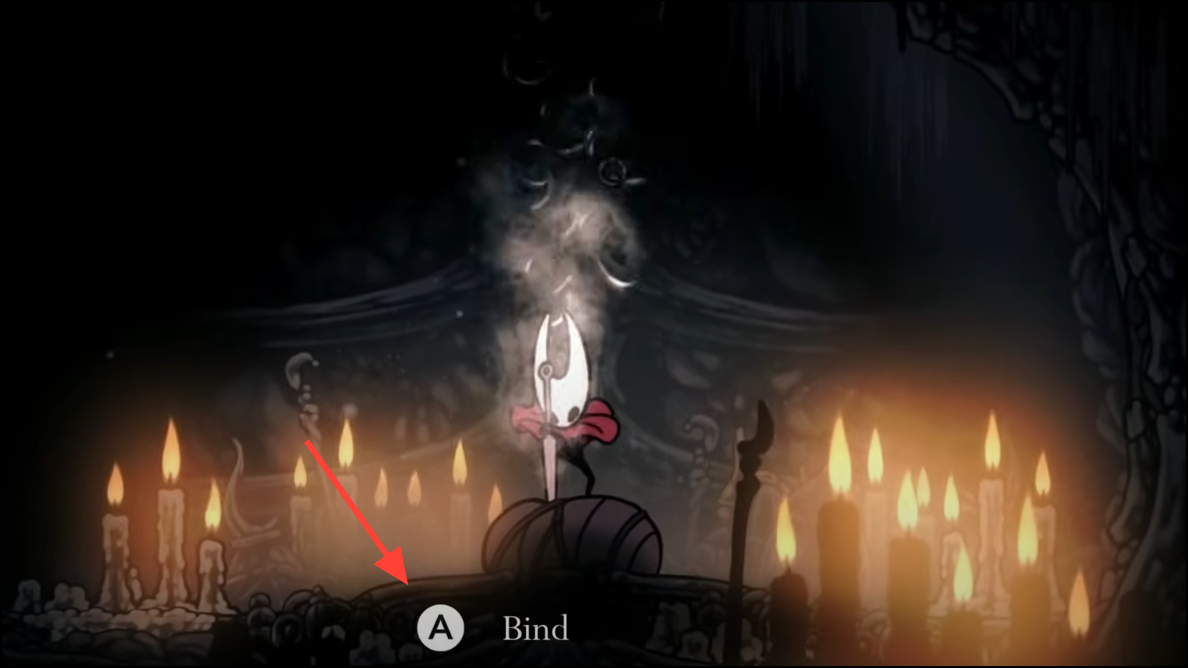
- Bind: You’ll use Bind to claim the Crest at the end of the chapel gauntlet.
- Progress note: if a path or elevator isn’t active in your file, advance the story, then return.
Method 1 — Fastest route with Swift Step
Step 1: Buy a Simple Key from the vendor in Bone Bottom for 500 Rosaries. If you’re short on currency, Mosshome is an efficient early grind loop due to dense enemy clusters and quick room resets.
Step 2: Ride the lift from Bone Bottom up to Mosshome. This places you near the short gauntlet that leads to the door the Simple Key unlocks.

Step 3: In the room directly above the lift, use Swift Step to dash between the hanging cages. The gap is tuned for a mid-air dash, so prioritize clean, level inputs to avoid clipping a cage.

Step 4: Enter the next room and move past the large acid-spitting bug. You can either fight it or simply keep your distance and continue right to the locked door.

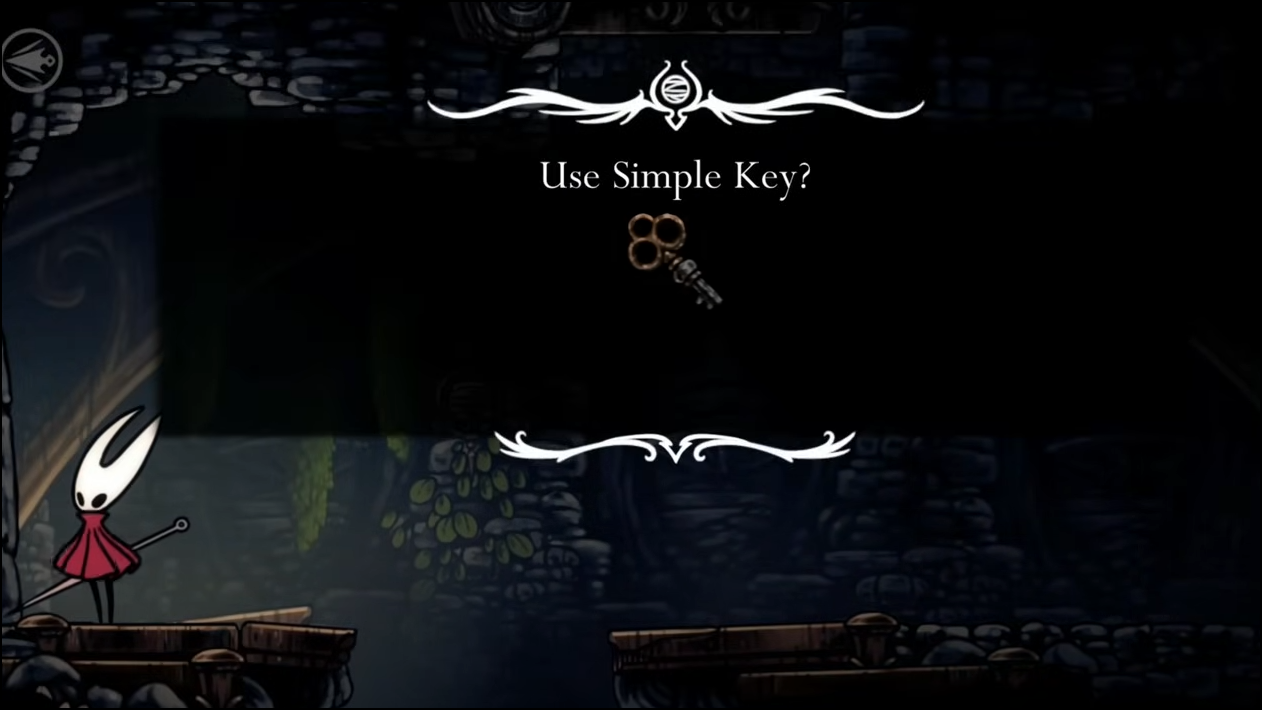
Step 5: Use the Simple Key on the door to enter the Wormways. This opens the region used for the rest of the route.
Watch: a concise route demo to this location is shown here: Hollow Knight Silksong — Crest of the Wanderer path.
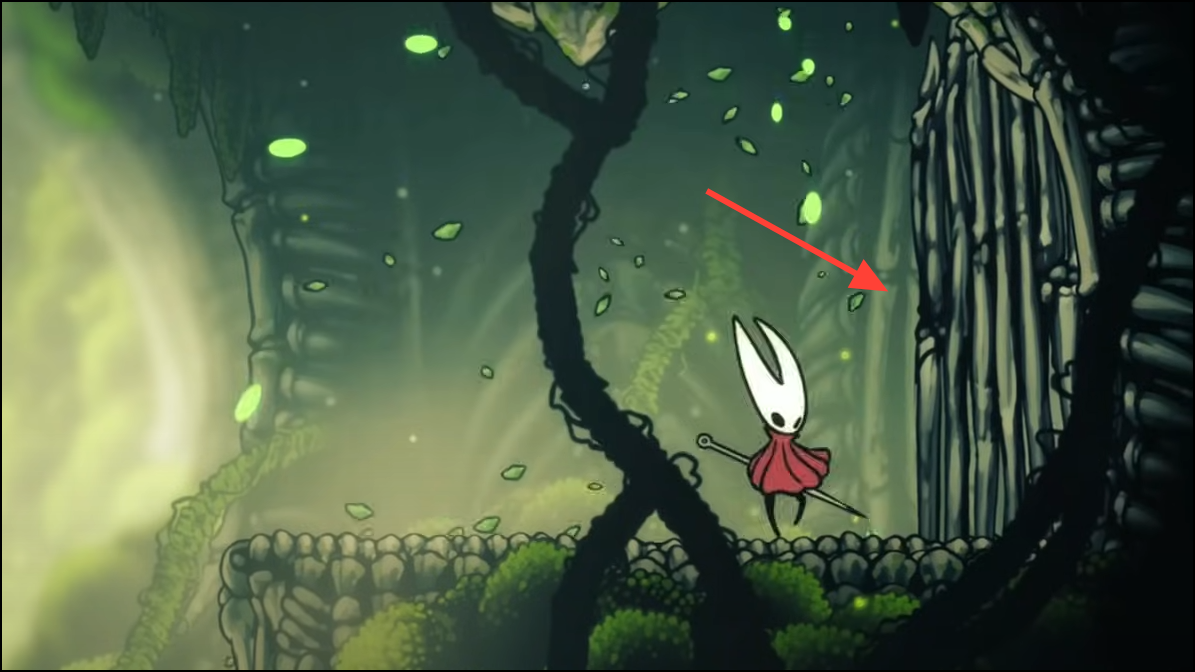
Step 6: Head west in Wormways and drop down the first pit you encounter. Follow the tunnels downward as far as you can until you reach a mossy chamber to the right.

Step 7: In the mossy room, fall to the water at the bottom and slash the mossy bone gate on the right to open a direct shortcut back to Bone Bottom’s bench. This bench is a safe point for swapping Crests and tools later.
Step 8: Enter the small hut on the right labeled as the Chapel of the Wanderer. This area contains a short, contained challenge.

Step 9: Clear the chapel’s multi-wave arena of pilgrim-type enemies. Keep your spacing tight and use the high swing speed on your current kit to end waves quickly.

Step 10: Interact within the final room and use Bind to claim the Wanderer’s Crest. New Crests may equip automatically; if not, rest at a bench and select the Wanderer’s Crest manually.
Method 2 — Early route without Swift Step
Step 1: In the room with hanging cages above the Bone Bottom lift, cross by pogoing off the two flying enemies. Use Down + Attack mid-air to bounce; time hits just before contact for consistent height.
Step 2: Alternatively, jump from the higher left cliff in Mosshome to reach the cages. This option trades precision pogo timing for a longer, single leap if enemy positions aren’t favorable.
Step 3: Move through the acid-spitter’s corridor while maintaining distance and continue to the locked door. Use the Simple Key to enter the Wormways.
Step 4: Follow the same Wormways path as in Method 1: go west, drop down the first pit, and proceed to the mossy chamber. Open the bone gate shortcut, then enter the Chapel of the Wanderer to clear the waves and Bind the Crest.
How to use the vertical downslash effectively
Step 1: Learn the input: while airborne, hold Down and press your attack button to downslash. On the keyboard, that’s typically S + Attack or Arrow Down + Attack; on a controller, use the Down direction plus your attack binding.
Step 2: Know valid bounce targets. You can pogo off enemies, spikes, select foliage objects, and other hazard props designed for bounce sequences. If you don’t “stick,” you likely hit too early or targeted a surface that doesn’t accept bounces.
Step 3: Practice shallow bounces for control. Tap the downslash late in your descent to minimize rebound height, which keeps spacing tight over chain hazards and helps you land where you intend.
Step 4: Consider a control tweak for bounce-heavy areas. Assign a convenient button to register a constant Down input (via platform input settings) so you only time the attack press, reducing finger strain during long chains.
Step 5: Swap Crests as needed at benches. Wanderer’s fast, short-range slash is ideal for platforming segments that expect vertical bounces; for longer reach or a different rhythm, switch to another Crest for combat-focused rooms.
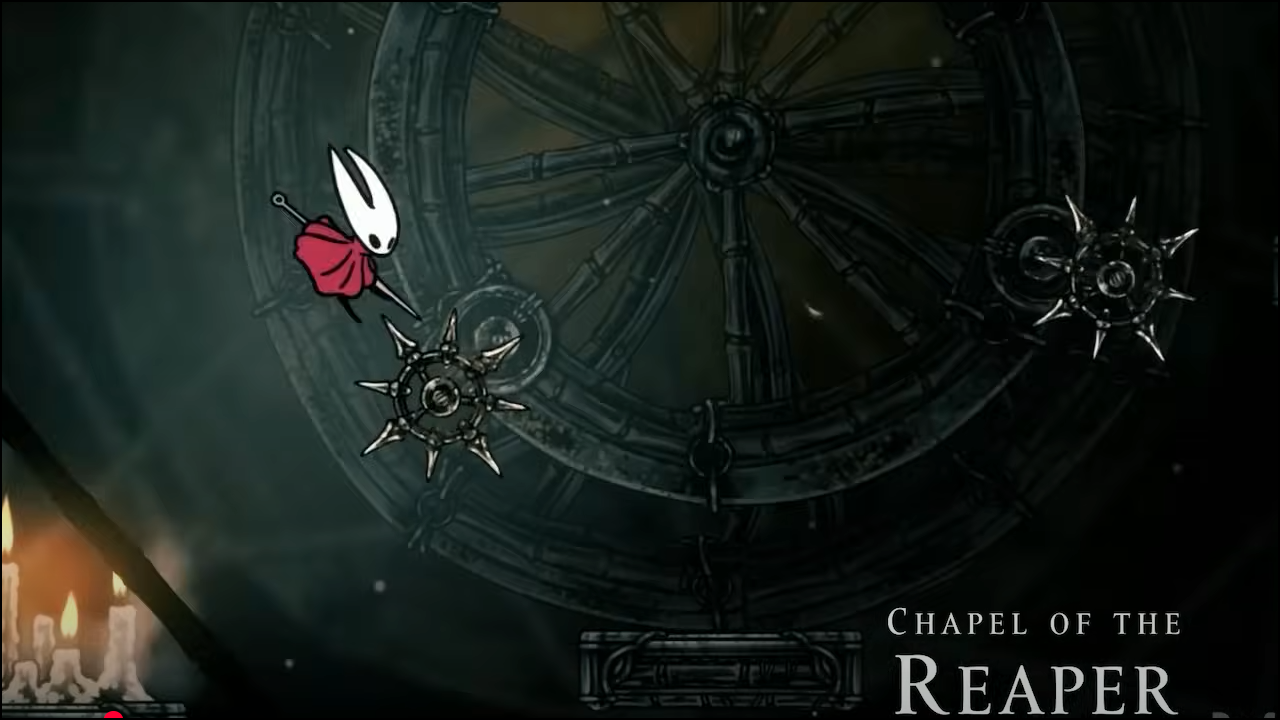
Alternate option: Reaper Crest (slower downslash)
If you want a downward strike with a different feel, the Reaper Crest in Greymoor also provides a straight downslash but with a slower cadence and heavier arcs on standard attacks.
Step 1: Go left across Greymoor to the Chapel of the Reaper. Enter and clear its gauntlet to reach the crest room at the top.
Step 2: Claim the Reaper Crest to gain heavy, arcing slashes and extra Silk generation from enemies. Its pogo is a slow downslash, trading speed for timing windows that some players find easier to read.
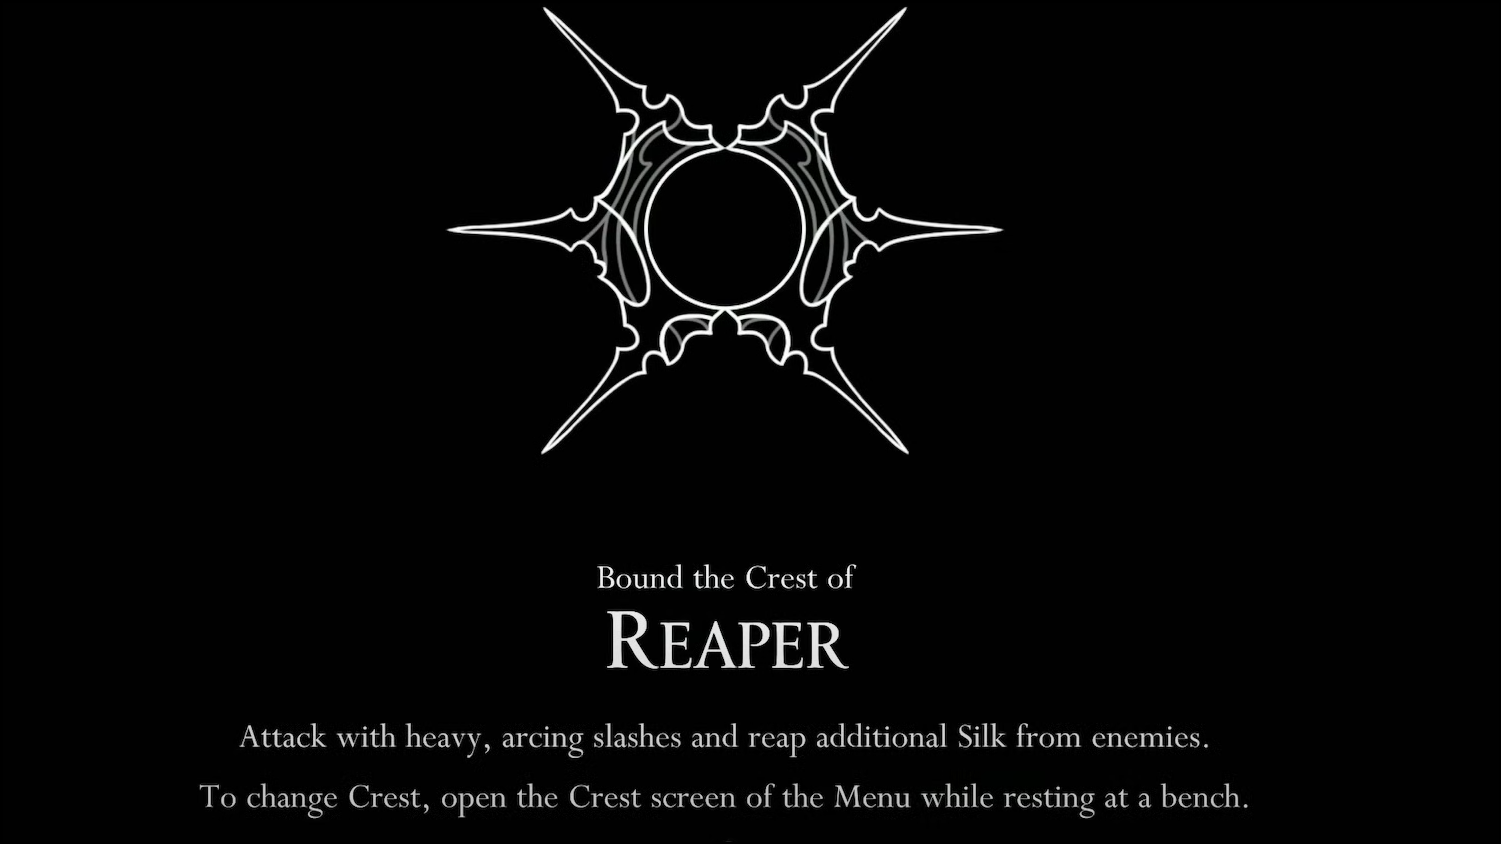
Step 3: Evaluate loadouts. Reaper provides 1 white, 1 red, 1 blue, 1 yellow slot at base, with additional red, blue, and yellow slots unlockable. If you prefer faster bounces and quicker chains, stick with Wanderer; if you want deliberate timing and more Silk, try Reaper.
Troubleshooting the route
- Short on Rosaries for the Simple Key. Run short Mosshome loops to consistently farm 500 Rosaries, then buy the key in Bone Bottom.
- Struggling with the acid-spitting miniboss corridor. Maintain a mid-screen distance and advance between volleys; you only need to pass through if you prefer not to fight.
- Bench safety and shortcuts. After reaching the mossy chamber, open the moss-covered bone gate to create a quick path back to Bone Bottom’s bench.
- Gauntlet pacing in the chapel. Prioritize small enemies first, keep vertical spacing, and use the ground only when the room is clear to avoid being pinned.
Before-and-after: what changes once you equip Wanderer’s Crest
- Platforming consistency improves: vertical bounces make straight columns of hazards and bounce flowers more predictable.
- Combat tempo increases: faster swings boost DPS at close range, but you’ll need to play nearer to enemies due to shorter reach.
- Loadout flexibility grows over time: Memory Lockets unlock more slots on the Crest, letting you restore utility lost to the shorter range.
Once you’ve secured the Wanderer’s Crest, you can swap to the classic downslash whenever a section demands precise vertical pogoing, then rotate to other Crests for combat or reach as needed.