
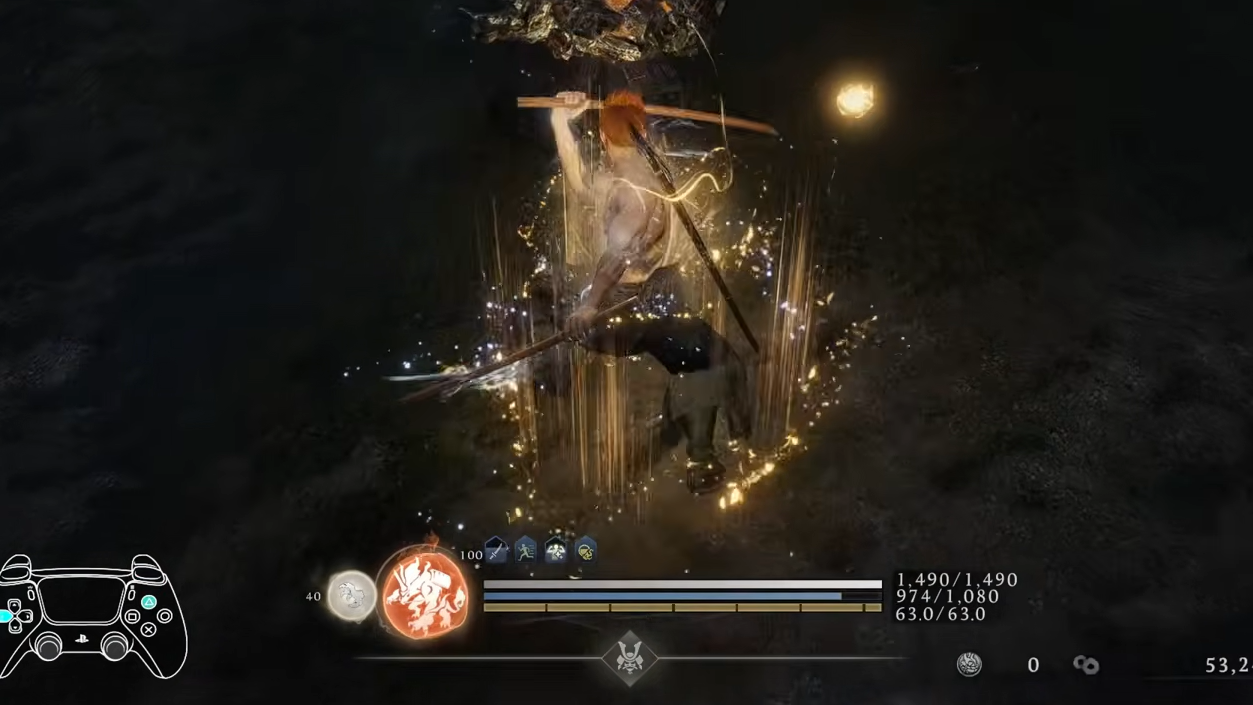
Arts Proficiency is the Samurai Style's signature damage amplifier in Nioh 3. It's unlocked by default as a Common Martial Art in the Samurai skill tree, and it governs a white spherical gauge displayed at the center of your stance indicator. Once the gauge is full, performing a Strong Attack or any Martial Art activates Arts Proficiency, dramatically powering up your subsequent attacks. The system is deceptively simple on the surface, but has deep combo rules that the game barely explains.
Quick answer: Fill the Arts Gauge by attacking enemies, guarding, deflecting, or performing Ki Pulses after dealing damage. Once full, use a Strong Attack or Martial Art to activate Arts Proficiency. Then chain different Strong Attacks and Martial Arts without repeating the same move consecutively to maintain an escalating damage combo.
How the Arts Gauge Fills
The Arts Gauge charges through several actions, each contributing a different amount. Dealing damage is the primary method — light attacks build a small amount, while high-damage moves like Iai Quickdraw contribute significantly more. Guarding enemy attacks adds a modest amount, and Deflecting (pressing L1 with precise timing just before an attack connects) provides a larger boost while also recovering Ki and filling the Ninjutsu Gauge simultaneously.
Ki Pulsing after landing attacks on enemies also contributes to the gauge. The amount gained appears to scale with how much damage you dealt with non-Martial Art attacks before the pulse, rather than being tied to Ki recovered. Whiffing attacks and then pulsing yields nothing meaningful. Notably, even attacks performed in Ninja Style contribute to the Arts Gauge, which is a critical detail for the game's intended combat flow.
Taking hits drains a small portion of the gauge. Getting guard-broken — when an enemy attack depletes your Ki entirely while blocking — drains a larger chunk.
Activation and Core Benefits
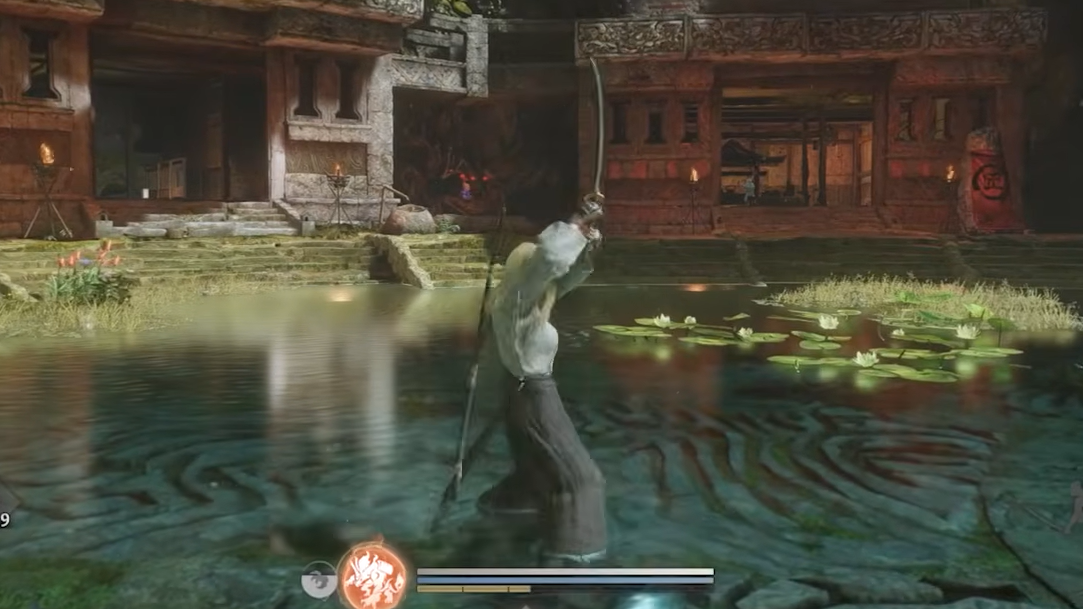
Once the gauge is completely full, you must perform either a Strong Attack (Triangle / Y) or a bound Martial Art to trigger Arts Proficiency. A "Martial Art" in Nioh 3 refers to any active skill you've unlocked and equipped — essentially anything beyond your basic light and heavy attack strings. The initial activating attack itself receives enhanced properties, including reduced Ki consumption (the activation hit costs no Ki at all) and super armor, meaning you won't be staggered during the move.
While Arts Proficiency is active, all Strong Attacks and Martial Arts receive increased damage, reduced Ki costs, and the ability to chain different Martial Arts consecutively. The more varied attacks you string together during the active window, the more powerful each successive hit becomes.
Combo Rules for Maintaining Arts Proficiency
Sustaining an Arts Proficiency combo can theoretically last an entire fight, but it requires following specific rules that the game never fully spells out.
No consecutive repeats. You cannot use the same move twice in a row. A standing Strong Attack cannot immediately follow another standing Strong Attack. However, a standing Strong Attack followed by a jumping Strong Attack is valid because they count as distinct moves. You could alternate between these two indefinitely. Similarly, you can use Martial Art A, then Martial Art B, then Martial Art A again, without breaking the chain.
Timing matters. You have roughly one second of downtime between attacks before the combo drops. The duration of each attack animation doesn't count against you — only the gap between the end of one move and the start of the next. Long-winding skills like Tiger Sprint work fine as long as you begin your next input promptly after they finish.
Valid combo moves include any Martial Art (regardless of which button it's bound to), Strong Attacks, jumping Strong Attacks, dodging Strong Attacks, and the three Frost Moon skills. Light attacks on their own do not count, but chain finishers that start with a light attack input and end with a strong attack (like Morning Moon) can work if executed quickly enough.
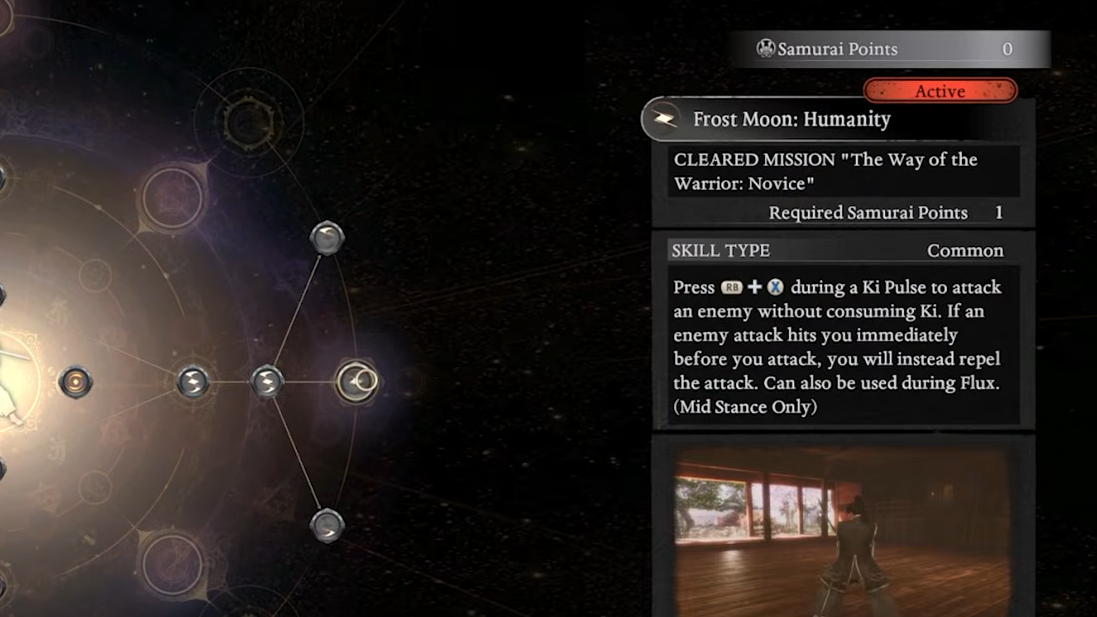
Ki Pulses and dodges can be performed mid-combo without breaking it, as long as you resume attacking within the timing window. Stance changes during the combo are also permitted. Deflecting an incoming attack mid-combo counts as a valid action and extends the window. Deflecting with Frost Moon: Humanity reportedly provides a massive Arts Gauge boost of around 40 percent.
Getting hit during the combo won't necessarily end it, provided the hitstun doesn't exceed the roughly one-second gap limit. Having your attack blocked by an enemy also doesn't break the chain.
Frost Moon Skills and Combo Extension
The three Frost Moon skills, found on the far right of the Samurai skill tree, are among the most valuable tools for maintaining Arts Proficiency combos. Each is tied to a specific stance and activates during a Ki Pulse.
| Skill | Stance | Input | Effect |
|---|---|---|---|
| Frost Moon: Heaven | High | R1 + △ during Ki Pulse | Attack with super armor; costs no Ki |
| Frost Moon: Humanity | Mid | R1 + □ during Ki Pulse | Attack that auto-deflects if hit first; costs no Ki |
| Frost Moon: Earth | Low | R1 + X during Ki Pulse | Backstep into attack; costs no Ki |
Because Frost Moon skills consume zero Ki and count as valid combo moves, they serve as free bridge attacks between your heavier Martial Arts. You can access any Frost Moon skill from any stance by using Flux (stance-switching during Ki Pulse) or by pre-shifting your stance before the pulse. This creates a fluid rhythm: perform a Martial Art, Ki Pulse into a different stance, fire off that stance's Frost Moon, then launch another Martial Art.
Weapons with built-in stance-switching attacks benefit enormously here. The Odachi's Sunset Breeze and Waking Winds skills occupy Martial Art slots, meaning they count toward the combo chain. The Switchglaive similarly thrives with its stance-swapping moveset, making both weapons natural fits for extended Arts Proficiency sequences.
Arts Proficiency in the Broader Combat Loop
Arts Proficiency is exclusive to Samurai Style, but the gauge fills from attacks in either style. Ninja Style's faster attack speed and superior Ki-draining capabilities — especially with weapons like the Tonfa, which is Ninja-exclusive — make it naturally better at building the gauge quickly. This creates an intended rhythm where you open fights in Ninja Style to deplete enemy Ki and charge the Arts Gauge, then switch to Samurai Style to unleash powered-up combos once the enemy is staggered.
Depleting an enemy's Ki remains the fundamental goal of Nioh 3 combat. Human enemies become vulnerable to Grapple attacks when their Ki hits zero. Yokai can be staggered by any attack once their Ki is gone, and reducing their maximum Ki opens them to a Final Blow. Without Ki depletion, enemies will interrupt your Arts Proficiency combos before they can build momentum — making the Ninja-to-Samurai style switch loop especially important against bosses.
After your Samurai Style burst, switching back to Ninja Style lets you use Ki Pulse for faster recovery and spend Ninjutsu charges (which refill during Samurai combos) for safe ranged damage while repositioning.
Skill Tree Classification
Arts Proficiency sits in the Samurai Martial Arts section of the skill tree alongside foundational abilities like Deflect, Ki Pulse, Flux, and the three stances. It is classified as a Common art type, meaning it doesn't require Samurai Points to unlock. Its listed prerequisite art is Purify Yokai Realm, though Arts Proficiency itself is available from the start of the game. The "Skill" stat on your character influences Arts Proficiency Power, which scales the damage bonus during active combos — though the exact scaling formula remains community-tested rather than officially documented.
Mastering Arts Proficiency transforms Nioh 3's combat from a straightforward action game into something closer to a fighting game, where move variety, timing, and stance management all feed into a single escalating damage system. The skill ceiling is high, but even basic two-move alternations provide a noticeable damage increase over raw button mashing — making it worth practicing from the very first mission.