
Combat in Where Winds Meet leans hard on timing. Basic attacks and Art Skills matter, but higher-level fights are decided by how well you handle incoming blows. Deflection sits at the center of that: it cancels damage, drains enemy Qi, and turns red “threat” attacks into big openings.
Deflection basics in Where Winds Meet
Deflection is a timed block that converts an incoming hit into a parry. The core behavior is:
- You tap the block/deflect input just before an enemy strike lands.
- A successful deflection negates damage from that hit.
- The enemy’s Qi (their stamina/guard resource) is reduced, pushing them toward a vulnerable state.
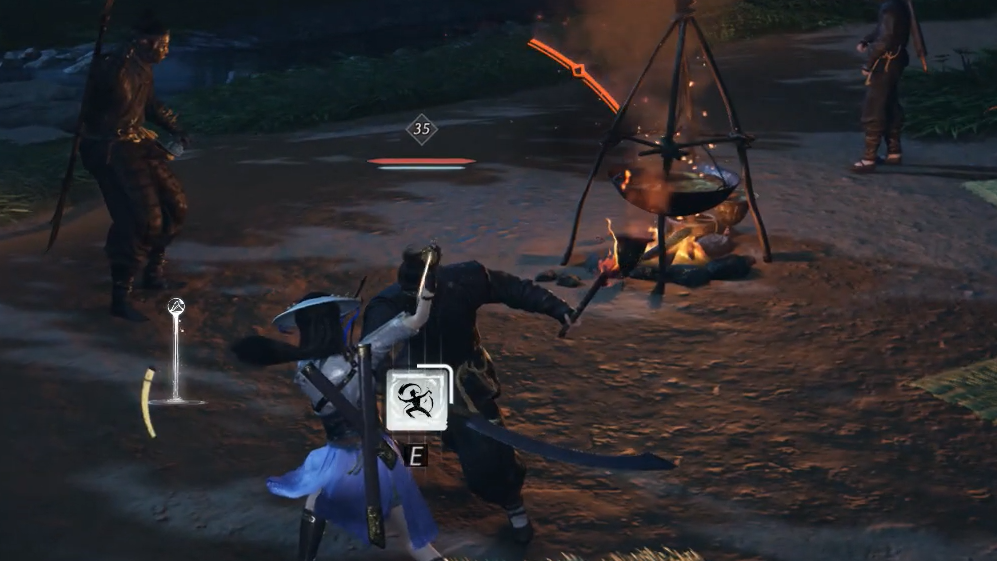
On keyboard and mouse, the default dedicated deflect key is E. Some layouts also let you trigger a deflect by entering a defense stance and pressing light attack. On controllers, deflect is mapped to the same general area as your guard button, with a separate timing-based input for the parry window.
Blocking vs deflecting vs dodging
Deflection lives inside a broader defensive toolkit with clear roles:
- Block: Hold the block button to reduce or absorb damage at the cost of Qi. Helpful when you are unsure about timing or facing rapid strings of basic attacks.
- Deflect: Tap the input in a narrow window just before contact. This cancels damage entirely and chips away at the enemy’s Qi. It is the preferred answer to most weapon attacks if you are aiming for pressure rather than safety.
- Dodge: Spend Qi to dash out of harm’s way. This is mandatory for certain attacks and safer when you are low on health or learning a moveset.
Qi fuels both blocking and dodging. If your Qi bar is empty, you cannot block effectively or chain dashes, so repeated panic rolls and constant guarding will eventually leave you exposed. Proper deflection management slows enemy offense while keeping your Qi usage under control.
How enemy attack colors affect deflection
Enemies telegraph key attacks with color cues that determine what your options are.
| Attack color | What it means | Recommended response |
|---|---|---|
| Normal (no glow) | Standard weapon or martial attacks. | Can be blocked, deflected, or dodged. Deflecting drains enemy Qi but does not always interrupt the combo. |
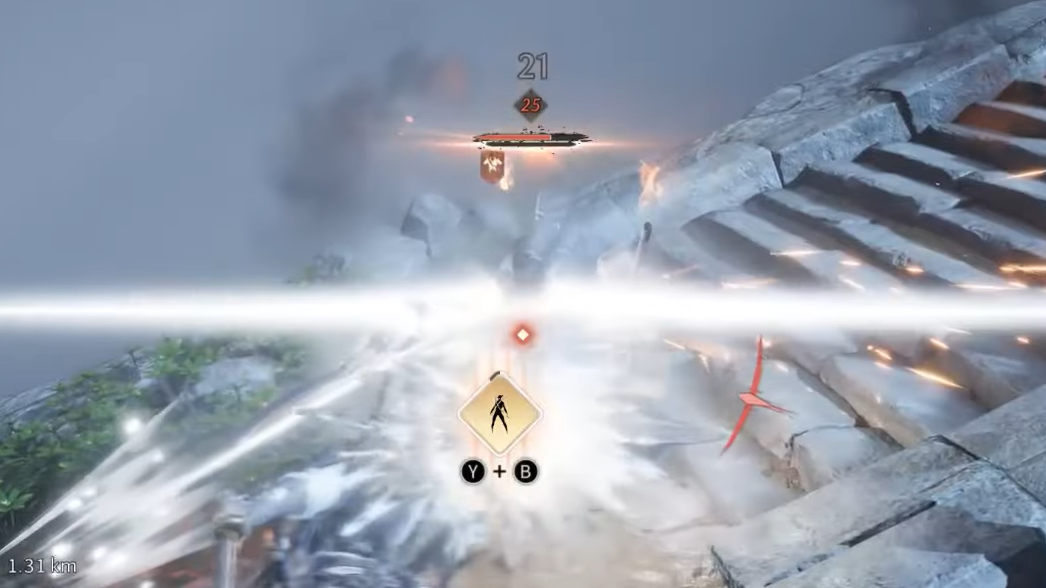
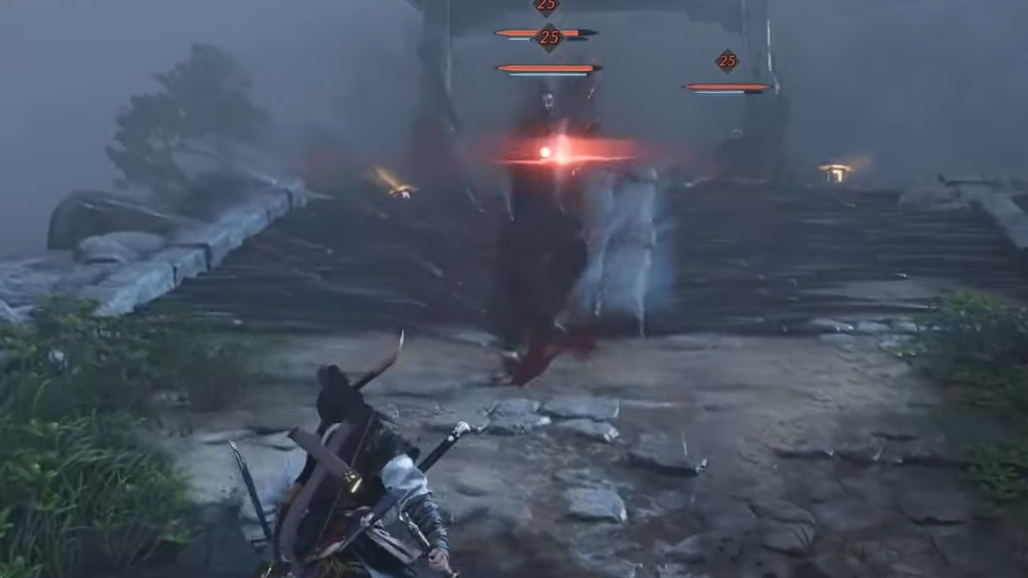
| Glowing red | High-threat moves that are deflect-only. | Must be deflected to avoid full damage and to create a big punish window. |
| Glowing gold | Unblockable and undeflectable attacks. | Must be dodged. Blocking or deflecting will fail and you will be hit. |
For normal, non-glowing swings, a deflect will negate damage, but the enemy may continue their string. You are trading their stamina for yours: they lose Qi but maintain pressure. For red attacks, a perfect deflect both protects you and interrupts them, leaving them open for a heavy punish. Gold attacks ignore your guard entirely and demand spatial movement.
How to perform a deflect (keyboard, mouse, and controller)
Exact button labels vary by platform, but the underlying timing and flow are consistent. The procedure below focuses on timing and state rather than specific keys.
Step 1: Lock onto the enemy and watch their body language, not just the UI. Weapon wind‑up, shoulder movement, and footwork all signal when a strike is about to land.
Step 2: Keep your Qi bar in view. If your Qi is nearly empty, avoid relying on block spam and focus on a single well-timed deflect or a full disengage with a dodge.
Step 3: When an attack animation is about to connect, tap your deflect input once—do not hold it. The window is shortly before the hitbox makes contact, not at the very start of the swing.
Step 4: For glowing red attacks, commit to the timing. These moves are tuned around the deflect window: pressing too early (pre-blocking) or too late will usually result in full damage.
Step 5: After a successful deflect, look for the brief stagger or Qi break feedback on the enemy. If you have drained enough Qi, you can follow up with a strong attack to capitalize on the opening.
On mouse and keyboard, some setups let you hold a defense stance with the right mouse button and then tap the left mouse button to trigger a deflect. This keeps your fingers on the mouse and can feel closer to other action games, though it adds a small input sequence delay compared with a single dedicated key.
Using Assist Deflection and Insight Points
Assist Deflection exists as a training and accessibility feature when manual timing is difficult. When you trigger it, the game briefly slows time and provides a quick time event window that shows exactly when to input the deflect.
- Assist Deflection is tied to Insight Points, a segmented bar displayed under the Qi bar.
- Activating Assist Deflection consumes one segment.
- The Insight bar refills during combat over time, so you cannot spam it repeatedly.
Because Assist Deflection automates the hardest part of parrying, relying on it constantly can prevent you from learning the natural timing. It is most effective as:
- A way to understand the real parry window for new enemies.
- A safety net in boss fights when you are about to take lethal damage from a red attack.
Reading attack strings and building deflection rhythm
Deflection is easier when you treat it as rhythm rather than a single-frame reaction.
- Count the beats in combos. Many enemies follow predictable patterns: for example, two quick slashes into a slower overhead. Block or deflect the first hits more loosely, then time a cleaner deflect on the slower finisher.
- Prioritize red attacks. If you struggle to deflect every swing, focus on red moves first. They are the most dangerous and reward you with the biggest opening.
- Use dodge for gold attacks and spacing. Any time you see a gold glow, drop the urge to parry and use your Qi on a directional dodge instead.
- Mix in block when learning. You do not need to abandon block entirely. Holding block between parry attempts lets you “soften” mistakes while you learn an enemy’s timing.
HUD resources that interact with deflection
The on-screen bars give constant feedback about how well your defensive choices are working.
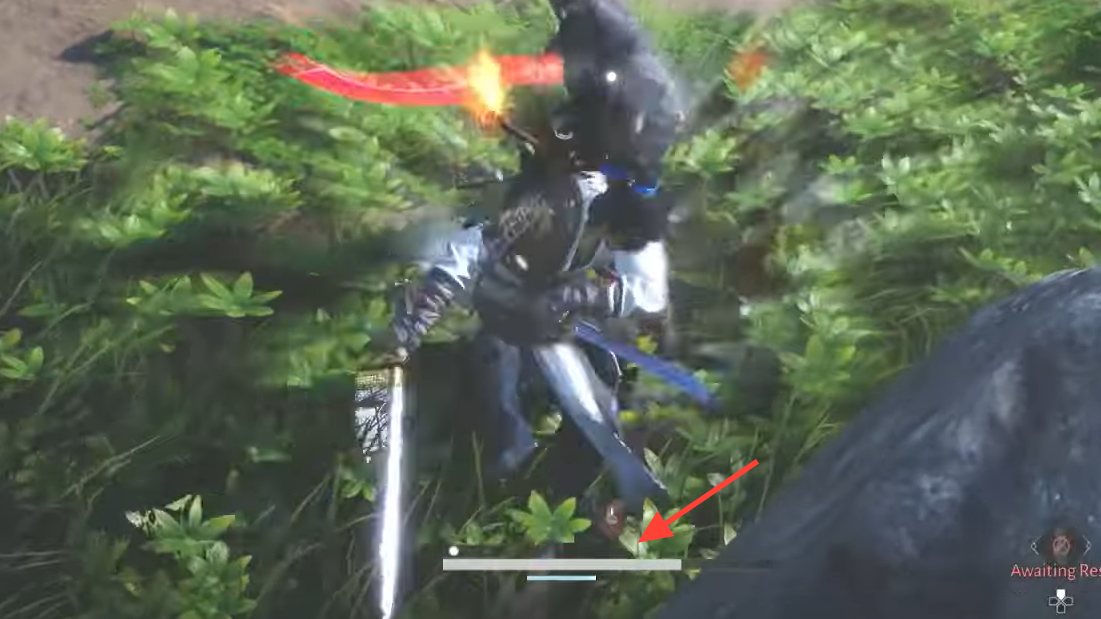
- Health bar: The large top bar in the lower HUD. If it empties, you go down and suffer severe injuries. Successful deflections prevent damage entirely, so nailing the timing is the most health-efficient option.
- Qi bar: The bar under Health. It measures stamina for blocks and dashes. Over-blocking or spam-dodging empties it; well-timed deflections are less Qi‑intensive over time because they shorten enemy pressure phases.
- Insight Points: The segmented bar under Qi. Each segment powers one Assist Deflection use and refills over time while you are engaged in combat.
Keeping Health high and Qi healthy while steadily breaking enemy Qi is the core loop. Deflection is the tool that aligns all three: no damage for you, resource damage to them, and limited Qi expenditure if your timing is consistent.
Deflection in Where Winds Meet is demanding at first but scales better than any other defensive option. Learning the red and gold cues, remapping the input to something comfortable, and using Assist Deflection sparingly to understand timing turns difficult duels into controlled exchanges where you decide when the enemy is allowed to swing.