
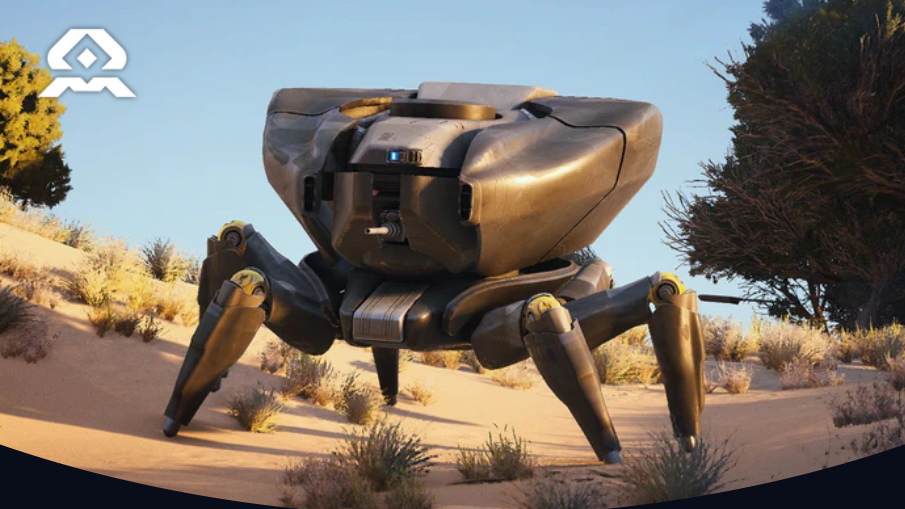
Bastion is one of the tankiest ARCs in Arc Raiders, so players naturally look for reliable, repeatable ways to delete it without burning through an entire raid’s worth of supplies. Seeker grenades are part of that conversation, but they do not work like a magic one‑button delete against heavy ground targets the way they do on some flying ARCs.
Seeker grenade damage and stacking
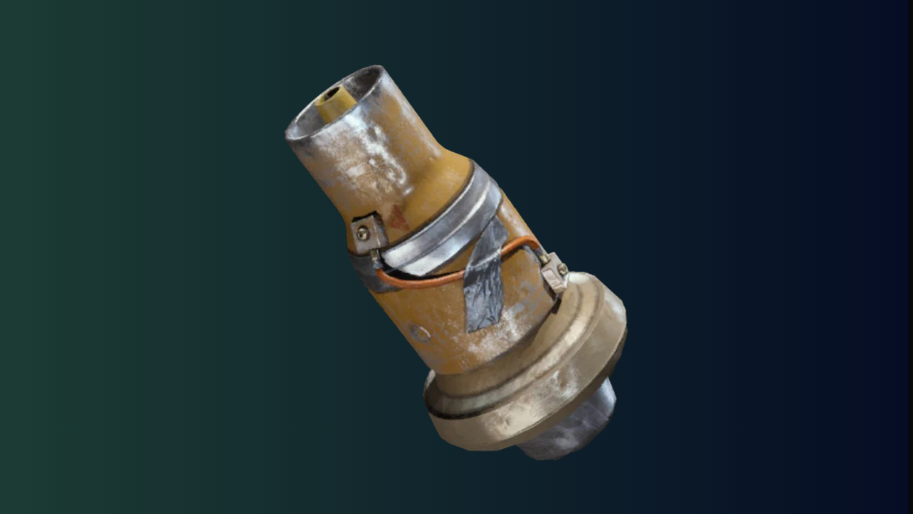
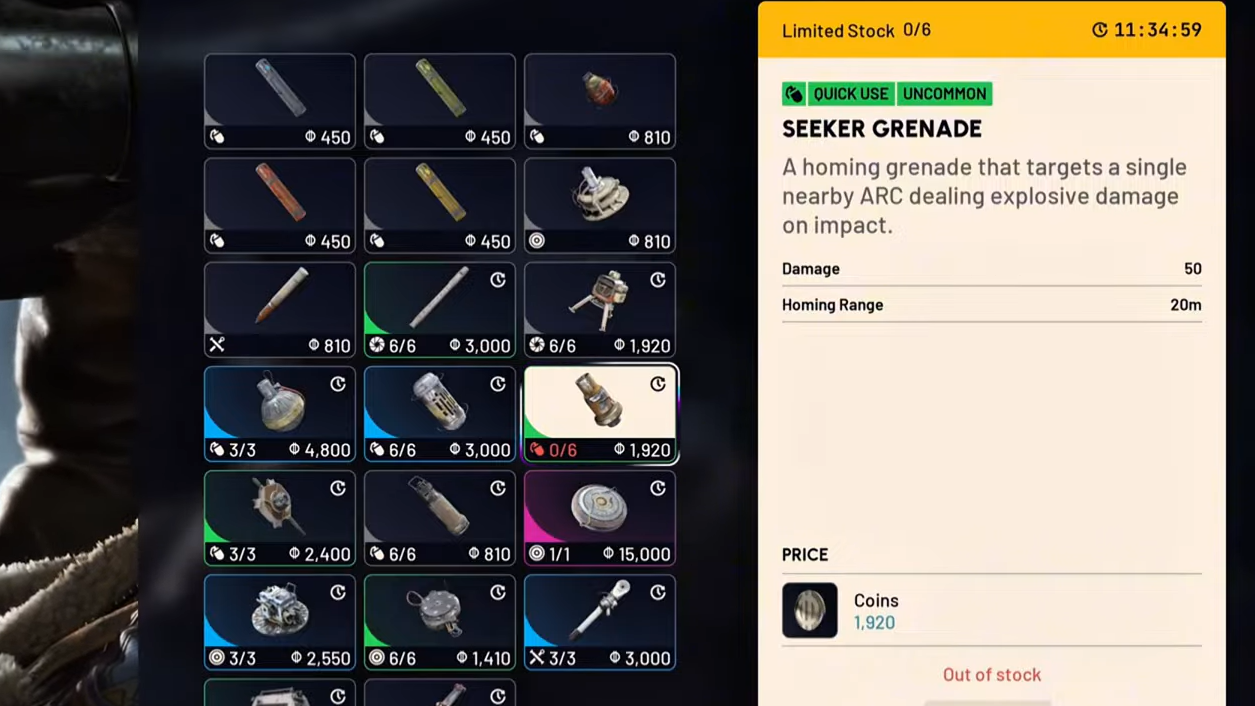
Seeker grenades have a fixed, linear damage profile, which makes planning around them straightforward.
| Grenade | Damage per grenade | Max stack per inventory slot | Total damage per full stack |
|---|---|---|---|
| Seeker Grenade | 50 | 5 | 250 |
Each Seeker grenade deals 50 damage on detonation. Five fit into a single inventory stack, so one complete stack represents 250 total damage if every grenade connects cleanly. That simple math underpins how many you need for various ARCs.
How many Seeker grenades to kill a Bastion
A Bastion’s health pool is significantly higher than 250 damage. A single full stack of Seeker grenades is not enough to kill it from full health, even with perfect hits. That is why dedicated Bastion farming strategies still anchor around higher-damage tools such as Wolfpacks, Deadline mines, and primary weapons rather than Seeker grenades alone.
When players experiment with “how many Seeker grenades to take down Bastion,” the practical outcome is:
- Using only Seeker grenades is highly inefficient. You would need multiple full stacks, which crowds your inventory and still leaves you exposed while you throw.
- Seeker grenades function better as a finisher or chip tool after Bastion has already eaten a Wolfpack, Deadline, or sustained gunfire.
In other words, the efficient answer is not a clean “X Seeker grenades kill Bastion from full,” but rather: treat them as supplemental damage, not your primary Bastion killer.
Using Seeker grenades on flying ARCs vs Bastion
Seeker grenades shine against flying targets because they solve a targeting problem as much as a damage problem. Their homing behavior lets you focus on positioning instead of precise aim.
Against flying ARCs like Hornets, Wasps, and Surveyors, the damage-to-health ratio is far more favorable. For example, a widely shared rule of thumb is that four Seeker grenades are enough to destroy a Surveyor if all of them connect, which fits neatly within a single inventory stack.
On Bastion, that same four‑grenade burst barely scratches a fraction of its health bar. The grenade still tracks to the target, but the damage per grenade is unchanged, so the relative impact is much smaller.
That contrast is important when planning your loadout: Seeker grenades are crowd-control and anti‑air workhorses, not a Bastion nuke.
Efficient Bastion kill setups (and where Seeker fits)
Several community strategies have emerged for deleting Bastion quickly by combining different explosive types. Two patterns stand out.
Bastion kill with Wolfpacks and regular grenades
A popular approach focuses on Wolfpack rounds as the main health shredder. The basic loop is simple: climb to safe high ground overlooking Bastion, fire Wolfpacks, then layer in conventional grenades while Bastion is distracted.
From rooftops overlooking Plaza Rosa in the Buried City, Bastion has trouble returning fire effectively. With that positional advantage, a couple of Wolfpacks plus a handful of regular grenades are enough to kill Bastion in roughly two minutes of focused damage, assuming you also clear its drones as they spawn.
In this setup, Seeker grenades are optional. They can help against the drones or add some extra chip damage to Bastion between Wolfpack volleys, but they are not required to secure the kill.

“One Shot” Bastion or Bombardier method with lures and Deadline
Another method focuses on trapping Bastion or Bombardier in a predictable position and detonating a powerful explosive under it.
The pattern looks like this:
- Use two lure grenades, placed to either side of the ARC, to lock its attention and keep it roughly in place.
- Throw smoke on top of the ARC, ideally covering the spot where you plan to plant your explosive. The smoke makes it harder for it to punish you while you move in.
- Plant a Deadline mine behind the ARC. Deadline acts more like a timed deployable with a fuse than a traditional pressure mine, but it delivers heavy damage when it detonates under a big target.
Executed cleanly, this “one shot” style combo can strip most or all of Bastion’s health bar in a single sequence. Again, Seeker grenades are not the star of the show here. They can help clean up remaining health afterward, but are not central to the burst.
Where Seeker grenades are most valuable in a Bastion fight
Even if they are not your main damage source, Seeker grenades still have specific, useful roles around Bastion.
- Drone control. Bastion often spawns multiple drones that harass you while you set up your damage window. Seeker grenades tracking into clusters of drones can clear them quickly, especially when you do not have time to line up gunshots.
- Softening support ARCs. Bastion rarely appears alone. Seeker grenades thrown into packs of smaller ARCs around it can clear space so you can safely focus on the boss.
- Finishing blow. Once Bastion has survived a Wolfpack, Deadline, or heavy weapon burst and is left at low health, burning one or two Seeker grenades to finish it is often safer than peeking with a gun.
Used this way, Seeker grenades help stabilize the encounter rather than carry the entire health bar themselves.
Practical loadout advice for Bastion runs
Given the numbers and behaviors involved, a Bastion-focused loadout benefits from a mix of high-damage and utility explosives:
- Wolfpacks or another heavy-damage option as your primary Bastion killer.
- Lure and smoke grenades if you plan to use a Deadline-based trap or need safer access to plant explosives.
- One stack of Seeker grenades reserved for drones, small ARC swarms, and finishing Bastion if it survives your main combo.
Stocking up on Seeker grenades between raids is still worthwhile. A vendor sells a limited number per day, and keeping at least one stack on hand ensures you have that flexible anti‑air and cleanup tool ready whenever you run into flying ARCs or chaotic Bastion encounters.
When planning a Bastion hunt, think of Seeker grenades as part of the toolkit rather than the tool. They are excellent at making dangerous situations more manageable, but the actual killing blow on Bastion usually belongs to heavier ordnance or sustained weapon fire.