
The Leaper is one of the most intimidating ARC enemies in ARC Raiders. It's a Critical-threat, heavy-armored, four-legged brute with 1,100 HP that patrols high-value areas across multiple maps. It can close distance with devastating leaps and unleash a shockwave pulse that punishes anyone standing nearby. Trying to gun one down with standard firearms is a slow, ammo-draining affair — grenades are the way to go.
Quick answer: It takes 8 Seeker Grenades to kill a Leaper outright. Results can vary slightly depending on whether every grenade lands cleanly, so bringing a couple of extra is smart insurance.
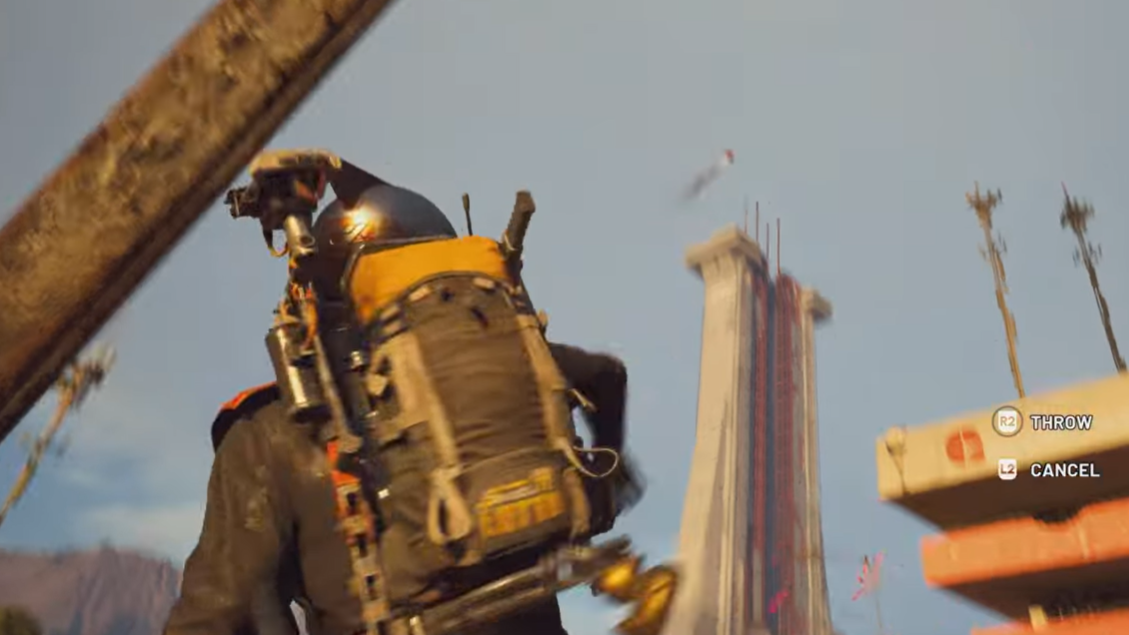
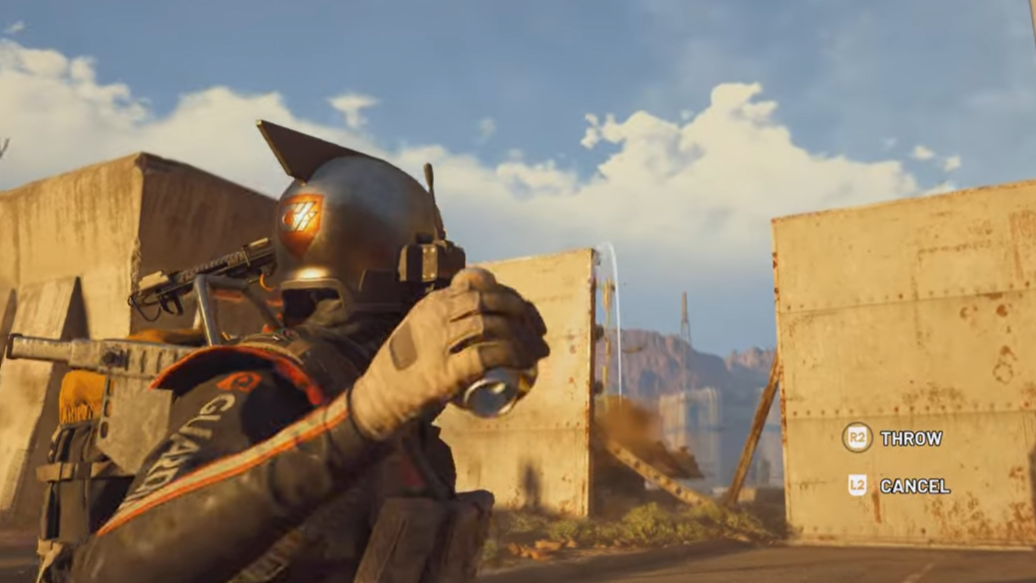
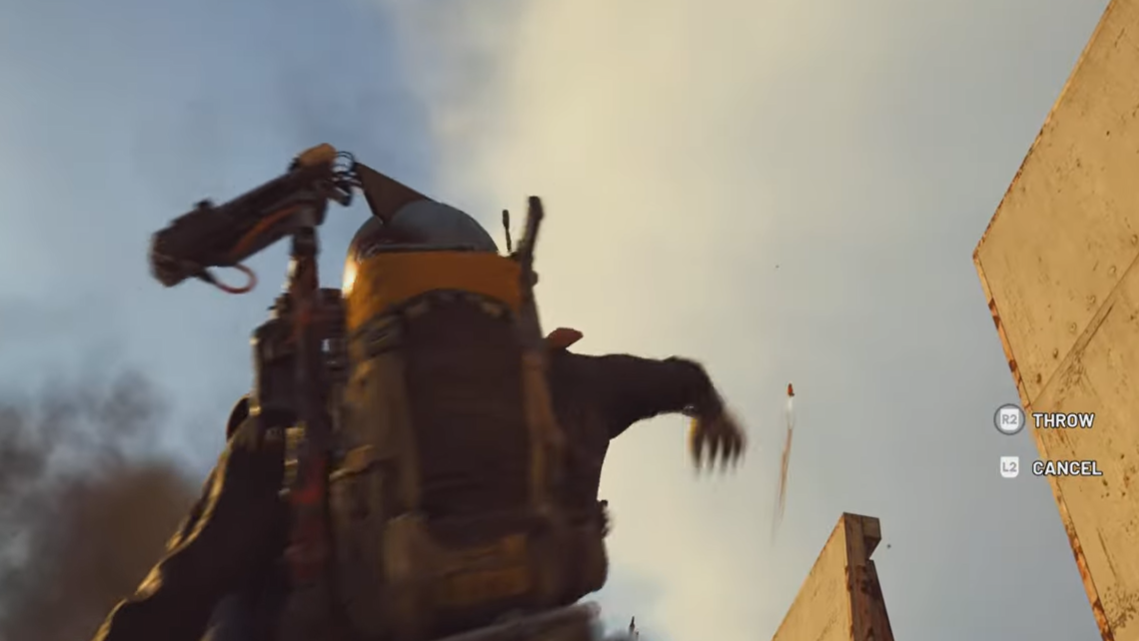
Seeker Grenades versus the Leaper
Seeker Grenades are a strong, all-purpose explosive in ARC Raiders. Against a Leaper, eight of them — delivered accurately — will burn through its full 1,100 HP health pool and destroy it. Because Seeker Grenades track their target, they're more forgiving than manually aimed throwables, but a partially obstructed throw or a hit that clips the Leaper's armor plating at an odd angle can reduce damage slightly. Carrying two full stacks is a reliable habit, since leftover Seekers still one- or two-shot smaller ARC enemies like Wasps and Hornets.
For comparison, eight Seeker Grenades will also kill a Rocketeer, making them a versatile pick for any raid where you expect to encounter heavy ARC threats.
Alternative grenade options for killing Leapers
Seeker Grenades aren't the only viable choice. Several other grenade types can take a Leaper down, often at a lower crafting cost.
| Grenade Type | Approximate Quantity Needed | Notes |
|---|---|---|
| Seeker Grenade | 8 | Homing; most consistent option |
| Blaze Grenade | 4 | Cheap to craft; stick directly on the Leaper and let it burn, then repeat |
| Snap Blast Grenade | 6 | Pop out from cover, stick, retreat |
| Light Impact Grenade | ~10 | Budget option; bring extras and finish with a heavy weapon |
| Trigger Grenade | 4–6 | Place near a doorway, lure the Leaper, detonate |
| Wolfpack | 1 | A single clean hit kills a Leaper if no other ARC absorb the submunitions |
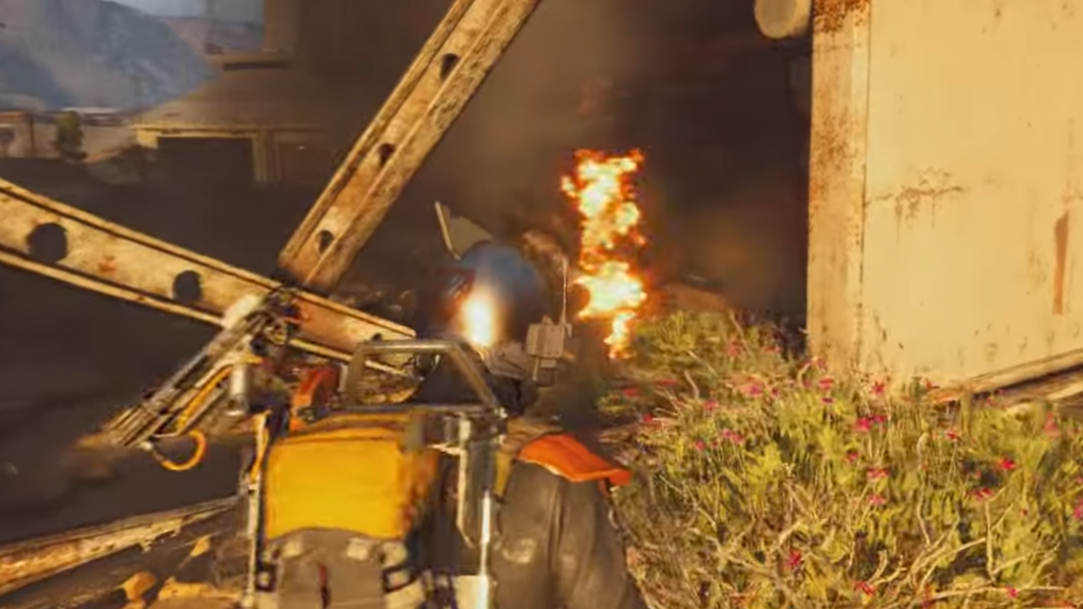
Blaze Grenades deserve special mention. They're among the cheapest explosives to produce, and the burn-over-time mechanic means you only need to land four of them. Throw one directly onto the Leaper, wait for the fire to expire, then throw the next. After four burns, one or two shots from a heavy ammo weapon like the Ferro will finish it off. A combination of two Jolt Mines and two stacks of Fireball Burners has also proven effective.
Combat strategy for engaging a Leaper
Step 1: Before you aggro the Leaper, scout the area for hard cover. Buildings, shipping containers, large rocks, or any structure with a doorway work well. The Leaper's massive body prevents it from following you inside tight spaces.
Step 2: Fire a few rounds at the Leaper to draw its attention, then immediately retreat to your cover position. As it approaches, begin throwing grenades — aim for direct sticks when possible.
Step 3: When the Leaper leaps and lands, it pauses for a few seconds to reset before attacking again. Use that window to throw additional grenades or land shots on its weak points.
Step 4: If you take damage, heal behind cover while the Leaper struggles to reach you. Repeat the cycle of grenade tosses and retreats until it goes down.
The Leaper's weak points are its eye (the glowing red spot) and its leg joints. Hitting the leg joints can immobilize it temporarily, making follow-up grenade throws much easier. If you run out of grenades, switch to a heavy ammo weapon and target these spots to deal increased damage.
Leaper loot drops
Destroying a Leaper rewards a solid haul of crafting materials. Keep your distance after the kill — the body explodes after a short delay, and getting caught in the blast will cost you health.
- Leaper Pulse Unit — a unique drop used to upgrade the Utility Station at your Workshop
- ARC Alloy
- ARC Flex Rubber
- ARC Performance Steel
- Advanced ARC Powercell
- Explosive Compound
- Mechanical Components
- ARC Motion Core
Where to find Leapers
Leapers spawn in high-risk zones across several maps. Known locations include the area southeast of the Hydroponic Dome Complex, the Water Treatment Control Elevator, and Red Lakes Balcony on Dam Battlegrounds; Marano Park in Buried City; south of Launch Towers at the Spaceport; and the Barren Clearing and Ruined Homestead in The Blue Gate. They frequently patrol alongside smaller ARC units, so clear out Wasps and Hornets first to avoid getting overwhelmed during the fight.
Eight Seeker Grenades remain the cleanest, most reliable solo method for dropping a Leaper, but budget-conscious Raiders can get the same result with four Blaze Grenades and a couple of Ferro shots. Whichever loadout you choose, the core loop stays the same: find cover, bait the leap, throw during the recovery window, and repeat until the loot spills out.