
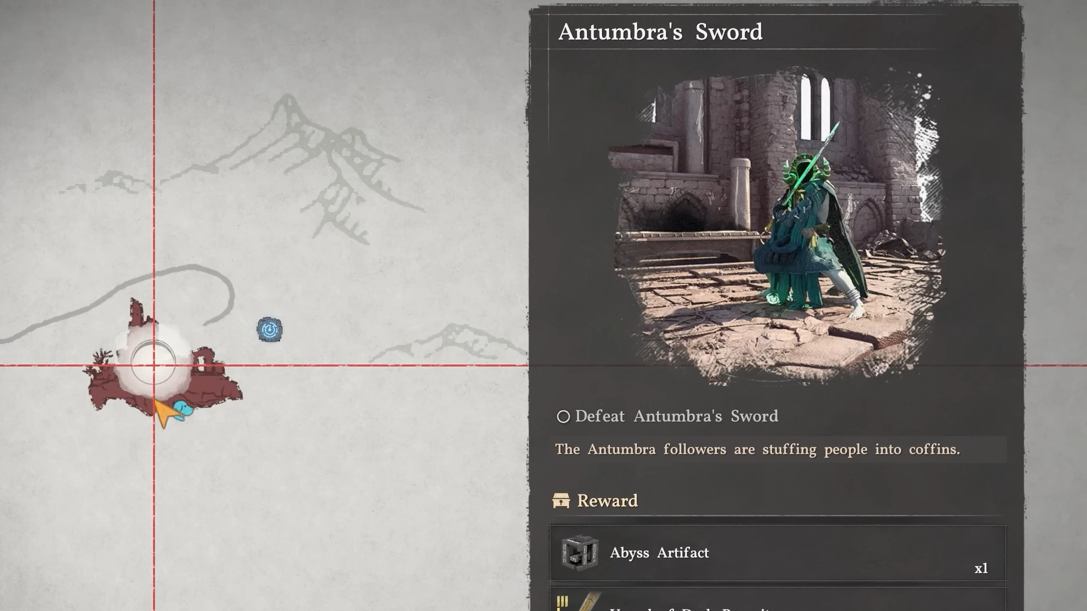
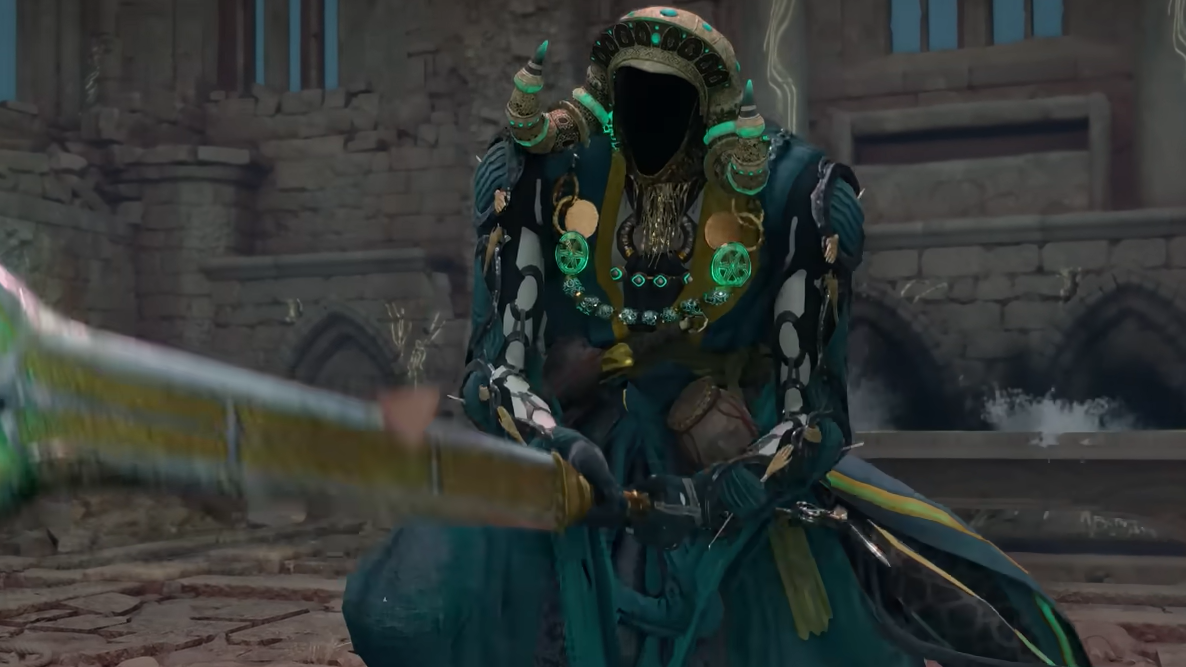
Antumbra's Sword is an optional boss located in the Sanctum of Absolution in southwest Hernand. This undead lich guards the sanctum and presents one of the most demanding fights in Crimson Desert, testing your mastery of parrying, dodging, and posture management. The encounter becomes available after you begin "The Witch of Wisdom," a Witch faction quest that unlocks once you obtain the Axiom Force and the Kuku Pot during the main story.
Quick answer: Defeat Antumbra's Sword by using Focus Level 3 to activate Focused Insight, parrying his opening attacks, following up with three Force Palms to break his posture, then unleashing Turning Slash and heavy attacks during the stagger window. Repeat this cycle while staying close to minimize his dangerous clone attacks.
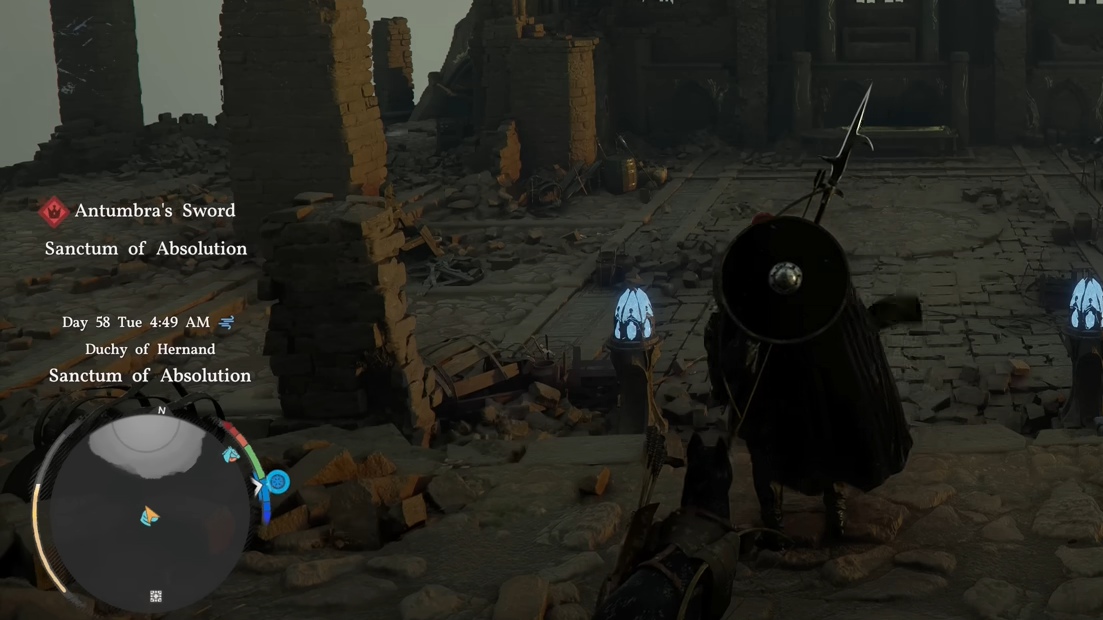
Location and Access
The Sanctum of Absolution sits high in the frosty mountains of southwest Hernand. You can spot it from the Scholastone Institute's Abyss Nexus by looking south—it appears as ruins perched atop a mountain. An Abyss Nexus near the sanctum provides a convenient fast travel point once unlocked.
The boss only spawns after you've progressed halfway through Chapter 5 and met Elowen, the Witch. Arriving earlier will show an empty arena. Defeating Antumbra's Sword also contributes progress to the Cloister of Ruination quest for the Antumbra Order faction.
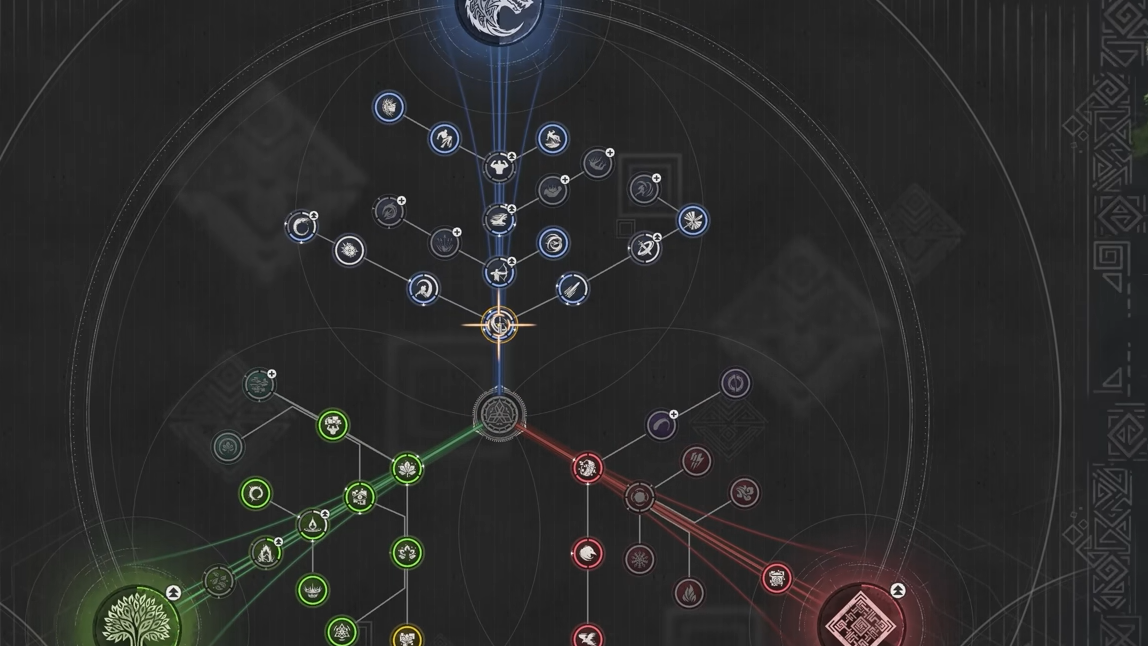
Essential Skills and Preparation
This fight demands specific skill investments to succeed. The boss teleports constantly, hits hard enough to one-shot you at 750 health even with defense elixirs, and punishes overcommitment severely.
Required skills:
| Skill | Level | Purpose |
|---|---|---|
| Focus | 3 | Unlocks Focused Insight for slow-motion parries and tracking teleports |
| Force Palm | 3 | Unlocks Expertise for chaining three Force Palms to break posture |
| Armed Combat | 5 | Maximizes weapon damage output |
| Turning Slash | 3 | Primary damage dealer during stagger windows |
| Nature's Echo | 1 | Doubles forward and spinning slashes for increased DPS |
Recommended gear: Bring at least Level 5 Ice Resistance to avoid the stamina debuff from the mountain cold. The Frostcursed Plate Cloak from the Sanctum of Expiation provides sufficient resistance. For weapons, the Darkbringer longsword paired with Crow's Pursuit Abyss Gear offers excellent damage, though the Soul Spear also works well. Reinforce all weapons at grindstones and armor at anvils before the fight—both are available at the Sunrise Plains bandit camp.
The Momentum Abyss Gear from the Leather Helm of the Fallen Kingdom at the Sanctum of Benediction adds 35% more Turning Slash damage when slotted into your helm.
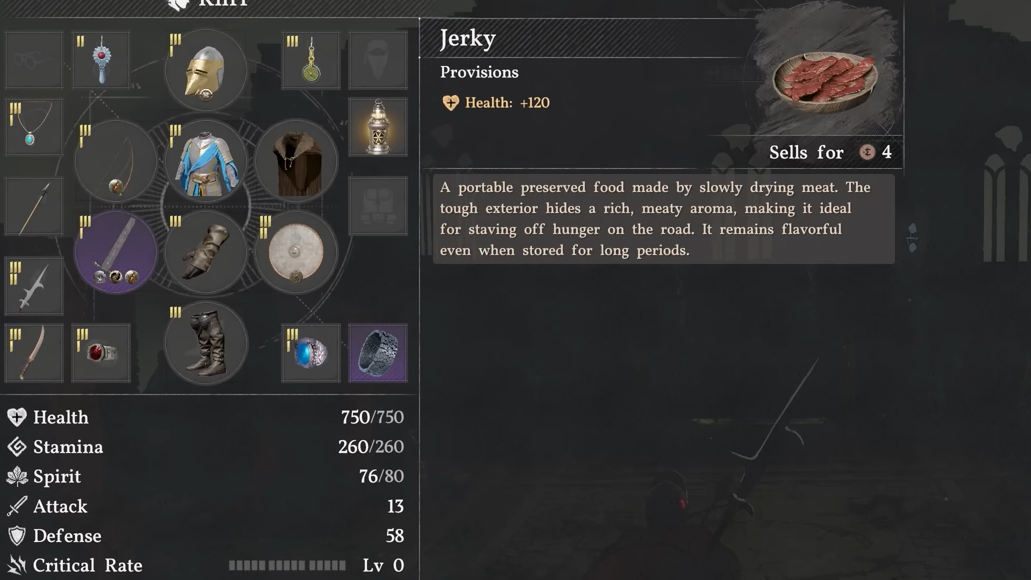
Consumables and Healing
Antumbra's Sword attacks too quickly for you to consume multiple food items mid-fight. Bring high-value healing options like Chewy Rice Cakes, Vegetable and Seafood Porridge, or Clear Soup that restore large chunks of health and spirit in a single use. Expect to use 70-80 food items total across multiple attempts.
Palmer Pills are essential—bring three to five. You will die during the learning process, and these revival items let you continue the fight immediately rather than restarting from scratch. One player noted that a recent patch removed the issue where the boss would attack you while still on the ground after revival, making Palmer Pills more effective.
Attack Patterns and Counters
Antumbra's Sword relies on four main attack sequences. Learning to recognize and counter each one determines your success.
| Attack | Recognition | Counter |
|---|---|---|
| Shadow Steps | Disappears and reappears mid-attack, often behind you | Stay locked on, keep shield raised, or use Focused Insight to block in slow motion |
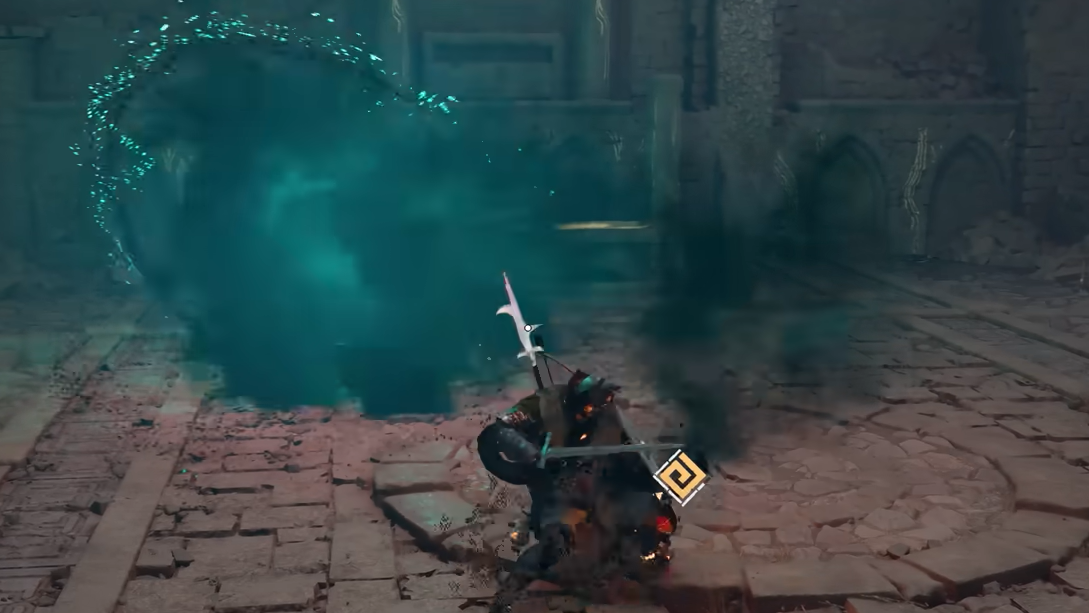
| Epicenter | Raises sword overhead and slams ground, sending waves outward | Back away and position between wave gaps, or interrupt with Force Palm |
| Three-Hit Combo into Slam | Standard three-hit sequence without teleport, followed by ground slam | Parry the opening hit to stop the entire combo before phantoms spawn |
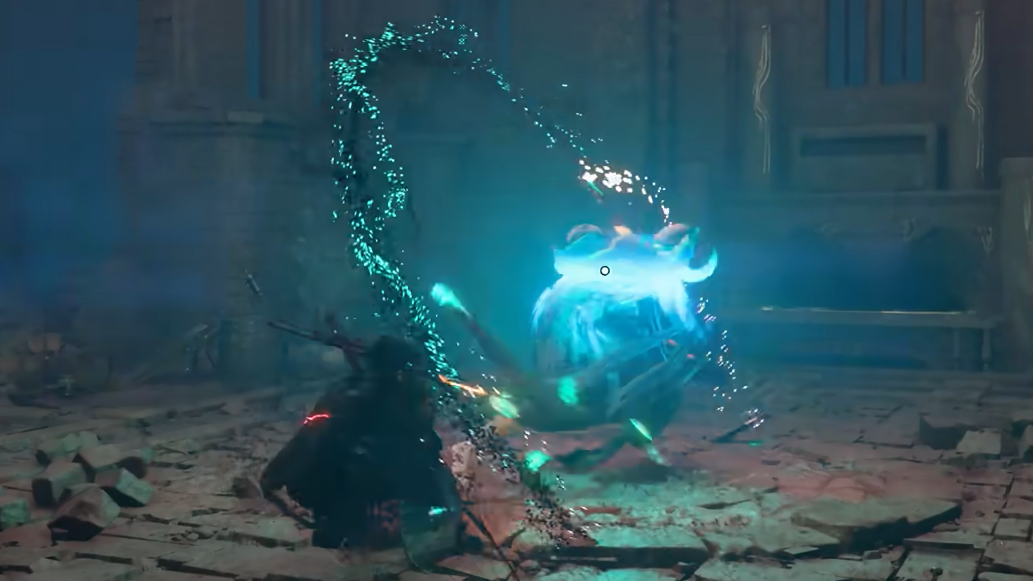
| Shadow Clone Combo | Horizontal swing, aerial spin, downward slash with clones and forward waves | Dodge through him or Force Palm to interrupt before he chains multiple slams |
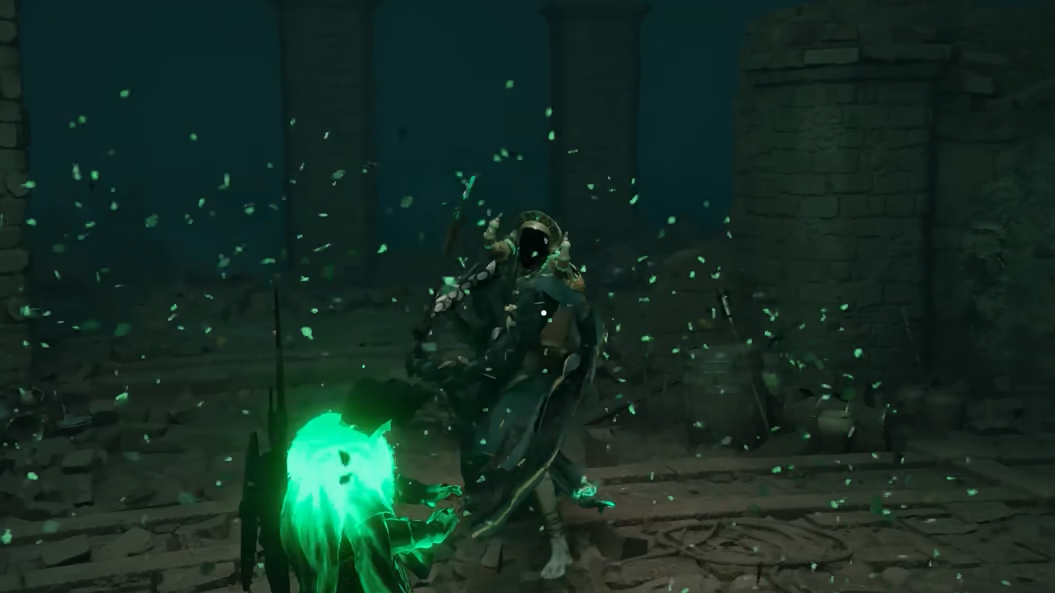
When Antumbra's Sword glows red with a war cry, he enters his most dangerous attack: three ground slams that each summon two phantoms and send out dark slicers. This cannot be parried. Keep your distance and dodge into each phantom as they appear—timing matters more than positioning here.
Most of his attacks are blockable except for the big wind-up moves. Keep your shield up, stay locked on, and dodge past him rather than away to minimize damage from his follow-up strikes.
Core Combat Strategy
The fight centers on breaking Antumbra's Sword's yellow posture bar rather than chipping away at his health. He has only one health bar but high durability, making direct damage feel underwhelming. Staggering him creates windows for significant burst damage.
Step 1: Activate Focus mode immediately when the fight begins. Let Antumbra's Sword initiate—his first swing is usually a straightforward attack rather than Void Ring or a complex combo.
Step 2: Use Focused Insight by tapping Block repeatedly while in Focus mode. Even if he catches you by surprise, you'll execute a slow-motion block that deflects the attack and builds his posture bar. You'll see him stumble slightly when posture damage registers.
Step 3: Follow the successful parry with three Force Palms by pressing the Force Palm button three times consecutively. This chains the Expertise ability, dealing significant posture damage and leaving him briefly vulnerable.
Step 4: Land a few solid hits during the vulnerability window, but don't overcommit to long combos. Antumbra's Sword retaliates quickly, and greed gets punished with one-shot attacks.
Step 5: When his posture bar is nearly full, use Blinding Flash Finisher if you can't reach him. This closes the distance, deals damage, and breaks his posture completely, triggering a full stagger.

Step 6: Switch to Turning Slash and heavy attacks during the stagger window. This is your primary damage phase—maximize output with Nature's Echo active to double your slash damage.
Step 7: As soon as he recovers, reactivate Focus and repeat the cycle. Stay close whenever possible—at close range he defaults to Shadow Steps or Epicenter, both of which can be interrupted with well-timed blocks or Force Palm.
Common Failure Points
Several habits cause repeated deaths against this boss. Panic rolling drains stamina and leaves you vulnerable when he teleports behind you. Overcommitting to damage combos after breaking his posture results in getting caught by his recovery attacks. Staying at medium range triggers his Shadow Clone Combo, which chains multiple finishing slams that are nearly impossible to survive.
The multi-phantom sword slam with the red glint will almost always one-shot you, even with high health and refined gear. Treat it as a punishment move—when you see the red glint and hear the war cry, disengage immediately and focus on dodging into the phantoms rather than trying to block or trade damage.
Some players report frustration trying to replicate video strategies. The key difference is usually Focus Level 3—without Focused Insight, tracking his teleports and landing consistent parries becomes exponentially harder. Skill level matters more than raw stats for this encounter.
Rewards
Defeating Antumbra's Sword grants the Vessel of Dark Pursuit, a two-handed longsword that comes pre-refined four times and deals a maximum of 25 damage before further refinement. The weapon includes Wound of Darkness, an Abyss Gear ability that replicates Antumbra's Sword's wave attack. You can slot this Abyss Gear into any weapon to transfer the ability.
You also receive one Abyss Artifact. The weapon's power makes it valuable for subsequent boss encounters, particularly Crowcaller later in Chapter 5.
The fight tests your understanding of Crimson Desert's combat fundamentals—parry timing, posture management, and disciplined aggression. Players who defeat Antumbra's Sword early often find later boss encounters more approachable because the skills required here transfer directly to other challenging fights. Expect multiple attempts as you learn his patterns, but the Vessel of Dark Pursuit and the combat mastery you gain make the effort worthwhile.