
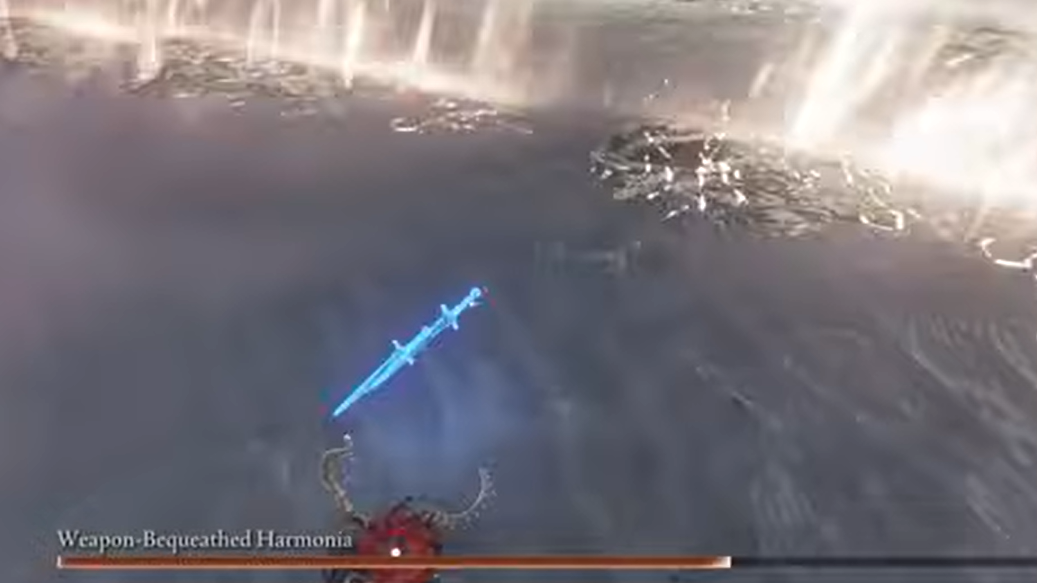
Balancers, or Weapon‑Bequeathed Harmonia, are the Forsaken Hollows’ first Nightlord: seven spear‑wielding valkyries sharing one health bar, swarming you with physical and AoE attacks. The fight looks chaotic, but the mechanics are consistent and exploitable once you know where the real pressure comes from.
How to unlock the Balancers expedition
Step 1: Purchase and install The Forsaken Hollows DLC so the Forsaken Hollows content, including Balancers and Dreglord, is added to Nightreign.
Step 2: Defeat Gladius, Beast of Night, for the first time in the base Nightreign progression. This opens up new NPC interactions in Roundtable Hold.

Step 3: Talk to the Iron Menial at Roundtable Hold, then speak to the Small Jar Merchant nearby. A chapel room behind the merchant will become accessible.
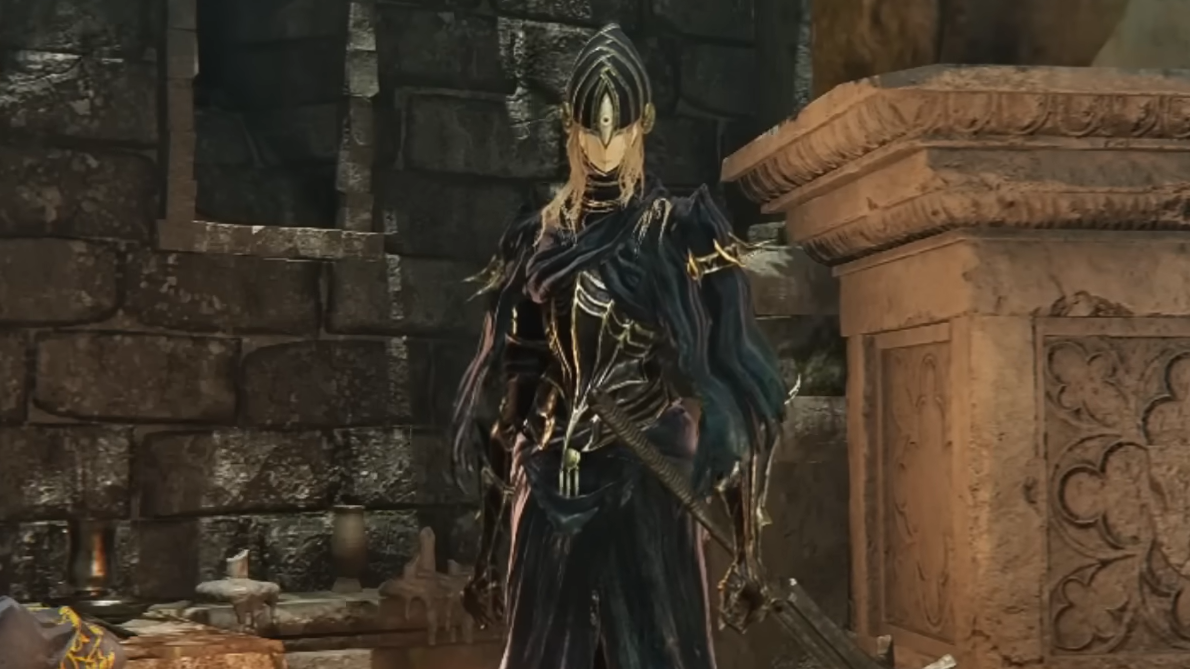
Step 4: Enter the newly opened room to trigger the Dreglord fight alongside Scholar and Undertaker. Win this encounter.
Step 5: Return to the same room afterward to unlock Scholar and Undertaker as playable Nightfarers and to enable the Balancers expedition from the Roundtable expedition list.
Balancers strengths, weaknesses, and recommended level
| Aspect | Details |
|---|---|
| Type | Nightlord (Weapon‑Bequeathed Harmonia, 7 valkyries) |
| Damage type | Pure physical |
| Element/status resistances | High resistance to Bleed, Poison, Scarlet Rot |
| Primary ailment weakness | Sleep buildup (can hard‑CC multiple Balancers at once) |
| Poise/posture | Normal Balancers have relatively low posture and flinch easily to heavy hits, especially in solo |
| Recommended level | Level 14–15 (DLC cap) for a standard difficulty run |
Sleep is the explicit weakness for Balancers: enough Sleep buildup puts individual valkyries into a long stun that only ends if you hit them. Status resistance data shows relatively low Sleep resistance compared with other effects, while Bleed, Poison, and Rot need too many procs to be practical. In practice, heavy posture damage and area damage are just as important: large weapons can repeatedly staggers the standard Balancers, and linking them with the Scholar’s ultimate lets you spread AoE damage across the entire group.
Best Nightfarers and builds for Balancers
Balancers are a numbers and positioning check more than a gimmick check. You want:
- at least one Nightfarer who can apply Sleep or trigger damage sharing, and
- one or two Nightfarers who reliably stagger and clean up spread‑out targets.
Top choices
- Scholar – The standout pick. His Ultimate, Communion, links Balancers so they share damage, making every AoE or wide swing count against all seven. His Analyze skill can also apply debuffs and ally buffs, though using it leaves him briefly exposed.
- Ironeye – Mobile melee who can mark a specific Balancer for focus and hit multiple targets with his Ultimate. Great at weaving through the group and helping the team lock one target at a time.
- Wylder – Excellent if you are comfortable parrying. Many Balancer spear strings are parryable, letting Wylder create repeated critical openings while staying nimble.
- Undertaker – High raw damage and a long‑range Ultimate that can hit the airborne “main” Balancer when she lines up in the sky. Good at deleting isolated targets once the crowd is thinned.
- Raider – Strong DPS with aggressive mobility, useful for chasing down specific valkyries and staying inside their safe zones during combos.
- Duchess – Useful as a damage amplifier, especially via Restage, when paired with other high‑DPS teammates.
Harder picks
- Guardian – Great physical mitigation on paper, but Balancers attack from every angle. You are forced to roll more than block, which undercuts Guardian’s strengths.
- Revenant, Recluse – Struggle with constant multi‑angle pressure and the need for fast, repeatable dodging.
- Executor – Can work if you secure a Sleep‑inflicting weapon, but otherwise lacks a clear edge here.
Preparation on Days 1–2 of the expedition
The expedition structure heavily rewards early‑run planning. For Balancers, preparation breaks down into damage, crowd control, and sustain.
1. Prioritize Sleep gear
- Look for weapons and skills with innate Sleep buildup.
- Craft and stockpile Sleep Pots.
- Grab Soporific or other sleep greases and keep them unused until you reach later phases of the boss.
Even a single Sleep Pot can put several Balancers to sleep thanks to its AoE, effectively turning the opening into a 3‑ or 4‑v‑1 if you coordinate your team’s focus.
2. Hit level cap
Reaching level 14–15 before taking the expedition boss gives you:
- enough health to survive stray AoEs and backstabs, and
- damage high enough that each successful opening meaningfully cuts into the shared health bar.
3. Secure at least two churches
More flasks are unusually valuable in this fight. Area attacks and blind‑angle spears will connect occasionally, especially in co‑op, and having at least two extra flasks from churches keeps your team alive long enough to see and learn every pattern.
4. Stack physical damage negation
Since Balancers deal pure physical damage, reducing physical intake is directly effective:
- Equip a strong physical defense talisman, such as Dragoncrest Shield Talisman on your frontline Nightfarer.
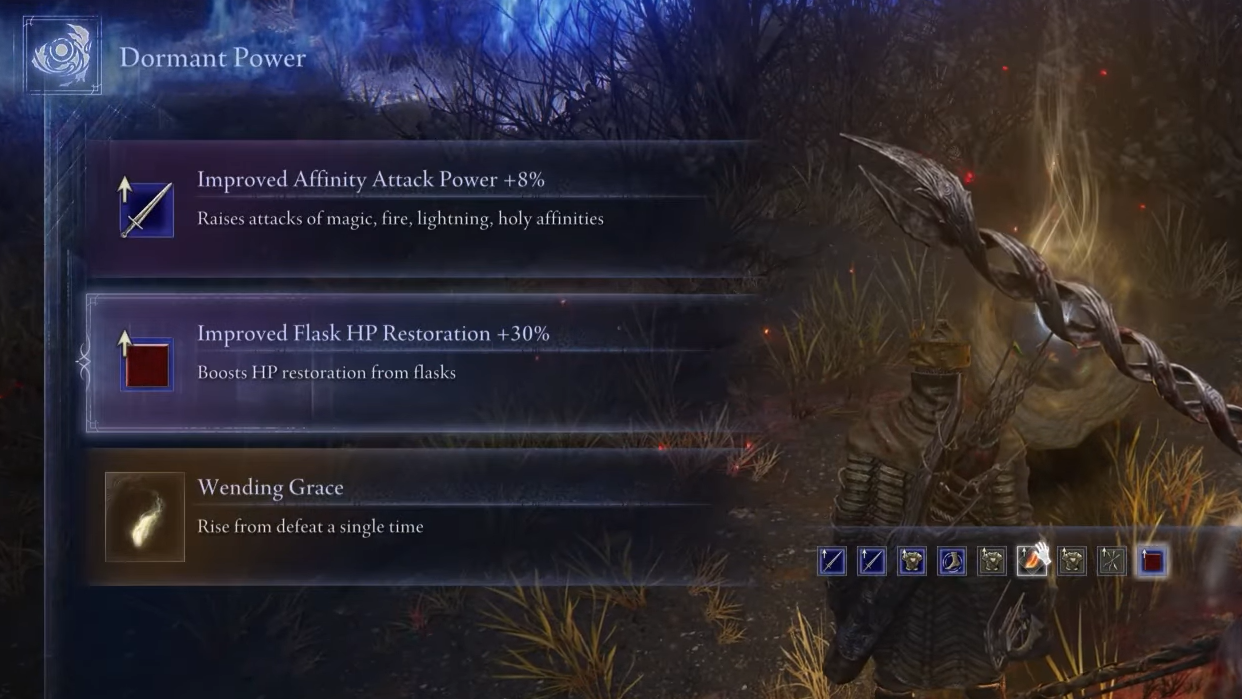
- Seek Dormant Powers that boost physical damage negation.
- Carry physical defense foods like Boiled Crab.
Guardian and Raider especially benefit from these layers, as they spend more time in melee range.
Understanding the arena and overall win condition
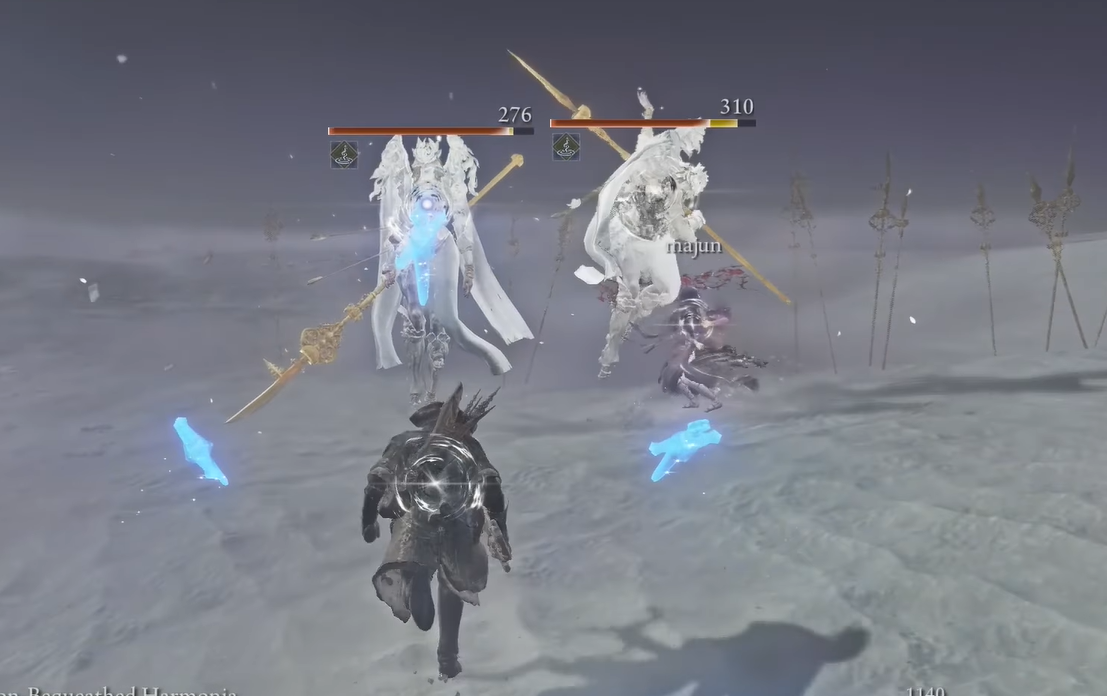
All seven Balancers share one large boss HP bar. Any damage dealt to any valkyrie reduces that bar, similar to Four Kings or Godskin Duo in Elden Ring.
- Phase 1: Seven “normal” Balancers on the ground with simple melee and magic patterns.
- Phase 2: After you deplete roughly a third of the shared bar, all seven revive; one returns with distinct pink wings and an expanded moveset. The group also gains synchronized airborne barrages.
- Phase 3: A repeat of Phase 2 behaviours with higher tempo as you push the remaining HP; you may see multiple revives of the pink‑winged Balancer if you kill her early.
In every phase, your goals are the same:
- avoid being surrounded,
- thin the number of active threats, and
- either abuse Sleep windows or posture breaks to get sustained damage in.
Balancers Phase 1: seven on the ground
Phase 1 positioning and targeting
Step 1: As the fight starts and the seven Balancers fan out, move so that most of them are in front of you. Avoid getting pinned between two or more behind you.
Step 2: In squads, split slightly so you pull a few Balancers each, spreading the swarm instead of letting them dogpile a single Nightfarer. In solo, kite laterally until only one or two stay in melee range.
Step 3: Pick one Balancer and commit to it until it falls. Leaving several on half HP is worse than removing individual enemies entirely.
Basic Balancers will usually only give you time for two or three hits before they step back and counter, so think in short strings: one or two light attacks, maybe a charged heavy if you’ve just rolled through a big whiff, then get ready to dodge.
Phase 1 moveset and counters
- Single spear thrust: One‑handed spear aimed straight ahead with a long step. Strafe or roll diagonally toward the thrust as it begins to travel; you’ll end up beside or behind the Balancer with time for a punish.
- Jumping vertical sweep: Two‑handed leap with a slow descending slash. Roll under and slightly toward her at the start of the swing, not when she jumps. This is one of the safest punishes.
- Two‑swing horizontal combo: Double sweep from left to right. Roll forward and slightly to the outside of the first swing, then attack into her back while she finishes the animation.
- Line of spears (ground telegraph): Spear tip glows, then a line on the ground lights up in front of her before erupting into spears. Watch your feet: if you see a glowing line, move or roll sideways out of its path rather than backward along it.
- Circle AoE spears: Balancer kneels and draws a circular magic field around herself. Sprint or roll out of the ring as soon as it appears; the detonation timing is generous.
- Thrust combo gap‑closer: Infrequent but dangerous. A Balancer’s spear glows, then she repeatedly lunges toward a locked target, re‑targeting between thrusts. Roll into the first lunge (not away) to slip past her, then stay behind her to make the rest of the string whiff into empty space.
Even without Sleep, large weapons can repeatedly interrupt these patterns on the weaker Balancers, especially if you’re alone and their posture thresholds are scaled down. Big greatswords, colossal weapons, and heavy spears all work well.
Sleep usage in Phase 1
Phase 1 is mostly about learning patterns and conserving resources. Save Sleep greases and pots for later unless your run is already in trouble. Normal Balancers die quickly enough without needing hard CC here, and your consumables are more valuable when the pink‑winged variant and synchronized sky attacks appear.
Balancers Phase 2: pink‑winged leader and air raids
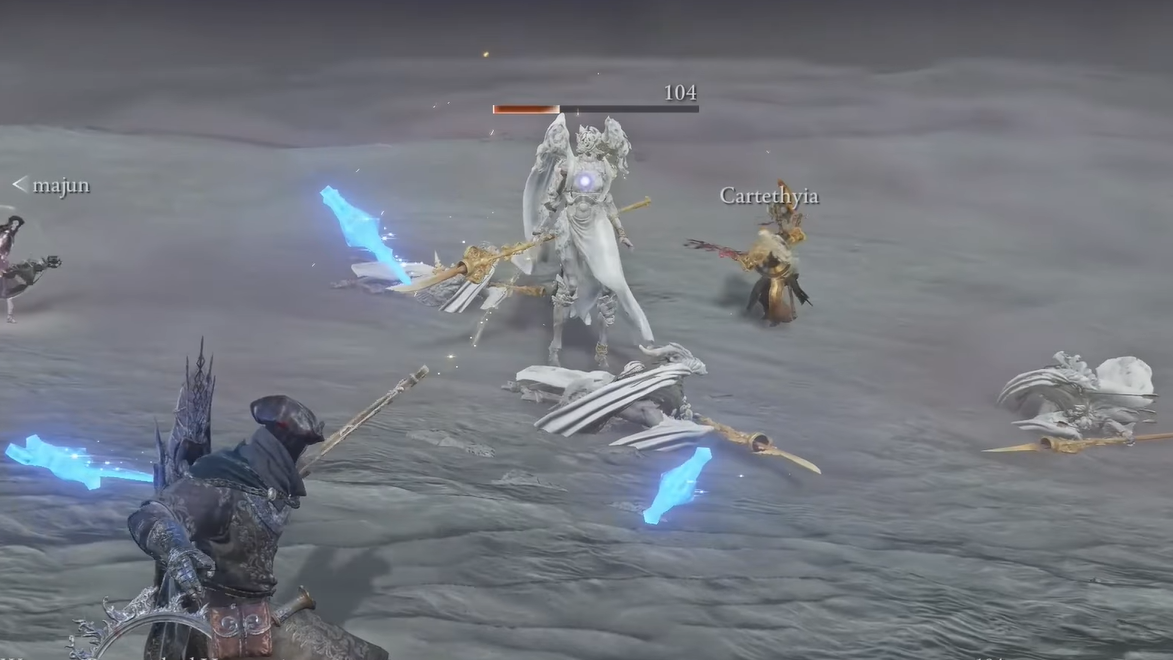
Phase transition and first “carpet bomb”
When you kill the last Phase‑1 Balancer, only about a third of the boss bar will be gone. After a short lull, all seven revive; one stands out with pink wings and extra effects. She is effectively the “main” Balancer.
Immediately after this revival, the group performs a large airborne sequence often described as a carpet bombing:
- Several valkyries lift off and dash across the arena in turn, leaving glowing trails or cracks on the ground.
- Each marked path explodes after a short delay, and a final larger blast follows near the end of the pattern.
Step 1: As soon as they take to the sky, pull your camera down slightly so you can read the ground. The important telegraphs are the glowing paths, not the airborne models.
Step 2: Sprint laterally away from overlapping paths; do not weave too tightly through the center of the arena where multiple trails cross.
Step 3: Watch for the last, larger circle or cluster of cracks. Many players get clipped here because they start attacking too early. Wait for the final detonation, then go back in.
You can also jump over individual shockwaves if they manifest as linear ripples, but simple sideways sprinting is usually enough.

Pink‑winged Balancer: new moves and punish windows
From Phase 2 onward, the pink‑winged Balancer is your primary objective. She:
- hits harder and chains longer combos,
- can mark a Nightfarer and track them with targeted jumps, and
- triggers synchronized AoE patterns with the other six.
She inherits the basic thrusts, slams, and lines of spears, but also adds:
- Extended slam combo: Raises spear, infuses it with pink light, then performs a sequence: one slam, a pause, two quick slams, a wide sweep, then a final heavy slam that sends out local shockwaves as she pulls the weapon back up.
- Roll the first slam to her side.
- Stay close and roll through the two quick hits.
- Step or roll into the sweep so it passes behind you.
- For the final slam: roll the moment the spear hits the ground, then immediately jump as she begins to wrench it free if there are shockwaves when it is lifted.
- Enhanced thrust chain: A longer version of the basic thrust combo, sometimes ending in a leaping stab. Use the same approach as in Phase 1: roll into the first charge, get behind her, and circle while she stabs air. The last leap lacks the slam shockwave and is very punishable if you time one clean roll on landing.
- Targeted aggro slam: A red mark appears over one Nightfarer. Shortly afterward, the pink Balancer dives toward that player and slams with a sizable AoE marked by a pink glow. The safest response is full sprint away as soon as the mark appears; if you stay, roll at the moment the glow flashes outward.
- Grab attempts: Both normal and pink Balancers can perform close‑range grabs. Rolling into the grab at the last instant can grant a large chunk of Ultimate gauge and, for Undertaker, a free Ultimate cast. This is high‑risk but rewarding if you’re confident with the timing.
When the pink‑winged Balancer dies, all other Balancers are briefly hard‑stunned. This is one of the key mechanics of the fight: killing her first gives your team a few seconds of free damage on the remaining six, and resets the airborne sequence after their next revival.

Phase 2 targeting priorities: solo vs squad
- Solo: Focus almost exclusively on the pink‑winged Balancer. Use only light hits on others when they block your path. Her death stuns the group and keeps the tempo manageable.
- Squad: Often easier to assign one tanky melee to kite the pink Balancer away while the rest of the team cleans up normal Balancers. Once most fodder is down, collapse on the pink one for a 3‑v‑1 or 4‑v‑1.
Sleep in Phase 2
This is the ideal moment to deploy Sleep:
- A single Sleep Pot can put several ground‑bound Balancers out of the fight for a long window, turning the phase into effectively one elite plus a few adds.
- Sleep grease on a fast weapon can take down the pink‑winged Balancer’s resistance in just a few hits; once she’s asleep, everyone can unload safely until she’s close to waking or dead.
Be careful not to immediately wake sleeping Balancers with stray AoE. Communicate targets if you’re in voice chat and position your swings away from sleeping bodies.

Balancers Phase 3: repeat patterns with less room for error
As the shared HP bar drops under roughly half, the fight stops adding brand‑new mechanics and instead stacks previously seen patterns together with less downtime between them. You’ll see:
- more frequent synchronized air dashes and carpet bombing,
- more frequent aggro marks on individual Nightfarers, and
- more chained combos from the pink‑winged Balancer if she remains alive.
Some players have reported situations where killing the main Balancer earlier in the phase appears to cause a second “main” variant to appear. Treat this as a possibility: if you notice another pink‑tinged valkyrie emerging, revert to the same targeting logic and keep thinning the group systematically.
At this stage, you are usually low on flasks and possibly low on Sleep consumables. Shift your mindset from racing the boss to simply not dying:
- If you are marked by the pink Balancer right after a carpet bomb, prioritize survival over damage. Sprint and roll until the sequence ends, even if teammates are engaging elsewhere.
- Rely on basic patterns you’ve already mastered: line telegraphs on the ground, circle AoEs, and readable spear slams.
- Use any remaining Scholar Ultimate or long‑reach Undertaker Ultimate as soon as you’ve grouped several Balancers or caught the pink leader alone.

Solo vs co‑op strategy differences
Playing solo
- Balancers have lower posture and health when you’re alone, so big weapons and consistently rolled attacks can keep several of them staggered.
- Keeping track of all seven is easier with only one camera and one aggro target. Use lock‑on sparingly; sometimes it’s better to free‑aim your camera to spot spears telegraphing from off‑screen.
- Sleep weapons shine in solo: one sleeping Balancer effectively removes a seventh of the fight for a long time.
Playing in a squad
- Communication is your biggest advantage. Have Ironeye mark the current focus target so everyone piles damage on the same Balancer.
- Designate one player to “shepherd” the pink‑winged Balancer away from the team once she appears. This prevents group wipes from overlapping AoEs and targeted dives.
- A single Scholar Ultimate at the start of Phase 1 and again in late Phase 2 can translate into enormous shared damage if the rest of the party stacks AoE skills and wide sweeps.
- If you are the one repeatedly drawing aggro marks or targeted dives, switch to a defensive playstyle for several seconds: roll more, swing less, and trust teammates to handle damage output.
Rewards for defeating Balancers
Defeating Balancers (Weapon‑Bequeathed Harmonia) grants:
- The Will of the Balancers relic – A large, blue relic that:
- improves melee attack power,
- improves skill attack power, and
- provides continuous FP recovery.
- A substantial Murk payout suitable for the stage of the expedition.
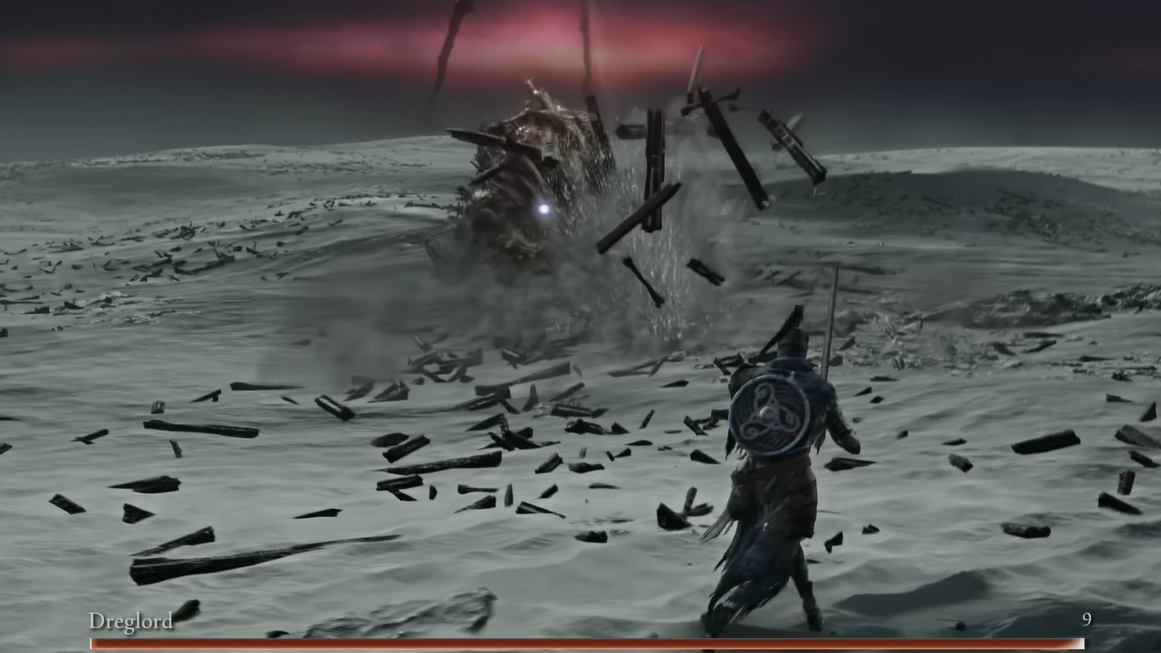
- Access to the Dreglord expedition if you have not tackled it yet.
The relic is particularly strong on melee‑centric Nightfarers who lean on skills and Ultimate Arts, turning Balancers into an important milestone for many late‑run builds.

Balancers are intimidating mainly because of the visual noise: seven identical bosses, lines of spears, air dashes, and pink shockwaves. Once you internalize that every attack is pure physical damage, that Sleep reliably locks targets down, and that killing the pink‑winged Balancer freezes the rest, the fight shifts from chaos to a predictable rhythm of thinning the crowd, dodging set pieces, and cashing in on long punish windows.