
The Super-Heavy Landrover: Mechanized Fortress looks like a walking refinery strapped to a missile battery, but mechanically it’s one of Genshin Impact’s more straightforward world bosses. If you understand its Pyro overload gimmick and bring at least one strong Pyro unit, the entire fight turns into a predictable damage loop and a quick clear.
Super-Heavy Landrover location (Paha Isle, Nod-Krai)
The boss sits under Paha Isle in the Nod-Krai region, inside an underground arena.
Step 1: Fast travel to the Teleport Waypoint near the Kuuvahki Experimental Design Bureau icon in Paha Isle. This is the waypoint closest to the boss marker on the map.
Step 2: From the waypoint, turn around and walk a short distance. Look for a large hole or underground opening in the ground, usually guarded by automatons or Fatui-style enemies.
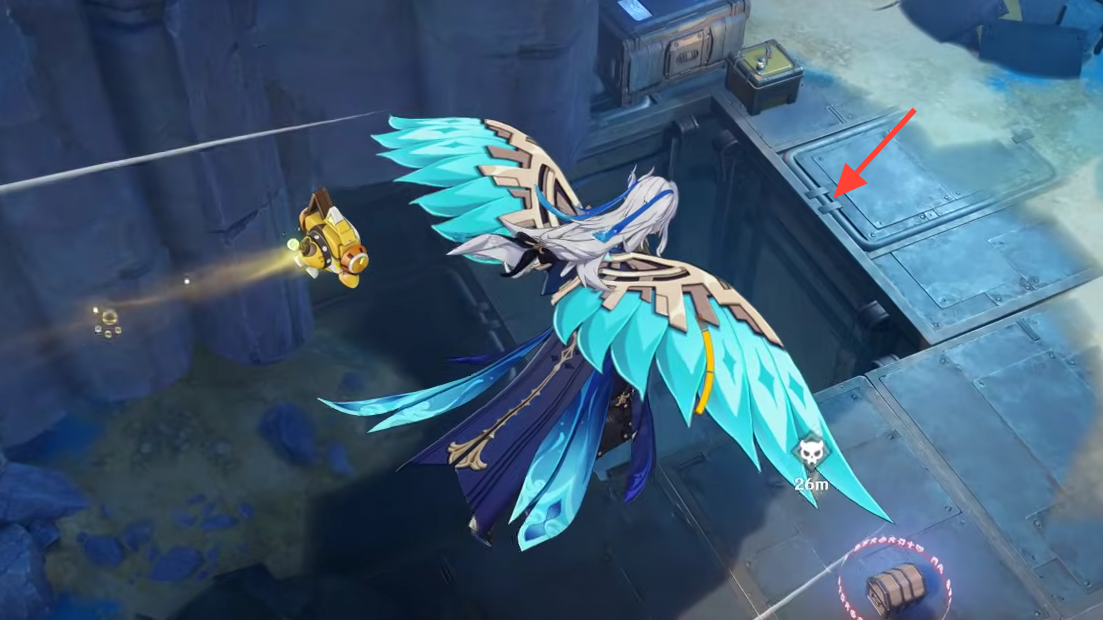
Step 3: Drop or glide down through the hole into the underground cave. As you land, there is a new Teleport Waypoint you can unlock to return to the arena quickly for future runs.
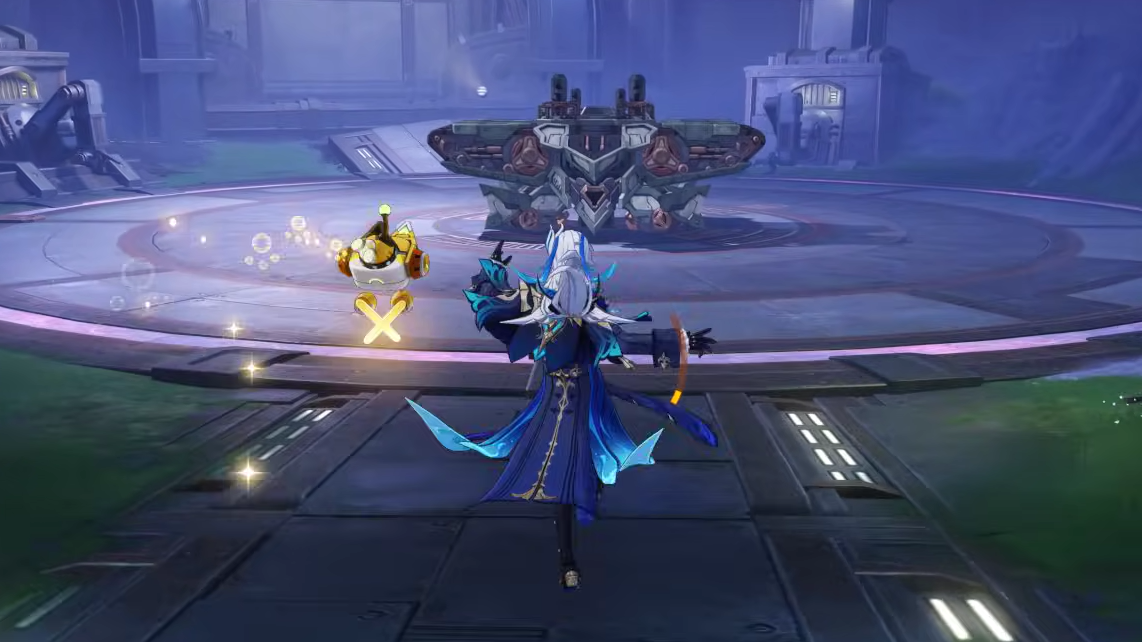
Step 4: Move straight ahead through the tunnel to reach the circular arena where the Super-Heavy Landrover: Mechanized Fortress is dormant. Approach its hitbox to start the fight.
How the Pyro overload and Cryo shield loop works
The fight is built around two mechanics:
- a Pyro gauge attached to the boss, and
- a Cryo shield phase that appears when that gauge is full.
When combat begins, the boss is heavily resistant and has a small flame icon and bar near its HP. Every Pyro hit you apply fills this gauge. Non-Pyro damage does relatively little, and you cannot bypass this mechanic with raw numbers alone on higher world levels.
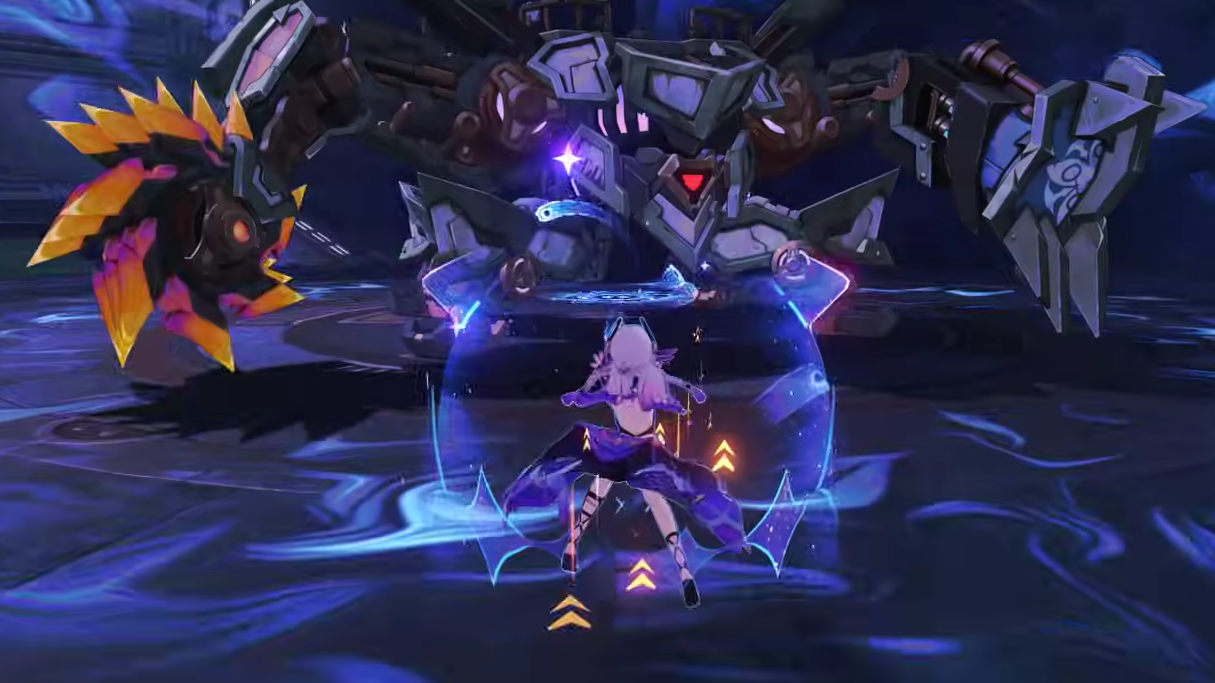
Once the Pyro bar is filled, the boss immediately enters a “cooling” sequence:
- It generates a thick Cryo shield around itself.
- The Pyro bar starts draining rapidly.
- While the shield is active, the boss prepares a powerful Cryo attack.
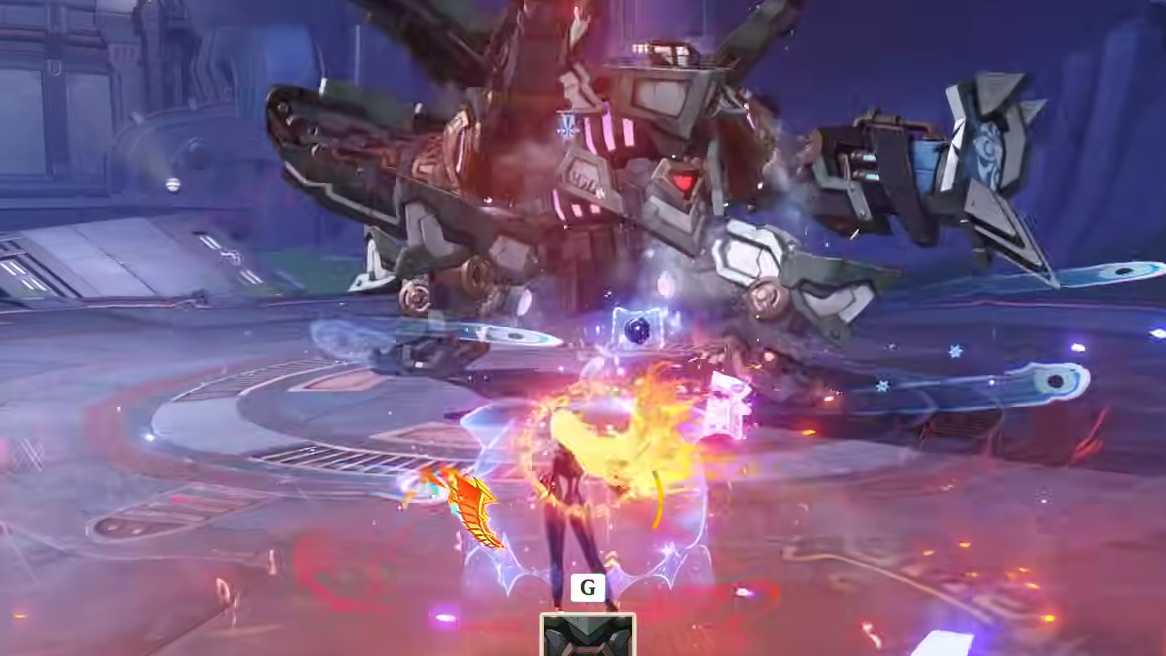
If you break that Cryo shield with Pyro (and optionally other elements that help chew through shields) before the Pyro bar completely drains, two things happen at once:
- The boss is stunned and slumps in place for a short window.
- It takes an instant chunk of HP damage, and its resistances drop, turning it into a glass cannon for the duration of the stun.
At that point, you have a damage window where any team can shred its HP. When the boss recovers, the loop resets: you build the Pyro gauge again, trigger another Cryo shield, and repeat until it dies.

Hidden achievement: break the Cryo shield twice
The Landrover is tied to a hidden achievement that asks you to immobilize it twice by breaking its Cryo shield in a single fight. The main constraint is your own damage; strong Pyro carries can accidentally kill it during the first stun.
Step 1: Enter the fight with a low-investment or under-leveled team of mainly Pyro units. Equip weaker weapons if your account is very strong, so you don’t burst the boss down too quickly.
Step 2: Build the Pyro gauge with repeated Pyro hits until the Cryo shield spawns. Focus every Pyro skill, burst, and normal attack on the shield. Break it quickly to trigger the first stun and damage spike, but deliberately avoid overcommitting during the following DPS window—keep its HP safely above zero.
Step 3: Allow the boss to recover and return to its normal state. Repeat the same pattern: fill the Pyro bar again, wait for the Cryo shield, and break it a second time with Pyro damage.
Step 4: Once you destroy the shield for the second time and the boss slumps over again, the achievement triggers. You’re free to finish the fight as normal in that second stun window.
Attack patterns and how to stay alive
Most of the Landrover’s aggression comes from slow, telegraphed attacks. These are dangerous if you stand still, but easy to avoid once you recognize the animations.
Rotor charge attacks
- Arc drill: The boss spins its rotor-like assembly and drills into the ground, moving in a wide arc in front of it.
- Full-circle drill: A similar animation, but this time it carves a complete circle around itself.
Both moves have a clear wind-up. Sprint sideways or dash through the gaps in the pattern and you will avoid the bulk of the damage. After each drill, the boss has a noticeable recovery period where it sits still; this is an ideal time to refresh Pyro application on its body.
Slam attacks
The boss can lift its body or limbs and lock onto a ground location with a lingering indicator before slamming down. The slam has strong knockback but moves slowly from the initial lock-on to impact.
Once you see the reticle appear under your character, dash out of the marked zone and hold your position just outside the ring. Use that brief pause after impact to re-enter and attack.
Missile barrages and Cryo damage
The fortress can fire volleys of homing or arcing missiles that deal Cryo damage over a wide area. These feel most threatening if you’re trying to stand still and perform combos during its active phase.
- Keep moving laterally to cause homing shots to miss or detonate behind you.
- If you have a shielder (Zhongli, Thoma, etc.), time shields for this pattern while you continue to apply Pyro.
Pyro arm strikes
One of its arms can perform melee swings with Pyro damage. These are close-range and usually embedded in its other animations, but they are not the focus of the fight. If you keep mid-range spacing and only dive in after drill and slam recoveries, you’ll rarely be clipped.
Overall, the boss favors large, slow, area attacks, and it becomes significantly less threatening each time you trigger the stun state by breaking its Cryo shield.

Best teams and elements for Super-Heavy Landrover
The common theme across strong teams for this fight is sustained Pyro application, often with support units that either boost that Pyro or group the boss’s hitbox for easier hits.
Durin-centered Pyro teams
Durin is designed to pour out Pyro damage both on-field and off-field, which makes him an ideal core for this boss. Pair him with:
- Bennett for healing, ATK buffs, and additional Pyro hits.
- Anemo supports like Venti, Kazuha, Sucrose, or Faruzan to swirl Pyro and increase its damage or uptime.
- One flexible slot for survivability or extra damage—another Pyro unit, a shield, or a Hydro/Anemo flex.
A Durin plus Venti-style swirl setup fills the Pyro bar quickly, then capitalizes on the stun window with grouped hits and buffed Pyro damage.
Arlecchino mono Pyro
Arlecchino’s entire kit revolves around extremely high Pyro output, so she can trivialize this fight. The main concern is killing the boss before you can break its Cryo shield twice if you’re chasing the achievement.
- Main DPS: Arlecchino.
- Sub DPS / Pyro applier: Durin or Xiangling to keep the Pyro gauge filling whenever Arlecchino is repositioning.
- Support: An Anemo buffer such as Xilonen, Kazuha, or Sucrose.
- Sustain: Bennett or Thoma for healing/shields and Pyro resonance.
With this setup, the Pyro gauge fills almost passively, the Cryo shield melts in seconds, and the boss rarely gets a chance to complete its big Cryo attack.
Mavuika Pyro carry
Mavuika also excels as a primary Pyro applier. Her teams typically lean into buffs and off-field support:
- Main DPS: Mavuika.
- Sub DPS / support: Citlali for additional damage and utility.
- Support: Xilonen for buffs and crowd control.
- Sustain: Bennett for healing and Pyro resonance.
This configuration sustains Pyro pressure throughout the fight, ensuring the overload gauge and both Cryo shield phases are trivial to handle.
Tip: If you don’t own any of these newer units, older Pyro carries such as Diluc, Hu Tao, Yoimiya, Xiangling, or Pyro Traveler paired with Bennett and an Anemo support still perform the same role: stack Pyro hits until the boss overheats, then erase its shield and burst during the stun window.
Rewards and character ascension materials
Clearing the Super-Heavy Landrover: Mechanized Fortress and claiming the Trounce Blossom (40 Original Resin) grants a mix of character materials, artifacts, and currency. Expect rewards in these categories:
- Cyclic Military Kuuvahki Core – the key boss material used to ascend Durin.
- Agnidus Agate tiers – Sliver, Fragment, Chunk, and Gemstone for Pyro character ascension.
- Shivada Jade tiers – Sliver, Fragment, Chunk, and Gemstone for Cryo character ascension.
- Artifacts – drops from classic sets like Gladiator’s Finale, Wanderer’s Troupe, Berserker, Instructor, and Prayers for Illumination across 3- to 5-star rarities.
- Adventure EXP, Companionship EXP, and Mora in the usual world-boss quantities.
If you plan to build Durin, this boss becomes a regular stop on your Resin route; the Cyclic Military Kuuvahki Core is his dedicated ascension item.
Once you understand that the Super-Heavy Landrover is less a chaotic machine and more a Pyro interaction puzzle, it stops being threatening and turns into a reliable resin sink. Bring a team that can constantly apply Pyro, respect the occasional drill or slam animation, and the “mechanized fortress” is reduced to a predictable training dummy that spits out Kuuvahki Cores on schedule.