
Harbinger of Death: Swarm Nightmare in Honkai Star Rail is designed to punish teams that tunnel the main target and ignore mechanics. It stacks heavy damage reduction, constantly calls in swarm adds, and converts your own attacks into healing if you play the fight wrong.
The encounter revolves around three ideas: the Gene Duplication state, the Juvenile Stings it summons, and the Nemesis buff it forces onto one of your units. Once those are under control, the fight becomes far more manageable.
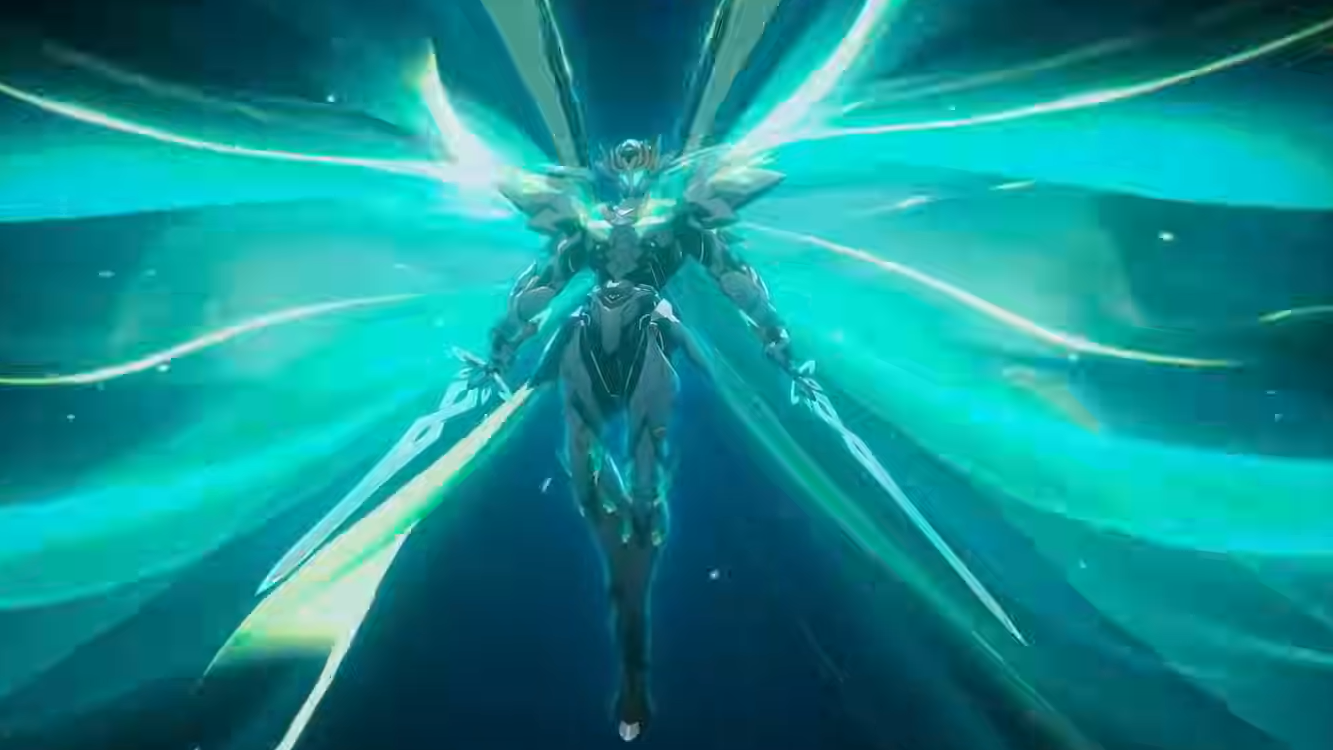
Harbinger of Death: Swarm Nightmare overview
Harbinger of Death: Swarm Nightmare is a corrupted Iron Cavalry boss that appears in Penacony during the Version 3.8 storyline. It leans on very high damage reduction and a swarm of summoned units rather than raw stats alone.
Key characteristics:
- Role and origin – An Iron Cavalry soldier twisted by the Swarm, brought into play by Gropher Wood’s plan to reawaken the Swarm and strengthen Order while attempting to revive Ena.
- Elemental weaknesses – Weak to Physical, Fire, and Wind damage.
- Fight profile – Long, attrition-heavy encounter that spikes in danger whenever multiple Juvenile Stings are alive, and the boss is in Gene Duplication.
Going in with the correct damage types and a plan to wipe the adds quickly is more important than stacking the highest single-target DPS character you own.
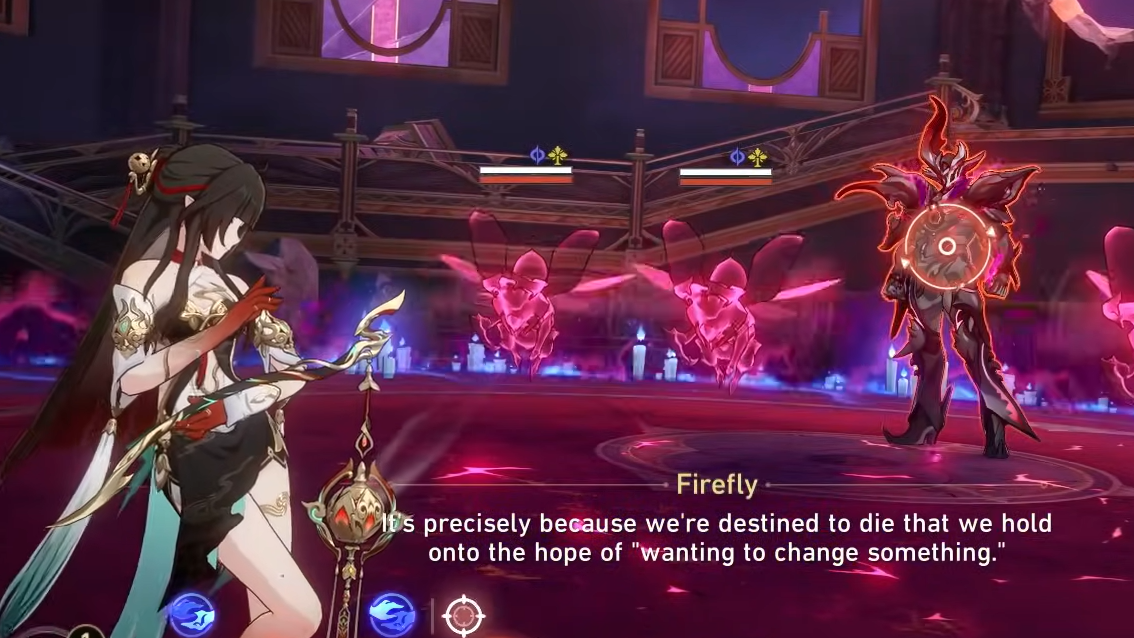
Harbinger of Death boss moves and mechanics
Every major ability in this fight feeds into the same loop: spawn Juvenile Stings, power them up, then cash their attacks in for a massive Fire AoE while healing through your damage.
| Move | What it does | Why it matters |
|---|---|---|
| Rend, Putrefy, Engorge | Harbinger of Death enters the Gene Duplication state, gains extra Speed, and summons Juvenile Stings in the Rapid state. You must pick one ally to become the Nemesis. | The Nemesis and their summons act immediately and gain increased Break Effect, but every other ally temporarily loses the ability to deal Critical Hits. This is the core buff/debuff package that defines your team choices. |
| Primordial Tide, Swarm of Death | Large area-of-effect attack that deals Fire damage to your entire team. | This is the signature nuke. It is often triggered by stacks gained from Juvenile Stings and can be paired with self-healing through Corrosion, so it must be anticipated with shields or reactive healing. |
| Primal Hunger | Further boosts the Speed of Juvenile Stings. | Faster minions mean more turns, more stacks on the boss, and a quicker route to another Primordial Tide. Letting Stings live too long rapidly escalates the fight. |
| Whirling Carapace | When Harbinger of Death takes damage, part of the HP it loses converts into a separate value called Corrosion. When it next casts Primordial Tide, Swarm of Death, it heals for the total Corrosion value. | Mindless focus on the boss can undo itself by charging up a huge heal. This is the main reason you must control the adds and timing instead of brute forcing HP down. |
| Universal Blight, Howl of the Life Eater | While in Gene Duplication, Harbinger of Death gains increased damage based on how many Juvenile Stings are alive. The Stings focus the Nemesis and each of their attacks adds a stack to the boss; at a set stack threshold, the boss uses Primordial Tide, Swarm of Death. | The more Stings on the field, the harder the AoE hits and the sooner it arrives. This hard-wires target priority into the encounter: Stings first, boss second. |
The entire script pushes you toward a specific pattern: pick a strong Break-focused Nemesis, erase the Juvenile Stings as they appear, then exploit the brief windows where the boss has low damage reduction and no swarm support.
Best elements and damage types to bring
Harbinger of Death is vulnerable to Physical, Fire, and Wind. Those weaknesses line up neatly with some of the strongest Break and AoE options in the current roster, and with the way the Nemesis buff works, characters built around Break damage gain outsized value.
- Physical – Strong baseline for both single-target and multi-target Break, and widely accessible across rarities.
- Fire – Matches the boss’s own Fire AoE thematically but hits its toughness bar hard and offers reliable AoE to clear Juvenile Stings.
- Wind – Provides flexible coverage and, in several cases, multi-target skills that make short work of the swarm.
Because non-Nemesis units lose Crit access during Gene Duplication, traditional Crit-scaling hypercarries lose efficiency unless they are the designated Nemesis. Break users, on the other hand, scale directly off the Break Effect buff baked into the mechanic.
Recommended characters for Harbinger of Death
Several units stand out for this fight either because they delete the swarm quickly, turn the Nemesis buff into enormous Break damage, or keep your team alive through repeated Fire AoEs.
Primary DPS options
- Firefly – A premier Break-focused Fire unit with strong AoE potential, ideal for clearing Juvenile Stings and shredding the boss’s toughness when Nemesis-boosted.
- Hysilens – Built for Break-centric gameplay and pairs well with teams that want to constantly apply pressure to multiple enemies at once.
- Phainon – Works well as a hypercarry when given enough support; excels at turning Nemesis Break Effect into big damage numbers.
- Blade – Brings sustained damage and benefits from extended fights, though he prefers stable sustain behind him.
- Argenti – Offers potent AoE, which is especially helpful when multiple Juvenile Stings spawn.
- Black Swan – Adds damage-over-time and multi-target pressure that helps chip down the swarm while ramping on the boss.
- Saber, Anaxa, Castorice, Feixiao – All strong carries in their own shells, with Feixiao in particular fitting well into follow-up attack teams that like extended combat cycles.
Support units
- Ruan Mei, The Dahlia, Sunday – High-end Harmony supports that increase damage, advance actions, and make Break windows significantly more lethal.
- Bronya – Classic turn manipulation and damage amplification; excellent for feeding extra turns to your Nemesis.
- Tribbie, Fugue, Pela, Jade, Robin, Harmony Trailblazer – Wide support suite covering debuffs, follow-up synergies, and team buffs; pick depending on whether your DPS is Break-focused, follow-up centered, or standard hypercarry.
Sustain choices
- Lingsha, Gallagher, Aventurine – Mixes of healing and shielding that can absorb repeated Fire AoE waves and stabilize after Primordial Tide.
- Fu Xuan, Huohuo, Natasha, Dan Heng • Imbibitor Lunae (Permansor Terrae version as sustain) – Conventional sustain picks. Fu Xuan spreads damage, Huohuo and Natasha heal, and Aventurine or other shielders can pre-empt big hits.
Any of these combinations can work as long as they respect the fight’s priorities: rapid AoE to clear Stings, strong Break potential on your Nemesis, and at least one unit dedicated to keeping the team alive through Fire bursts.
Example team archetypes that perform well
Several established shells slot cleanly into this encounter and let you lean into what the boss unintentionally gives you: huge Break Effect on one character.
- Firefly Break team – Firefly, The Dahlia, Fugue, or Harmony Trailblazer, and Lingsha. Firefly becomes Nemesis, The Dahlia and the Harmony support accelerate turn cycles, and Lingsha secures the team through Primordial Tide.
- Phainon hypercarry – Phainon, Sunday, Cerydra, and Dan Heng Permansor Terrae as sustain. Sunday pushes Phainon’s numbers and turn tempo, Nemesis turns Break Effect into burst, and Dan Heng stabilizes.
- Anaxa hypercarry – Anaxa, Cerydra, Cyrene, and Dan Heng Permansor Terrae. A similar concept centered on Anaxa as the single main target of buffs and Nemesis effects.
- Saber hypercarry – Saber, Sunday, Tingyun, and Huohuo. A more traditional Crit-scaling lineup where Saber must occupy the Nemesis slot to bypass the Crit lockout.
- Feixiao follow-up attack team – Feixiao, Tribbie, Robin, and Dan Heng Permansor Terrae. Designed for extended fights with frequent follow-ups, capitalizing on the boss’s long setups as long as the swarm is managed.
These are templates, not mandatory lineups. The important traits are clear: one dedicated main carry who becomes Nemesis, at least one strong AoE or multi-target option, one premium support, and one sustain.
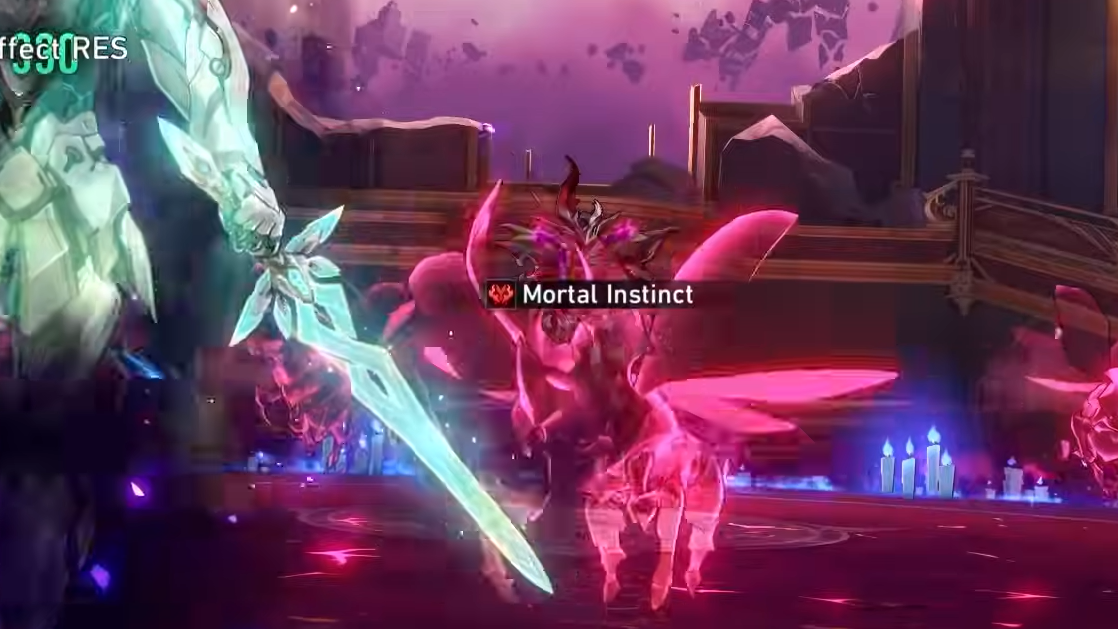
How to counter Gene Duplication and the Nemesis mechanic
Gene Duplication is the script the entire encounter runs on. Handling it correctly turns a chaotic fight into a controllable loop.
Step 1: Always assign Nemesis to your main DPS. The Nemesis gains increased Break Effect and immediate action opportunities, while everyone else temporarily loses Crit. If the wrong character takes Nemesis, you waste the buff and cripple your actual carry.
Step 2: Lean into Break, not Crit, when Gene Duplication is up. With only one unit able to exploit Crit and Break Effect amped by the mechanic itself, prioritize skills and traces that increase Break damage and exploit toughness bars over conventional Crit builds on non-Nemesis characters.
Step 3: Track Juvenile Stings and their Rapid state. Rapid and Primal Hunger together mean these adds act quickly and often. The more turns they take, the more stacks Harbinger of Death gains toward another Primordial Tide.
Nemesis is not just a buff; it is a clear suggestion about how the fight wants to be played: one central Break-focused carry and a team built to keep that unit acting as often as possible.
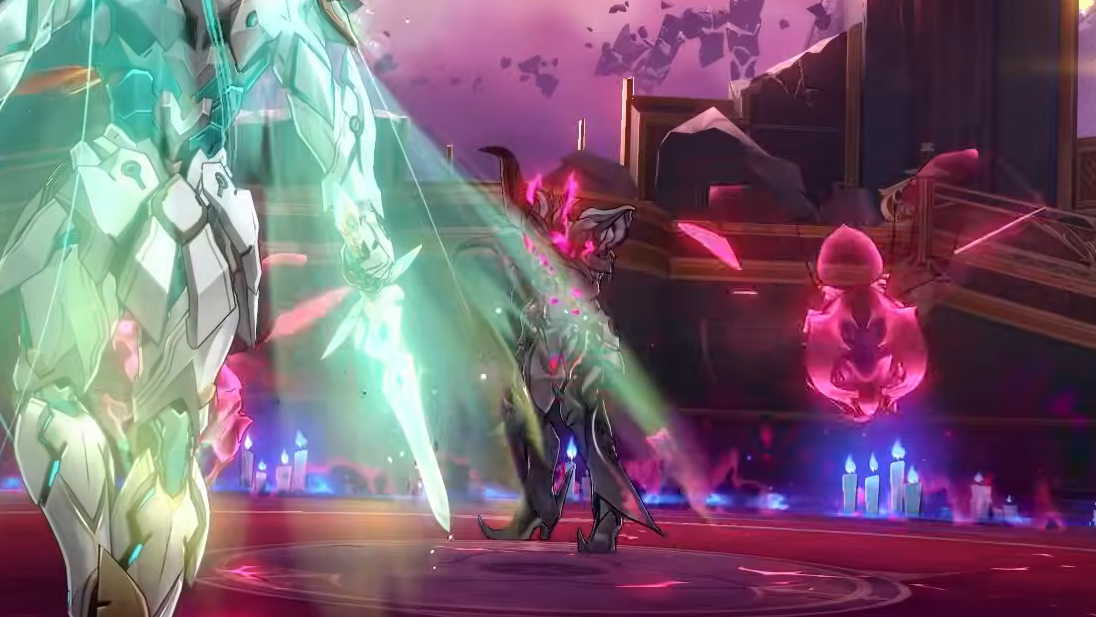
Why you must kill Juvenile Stings first
The Juvenile Stings are the real win condition. Leaving them alive sets off a chain that is hard to recover from.
- They amplify the boss’s damage – While Gene Duplication is active, each Sting alive increases Harbinger of Death’s damage output through Universal Blight, Howl of the Life Eater.
- They accelerate the AoE cycle – Each attack from a Sting adds stacks to the boss. At a certain stack count, Primordial Tide, Swarm of Death triggers, regardless of how well you are managing HP.
- They gate your damage – Harbinger of Death has heavy damage reduction when its swarm is intact. Clearing all Juvenile Stings opens a window where the boss is significantly more vulnerable.
Step 1: As soon as Juvenile Stings spawn, shift all AoE and multi-target skills onto them. Do not continue single-targeting the boss until every Sting is gone.
Step 2: Use ultimate abilities aggressively on the swarm, not greedily held for the boss. A clean board buys more safety and higher effective DPS than a single big hit into full damage reduction.
Step 3: Once the field is clear, pivot back to Harbinger of Death and unload Break effects while its mitigation is down and Corrosion is not overcharged.
Managing Primordial Tide, Swarm of Death and Corrosion
Primordial Tide, Swarm of Death is the main wipe mechanic, and Whirling Carapace can turn your own effort into a full heal if you are not careful.
- Corrosion tracking – Every time you damage the boss, a fraction of the HP lost turns into Corrosion. That value is stored and fully healed back when Primordial Tide is cast.
- Timing your bursts – Blasting Harbinger of Death down right before the AoE goes off can refill a huge chunk of its bar. It is often better to hold certain large nukes until after a Primordial Tide, then push damage while Corrosion resets.
Step 1: Watch the action order and stack behavior that precedes Primordial Tide. When you see the boss approaching the threshold, ease off big single-target attacks and refocus on clearing remaining Juvenile Stings or building energy and skill points.
Step 2: Pre-shield or pre-heal your team once Primordial Tide is clearly telegraphed. Defensive ultimates, shields, and damage reduction should be timed so their effects are active on the turn the AoE lands, not earlier.
Step 3: After the AoE fires and the Corrosion-based heal resolves, unleash saved ultimates and Break skills on the boss while it is momentarily less likely to heal again.
This pattern—control the swarm, respect Corrosion, then burst during “empty” Corrosion windows—keeps the boss from undoing minutes of work every few turns.
Building enough sustain for repeated Fire AoEs
Even with perfect add control, you will eat multiple Primordial Tides in a full-length attempt. Proper sustain is non-negotiable.
- Sustainer choice – Bring at least one dedicated healer or shielder. Units like Lingsha, Gallagher, Aventurine, Fu Xuan, Huohuo, or Natasha each cover that role in different ways.
- Reactive vs proactive defense – Some kits excel at topping off HP after damage, while shielders and mitigation units shine when you know exactly when a nuke will hit.
Step 1: Decide whether your sustain will lean on shields, heals, or damage redistribution, and build their relics/light cones accordingly.
Step 2: Reserve their strongest tools for Primordial Tide instead of spending them on chip damage. For example, avoid firing a full team heal right before a lull if you know another AoE is coming in two turns.
Step 3: Use turn control from Harmony supports to ensure your sustain acts either right before or right after the boss’s AoE, depending on whether you are relying on shields or heals.
When sustain is timed correctly, the fight stops feeling like a series of coin flips and turns into a predictable rhythm of spike, recovery, and punish.
Harbinger of Death: Swarm Nightmare looks chaotic at first glance, but it is tightly scripted: the boss gives one unit massive Break power, dares you to ignore its swarm, and then punishes anyone who does with a Fire carpet bomb and a full heal. Put your Nemesis on the right character, clear every Juvenile Sting as soon as it appears, and pace your damage around Primordial Tide and Corrosion. Once those pieces click, the encounter shifts from brick wall to a demanding but fair reliability check on your team-building and turn management.