
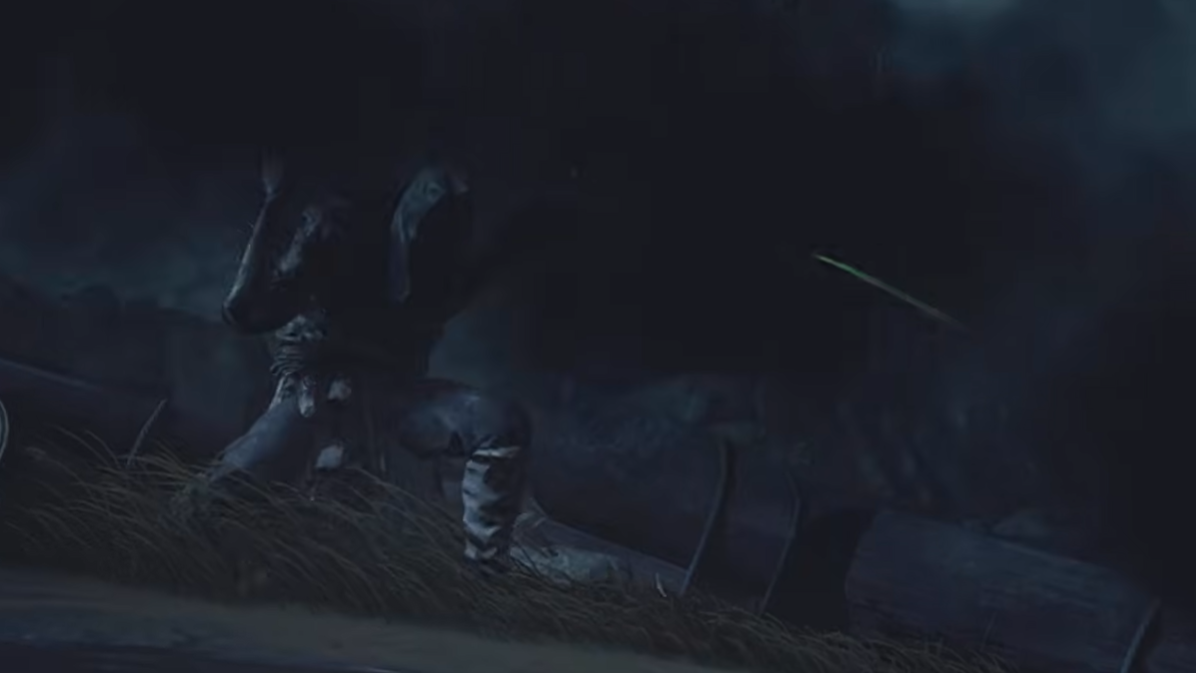
The Coffin Master — also referred to as the Coffin Keeper Lord — is a World Boss introduced in Where Winds Meet's Version 1.3 (Spring's Bliss) update. Found at Mercyheart Monastery in the Sundara Lands area of Qinghe, this mid-difficulty boss carries a tragic backstory and a deceptive fight structure that catches many players off guard. The encounter is rated three out of five stars in difficulty and has no elemental weakness.
Quick answer: Defeat the Coffin Master by parrying its sword-arm attacks across two phases. After you deplete its HP the first time, it revives with Qi regeneration — keep parrying its combos (especially the 7-hit Sword Charge) to drain its Qi, stun it, and finish it off with Executions.

Coffin Master Lore and Location
The Coffin Master is not a single entity. The boss is actually a father-and-son duo who were once proud martial artists before the Aureate Pavilion captured them and forcibly transformed them into Sleeping Puppets. Through sheer willpower, both retained their consciousness — but the son's bones were shattered beyond repair, leaving him confined inside the coffin the father carries on his shoulder. The father, meanwhile, lost his voice entirely. The coffin and the sword arm work in tandem during combat, making the fight feel like you're battling two fighters sharing one body.
To start the encounter, travel to Mercyheart Monastery in Qinghe's Sundara Lands. The Coffin Master roams the open world there and must be approached directly to trigger the fight. There is no quest prerequisite — you simply walk up and engage.
Best Companion for the Coffin Master Fight
Summoning Yi Dao is the strongest companion choice here. The Coffin Master is a relatively slow boss, and Yi Dao's ability to absorb hits while maintaining a steady offensive output makes him ideal. He chips away at both the boss's Qi gauge and HP while you focus on parry timing, effectively turning the fight into a two-front assault the Coffin Master struggles to handle.

Phase 1 Strategy and Key Moves
During the first phase, the Coffin Master fights primarily with its large sword arm. Nearly every attack in this phase — slashes, sweeps, overhead slams, lunges — originates from that arm, so keep your eyes locked on it for parry timing. The coffin on its shoulder is mostly passive in Phase 1, though it factors into a few animations like the Side Kick.
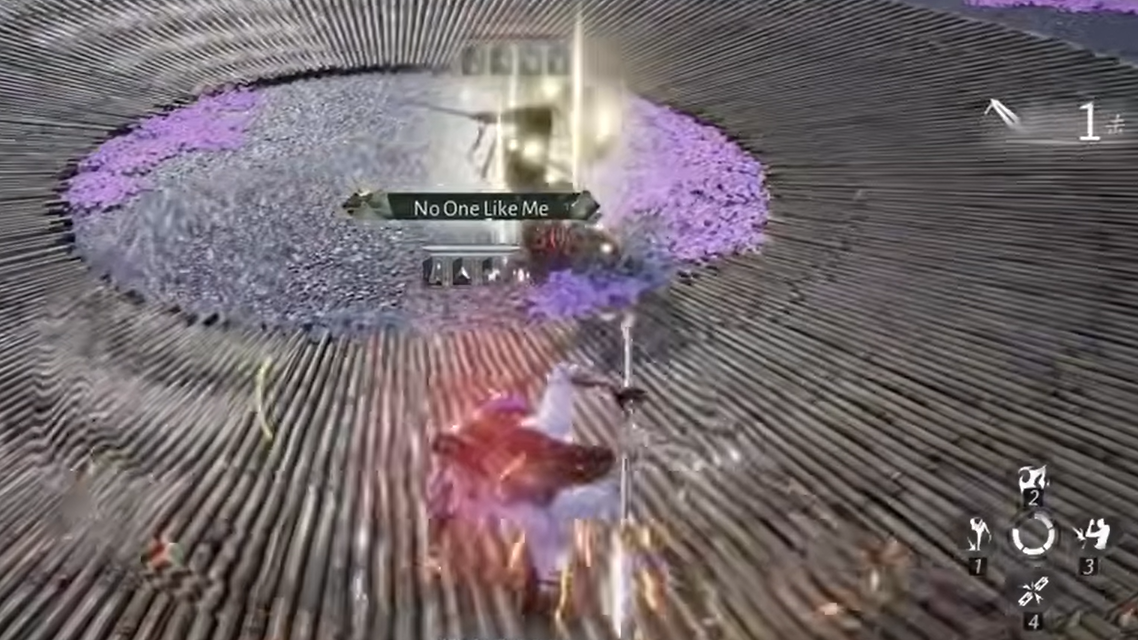
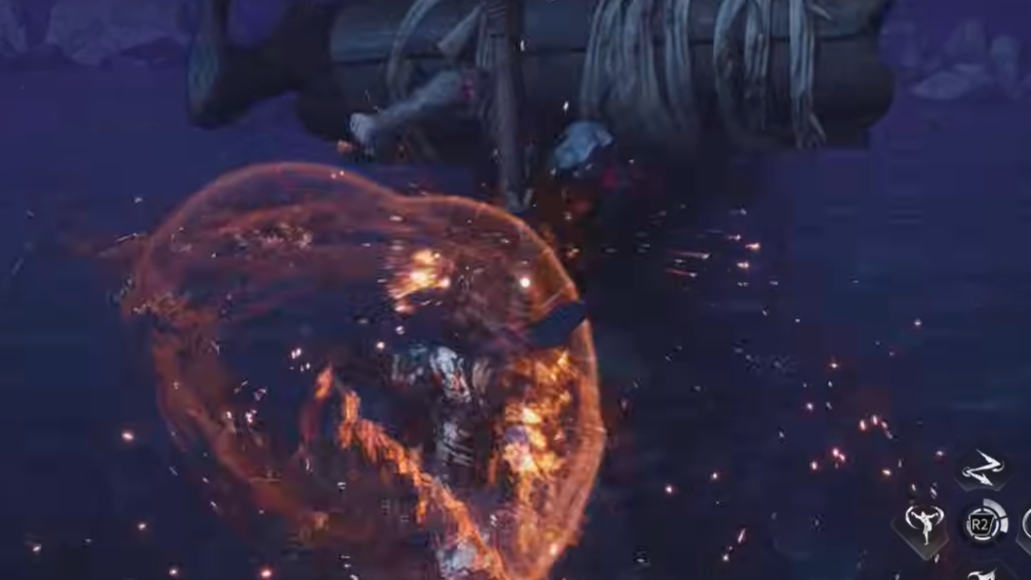
The most important move to learn is the Sword Charge, a 7-hit combo that begins after a brief pause and a burst of purple mist. Parrying all seven hits removes roughly half of the Coffin Master's Qi bar and guarantees a stun, opening a massive damage window. The combo has slight delays after the 2nd and 6th slashes, so don't mash parry at a constant rhythm. If you can't reliably parry it, you can dodge through the charge before the first slash connects — the Coffin Master zips past you, and the combo whiffs entirely at range.
Other moves worth noting in Phase 1:
- Delayed Double Slash — the boss switches its sword grip between the first and second swing. Parry immediately after the grip change.
- Vertical Sword Slam — watch for the arm raised straight up, then parry as it comes down. You can also sidestep to the boss's left (your right) to avoid it entirely.
- Skyward Slash — the one blockable (blue-glinted) move. When the sword skids along the ground, press parry to block it.
- Sword Whip — a fast, tricky sweep where the arm makes a circular motion above the boss's head. The timing is tight, so watch the arm's arc rather than the blade tip.
The Revival Transition
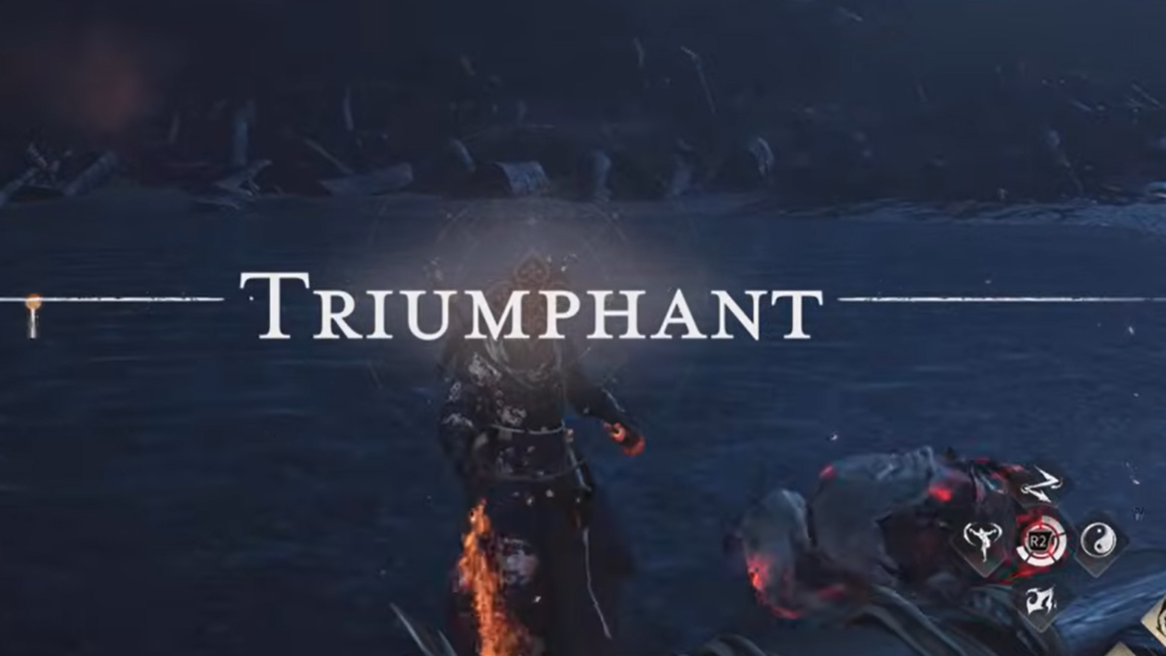
After you fully deplete the Coffin Master's HP bar, a "Triumphant" pop-up appears — the same message that normally signals a boss kill. Don't celebrate yet. The Coffin Master revives and enters Phase 2 with a fresh HP bar and new mechanics. The fight is not over until you beat it again in this second phase.
Phase 2 Strategy and New Mechanics
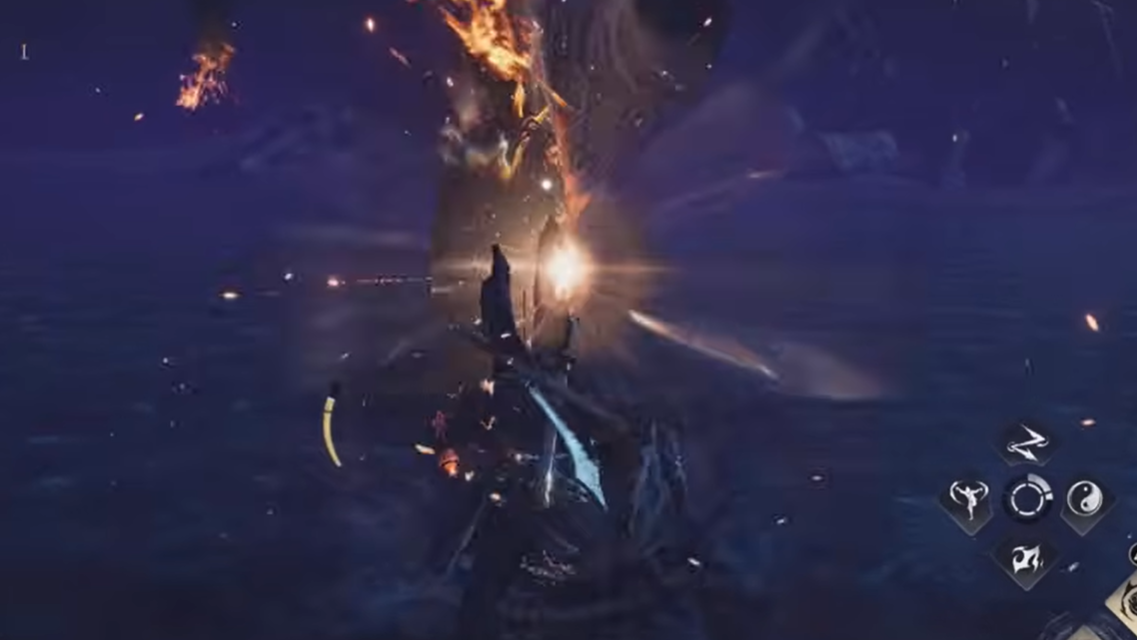
Phase 2 introduces two critical changes. First, the Coffin Master begins actively using the coffin as a weapon, adding slam attacks that have slower, more deliberate timing than the sword swings. Second, and more importantly, the boss now regenerates Qi passively. This means you cannot play passively or at range — you need to stay close, parry aggressively, and keep its Qi bar depleted to create stun windows for Executions.
The Qi-Regenerating Sword Charge is the Phase 2 version of the 7-hit combo. The boss visibly restores Qi before launching into the charge. You cannot interrupt the regeneration itself, but successfully parrying the full combo strips a massive chunk of the Qi it just recovered. Landing this parry also unlocks the Blade Break Master achievement.
Death's Chain is the other signature Phase 2 combo. The Coffin Master lifts its coffin and unleashes a mixed sequence of sword slashes and coffin slams. The trickiest part is a double sword slash that follows the third coffin slam — you need to parry twice in rapid succession. Parrying the entire Death's Chain briefly stuns the boss and rewards the Death's Chain Denied achievement.
Dodging the Unblockable Overhead Slash
Phase 2 introduces a yellow-glinted unblockable attack — an overhead sword slam that cannot be parried or blocked. The key to dodging it consistently is audio, not visual. Listen for the distinct sound of the sword stabbing into the ground. Immediately after you hear that cue, dodge in any direction. Successfully dodging triggers a slow-motion window, giving you free time to land several hits on the Coffin Master while it recovers.
Coffin Master Phase 2 Moveset Reference
| Move | Parry Timing |
|---|---|
| Double Coffin Slam | Parry just before each coffin impact — the slams are slow |
| Coffin Slam to Double Slash | Parry on landing, then after the arm moves counter-clockwise, then after the pause-and-snap |
| Delayed Double Slash to Coffin Slam | Same as Phase 1 version, plus parry when the coffin comes down at the end |
| Coffin Slam to Triple Sword Slash | Parry on landing, then after the coffin-lift pause, immediately after for the second slash, then after another pause for the third |
| Overhead Sword Slam (unblockable) | Dodge after the audio cue of the sword hitting the ground |
| Qi-Regenerating Sword Charge | Same 7-hit parry pattern as Phase 1; delays after hits 2 and 6 |
| Death's Chain | Mixed coffin and sword sequence; double-parry quickly after the third coffin slam |
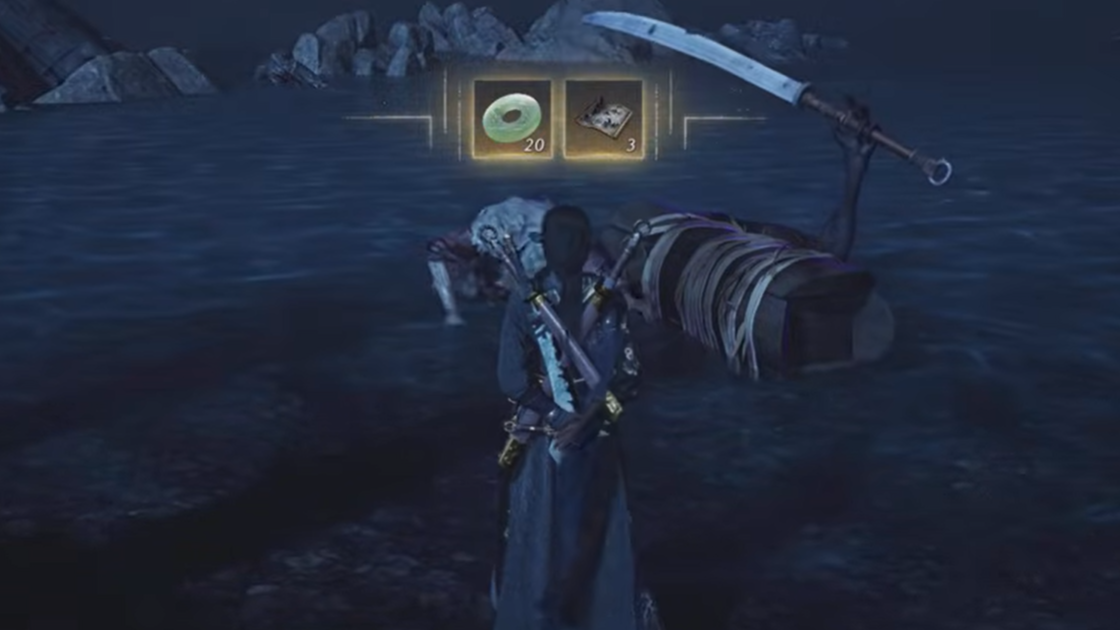
First-Kill Rewards
Defeating the Coffin Master for the first time grants a solid batch of progression resources:
- Inner Way Note: Custom Chest ×5
- Echo Jade ×30
- Medicinal Tales ×3
- 8,000 Character EXP
- 8,000 Coins
- 50 Qinghe Exploration Points
The two achievements tied to Phase 2 parry mastery — Blade Break Master and Death's Chain Denied — are separate rewards worth pursuing if you want to complete the boss's achievement set.
The Coffin Master is one of the more mechanically interesting World Bosses in Where Winds Meet. Its fake-out death and Qi regeneration in Phase 2 punish passive play, but the generous parry windows on its long combos mean aggressive players who learn the timing can dismantle it efficiently. Bring Yi Dao, stay close, and treat every combo as an opportunity rather than a threat.