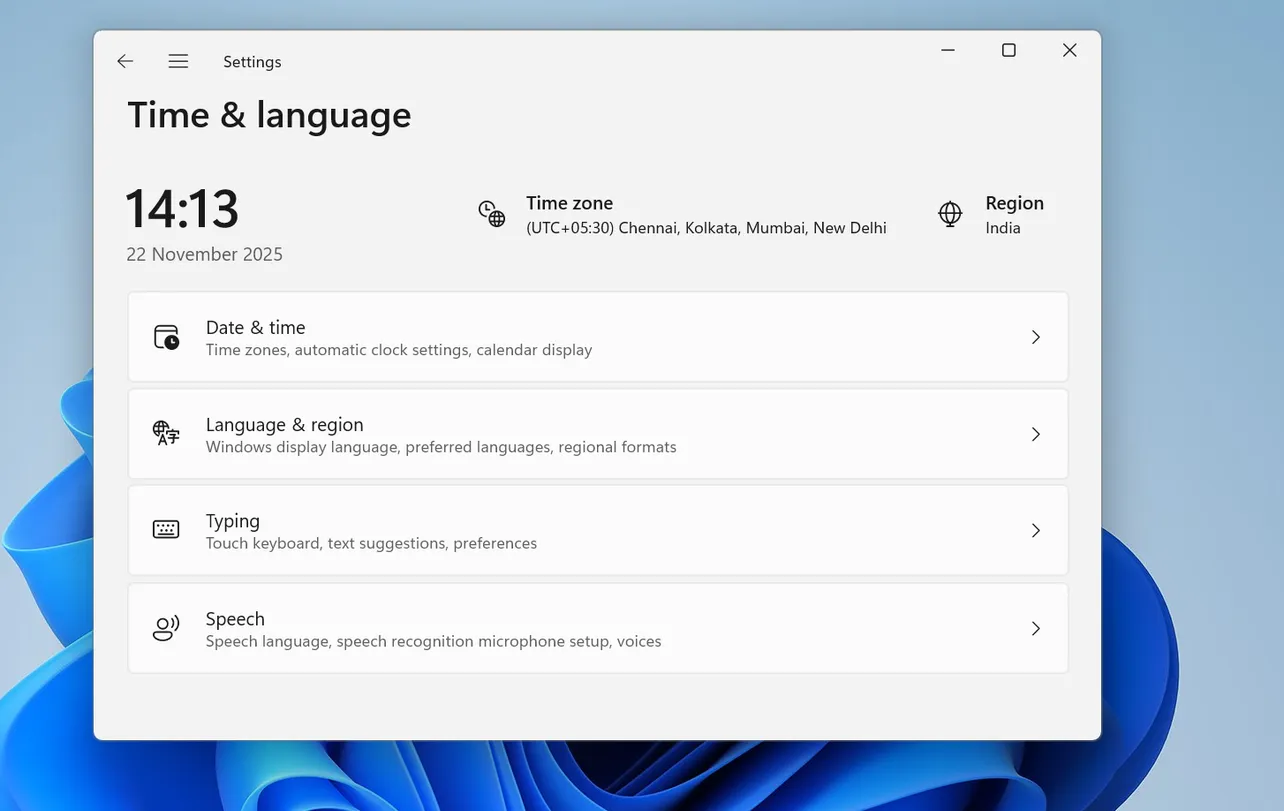
Windows 11 relies on the Windows Time service (W32Time) to keep your clock in sync. By default, non‑domain machines use time.windows.com over UDP port 123 with the Network Time Protocol (NTP). You can replace that server with another public NTP service, a local NTP server on your network, or an NTP server provided by your ISP.
There are three main ways to change the time server:
- Using the Date & time page in Settings (newer Insider builds)
- Using the classic Internet Time tab in Control Panel
- Using command‑line tools (
w32tmand registry settings)
Check whether your PC uses domain time or an internet time server
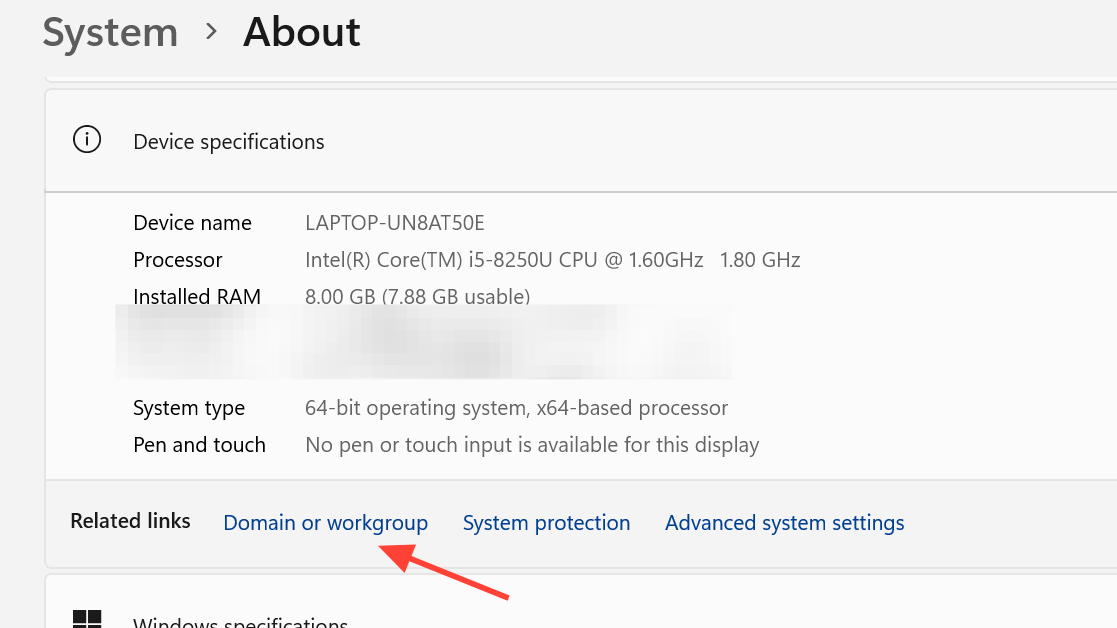
Before changing anything, it helps to know if your PC is joined to an Active Directory domain. Domain‑joined machines normally ignore manual NTP server settings and sync from the domain hierarchy instead.
| Question | What to check | What it means for time sync |
|---|---|---|
| Is this PC on a domain? | Open Settings > System > About and look at “Domain or workgroup”. |
If it shows a domain name, time usually comes from your domain controller, not a public NTP server. |
| What time source is in use now? | Run w32tm /query /source in an elevated Command Prompt. |
If you see an NTP hostname, the PC is using that server; if you see “Local CMOS Clock” or a domain DC, it’s different logic. |
Change time server on Windows 11 using Settings (Insider builds)
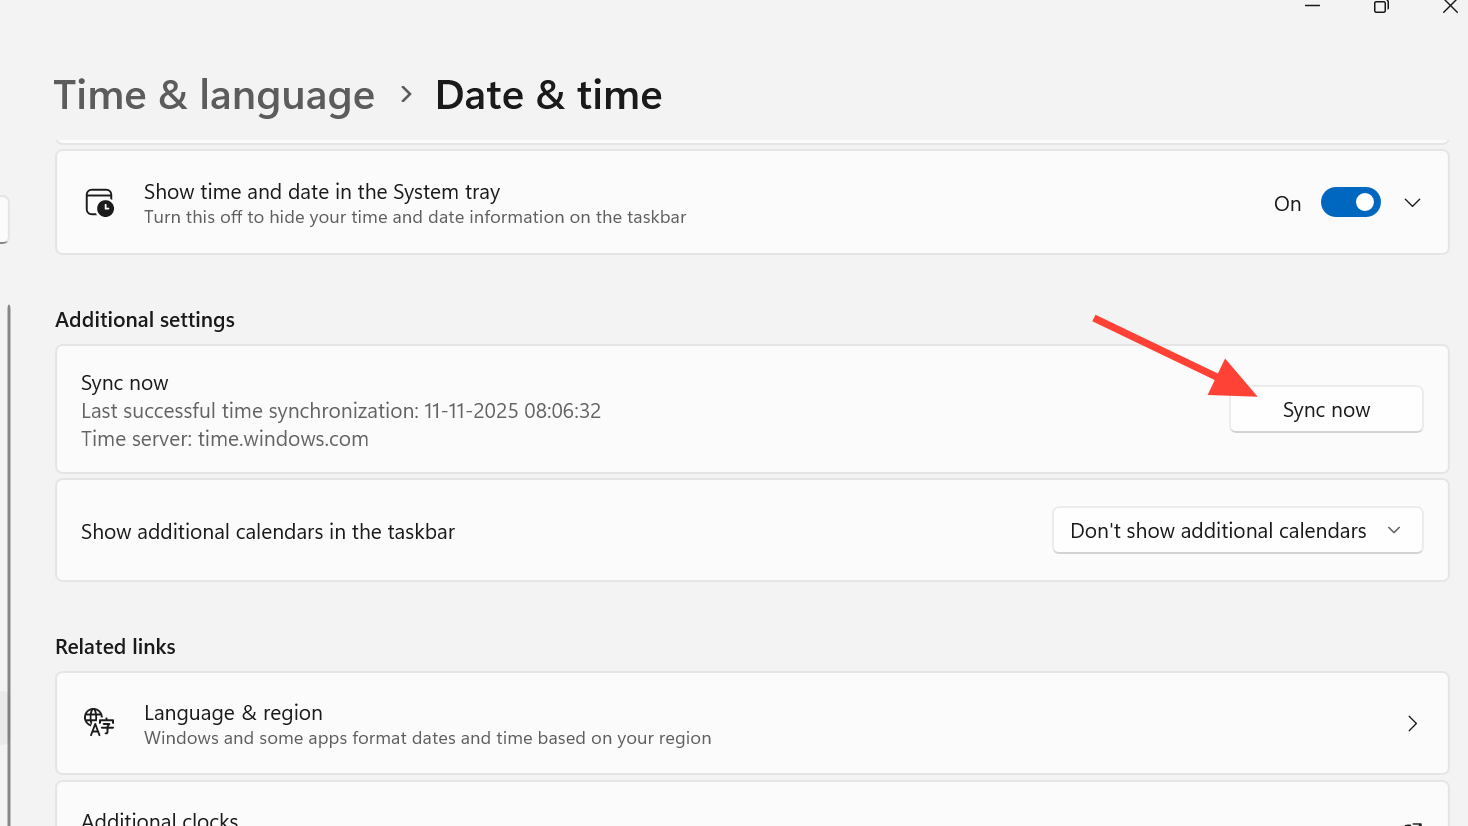
Recent Windows 11 Insider channels (Beta, Dev, Canary, Release Preview) expose the time server directly in the Settings app.
| Step | Action in Settings |
|---|---|
| 1 | Open Settings (Win+I). |
| 2 | Go to Time & language > Date & time. |
| 3 | Under Additional settings, click Sync now to expand it. |
| 4 | Click the Change button next to “Change the time server”. |
| 5 | Enter the hostname of your preferred NTP server (for example time.nist.gov or a server from your ISP) and press OK. |
| 6 | Click Sync now again to force an immediate sync. |
If the sync succeeds, you’ll see a confirmation and the “Last successful time synchronization” updated with the new server name.
Change time server in Control Panel (works on all editions)
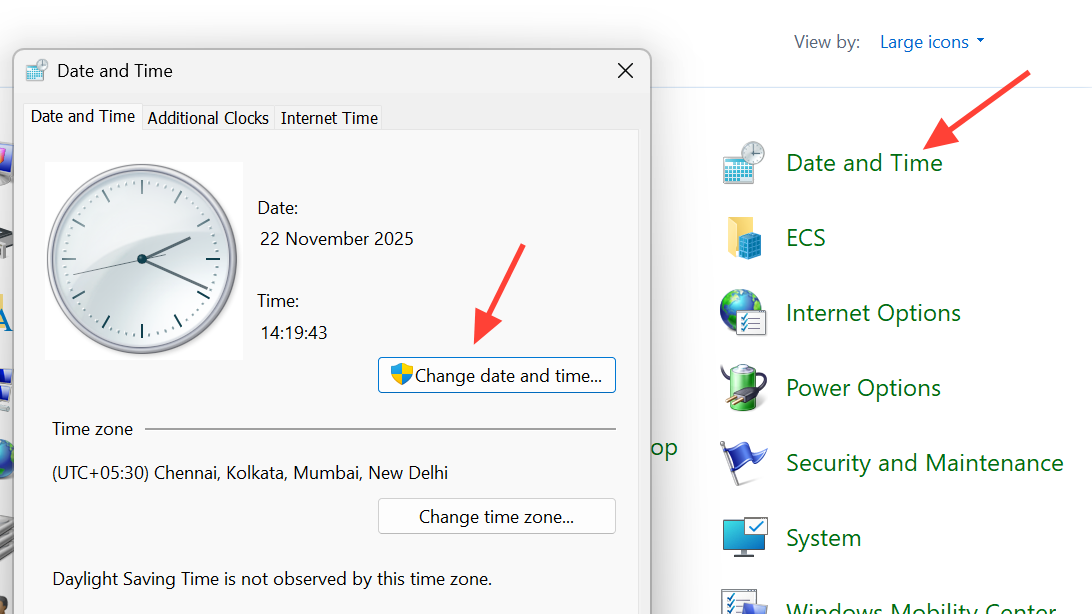
The classic Internet Time dialog is available on all supported Windows 11 builds and is the most broadly compatible way to change the NTP server for non‑domain PCs.
| Step | Control Panel action |
|---|---|
| 1 | Open the Run dialog with Win+R, type timedate.cpl, and press Enter. |
| 2 | In the “Date and Time” window, switch to the Internet Time tab. |
| 3 | Click Change settings…. |
| 4 | Ensure Synchronize with an Internet time server is checked. |
| 5 | In the Server box, either pick a server from the list or type one manually, such as time.nist.gov, time.google.com, or your ISP’s NTP host. |
| 6 | Click Update now to test the new server, then click OK to save. |
If an error appears, press Update now again. Short‑lived network or server issues often clear on a second attempt.
Change time server with w32tm (command line)
The w32tm tool configures the Windows Time service directly and is the most precise way to switch NTP servers, especially when you want multiple peers or specific flags.
| Scenario | Command | What it does |
|---|---|---|
| Set a single manual NTP server | |
Configures time.nist.gov as the only time source and tells W32Time to use manual peers. |
| Set multiple NTP servers | |
Uses both servers; W32Time will sample and choose a suitable source. |
| Prefer one server, keep another as fallback | |
Marks the first peer as a standard NTP client source (0x8) and the second as “use as fallback only” (0x2). |
| Force an immediate resync | |
Redetects network configuration and triggers immediate time sync. |
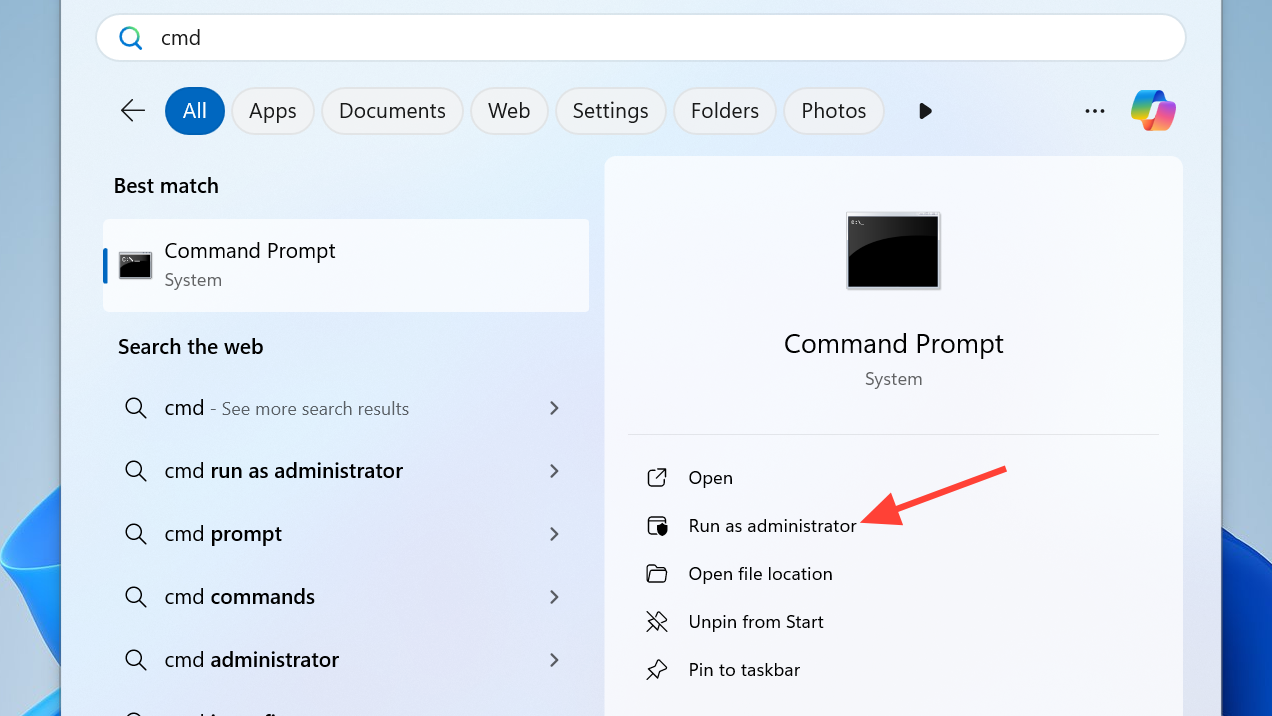
All of these commands must run in an elevated Command Prompt or Windows Terminal session (Run as administrator).
How Windows 11 stores NTP server choices
Behind the UI, Windows stores the list of known internet time servers and the active choice in the registry. This is useful if you want to add a new server to the drop‑down list in the Internet Time dialog or verify what is configured.
| Registry location | Key or value | Purpose |
|---|---|---|
HKLM\SOFTWARE\Microsoft\Windows\CurrentVersion\DateTime\Servers |
String values 1, 2, 3… and (Default) |
Each numbered value is a hostname (for example time.windows.com). (Default) stores which index is selected in the Control Panel list. |
HKLM\SYSTEM\CurrentControlSet\Services\W32Time\Parameters |
NtpServer |
Stores the actual NTP server list used by W32Time, including flags such as ,0x9 or ,0x8. |
HKLM\SYSTEM\CurrentControlSet\Services\W32Time\Parameters |
Type |
Controls where time comes from: NTP (manual servers), NT5DS (domain hierarchy), NoSync, or AllSync. |
w32tm.Switch between domain time and manual NTP servers
If you have a machine that was previously configured to use a specific NTP server but is now joined to a domain, you may want to hand control back to the domain hierarchy. Conversely, you may want a non‑domain PC to stop using a domain source and rely only on manual servers.
| Goal | Command sequence | Result |
|---|---|---|
| Use only domain hierarchy (DCs) | |
The client switches to NT5DS behaviour, syncing from the domain controller chain. |
| Use only manual NTP servers |
|
The client ignores domain hierarchy and uses the specified NTP hosts. |
This is particularly important for machines acting as authoritative time sources in a network: PDC emulators typically sync from external NTP servers, while the rest of the domain syncs from them.
Why time sync can still fail after changing server
Changing the hostname alone doesn’t guarantee that Windows will successfully sync time. Several common issues show up repeatedly in real‑world setups.
| Symptom | Likely cause | What to check |
|---|---|---|
| Error “Time synchronization failed” in Settings | NTP packets blocked or dropped | Verify UDP port 123 is open between your PC and the NTP server. Some ISPs intentionally block NTP to prevent reflection attacks and provide their own internal NTP host instead. |
| Settings or Control Panel always show the same old “Last successful sync” timestamp (for example a date in 2015) | Client can’t reach any configured NTP server | Test different networks (for example a mobile hotspot) to see if it starts working. If it does, the original ISP or router is blocking traffic on UDP 123. |
“The computer did not resync because no time data was available” when running w32tm /resync |
NTP server unreachable or not responding | Check firewall rules on your PC and router, and confirm the hostname resolves to an IP address. |
| Time still off even though sync reports success | Very large clock skew or aggressive correction limits | Use w32tm /query /status /verbose to inspect “Phase Offset” and correction parameters like MaxAllowedPhaseOffset. Extremely wrong clocks may be corrected in one jump, others are nudged gradually. |
When ISPs block NTP, they sometimes run their own internal time servers and expect customers to use those. In that case, ask your provider for the correct hostname and configure it as your NTP server in the Control Panel or via w32tm.
Restart or re‑register the Windows Time service when things break
When changing time servers repeatedly or after registry changes, the Windows Time service can get into a bad state. Restarting or fully re‑registering it usually clears configuration glitches.
| Action | Commands | When to use it |
|---|---|---|
| Simple restart | |
Use after changing NtpServer, Type, or Group Policy settings. |
| Unregister and register again | |
Use if the service refuses to start or errors persist after normal restarts. |
| Reapply manual server and sync | |
Use after re‑registration to put your desired NTP server back in place. |
If you use third‑party security software with its own firewall, ensure it is not blocking outbound or inbound UDP 123 for w32time. In some suites, NTP traffic must be explicitly allowed.
When a local NTP server makes more sense than public ones
If your machines are isolated from the internet, or your ISP blocks NTP, a local Windows or Linux box can act as the authoritative time server for your network. On Windows 11 and Windows 10, the built‑in W32Time service can be switched from “client only” mode to “server” mode by enabling the NtpServer time provider, opening UDP 123 in the firewall, and marking the machine as a reliable time source. Clients then point their time server at that local host via Control Panel or w32tm, using the same configuration mechanisms described earlier.
Once you understand where Windows gets time from — domain hierarchy, a public NTP pool, an ISP‑provided server, or a local box — changing the time server on Windows 11 becomes a controlled, predictable operation rather than a trial‑and‑error exercise.

