
Constant 100% CPU usage in Windows 11 can throttle system performance, trigger overheating, and disrupt even routine tasks. When system idle processes fail to activate or background tasks spike unexpectedly, the computer’s responsiveness drops sharply. Addressing this issue requires a combination of targeted fixes, monitoring tools, and configuration adjustments to both identify the source and keep processor load within optimal ranges.
How to Check CPU Usage in Windows 11
Step 1: Open Task Manager by pressing Ctrl+Shift+Esc on your keyboard. This utility displays real-time CPU usage for all running processes.
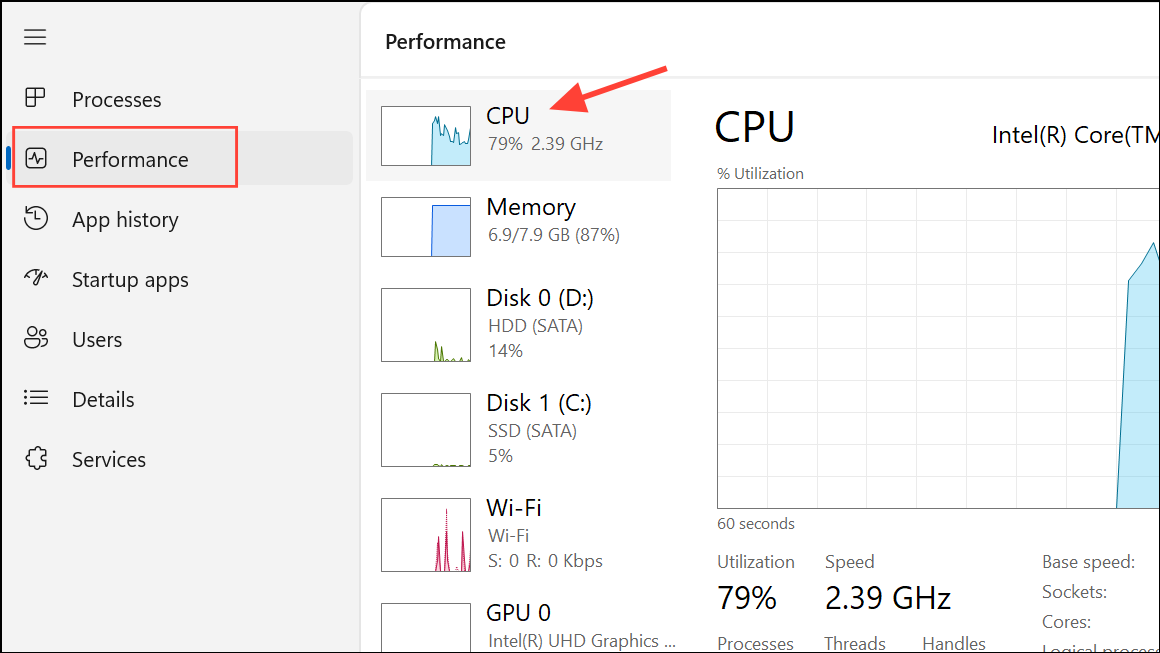
Step 2: Click the Performance tab, then select CPU. This section shows current processor utilization as a percentage, as well as historical usage graphs. If you want to see which applications are using the most CPU, switch to the Processes tab and sort by the CPU column.
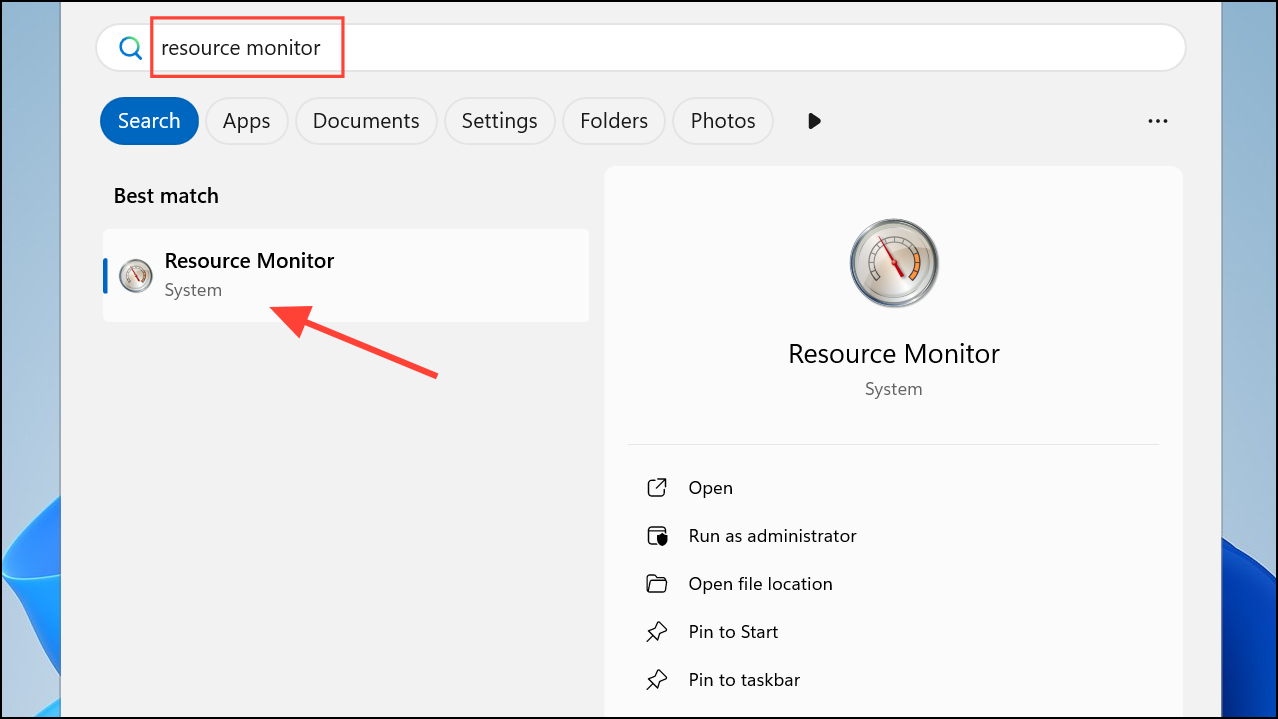
Step 3: For deeper analysis, type Resource Monitor into the Windows search bar and open it. The CPU tab provides more granular details about process activity and allows you to investigate unresponsive or abnormal tasks.
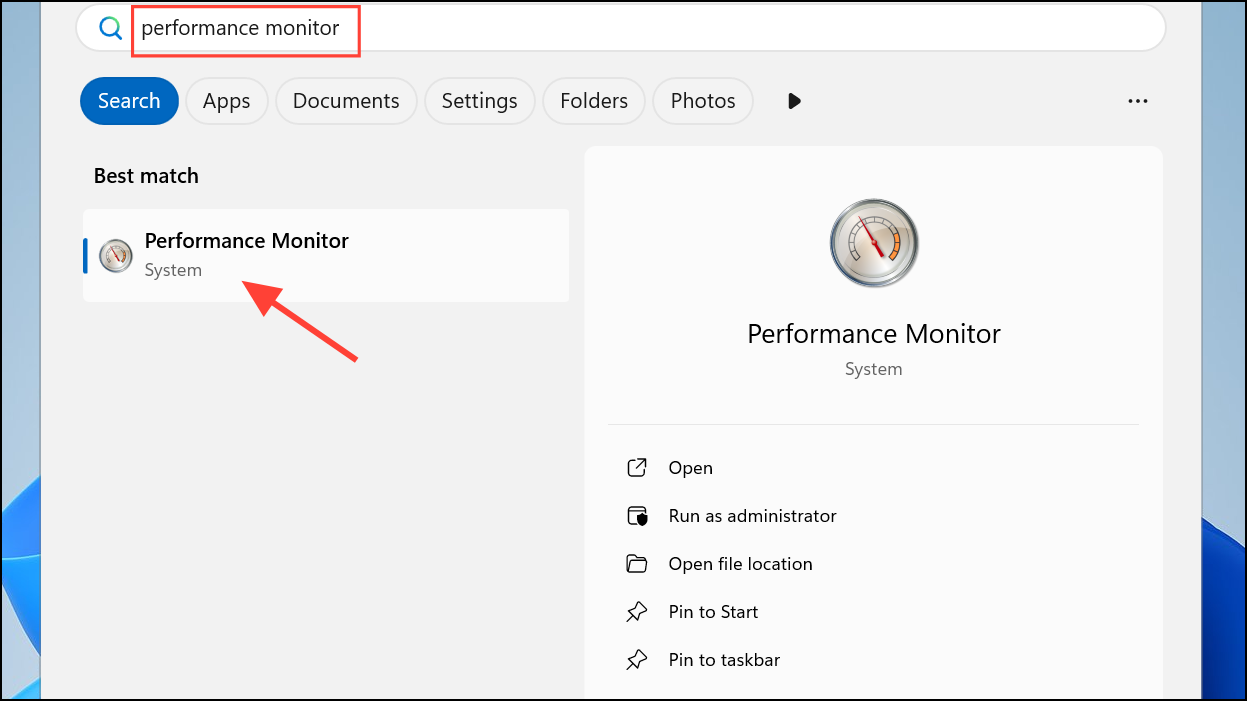
Step 4: For advanced troubleshooting, launch Performance Monitor from the search bar. Here, you can add custom counters to track CPU usage trends over time or monitor specific applications for spikes or irregularities.
How to Lower CPU Usage in Windows 11
Method 1: Apply the Hidden Power Plan Fix for Persistent 100% CPU Usage
When CPU usage remains stuck at 100% even at idle, a hidden power plan setting may prevent the processor from entering its idle state. This issue often arises after installing or updating motherboard utilities (such as MSI Center), which can silently alter advanced power management options. The following fix directly addresses this root cause.
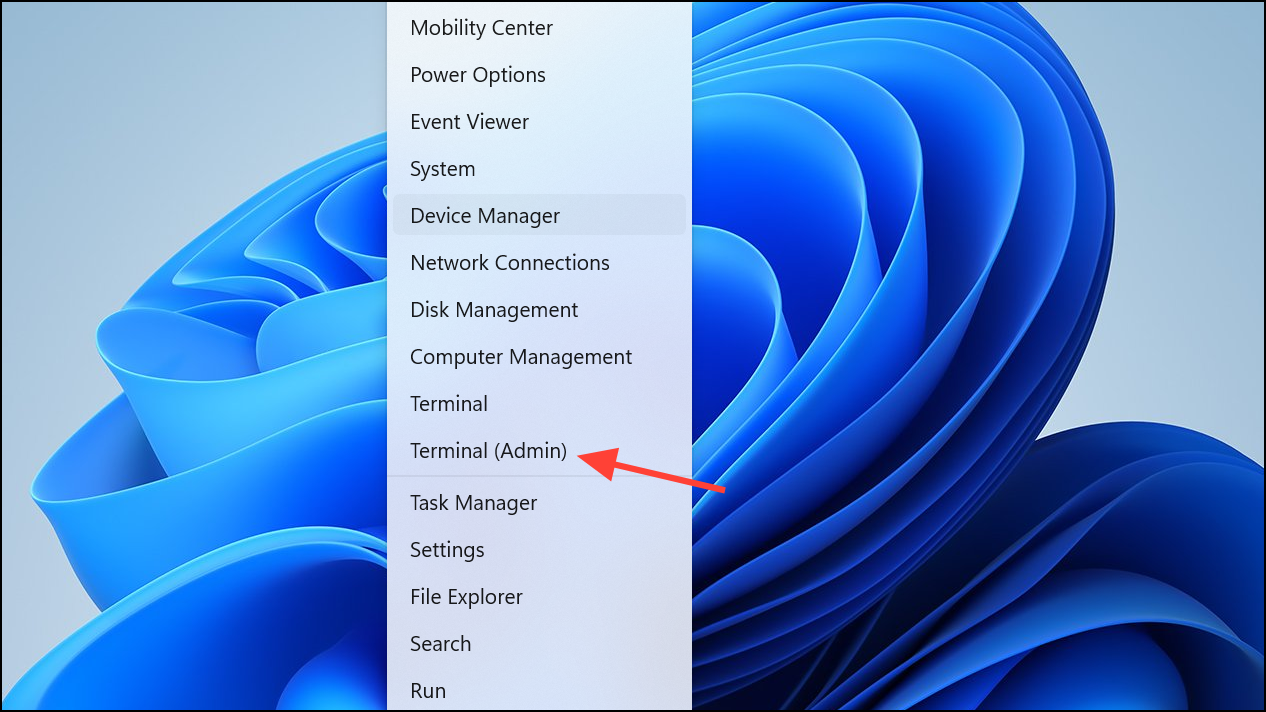
Step 1: Press Windows Key + X and select Terminal (Admin) or Powershell (Admin) to open an elevated command prompt.
Step 2: Copy and paste the following command, then press Enter to reset the processor idle setting:
PowerCfg /SETACVALUEINDEX SCHEME_CURRENT SUB_PROCESSOR IDLEDISABLE 000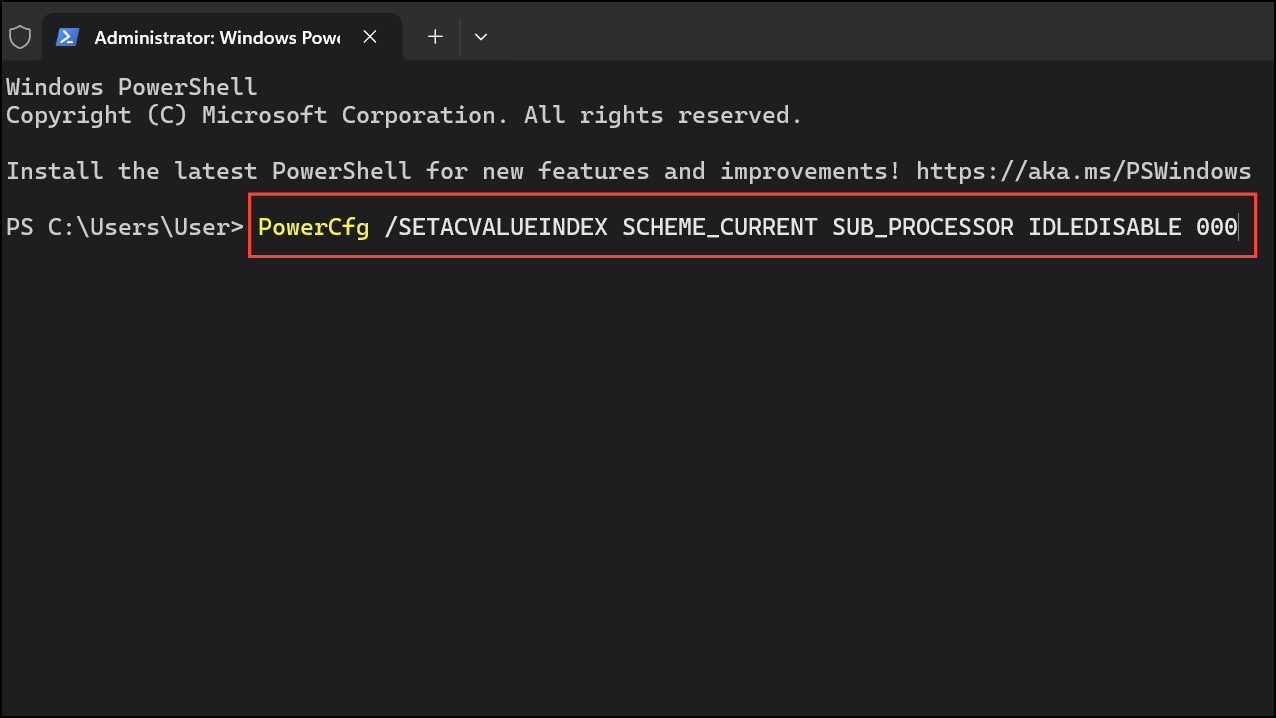
Step 3: Next, reactivate your current power scheme by entering:
PowerCfg /SETACTIVE SCHEME_CURRENT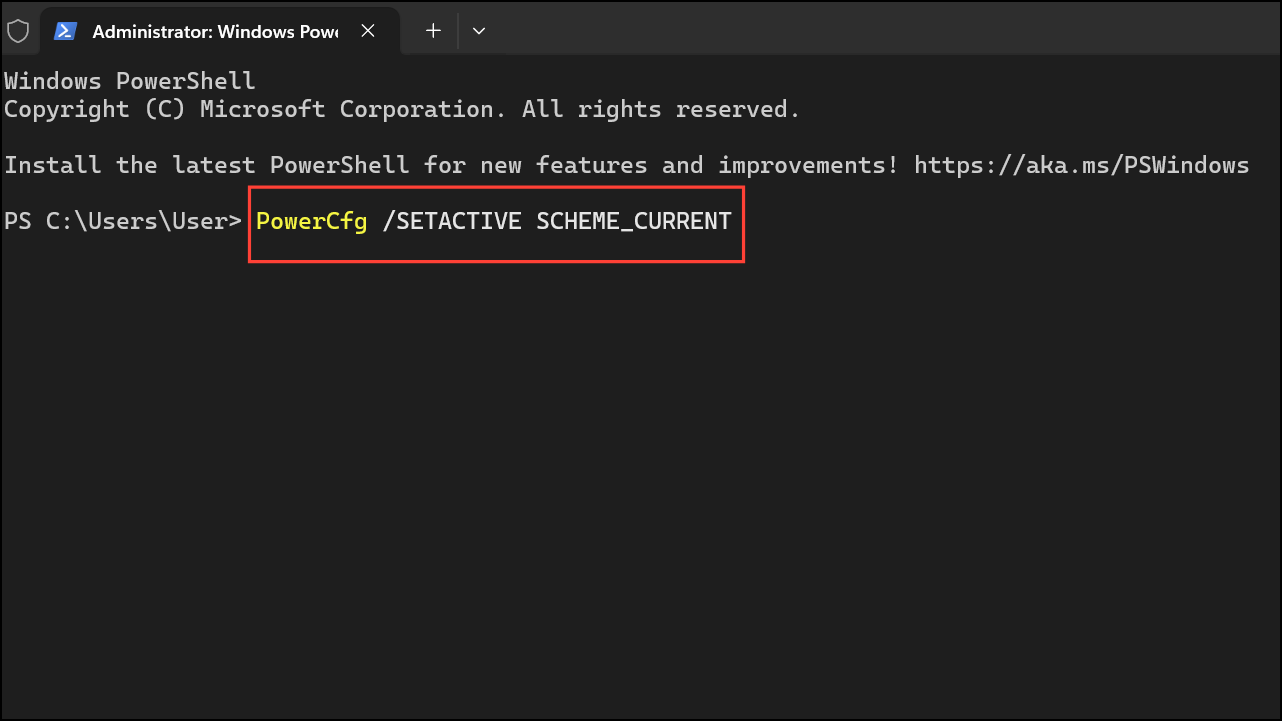
Step 4: Open Task Manager again to verify that CPU usage has dropped from 100% to normal idle levels (typically under 10%). If the fix works, you should notice a rapid decline in CPU activity and quieter system fans within seconds.
Method 2: Close Unnecessary Applications and Background Processes
High CPU usage often results from resource-intensive applications or too many programs running simultaneously. Closing unused software and background processes can quickly free up processor resources.
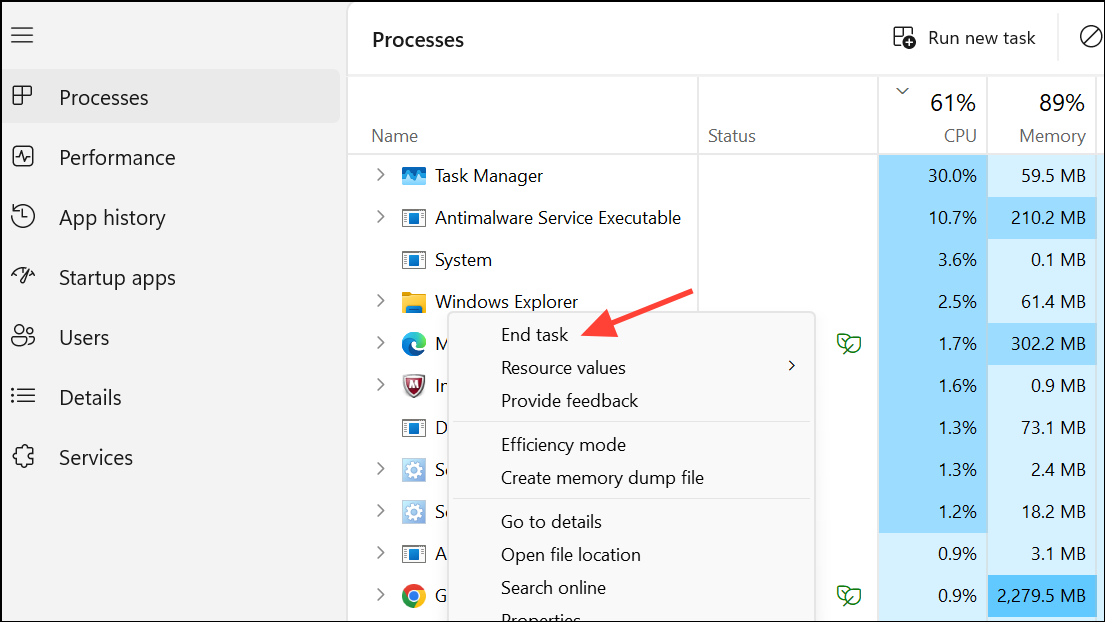
Step 1: In Task Manager, review the list of running applications in the Processes tab. Sort by the CPU column to prioritize which programs are consuming the most resources.
Step 2: Right-click any unnecessary application or background process and choose End task. Take care not to terminate critical system processes, as this can cause instability.
Method 3: Disable Startup Programs
Programs configured to start automatically with Windows can slow down boot times and increase baseline CPU usage.
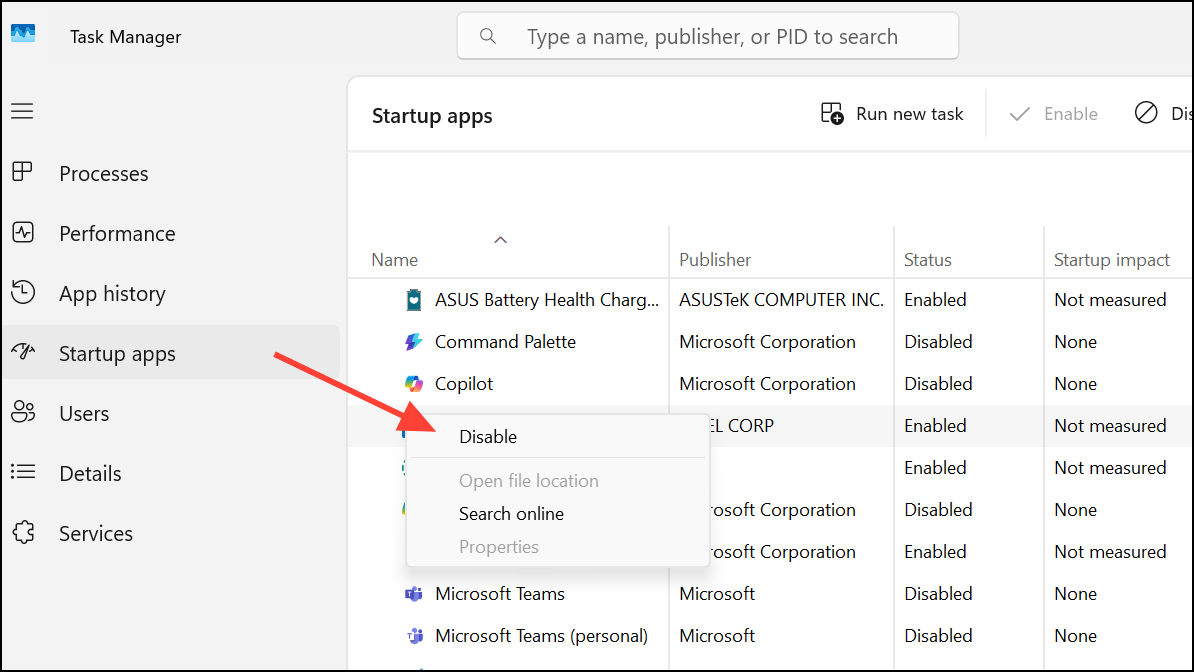
Step 1: Open Task Manager and switch to the Startup apps tab.
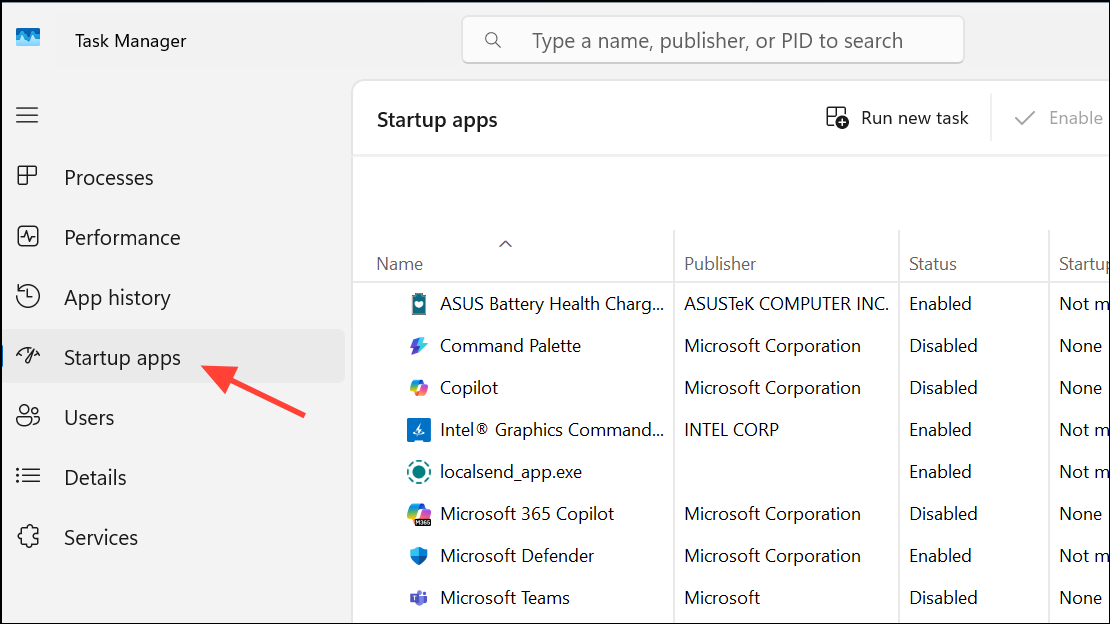
Step 2: Review the list of startup applications. Right-click any non-essential app and select Disable. This prevents the program from launching at boot, reducing initial CPU load.
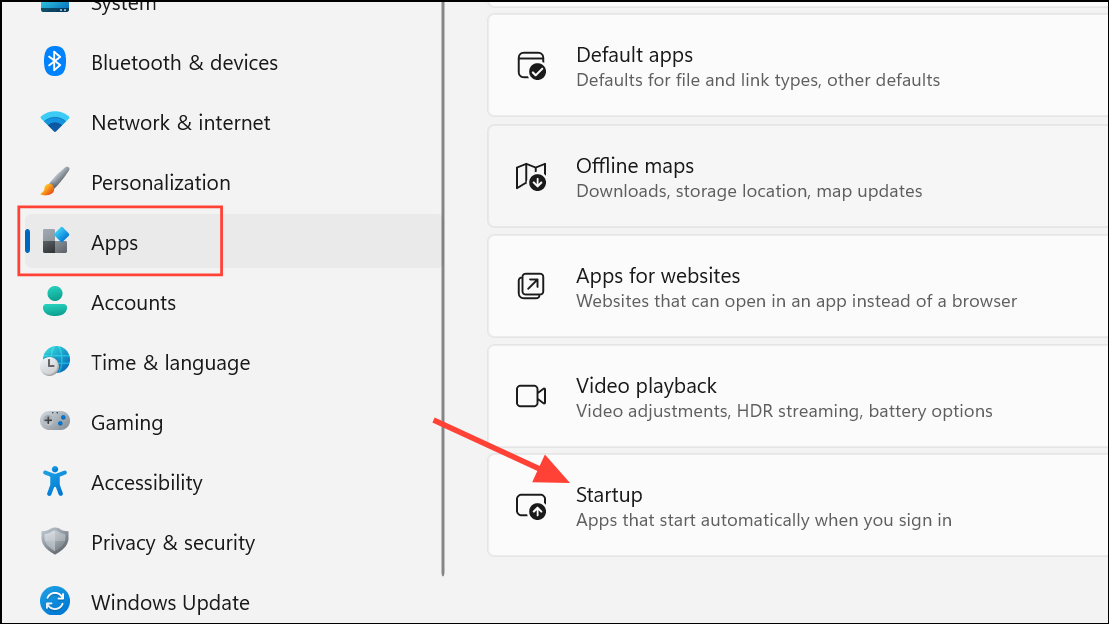
Alternative: In Settings, navigate to Apps > Startup and toggle off unnecessary programs from the list.
Method 4: Update Windows and Device Drivers
Outdated system files or drivers can cause inefficient CPU utilization, compatibility issues, or even system instability.
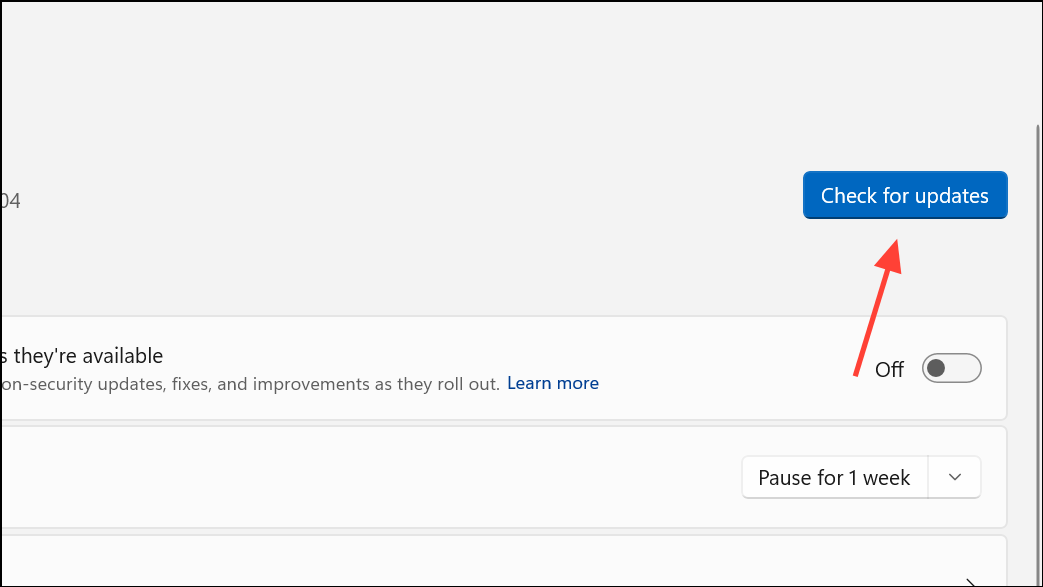
Step 1: Open Settings and go to Windows Update. Click Check for updates to download and install the latest patches.
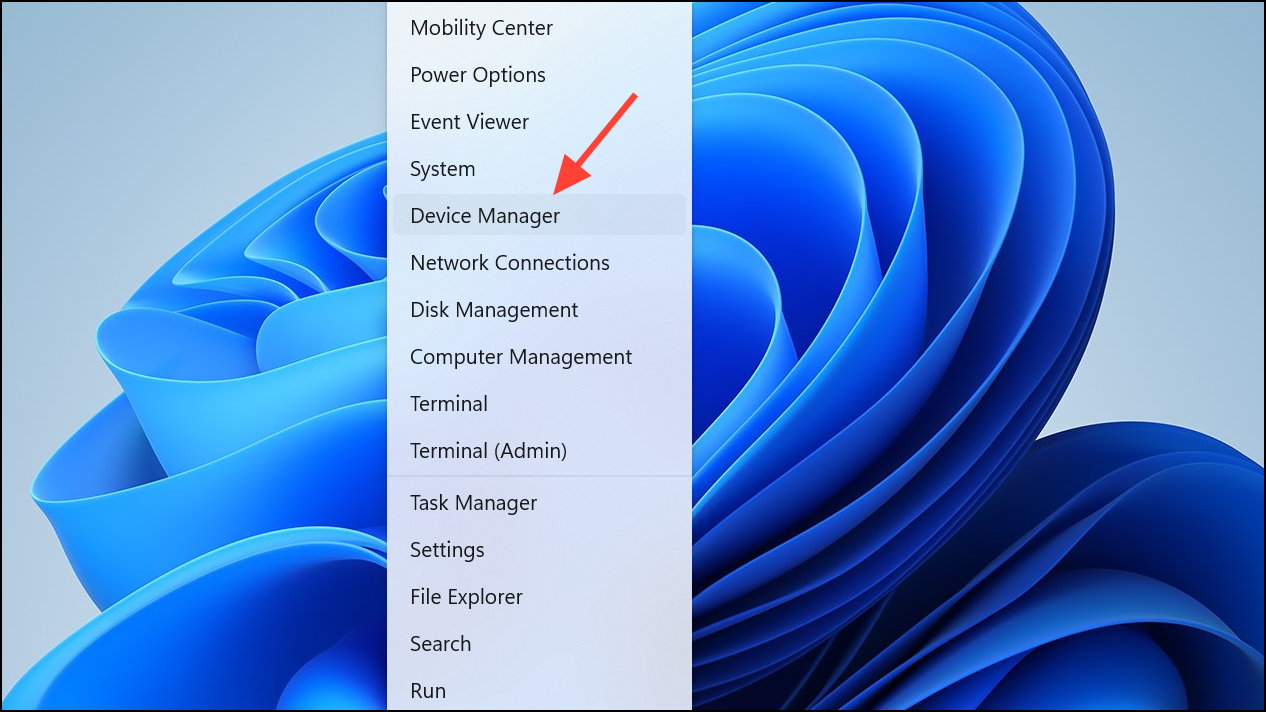
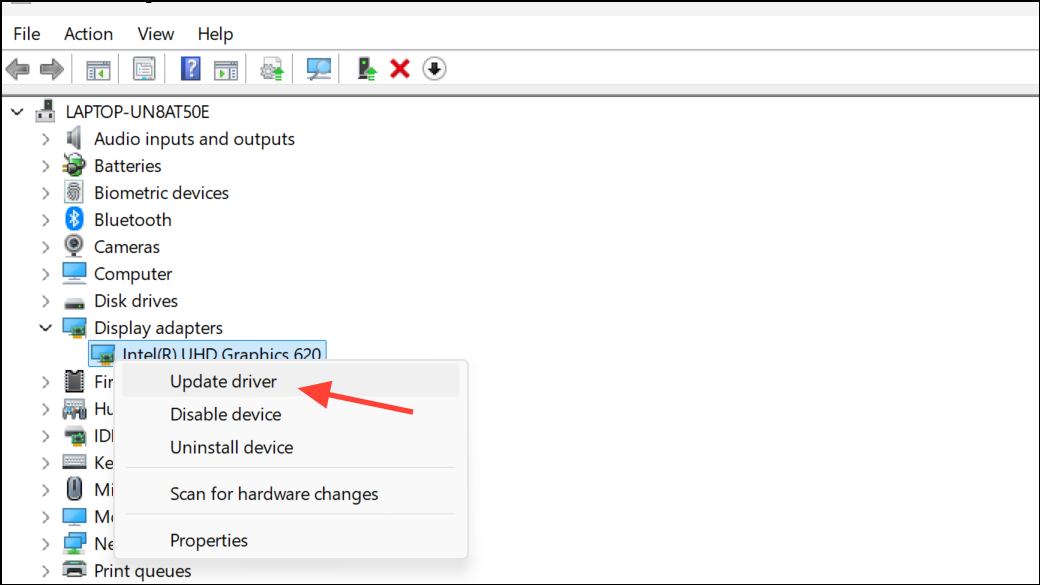
Step 2: For hardware drivers, right-click the Start button and select Device Manager.
Step 3: Expand categories such as Display adapters or Processors, right-click each device, and choose Update driver.
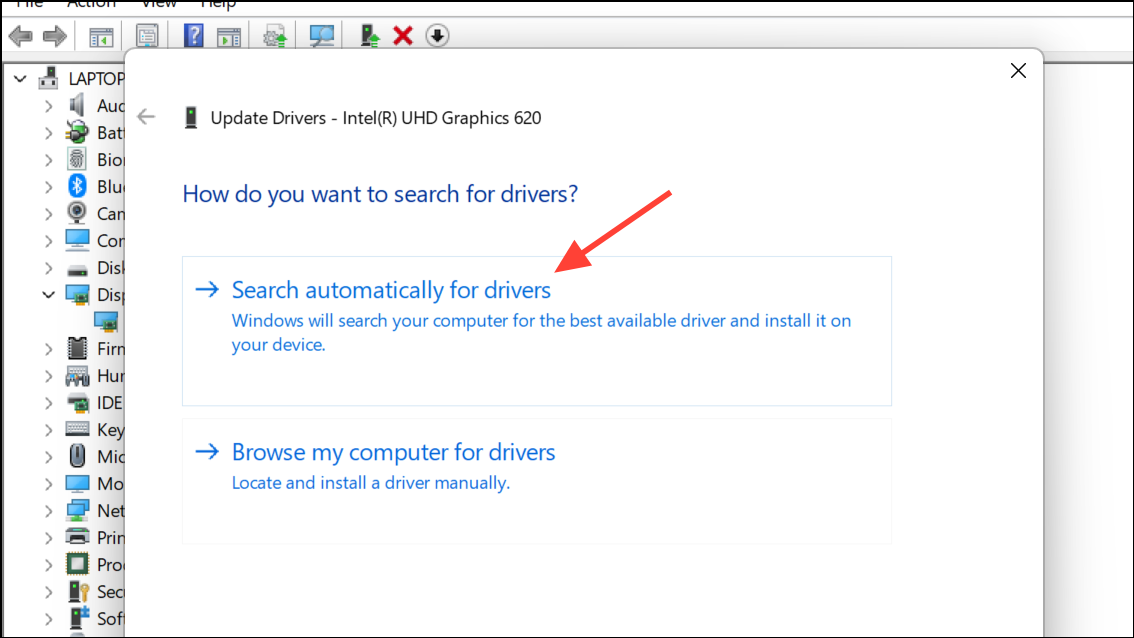
Step 4: Select Search automatically for drivers to let Windows find the newest versions.
Method 5: Scan for Malware and Unwanted Software
Malware, spyware, or crypto-miners can operate in the background, consuming significant CPU resources without obvious symptoms.
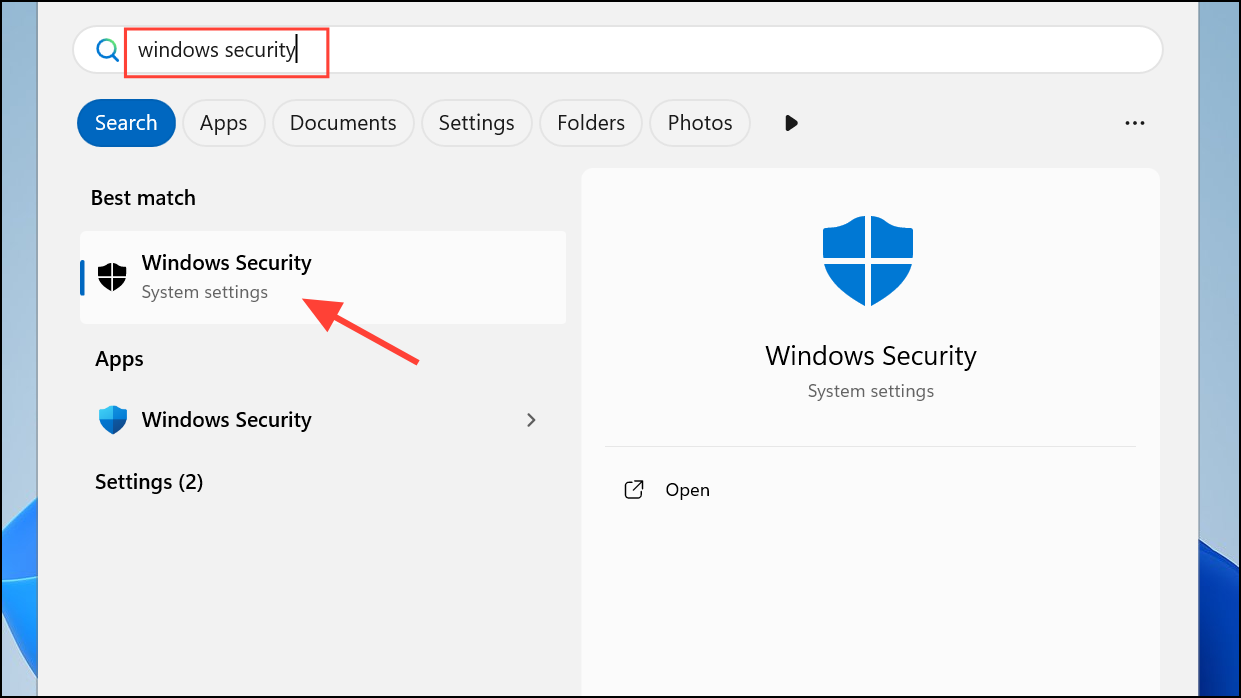
Step 1: Open Windows Security from the Start menu.
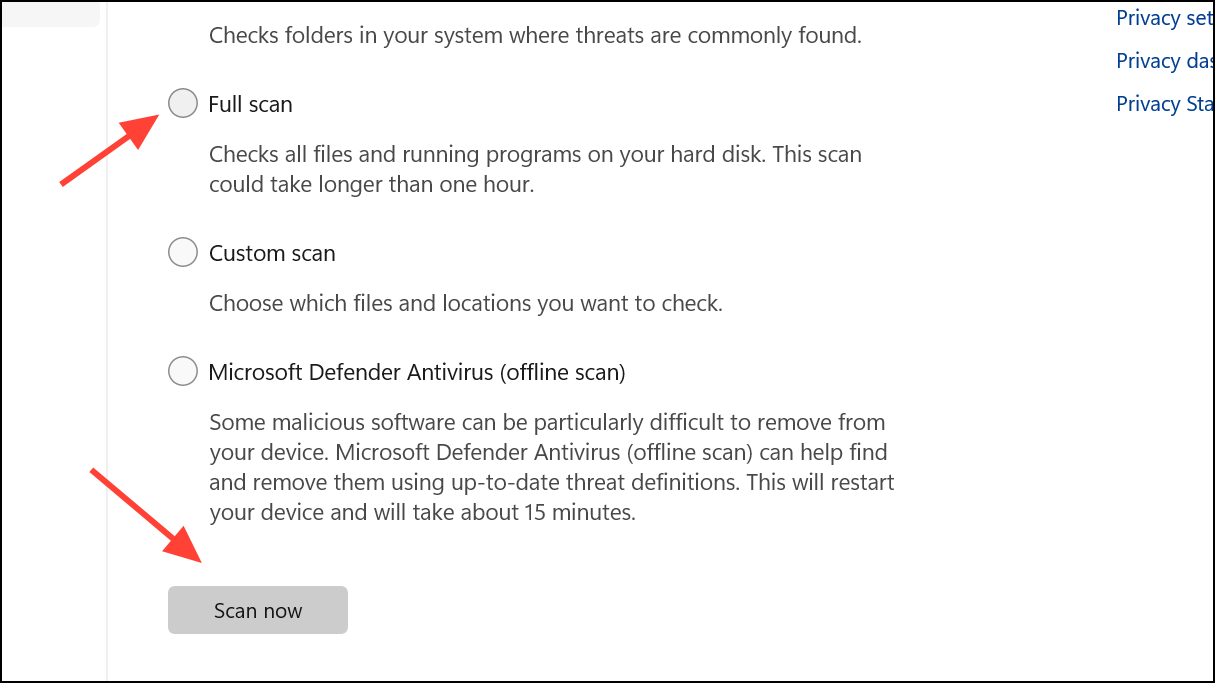
Step 2: Click Virus & threat protection and select Quick scan to check for common threats. For a comprehensive check, choose Scan options and run a Full scan.
Step 3: Remove any detected threats and restart your PC. If CPU usage remains high, consider using a reputable third-party malware removal tool for a second opinion.
Method 6: Adjust Power Settings
Windows 11 power plans can influence CPU performance and power consumption. Misconfigured or overly aggressive settings may prevent the CPU from entering low-power idle states.
Step 1: Open Settings and go to System > Power & battery.
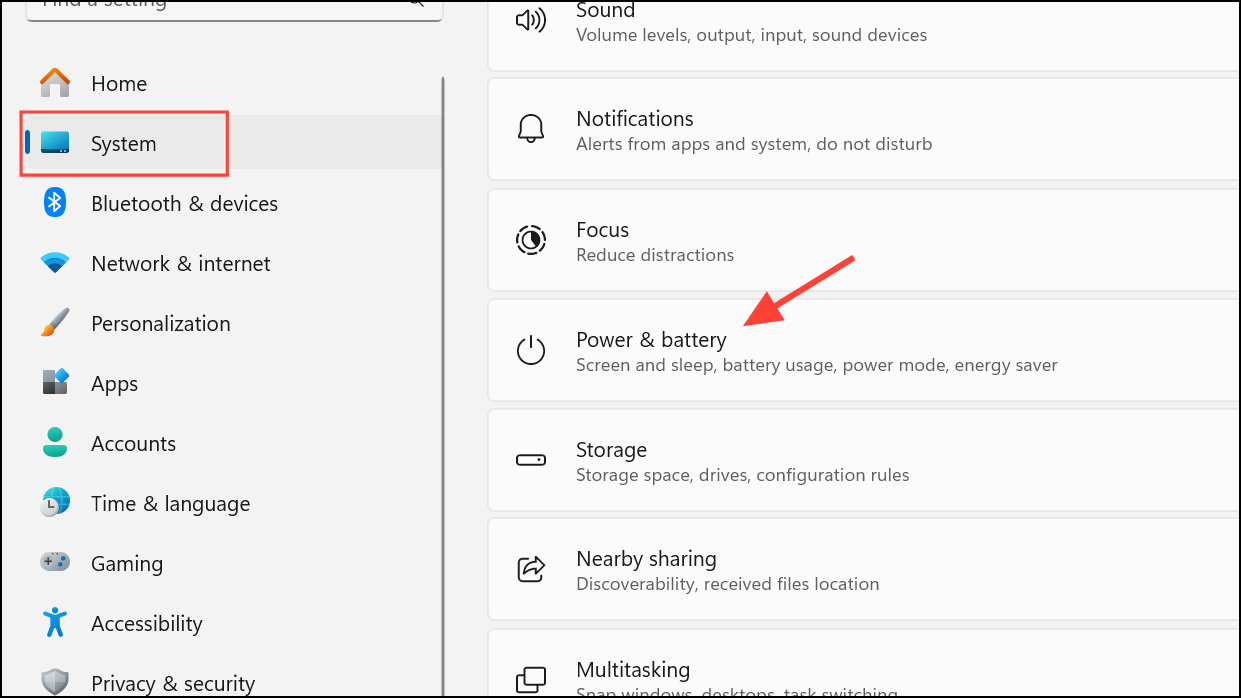
Step 2: Under Power mode, select Balanced for general use or Best power efficiency for laptops. If you need maximum performance for demanding tasks, select Best performance, but be aware this may increase CPU usage and power draw.
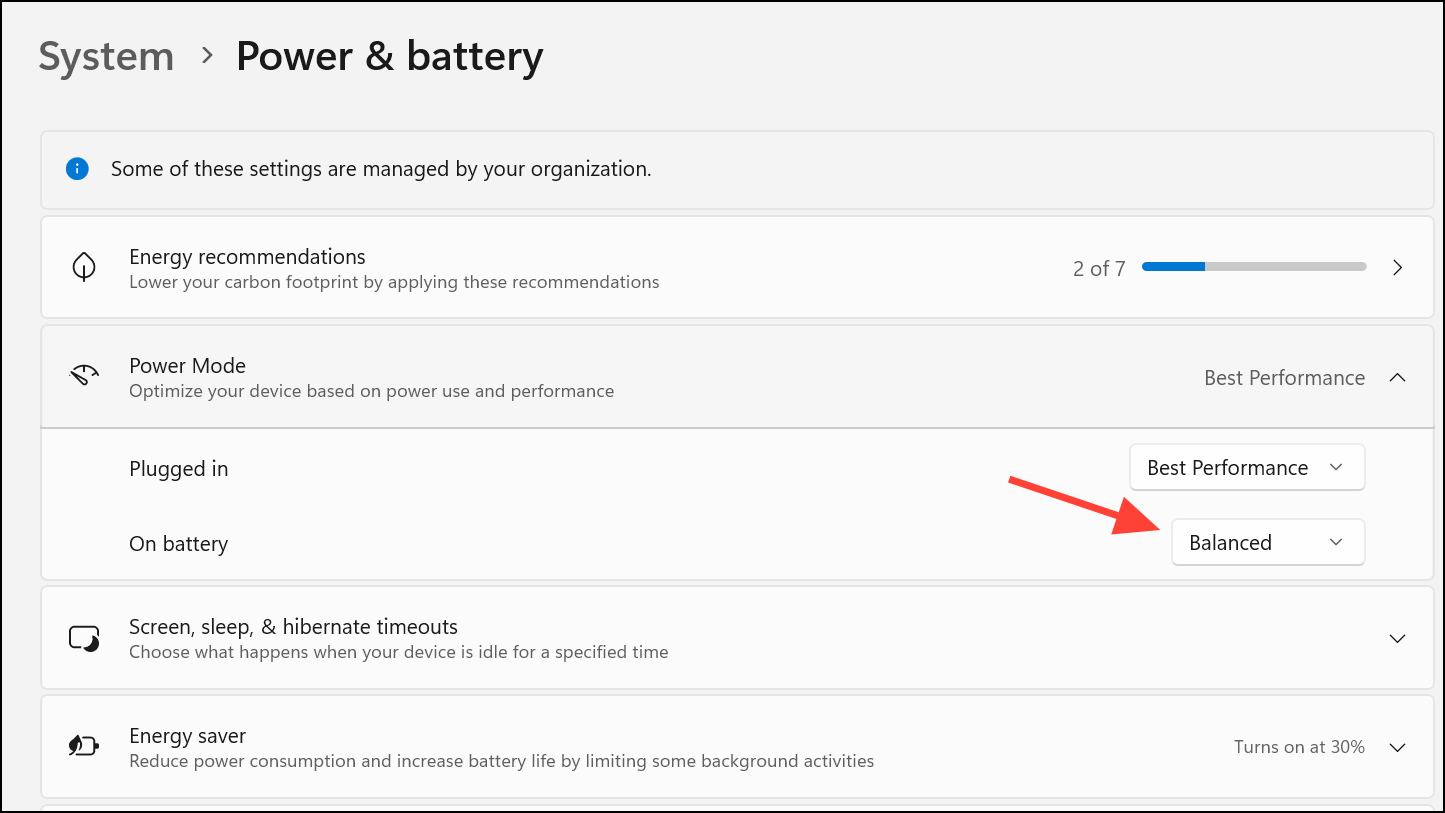
Advanced: To cap maximum processor usage, search for Edit power plan, open Change advanced power settings, and adjust the Maximum processor state under Processor power management.
Method 7: Physically Clean Your Computer
Dust buildup inside your PC can obstruct airflow, causing the CPU to overheat and the system to compensate by increasing fan speeds and clock speeds, sometimes resulting in sustained high CPU usage.
Step 1: Power off and unplug your computer.
Step 2: Open the case following manufacturer instructions. Use compressed air to carefully blow dust from fans, heat sinks, and vents. Ensure all cooling components are free from obstructions.
Step 3: Reassemble and restart your PC. Improved cooling can lower CPU temperatures and allow the processor to operate efficiently at lower usage levels.
Method 8: Reset or Reinstall Windows 11
If persistent high CPU usage remains after all other troubleshooting steps, a system reset can resolve deep-seated software issues or registry corruption.
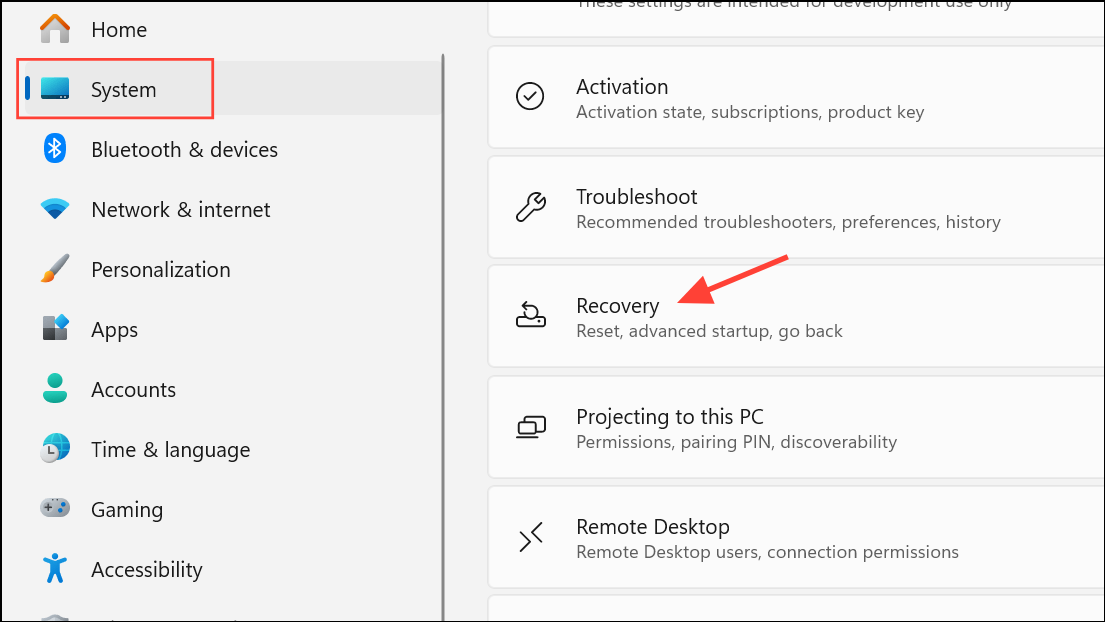
Step 1: Go to Settings > System > Recovery.
Step 2: Under Recovery options, select Reset PC. Choose Keep my files to preserve personal documents, or Remove everything for a full reset.
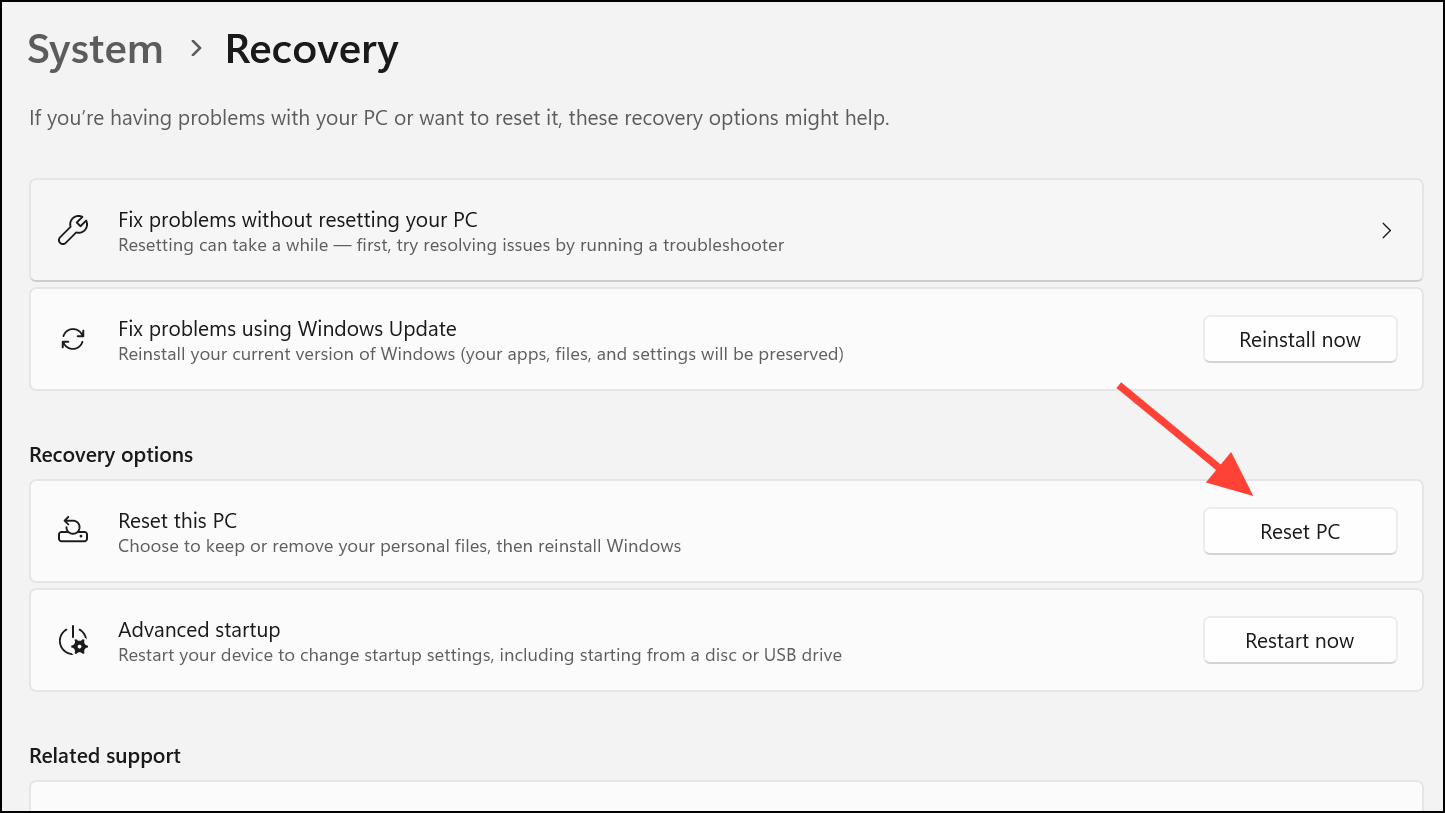
Step 3: Follow the prompts to complete the reset. Afterward, reinstall only essential applications and monitor CPU usage for improvement.
What Causes High CPU Usage in Windows 11?
- Background applications or browser tabs running simultaneously.
- Resource-heavy software such as video editors, games, or virtualization tools.
- Malware or unwanted background processes.
- Outdated drivers or system files leading to inefficient processing.
- Overheating due to dust, failed cooling, or poor ventilation.
- Misconfigured power plans or third-party utilities altering processor idle settings.
- Hardware issues, such as failing SSDs or RAM, indirectly increasing CPU load.
Monitoring and managing CPU usage in Windows 11 is crucial for maintaining a responsive and stable system. By combining the above methods—especially the targeted power plan fix for persistent 100% utilization—with routine cleaning, driver updates, and malware scans, you can optimize your computer’s performance and extend its lifespan.
Staying proactive with these maintenance steps keeps your Windows 11 system running smoothly and prevents frustrating slowdowns or overheating.