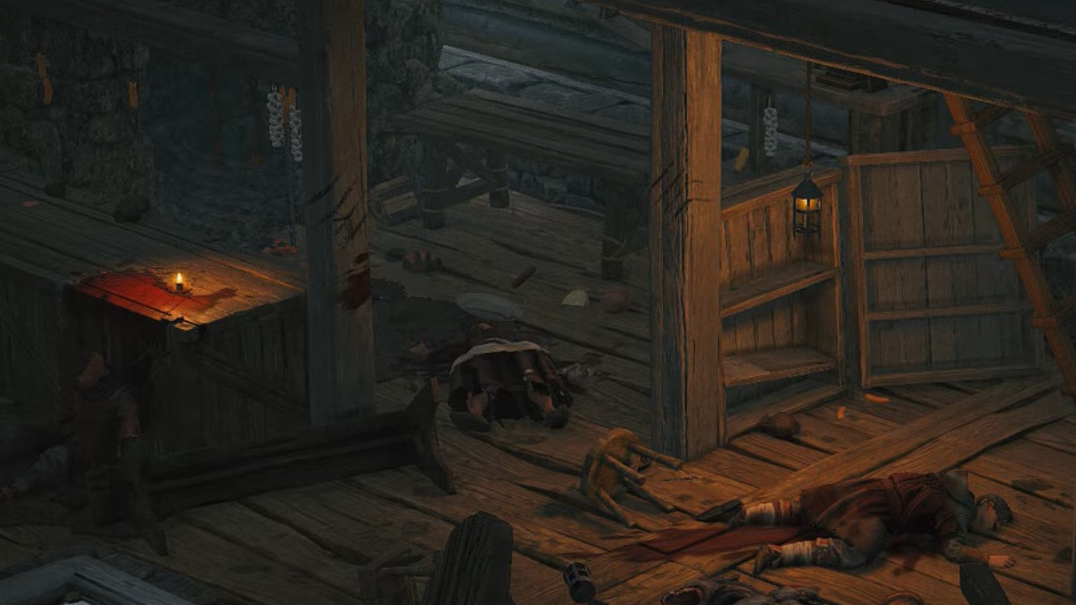
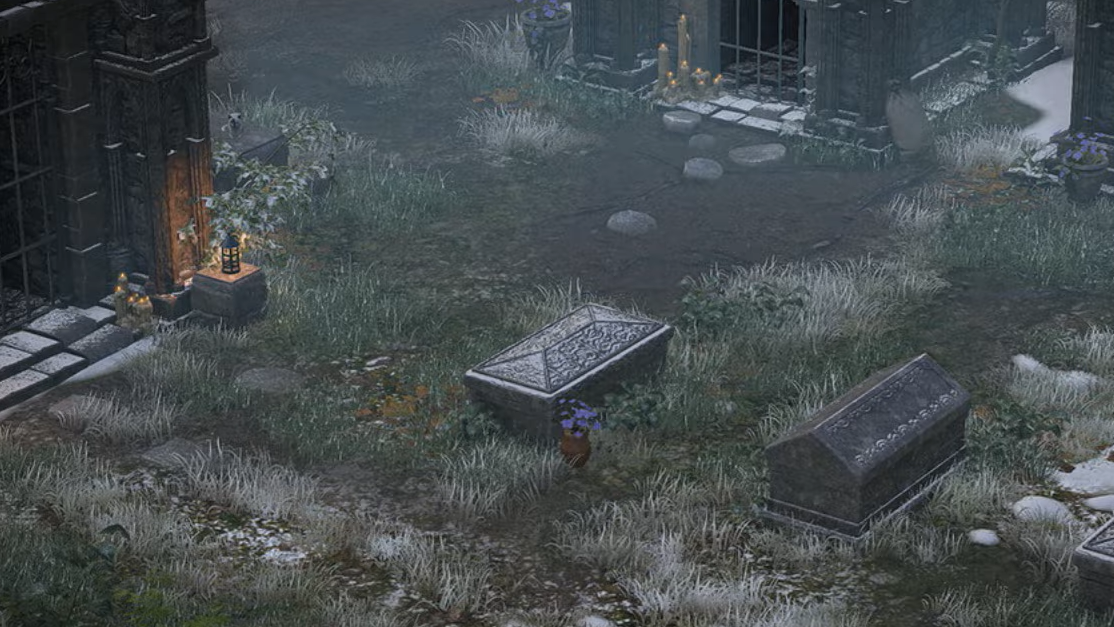
Rigel County turns Wartales into something closer to a survival horror campaign than a routine contract run. The Weald strips away your compass, sanity becomes a real resource, and the best rewards sit behind mechanics the base game never prepared you for. You can brute-force your way through, but it’s much smoother when you understand how the region is structured and what the new systems are asking from you.
How to start the Curse of Rigel DLC
Step 1: Travel to Rigel County, the new level 12–15 region in the northwestern corner of Drombach in the Kingdom of Alazaar. Treat it as high‑tier content; going in much earlier than level 12 makes even regular encounters punishing.
Step 2: Enter the Edelweiss Inn as soon as you arrive. This is where the main chain formally begins and where you first meet Captain Osweld of the King’s Knights.
Step 3: Accept Osweld’s request to help fight Lycanthropes. The opening battles double as a soft tutorial for how werewolves behave and introduce the political split between the King’s Knights, the local count, and the increasingly cursed countryside.
From this point, every major system in the DLC fans out from three hubs: Edelweiss Inn (story and contracts), the King Knight’s Camp (lantern, Weald access, and the Head Surgeon), and the Weald itself.

Lantern, Lantern Oil, and gloworms
How to get the Lantern
The Lantern is mandatory for Weald exploration. Without it, you simply don’t go in.
Step 1: After helping Captain Osweld, speak to Head Surgeon Magnus at the King Knight’s Camp. He pushes you into collecting “grafts” from Lycanthropes and opens the path to the DLC’s research layer.
Step 2: Follow his instructions to investigate a nearby mine and bring back the required Lycanthrope organs. Handing these over unlocks the Field Laboratory blueprints and the next conversation step.
Step 3: Talk to Smith Hedheida in Hosberg (Rigel’s capital). Once the mine work is done, Hedheida forges the Lantern and hands it over together with a small starter stack of Lantern Oil.
Once you have the Lantern, the Weald entrance becomes usable, and the Field Laboratory can be built at camp.

How Lantern Fuel works
Lantern Oil is effectively your Weald timer. When it runs out, the forest starts dismantling your party.
- With the Lantern lit: vision is good, enemy pressure is lower, sanity drains slowly, and navigation is manageable.
- With the Lantern dimmed or off: you see less, rare resources become more common, but ambushes and sanity damage ramp up.
You have two reliable ways to stock up:
- Crafting: After the Field Laboratory is unlocked, you can produce Lantern Oil in your Workshop with 1x Grease and 1x Hosberg Nuts.
- Buying: Inside the Weald, Edua the Witch at the Witch’s Hut sells Lantern Oil directly, alongside ingredients for other Weald‑specific items.
For deeper delves, aim to carry at least 10 units of oil. Four or five is enough for a short poke; it isn’t enough to reach the far POIs, do a fight, then find your way out safely.
Gloworm Larvae and why they matter
Gloworm Larvae are the main rare material for upgrading your Lantern and Field Laboratory.
- They spawn only inside the Weald.
- They’re more likely to appear when you move with the Lantern partially lit or extinguished.
- Each pickup typically yields between one and three larvae.
This setup forces a risk tradeoff. If you keep the Lantern blazing, you stabilize sanity and fights but see fewer larvae. If you move in darker conditions, you’ll farm larvae faster but bank more ambushes and sanity loss.

Key POIs in Rigel County
Rigel is dense with locations, but only a subset is structurally important. These are the landmarks worth orienting around:
| Location | Role |
|---|---|
| Hosberg | Regional capital, trade hub, Lantern crafting via Hedheida, contracts, and several story beats. |
| Alor Town | Early investigation hub; the town smith is central to the origin of the curse. |
| Munden Town | Additional markets, contracts, and side quests that tie into the region’s politics. |
| Rigel Castle | Seat of the local count and late‑game political resolutions. |
| Rigel Prison | Questline about vanished prisoners and the “Eigor” figure; good for coin and narrative context. |
| Rigel Tomb | End‑tier dungeon with multi‑stage fire puzzles and a legendary Thaumaturge weapon. |
Secondary POIs like Edelweiss Inn, the Witch’s Hut, Abandoned Mine, Trackers’ Camp, Sommer’s Refuge, Frozen Glade, and Rigel Stables mostly exist to feed the main mechanics: contracts, remedies, food, Arena access, and the region’s bigger side chains.
How the Weald actually plays
The Weald is Rigel’s core idea: a sanity‑draining, low‑information forest where your usual overworld habits will get you wiped.
Movement and sanity
Inside the Weald, the UI strips away your compass, precise position, and calendar. A new mental health gauge appears for the whole troop. Every step, event, and combat interaction can nudge that gauge up or down.
- High sanity lets you keep pushing deeper between camps.
- At zero sanity, the forest forcibly ejects you, often with injuries or other penalties.
Soothing food and specific camp items can restore sanity, but you only get to use them when you stop to rest. Plan your route so you can retreat to safety before the gauge bottoms out.
Hostile encounters
Most of what hunts you in the Weald are Lycanthropes. They often appear as red silhouettes that shadow your movement before committing to a fight. You can avoid many battles by kiting them around trees and staying near the lighter parts of your Lantern radius.
When you do have to fight, treat it like a war of attrition more than a loot fest. Rigel pays you back over multiple runs; individual Weald battles are rarely the primary reward.
Practical navigation tips
- Use a complete map if you can. Wandering blind chews through Lantern Oil and sanity for very little gain.
- Carry 10+ Lantern Oil before serious delves. That covers you for detours, puzzles, and a fight or two without panic‑running back.
- Bring Partial Lycanthrope Remedy. You can buy the recipe inside the Weald. Keeping 4–5 doses on hand prevents an unlucky bite from permanently flipping one of your core companions before you’re ready to play with transformations.
- Accept that some runs are for farming. Dedicate a few expeditions purely to Gloworm Larvae, grafts, and Weald‑only plants rather than trying to progress every time.

Field Laboratory and research
The Field Laboratory is a new camp workstation and the backbone of long‑term power scaling in Rigel.
What the Field Laboratory does
Once built, the lab lets you spend Lycanthrope grafts and Weald materials on Scientific Research. Research projects usually grant one of three things:
- Permanent troop‑wide perks (for example, better sanity gains or combat bonuses).
- Improvements to the Lantern (larger light radius, improved efficiency).
- Recipes and mutation tools tied to Lycanthropes.
Every research action consumes one Rest. That restriction is important; upgrading between Weald trips is powerful, but it also advances time, ticks wages and food, and may shift world‑state timers.
Research pacing
The most effective rhythm is usually:
Step 1: Run a short Weald expedition focused on collecting grafts and key plants rather than chasing deep POIs.
Step 2: Return to camp, complete one or two Field Laboratory projects, then rest. Spend that same Rest to cook sanity food and do normal camp upkeep.
Step 3: Repeat with slightly deeper forays as your Lantern upgrades make the forest less hostile.
Because research projects and mutations are expensive, completing them all is a medium‑ to long‑term goal, not something you rush in a single stretch.

Lycanthropes: recruiting, training, and curing
Lycanthropes are more than simple enemies in Rigel. They’re a full transformation system you can opt into or cure away.
Capturing Lycanthropes
- Standard Lycanthropes can be captured with Rope, like other beasts.
- Hypertrophied Lycanthropes (the larger, more monstrous variants) require Chains instead.
Captured Lycanthropes function as transformation‑based units. They typically hit much harder and move more freely while transformed, but come with limited windows of uptime and unusual gear interactions.
Training and mutations
Through the Field Laboratory you unlock injections and mutations that:
- Extend transformation duration.
- Improve survivability (extra guard, resistances, or healing hooks).
- Add or upgrade transformation‑only skills.
Because every mutation consumes rare Weald materials, it’s worth deciding early whether you want Lycanthropes as a core archetype or just a side experiment. A fully built werewolf can delete enemies, but it is a real investment.
Curing lycanthropy
Lycanthropy is not a one‑way door. With the right research completed, you can cure infected companions or captured Lycanthropes. Doing so permanently removes their transformation options and unique skills but returns them to standard class behavior.
That choice matters most when an important named companion gets infected by accident. If you don’t want your tank randomly howling in the middle of a prison fight, curing them is a reasonable path.

Thaumaturge: making the new class work
The Thaumaturge is unlocked with the DLC and quickly becomes one of the most flexible tools in Rigel. Instead of traditional melee or ranged attacks, Thaumaturges juggle “inhalation” and “purge” effects from their censer and flasks.
Recruitment and gear
- You can start a new campaign that includes a Thaumaturge from the beginning.
- You can convert an existing companion into the class once the DLC content is active.
- You can also recruit Thaumaturges from faction encounters in Rigel.
Class‑exclusive legendary equipment drops from Afrid’s Arena in the Weald and the Rigel Tomb. These items dramatically increase the value of certain builds, particularly the more support‑heavy ones.
Recommended Thaumaturge build (Coordinator core)
The most broadly useful path leans on the Coordinator specialization, then stacks healing and buff synergies:
| Level | Pick | Why it matters |
|---|---|---|
| 2 | Valorous Support | Generates Valor when ending turns next to allies, which is exactly where a backline support stands. |
| 3 | Healer | Turns the class into a serious multi‑target healer with buffs layered on top. |
| 5 | Passive Fumigation | Applies censer inhalation to nearby allies passively, amplifying healing and, with the right gear, damage reduction. |
| 8 | Doping Smoke | Stacks bonuses to damage, crit chance, and movement speed as inhalation cycles, turning surrounding allies into temporary monsters. |
| 10 | Advanced Medicine | Pushes healing output even higher; with good inhalation management, two procs can carry an ally from 1 HP back to full. |
| 12 | Blowback | Explodes offensive inhalation stacks for massive burst damage, up to triple base damage at max stacks, repeated multiple times. |
For stats and professions, aim for Crit Chance and Dexterity. Professions like Tinkerer or Alchemist feed those numbers, and they also sync thematically with the role.
Thaumaturges are heavily gear‑dependent. Items like Perseverance and Belit’s Censer from Rigel’s arenas and tombs unlock most of the build’s potential, so expect the class to feel “fine” early and “absurd” once that gear falls into place.

How to finish the Pony quest
The Rigel stable quest is straightforward but easy to half‑finish if you don’t know where to look.
Step 1: Speak to the child at Rigel Stables. They explain that three ponies bolted during an attack and ask you to bring them back.
Step 2: Track down each pony on the overworld:
- One is north of the Woodcutters’ Camp.
- One is south of the Frozen Lake.
- The last wanders in the band of land between Sommer’s Refuge, Tules Rock, and the Brotherhood Training Grounds.
Step 3: Lead each pony back to the stables. The quest resolves once all three have been returned and folds into the wider narrative about refugees and the county’s future.
Rigel Tomb’s fire puzzle (Ludern tomb link)
The final notable spike in the DLC is the Rigel Tomb, often discussed alongside the older Ludern tomb because of its similar fire puzzles.
Early chambers are conventional: stone pillars give you written clues, you light or extinguish braziers accordingly, and doors open. The last chamber, however, uses murals on the wall. Each mural depicts fireplaces, some of which are highlighted in yellow.
- Only the yellow fireplaces in the mural should be lit in the room.
- For the six‑fireplace configuration, the correct pattern is 10‑01‑10 when read as two‑digit groups from left to right, where “1” means lit and “0” means unlit.
Once you match the mural’s pattern, the final chamber opens, and you can claim the legendary Thaumaturge weapon and other end‑tier loot.
Handled as a sprint, the Curse of Rigel expansion can feel punishing and opaque. Treated like a slow, investigative campaign—with deliberate Weald runs, regular Field Laboratory sessions, and a clear plan for Lycanthropes and Thaumaturges—it becomes one of Wartales’ most interesting regions. Go in prepared for sanity management, transformation tradeoffs, and a heavier story, and Rigel will feel less like a brick wall and more like a strange, self‑contained war story stitched onto your band’s larger tale.

