
Lyle's side quest in Code Vein 2 sends you hunting for a black market blood dealer and then collecting five ancient masks scattered across the game's major regions. The quest unlocks after completing both Timeline Shift Decision: Lyle and Slaying the Hero Lyle, and all objectives must be finished during the 2187/2197: Free Exploration Era timeline.
Quick answer: Speak to Lyle in MagMell's medical wing, defeat the Blood Bag Dealer at Miner's Abandoned Village, then hunt down five Mask Avatars (Gula, Acedia, Ira, Luxuria, Invidia) with Lyle as your partner before returning to Pioneer Castle's Command Room.
Find Lyle in MagMell
Travel to the 2187: Free Exploration Era and head to MagMell. Lyle waits in the medical wing, which you can reach by going through the door between the stairs behind Valentin and turning right. Walk down the hallway until you reach the medical area, then speak with Lyle and select "Catch Up" to begin the quest chain.
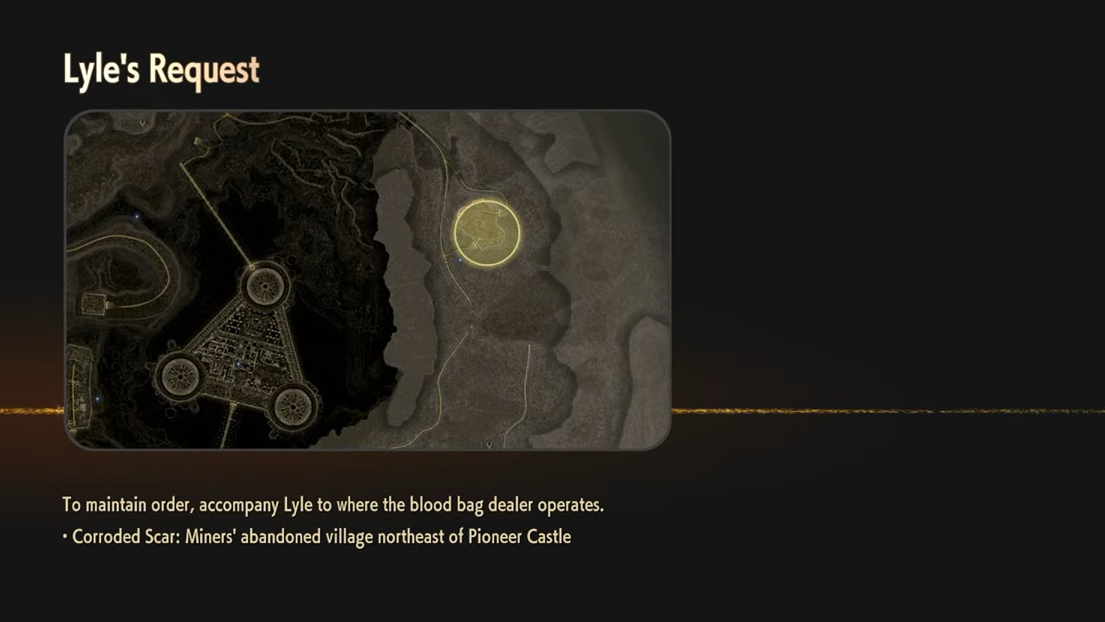
Lyle's Request 1: Defeat the Blood Bag Dealer
Lyle asks you to accompany him to shut down an illegal blood bag operation. Travel to the Miner's Abandoned Village, located northeast of Pioneer Castle in the Corroded Scar region. Activate the mistle at the village, then step through the boss barrier directly behind it.
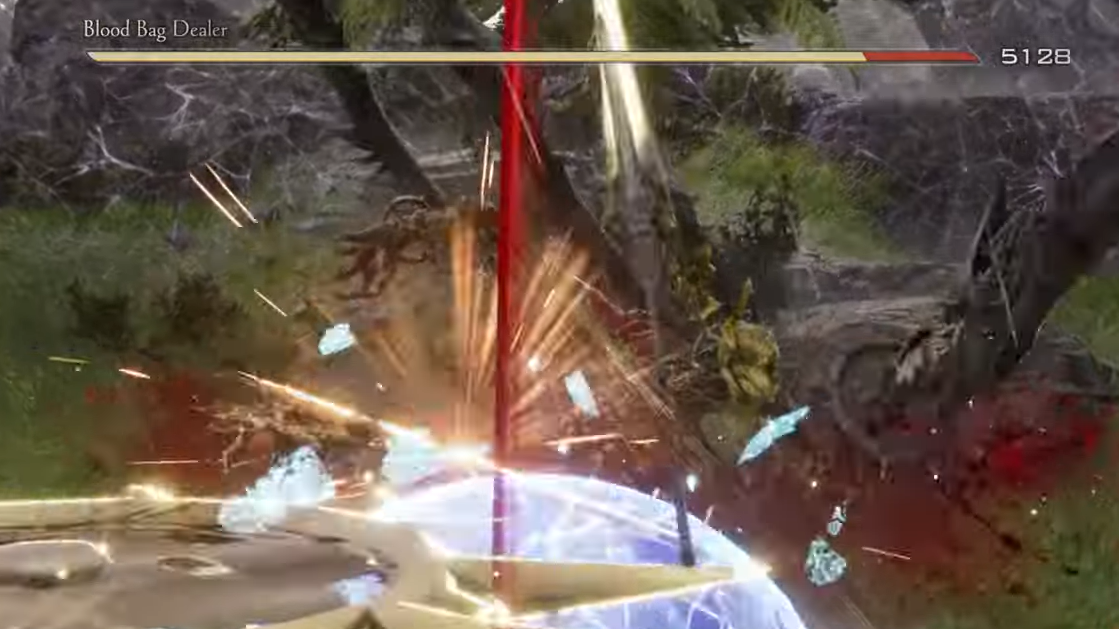
The Blood Bag Dealer fight is straightforward compared to later encounters. After defeating him, Lyle rewards you with a Chorus Stamina Tonic. Return to MagMell and speak with Lyle again to unlock the second phase of requests.
Lyle's Request 2: Collect the five bloodline masks
Lyle needs masks from the five cardinal houses to research long-term blood storage. Each mask drops from a specific Mask Avatar boss, and you must have Lyle set as your active partner for these fights. The order you tackle them doesn't matter, but all five must be collected before the quest can conclude.
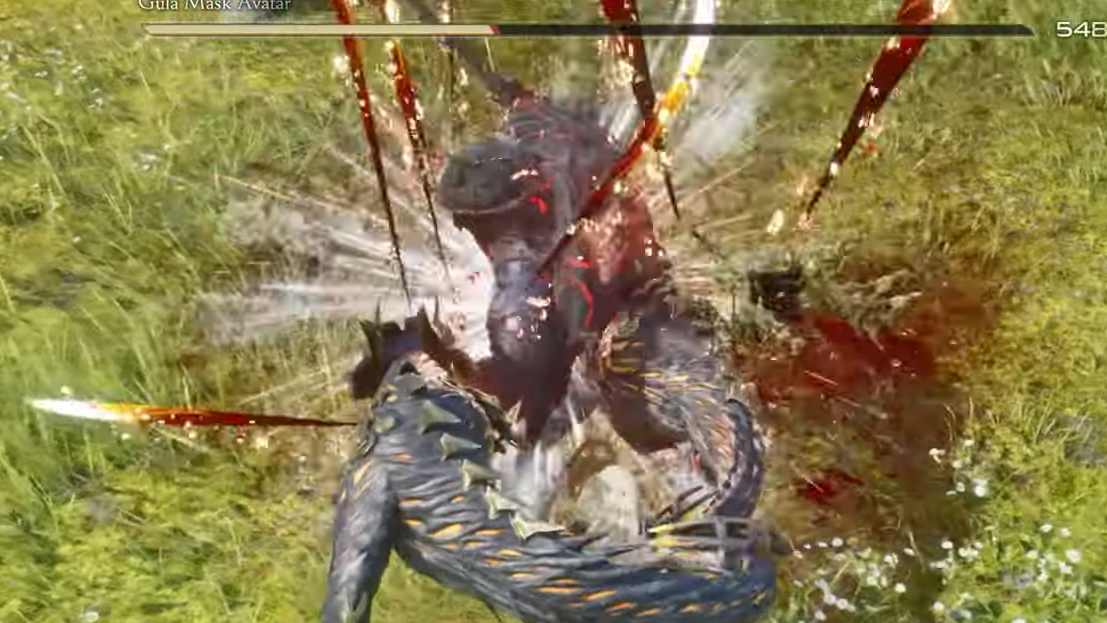
Mask of Gula location (Sunken City)
Fast travel to the West Coast Pier mistle in the Sunken City. Head east along the road, following the cliff near the Western Gatehouse Ruins until you reach a plateau on the northern side. The Gula Mask Avatar waits at the top behind a boss wall. Defeat it to receive the Gula Bloodline Mask.
Mask of Acedia location (Sunken City)
From the same West Coast Pier mistle, head east and take the first left turn past Jadwiga's Minion. Enter the boss wall to face the Acedia Mask Avatar. This enemy explodes upon death, so back away quickly after landing the killing blow. Victory grants the Acedia Bloodline Mask.
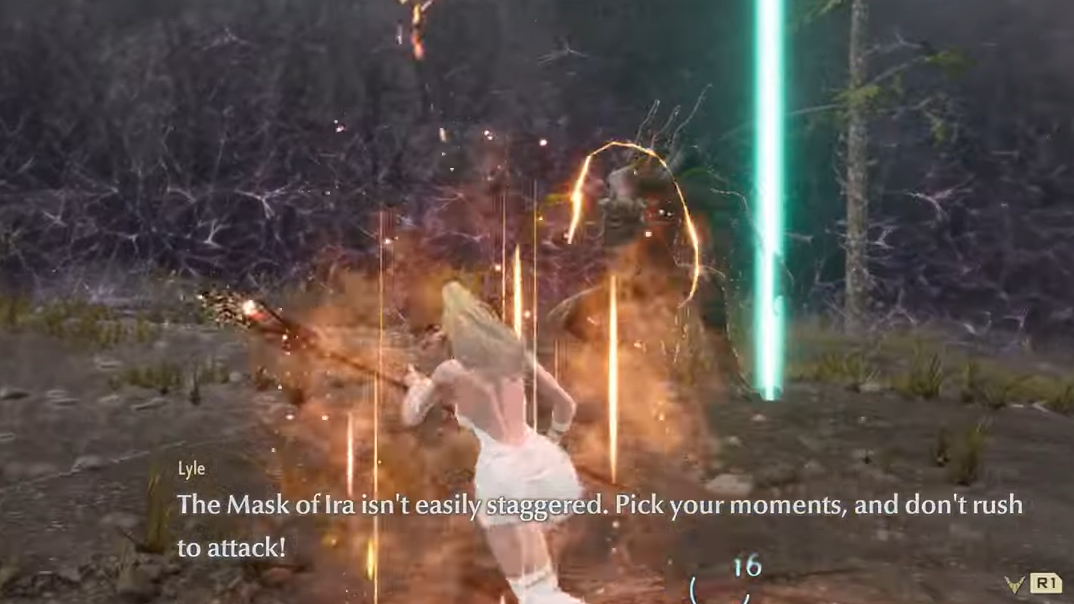
Mask of Ira location (Corroded Scar)
The Ira Mask Avatar requires a longer trek. Travel to Forward Base Two and take the South Bridge Elevator down. At the bottom, turn right and navigate through the Crystal Grotto until you reach the Plateau Base Camp. From there, head north toward the Corroded Mine area. Alternatively, travel directly to the Corroded Mine mistle if you've already unlocked it, then follow the broken pathways up toward the Resurrection Monument. Circle around the hill on the left to find the boss wall. Defeating the Ira Mask Avatar yields the Ira Bloodline Mask.
Mask of Luxuria location (Undead Forest)
Travel to the Abandoned Farm mistle in the Undead Forest. Enter the farm area and look for the boss wall leading to a corn field. The Luxuria Mask Avatar lurks inside. This fight is relatively contained, making it one of the easier mask encounters. Claim the Luxuria Bloodline Mask after the battle.
Mask of Invidia location (Sealed Grounds)
Head to the Checkpoint Ruins mistle on the eastern side of the Sunken City. Follow the road west, then take the first right and continue all the way to the Sealing Spire entrance. The Invidia Mask Avatar guards the area outside and presents the trickiest fight of the five. This enemy inflicts poison and attacks with a bayonet, so bring antidotes or poison-resistant gear. Defeating it completes your mask collection with the Invidia Bloodline Mask.

Return to Pioneer Castle with Lyle
With all five masks in your inventory, travel to the In Front of Command Room mistle at Pioneer Castle. Make sure Lyle remains your active partner. Enter the Command Room to trigger a cutscene that concludes the quest.
Completing Requests from a Friend: Lyle rewards you with the Bloodletting Counter and Lyle's Special Tonic. These items provide useful combat bonuses for the challenges ahead, and finishing Lyle's quest line also contributes toward partner affinity milestones if you're pursuing relationship-based trophies or story outcomes.
Combat tips for Mask Avatar fights
Each Mask Avatar has distinct attack patterns worth noting. The Gula and Luxuria variants fight fairly conventionally, making them good warm-ups. Acedia's death explosion catches many players off guard, so create distance the moment its health bar empties. Ira moves aggressively and benefits from stagger-focused strategies. Invidia's poison buildup demands either resistance gear or a stockpile of curative items.
Lyle provides solid support during these encounters, but his AI occasionally struggles with positioning against faster enemies. If you're having trouble, consider using ranged attacks or Magic Formae to maintain a safe distance while Lyle draws aggro.

Finishing Lyle's requests opens up additional content with Craig, whose own quest line becomes available after completing both Timeline Shift Decision: Lyle and Timeline Shift Decision: Holly. The rewards from Lyle's quest also help prepare you for the more demanding boss encounters in the late game, making this side content worth prioritizing during your Free Exploration Era playthrough.