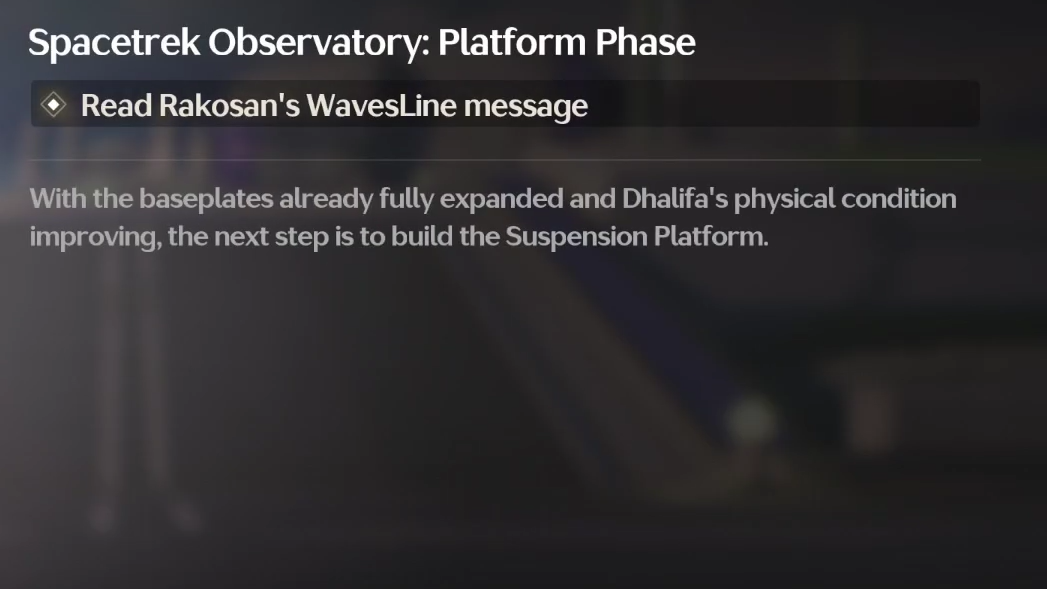
Spacetrek Observatory Platform Phase is an Exploration quest in Wuthering Waves set inside the Spacetrek Observatory in Lahai-Roi. It continues the Lahai-Roi Reconstruction Project storyline, sends you around the observatory to repair damaged equipment, and finishes with a confrontation that unlocks rewards including Astrites and a Tidal Supply Chest.
How to unlock Spacetrek Observatory Platform Phase
Step 1: Complete the Foundation Phase of the Lahai-Roi Reconstruction Project. Platform Phase only becomes available after the Foundation Phase segment is finished.
Step 2: Travel to the Spacetrek Observatory in Lahai-Roi once Foundation Phase is done. Use the nearby waypoint if you already have it unlocked to reduce travel time.
Step 3: Talk to Rakosan at the Spacetrek Observatory. Speaking with Rakosan starts the Spacetrek Observatory Platform Phase quest and triggers your first interaction with Talkie for this mission.
Follow Talkie and use Projector: Geospider S4
Step 1: After the dialogue with Rakosan ends, follow Talkie as it leads you toward the damaged area inside the observatory. Stay close so you do not miss its turns around structures or platforms.

Step 2: Approach the golden wall-like structure near the first damage point. This structure acts as the scanning target for your utility skill.
Step 3: Equip and use Projector: Geospider S4 to scan the golden surface. Trigger the scan while facing the wall to register the damage correctly.
Step 4: Defeat the Zip Zaps that appear after the scan completes. These enemies spawn as a direct result of the scan, so be ready to swap characters and respond quickly.
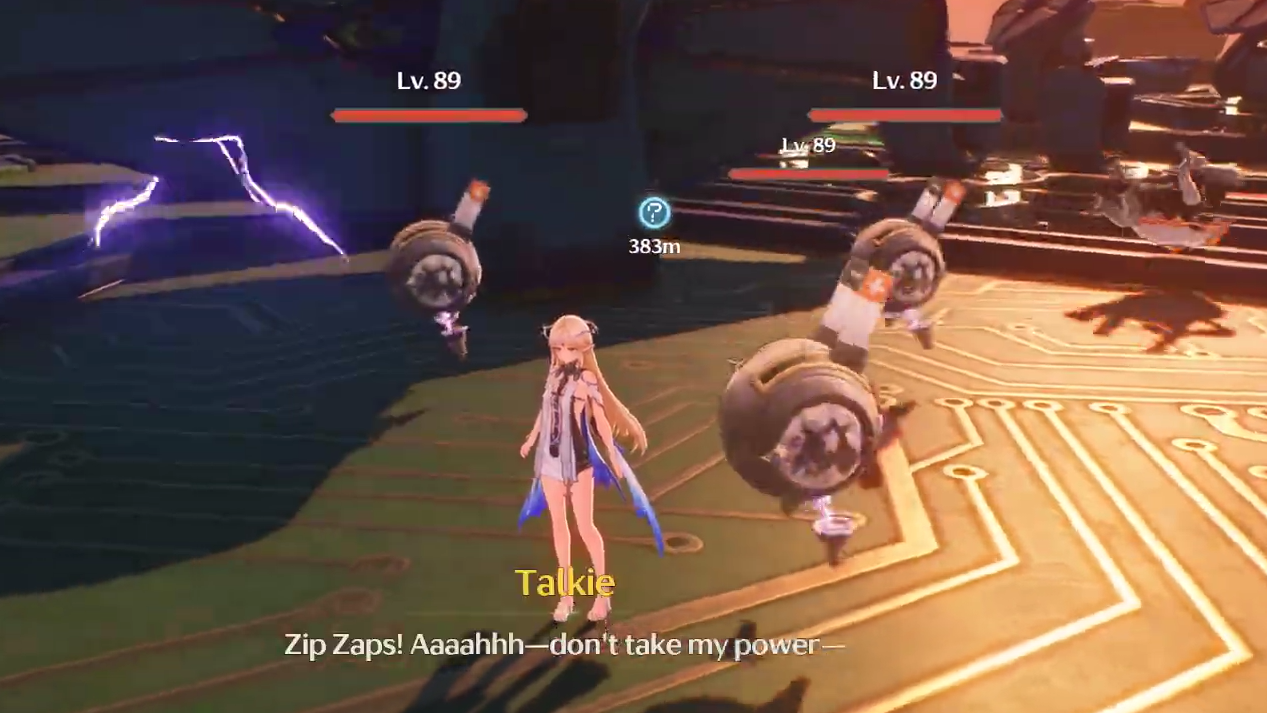
Step 5: Interact with the glowing spot on the ground directly beneath the locator once the Zip Zaps are cleared. This interaction confirms the damage inspection and allows Talkie to move on.
Step 6: Follow Talkie again as it heads to the second damage point. Keep the quest navigation active to avoid losing track of the route through the observatory platforms.

Check the area around the second locator
Step 1: When you reach the second locator with Talkie, interact with Talkie first to check on its status. This keeps the quest steps in sequence.
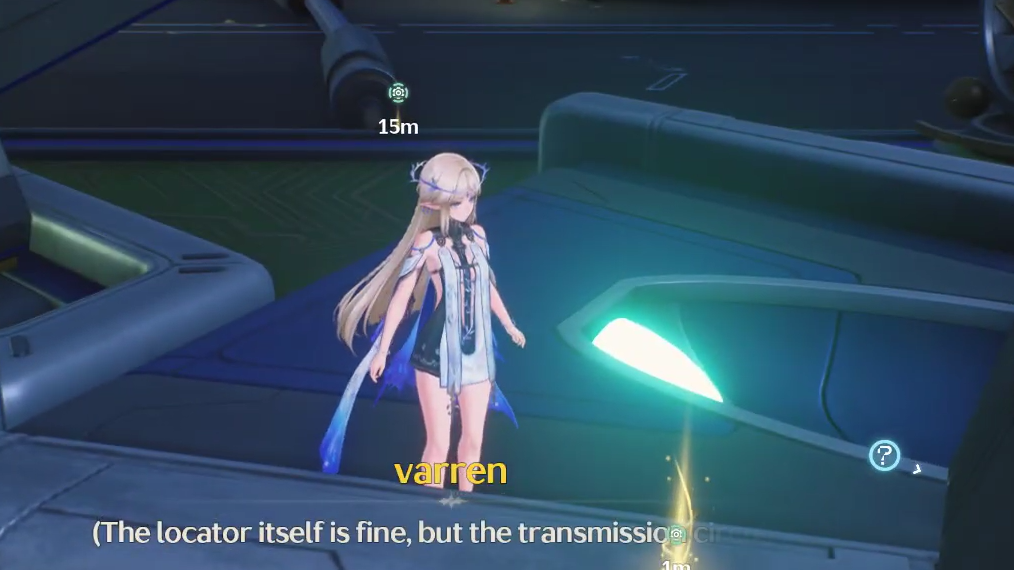
Step 2: Inspect the locator unit and its wiring nearby. Look for interaction prompts around the locator housing so the game registers that you have examined the equipment.
Follow the current and use Projector Zip Zap to repair the circuit
Step 1: After inspecting the wiring, switch to your Sensor utility. Activate it near the locator to reveal the cable route and the broken section along the line.
Step 2: Follow the indicated current path from the locator to the point where the cable is cut. Use the quest marker as your reference while tracing the route through the environment.
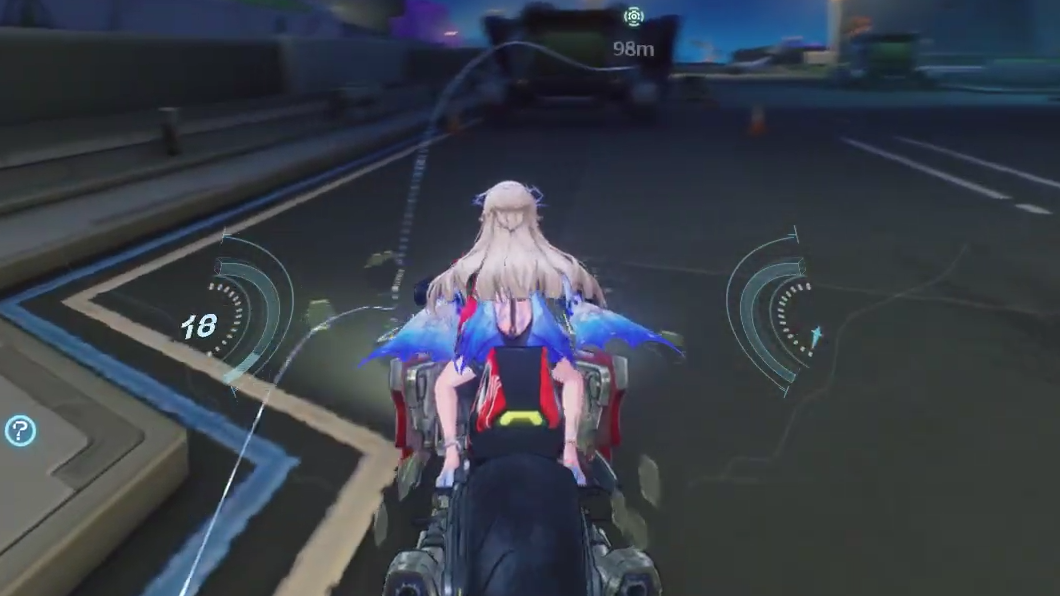
Step 3: Equip Projector Zip Zap once you reach the cut cable. Position yourself near the break so the repair area falls within the projector’s range.
Step 4: Use Projector Zip Zap to repair the damaged section of the circuit. Once the interaction completes, the current resumes along the cable, and the objective for this segment updates.
Repair the third locator and trace the culprit with Sensor
Step 1: Move to the location of the third locator after restoring the previous circuit. Use the quest navigation to reach the correct platform area in the observatory.

Step 2: Activate the Sensor utility again near the third locator’s cable. This reveals the flow of power and highlights any anomalies linked to the sabotage.
Step 3: Follow the Sensor’s indications to trace the origin of the interference. The path it outlines leads toward the individuals disrupting the locator network.
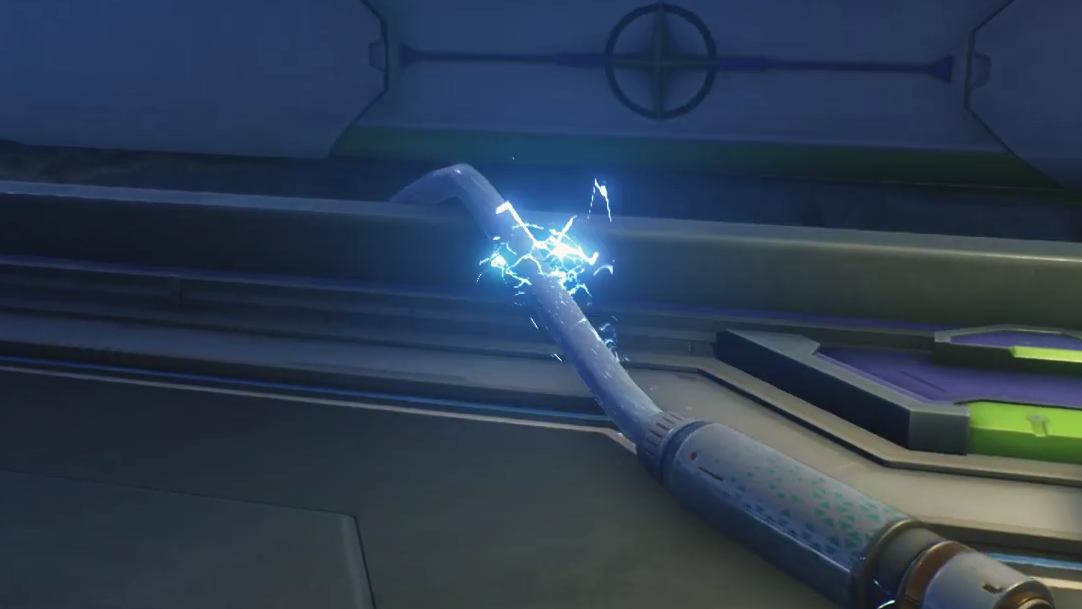
Restore power to the third locator and defeat the Outcasts
Step 1: Continue to the third locator’s designated position where Outcasts are causing disturbances. Approach the area until the enemies spawn and the combat objective appears.
Step 2: Defeat all Outcasts around the locator. Focus on crowd control and survivability, as clearing every enemy is required before repairs can proceed.
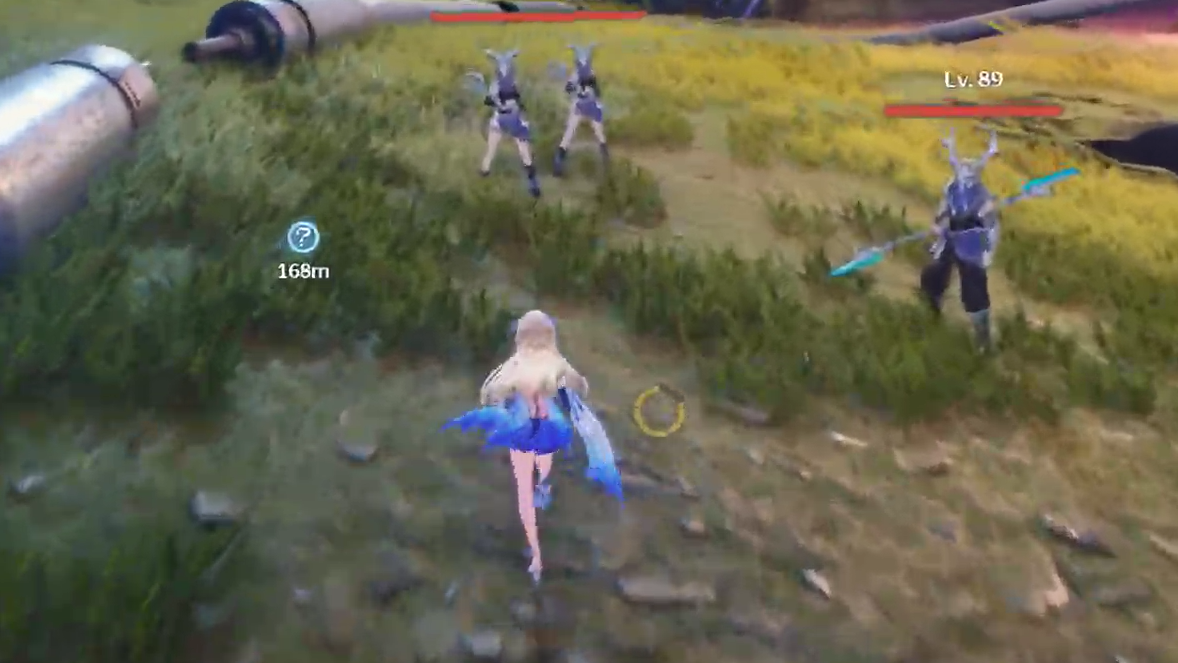
Step 3: After the area is secure, use Projector Zip Zap at the damaged cable or circuit node linked to the third locator. Ensure you stand close enough for the projector to interact with the repair point.
Step 4: Confirm that power has been restored to the locator. When the repair completes, a chest appears as a reward for stabilizing the third point in the network.
Investigate the anomaly and finish the Spacetrek Observatory Platform Phase
Step 1: Follow the updated quest navigation from the repaired third locator to the site of the remaining anomaly. The route leads you to another group of Outcasts.
Step 2: Engage and defeat the new wave of Outcasts at the anomaly. Treat this as another full encounter; you must eliminate all opponents to progress.

Step 3: After the battle, approach and confront Sephira about the series of incidents at the observatory. Start the conversation to move into the final story section of this mission.
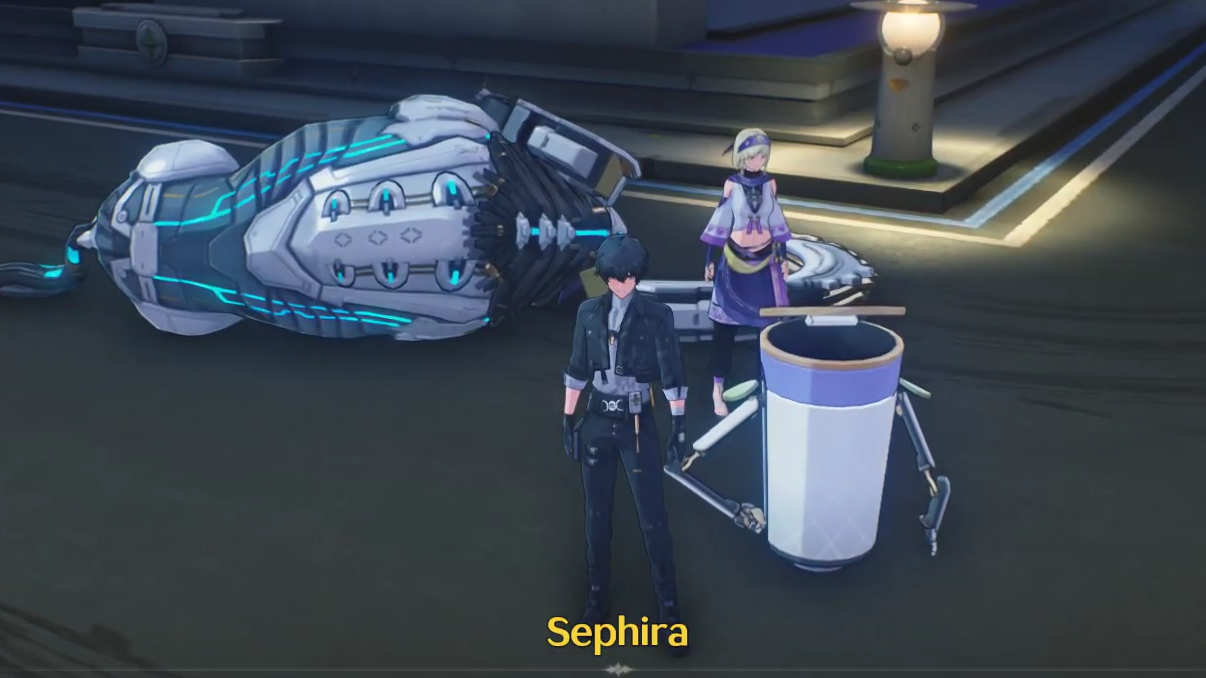
Step 4: Watch the long cutscene that follows the confrontation. Once the cutscene ends, the Spacetrek Observatory Platform Phase quest is marked as complete.
Step 5: Claim your rewards, which include 20 Astrites, a Tidal Supply Chest, and additional level-up materials tied to the Lahai-Roi Reconstruction Project progression.
Clearing the Platform Phase stabilizes the Spacetrek Observatory and advances the Lahai-Roi Reconstruction Project arc, while also delivering a compact set of Astrites and materials for your account progression. With the Foundation Phase already done and Talkie’s path now resolved, the observatory segment of Lahai-Roi becomes a straightforward part of your broader Wuthering Waves exploration loop.

