
Accidental key presses, stuck keys, or malfunctioning buttons can disrupt workflow and cause unintended actions in Windows 11. Disabling a specific keyboard key—whether it’s Num Lock, F1, or another troublesome key—can streamline your experience and prevent repeated issues. Windows 11 offers several approaches for disabling individual keys, each with its own advantages and limitations.
Disable a Specific Key Using Microsoft PowerToys
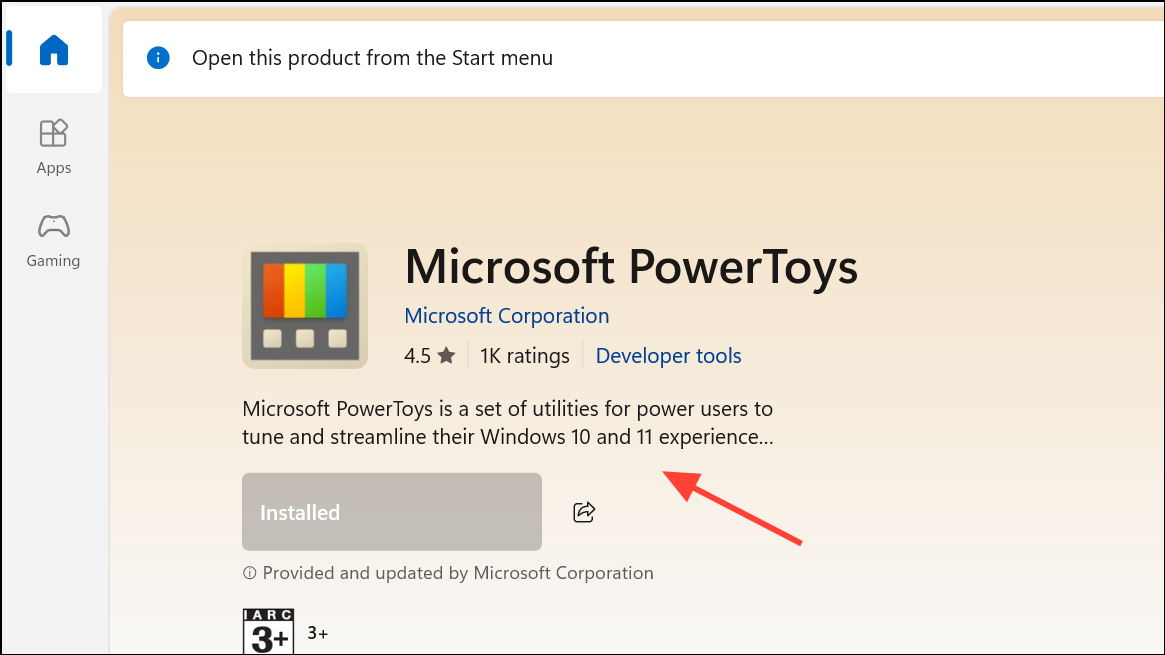
Step 1: Install Microsoft PowerToys from the Microsoft Store if it’s not already on your system. Open the Microsoft Store app, search for Microsoft PowerToys, and select Install. Complete the installation and approve any User Account Control prompts.
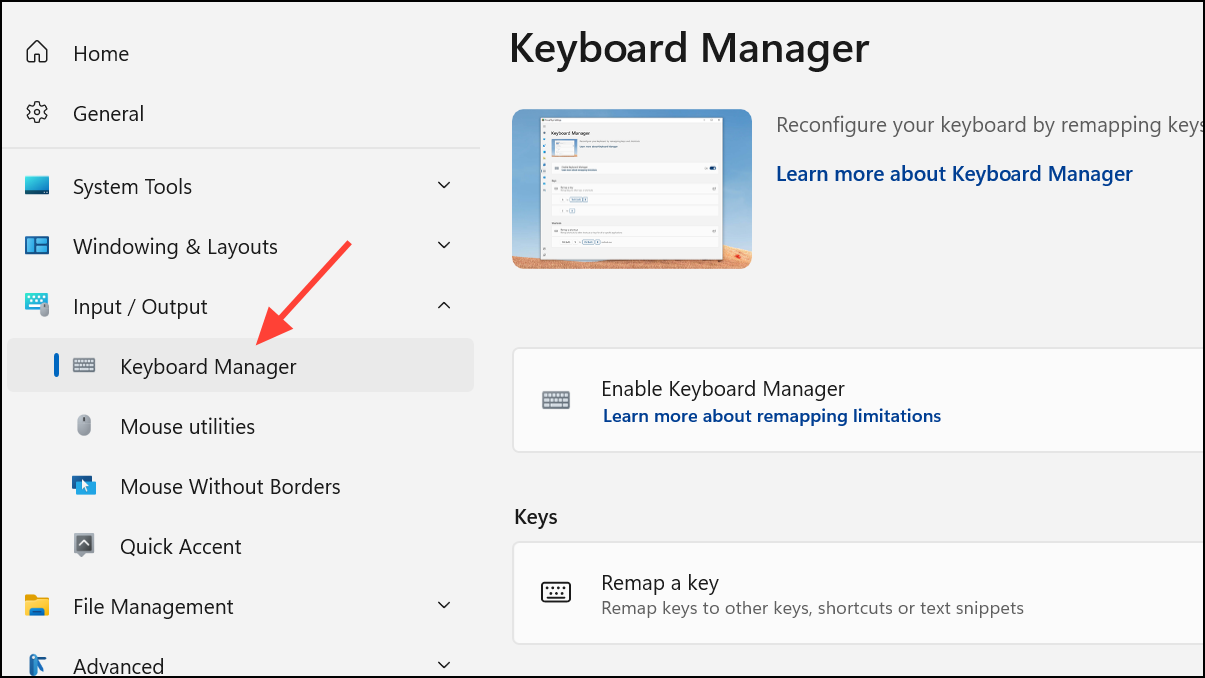
Step 2: Open PowerToys by typing PowerToys in the Windows Search bar. In the left sidebar, select Keyboard Manager and click Open Settings in the main pane.
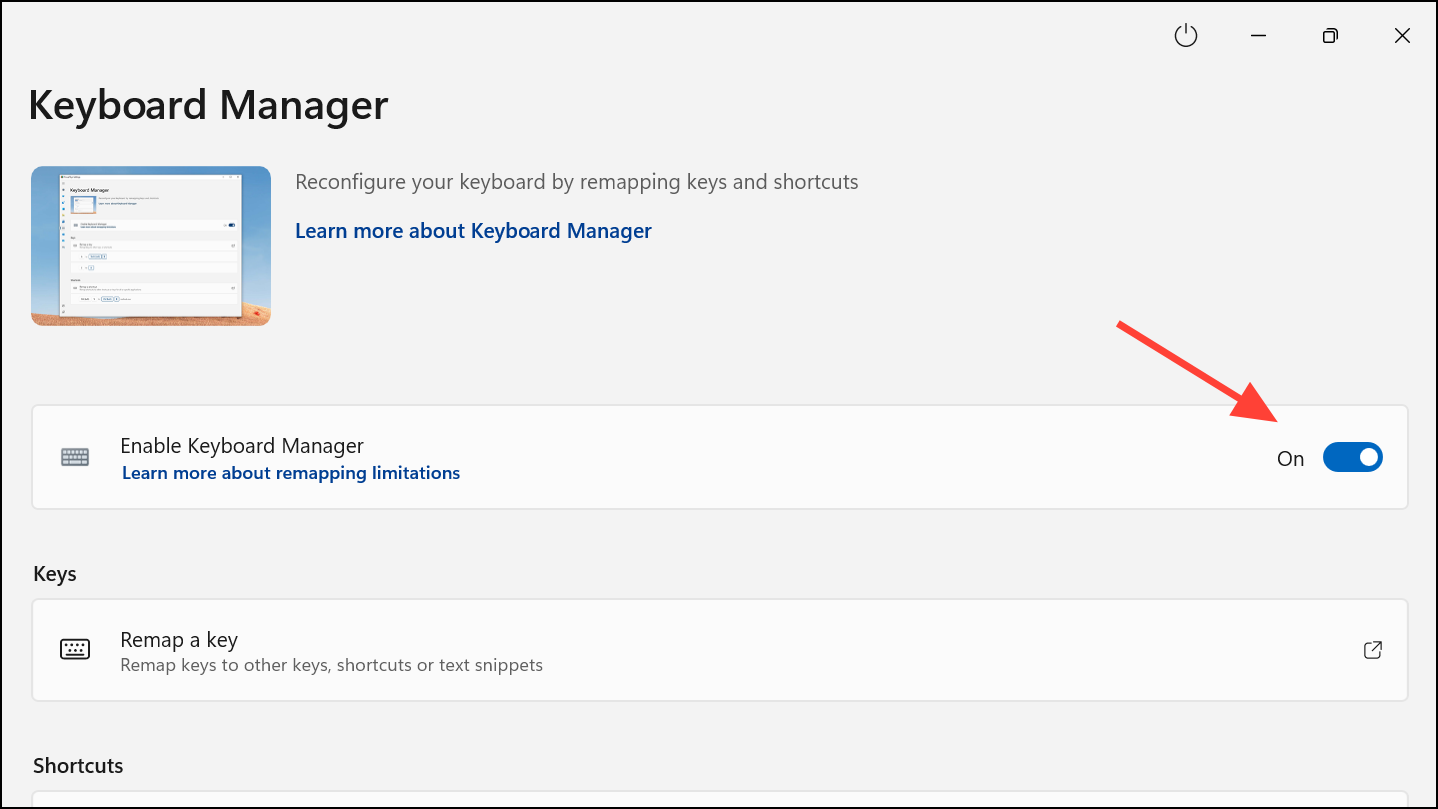
Step 3: Enable the Keyboard Manager toggle if it’s currently off. This allows remapping or disabling keys and shortcuts on your keyboard.
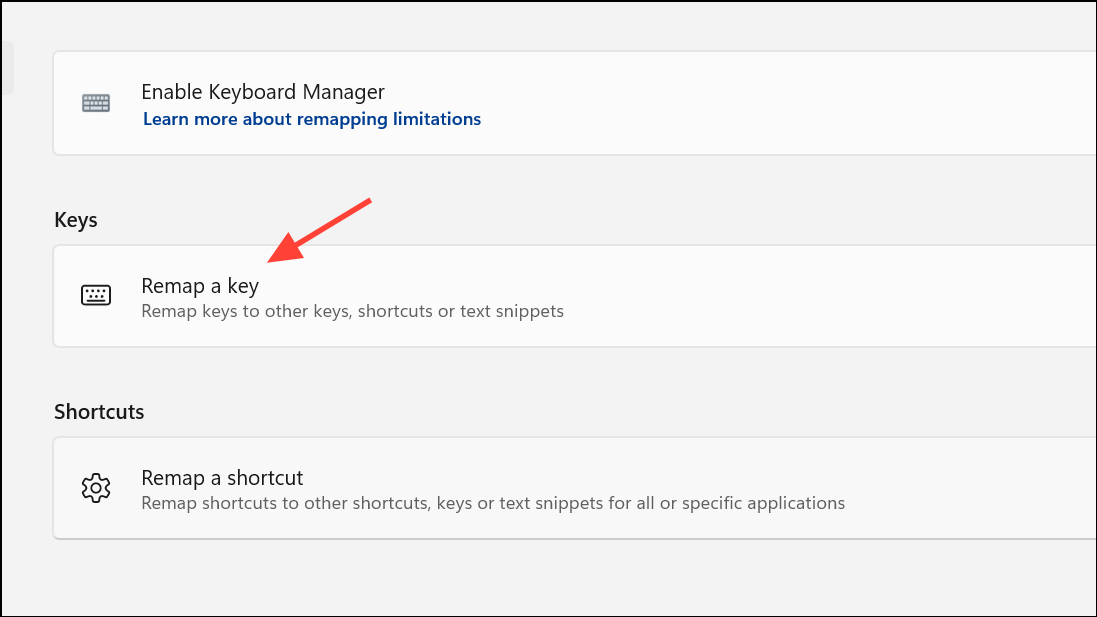
Step 4: Click Remap a Key.
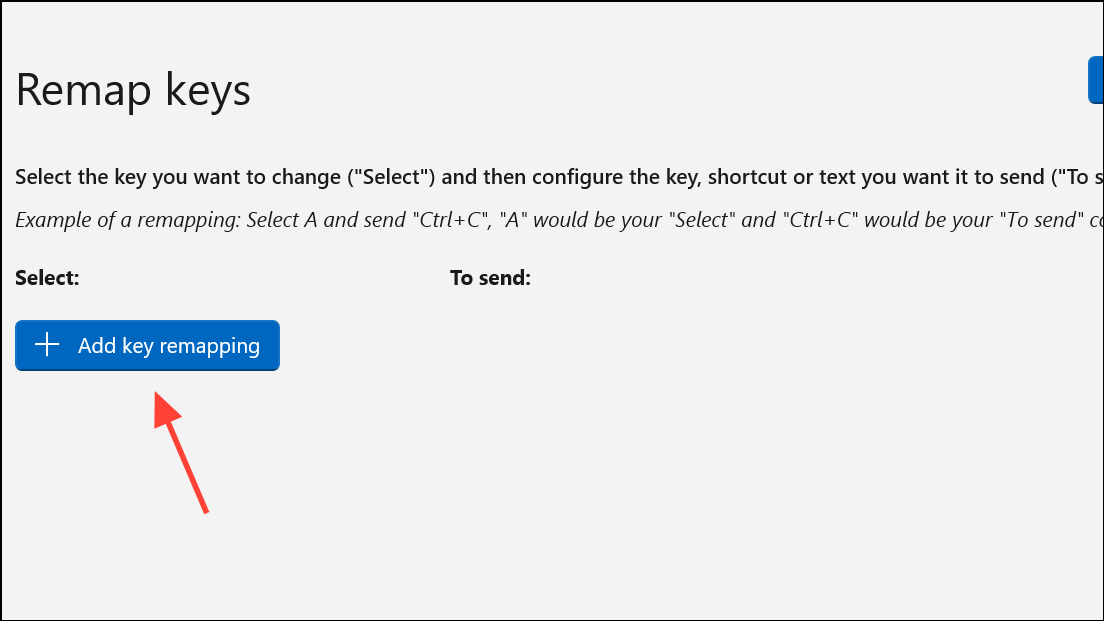
Step 5: In the remapping window, select Add Key Remapping.
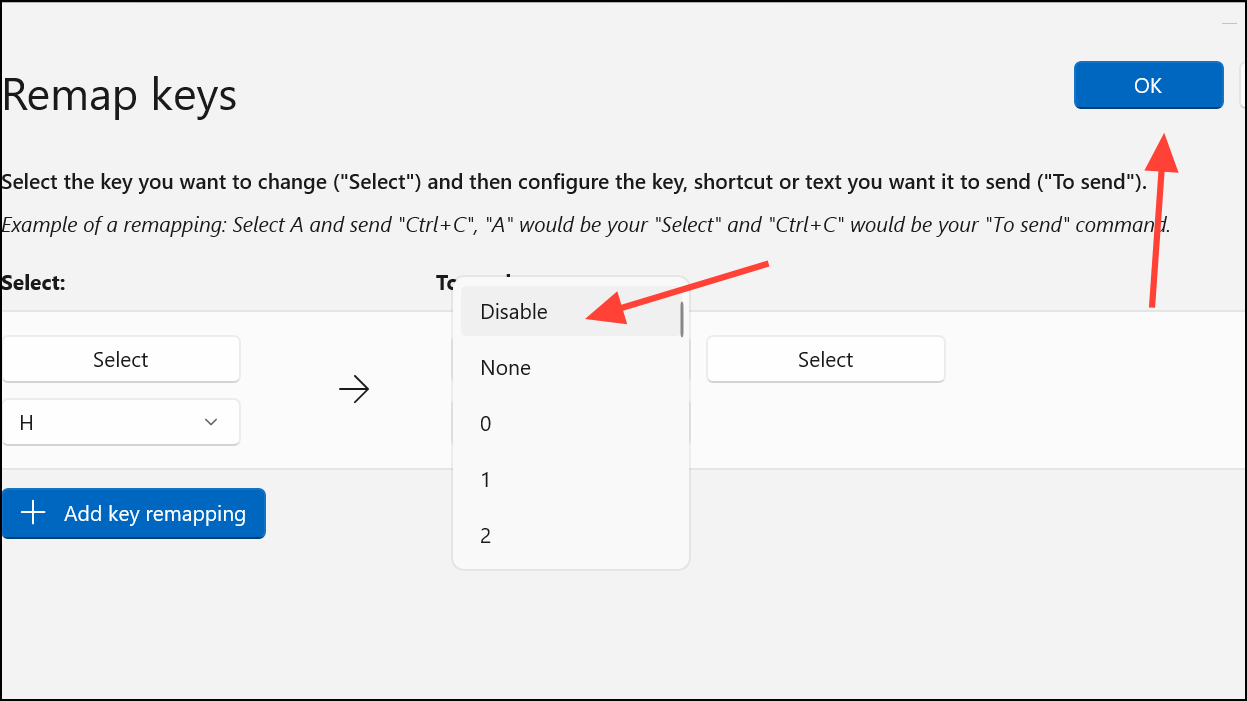
Step 6: Choose the key you want to disable from the Select dropdown, then set To Send to Disable. Click OK to apply your changes. If a warning appears, confirm by selecting Continue Anyway.
This method disables the selected key across all connected keyboards. If you need to re-enable the key, revisit the Keyboard Manager, delete the remapping using the recycle bin icon, and confirm with OK.
Disable a Key Using the Windows Registry
For those who prefer not to use third-party tools, Windows allows key remapping via the registry. This method is more technical and requires caution, as incorrect changes can affect system stability.
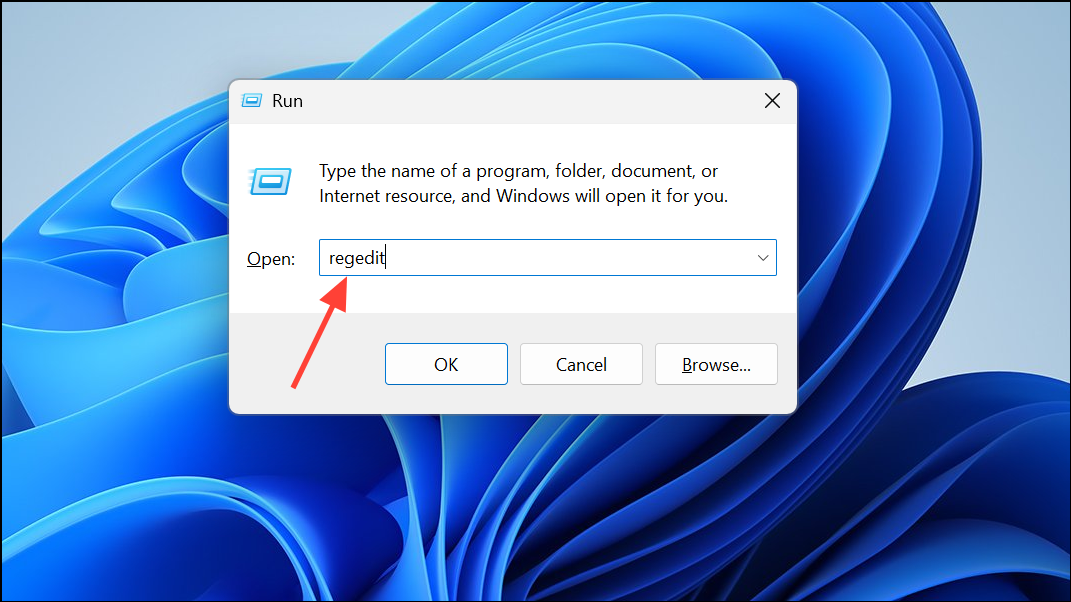
Step 1: Press Win + R, type regedit, and press Enter to open the Registry Editor. Approve any security prompts.
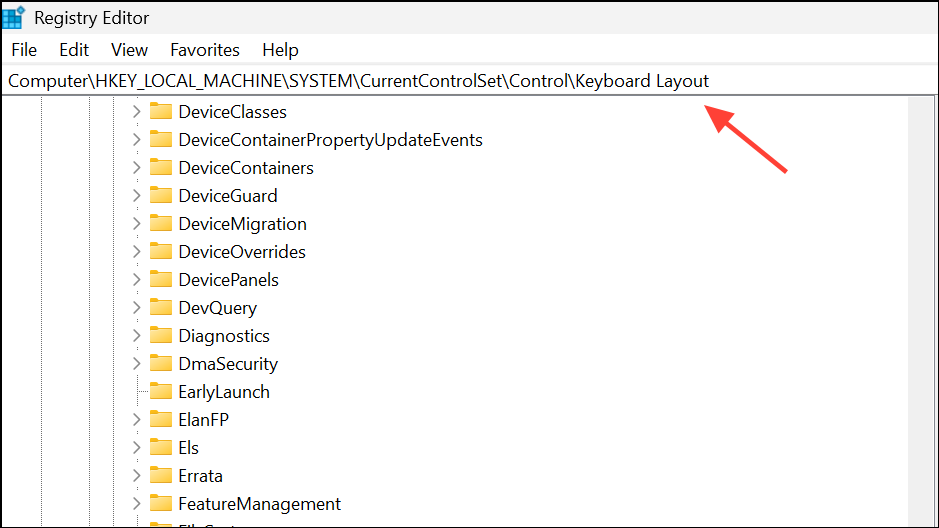
Step 2: Navigate to HKEY_LOCAL_MACHINE\SYSTEM\CurrentControlSet\Control\Keyboard Layout.
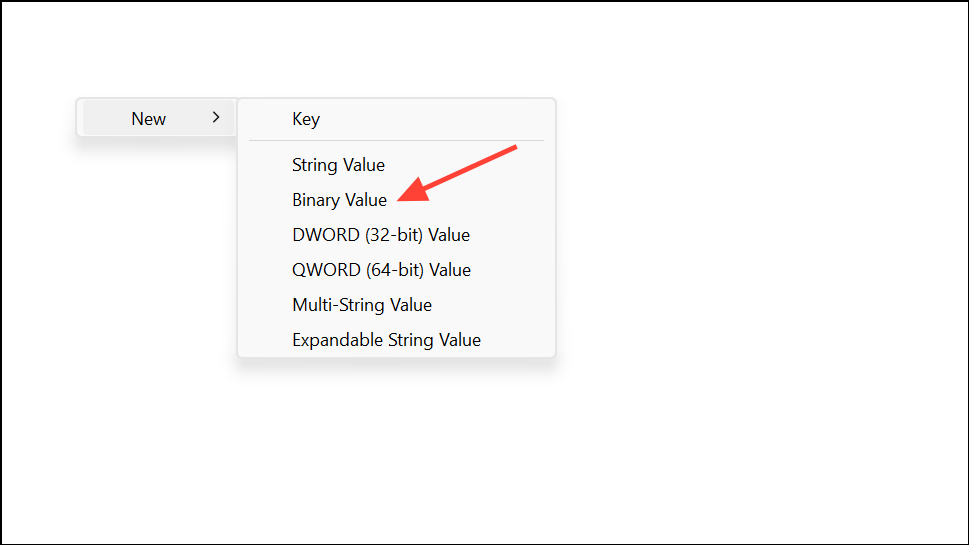
Step 3: Right-click the right pane and choose New > Binary Value. Name the new value Scancode Map.
Step 4: Double-click Scancode Map and enter the correct binary value to disable your chosen key. For example, to disable the F1 key (scan code 3B), use:
00 00 00 00 00 00 00 00 02 00 00 00 00 00 3B 00 00 00 00 00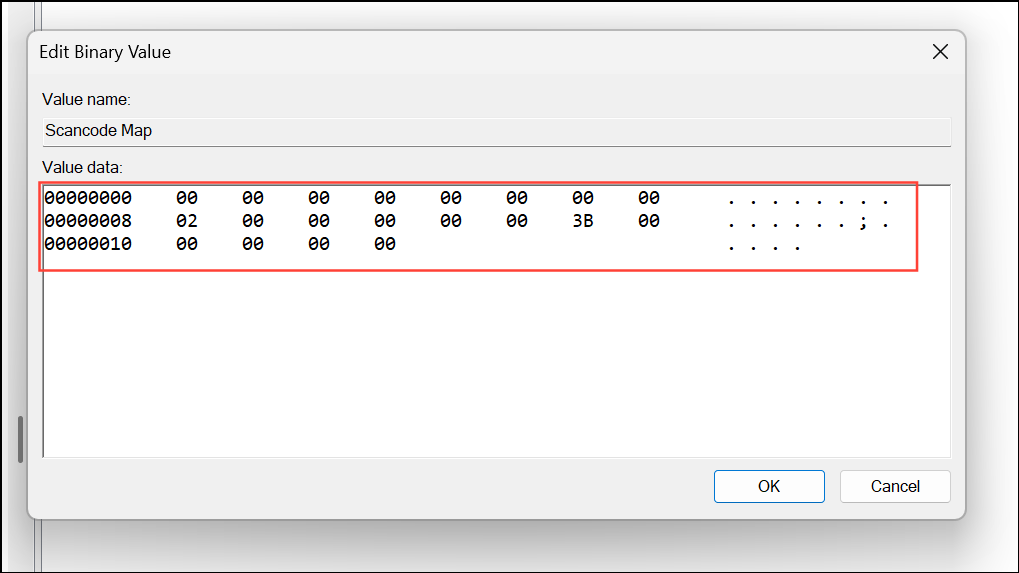
This mapping disables the F1 key entirely. Adjust the scan code for other keys as needed. After editing, restart your computer to apply the change.
Disable a Key with Third-Party Tools (KeyTweak, SharpKeys)
KeyTweak and SharpKeys are free utilities that provide an interface for remapping or disabling keys by writing the appropriate registry entries for you.
Step 1: Download and install KeyTweak or SharpKeys from a trusted source. Launch the application after installation. If possible, download from the Microsoft Store or make sure to scan the downloaded file using tools like VirusTotal.
Step 2: In the program interface, select the key you want to disable using the on-screen keyboard. Click Disable Key or map it to None.
Step 3: Click Apply to save the changes. You’ll be prompted to restart your computer for the modification to take effect.
These tools are helpful for users uncomfortable with direct registry edits. However, changes affect all keyboards connected to the system, including external ones.
Disable a Specific Key Only on the Built-In Laptop Keyboard
Disabling a key exclusively on the built-in laptop keyboard, without impacting external keyboards, is complicated. Most remapping tools and registry changes apply system-wide. However, you can disable the entire built-in keyboard using Device Manager or a batch script, then use an external keyboard for input.
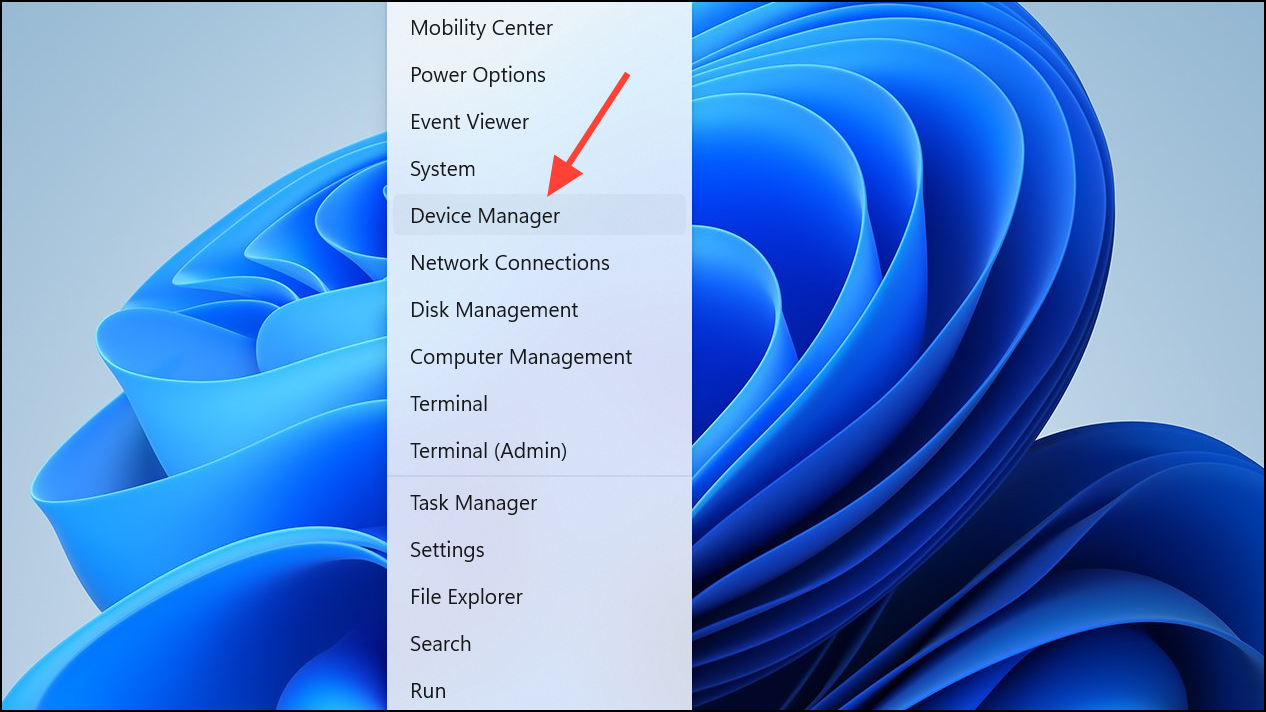
Step 1: Open Device Manager by right-clicking the Start button and selecting Device Manager.
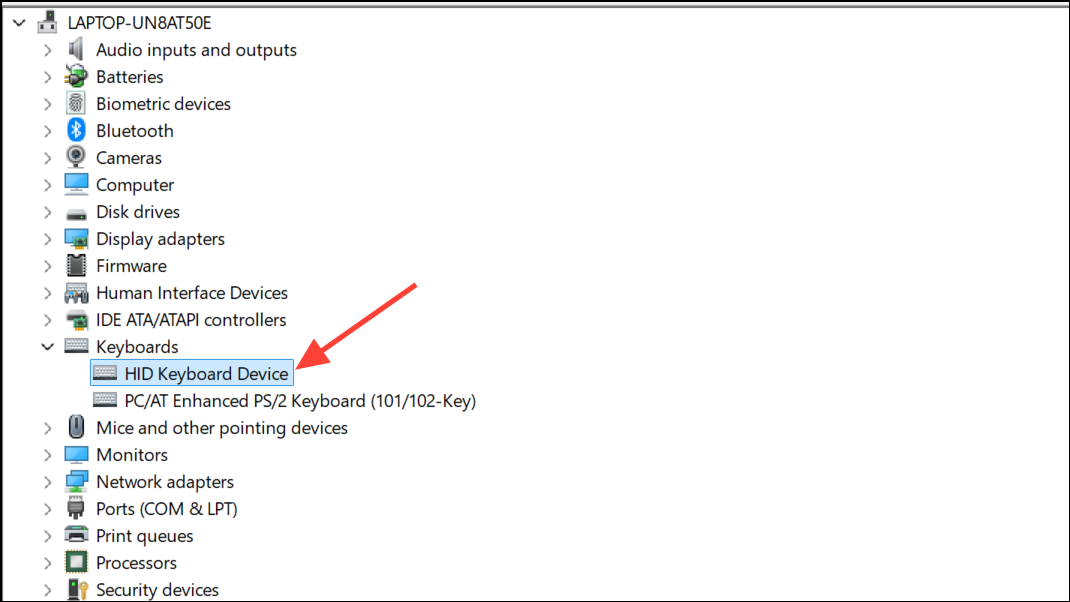
Step 2: Expand the Keyboards section. Right-click the built-in keyboard (often listed as HID Keyboard Device) and choose Disable device. If the disable option is unavailable, you can update the driver to a non-compatible one as a workaround, but this is not recommended unless you’re comfortable restoring drivers later.
Alternatively, create a batch script to toggle the keyboard on and off using the device’s instance ID. This method is especially useful for laptop users who alternate between built-in and external keyboards.
echo off
:begin
echo Select a task:
echo =============
echo -
echo 1) Disable Keyboard:
echo 2) Enable keyboard:
echo 3) Exit:
echo -
set /p op=Type option:
if "%op%"=="1" goto DisableKeyboard
if "%op%"=="2" goto EnableKeyboard
if "%op%"=="3" goto exit
echo Please Pick an option:
goto begin
:DisableKeyboard
powershell -command "(Disable-PnpDevice -InstanceId 'REPLACE_WITH_DEVICE_ID' -Confirm:$false)"
exit
:EnableKeyboard
powershell -command "(Enable-PnpDevice -InstanceId 'REPLACE_WITH_DEVICE_ID' -Confirm:$false)"
exit
:exit
@exit
Replace REPLACE_WITH_DEVICE_ID with your keyboard’s actual device ID from Device Manager. Save the script with a .bat extension and run as administrator to toggle the keyboard. This disables the entire built-in keyboard, so external keyboards remain functional.
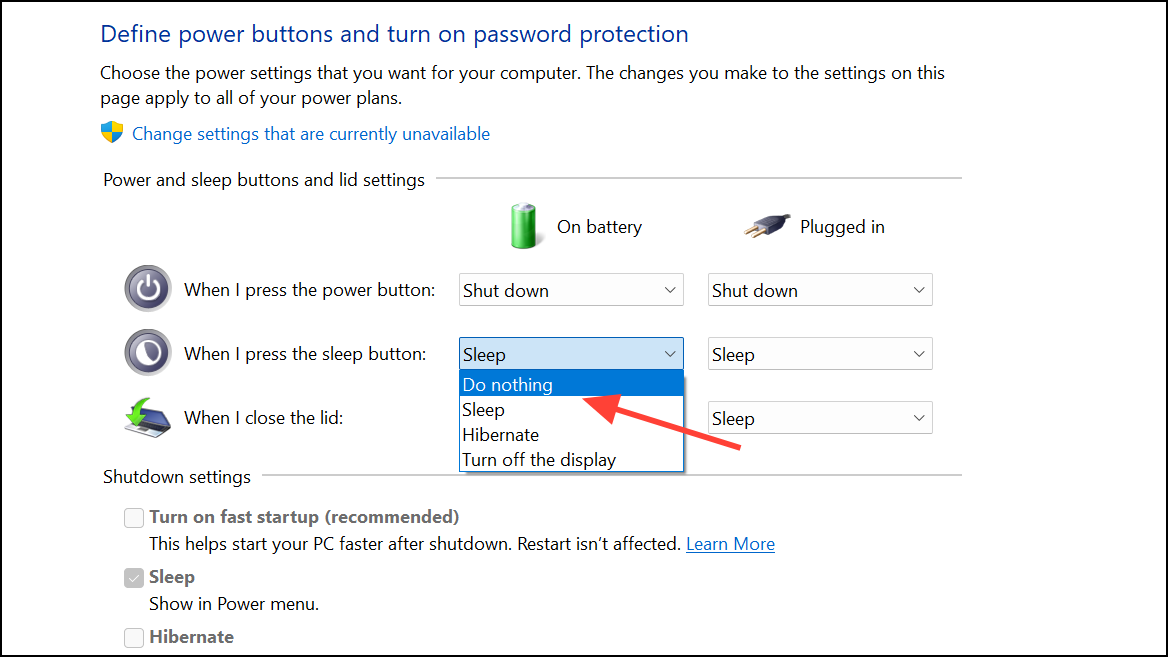
Change Sleep Button or Special Key Actions
For keys like Sleep or Power that trigger unwanted actions, Windows 11 allows you to change what happens when these keys are pressed. Open Control Panel, go to Hardware and Sound > Power Options > Choose what the power buttons do, and set the Sleep button action to Do nothing. This prevents accidental sleep or shutdown events without disabling the key entirely.
Addressing Malfunctioning or Stuck Keys
If a key is stuck or constantly sending input, first check for physical obstructions or debris. Remove the keycap, clean the area, and test the key. If the issue persists, it may be a hardware fault requiring keyboard replacement. For laptops, replacing the built-in keyboard is often the only permanent fix if cleaning does not resolve the problem.
Disabling a specific keyboard key in Windows 11 can be accomplished through PowerToys, registry edits, or third-party utilities, depending on your needs and comfort level. If you only want to disable the key on the built-in keyboard, consider using an external keyboard with the internal one disabled. Always back up your system before making significant changes, and choose the method that best fits your workflow and technical experience.