
Hyper-V, a virtualization feature in Windows 11, has the potential to cause conflicts with third-party applications, including other virtualization tools like VMWare Workstation, VirtualBox, and various emulators. This can lead to the frustrating experience of encountering the “Hyper-V detected” error when attempting to launch an application, PC games, or hardware tuning utilities.
Fortunately, there are multiple methods available to disable Hyper-V in Windows 11. You can achieve this by utilizing the classic Windows Features dialog, Registry Editor, or leveraging the capabilities of Windows Terminal. In this comprehensive article, we will outline all the ways you can effectively turn off Hyper-V on your Windows 11 computer.
Disable Hyper-V From Windows Features
The Optional Features (a.k.a “Windows Features”) tool allows you to add additional features that don’t come preinstalled in Windows 11. Similarly, it can also help you disable those advanced features.
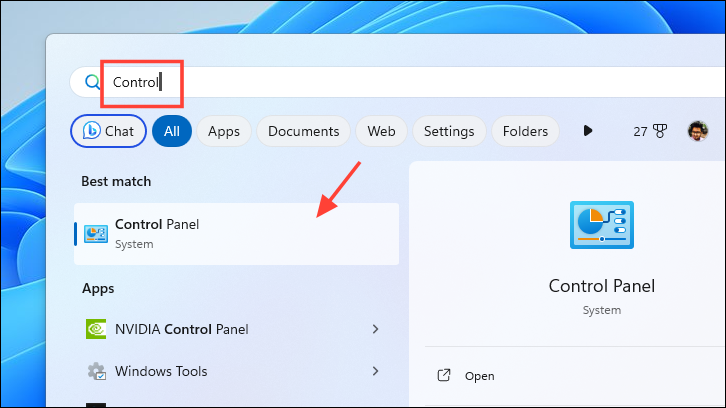
- Open the Start Menu and type ‘Control Panel’ in search box. Click on ‘Control Panel’ from the search results.
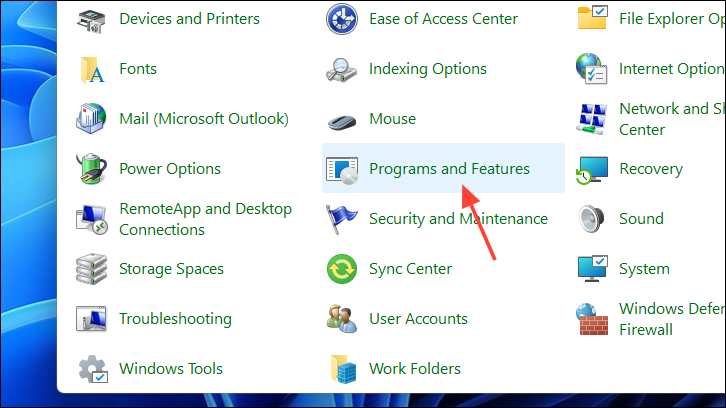
- Select the ‘Programs & features’ option on the Control Panel window.
- Click on ‘Programs & features’ from the right section of the window. If you have the ‘Category’ view of the Control Panel, select the ‘Programs’ option.
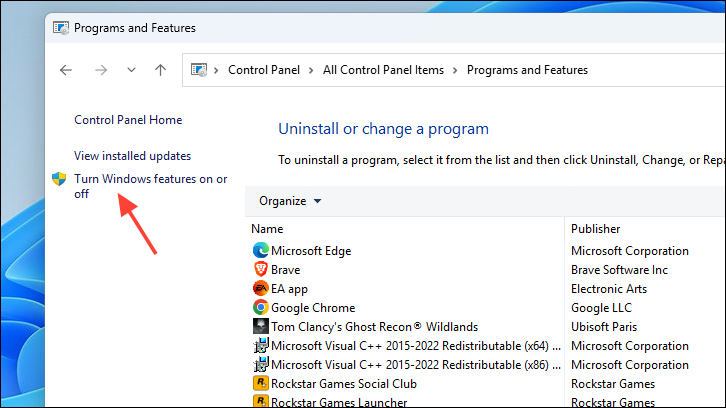
- On the subsequent screen, select ‘Turn Windows features on or off’. A new window will open on your screen.
- On the opened window, locate and uncheck the ‘Hyper-V’ option.
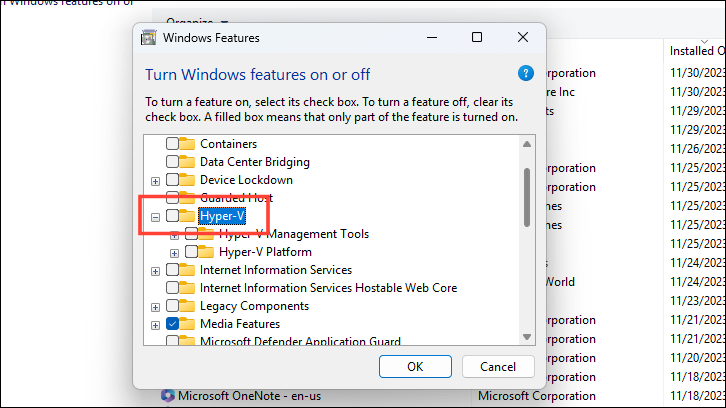
- Similarly, locate and uncheck the ‘Virtual Machine Platform’ and ‘Windows Hypervisor Platform’ and click ‘OK’ to save the changes.
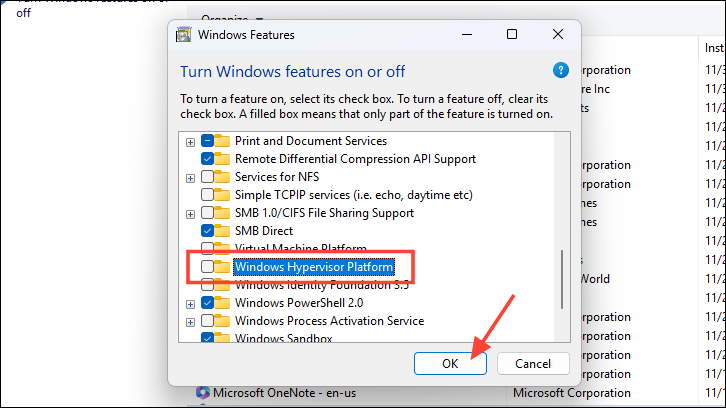
- Restart your PC from the Start Menu to apply the changes.
Uninstall Hyper-V Using Windows Terminal
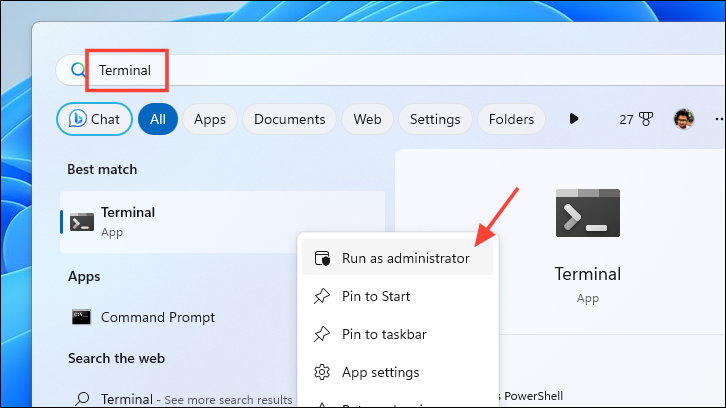
- Open the Start Menu and type ‘Terminal’. From the search results, right-click on the ‘Terminal’ option and select ‘Run as administrator’.
- A UAC (User Account Control) window will appear on your screen. Click on ‘Yes’ to proceed. If you are not logged in with an admin account, enter the credentials for one.
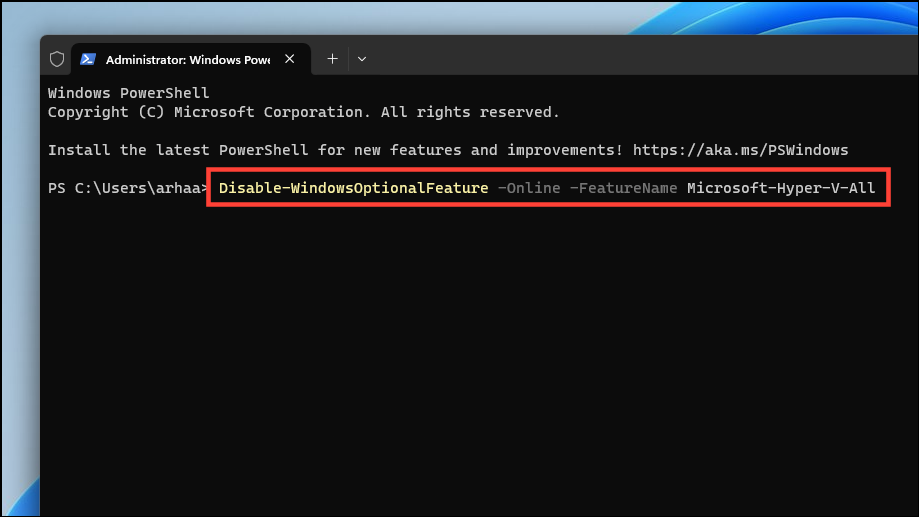
- You can perform the function with PowerShell and Command Prompt. To disable Hyper-V with PowerShell, type or copy and paste the below-mentioned command.
Disable-WindowsOptionalFeature -Online -FeatureName Microsoft-Hyper-V-All
- The process may take a few minutes to complete. Once completed, exit the Terminal and restart your PC to let the changes take effect.
Disable Hyper-V Using Command Prompt:
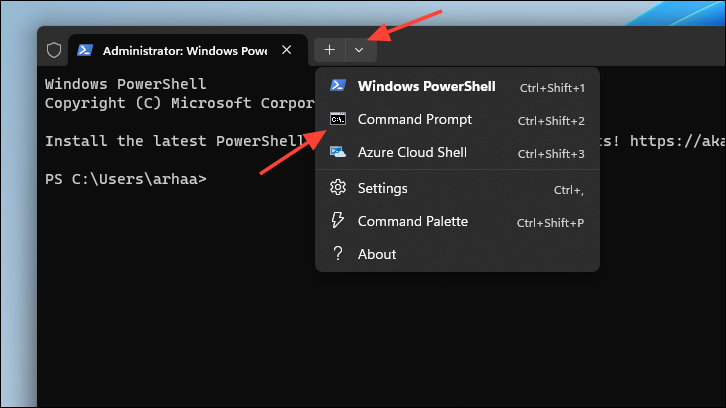
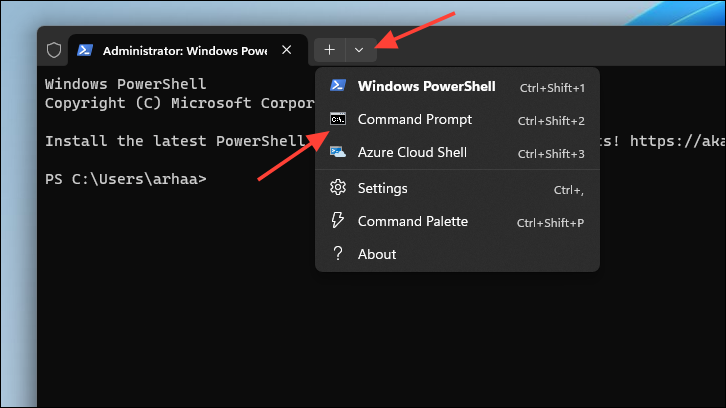
- On the Terminal window, click on the chevron (downward arrow) and select the ‘Command Prompt’ option.
- Type or copy and paste the below-mentioned command and hit
Enterto execute it.
dism /online /disable-feature /featurename:Microsoft-hyper-v-all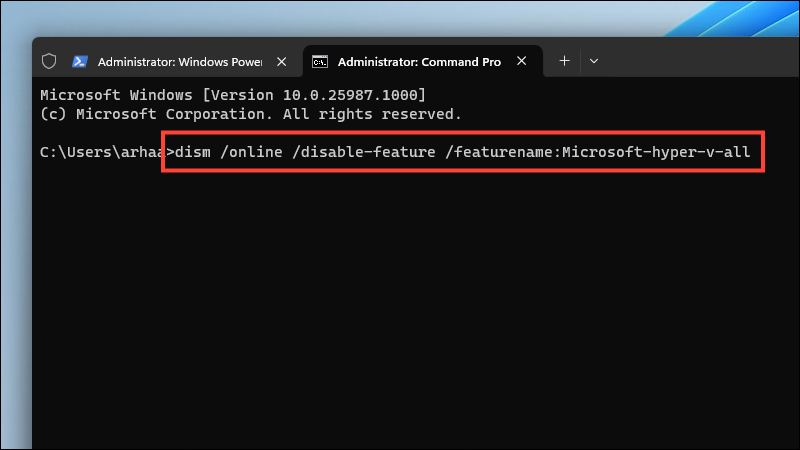
- Once executed, the Command Prompt will show a ‘completed successfully’ message.
- Exit the Windows Terminal and restart your PC to apply the changes.
Disable Hyper-V Using BCDEdit Tool
BCDEdit (Boot Configuration Data Edit) is a command-line tool that allows you to disable Hyper-V. This method can come in handy when do not wish to uninstall Hyper-V completely from your computer.
- Open the Start Menu and search for ‘Windows Terminal’. From the results, right-click on ‘Windows Terminal’ and select ‘Run as administrator’.
- On the Terminal window, click on the chevron (downward arrow) and select ‘Command Prompt’.
- Type or copy and paste the below-mentioned command and hit
Enterto execute.
bcdedit /set hypervisorlaunchtype off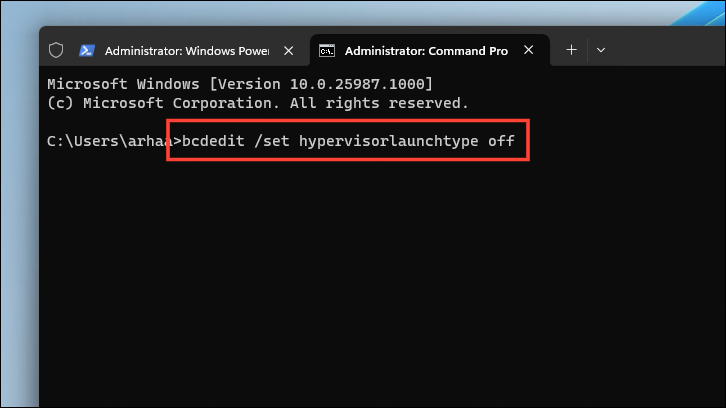
- Once Hyper-V is disabled, the Command Prompt will display the success message. Exit the Terminal and restart your PC to let the changes take effect.
- If you wish to re-enable the Hyper-V on your computer, type or copy and paste the below-mentioned command in an elevated Command Prompt window.
bcdedit /set hypervisorlaunchtype auto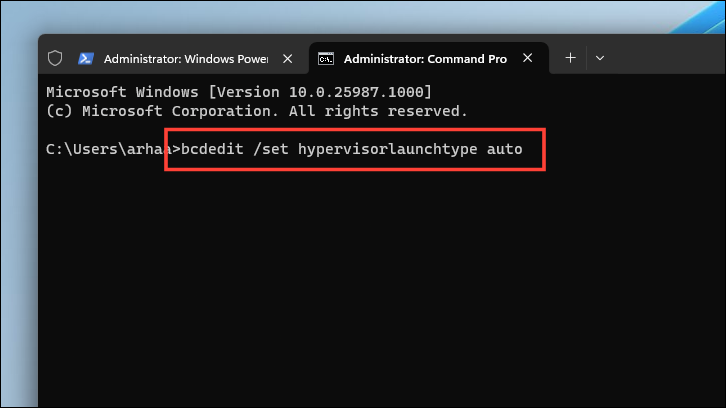
Disable Memory Integrity Using Windows Security
Many times, users encounter ‘Hyper-V’ detected issues even after uninstalling Hyper-V from their computer. To address this issue, simply disable Memory Integrity from Windows Security.
The issue typically arises when you are trying to install third-party virtualization tools. Since the ‘Memory Integrity’ feature is designed to restrict access to programs at the kernel level, when enabled, it will not grant any third-party tool access to the system’s virtualization hardware.
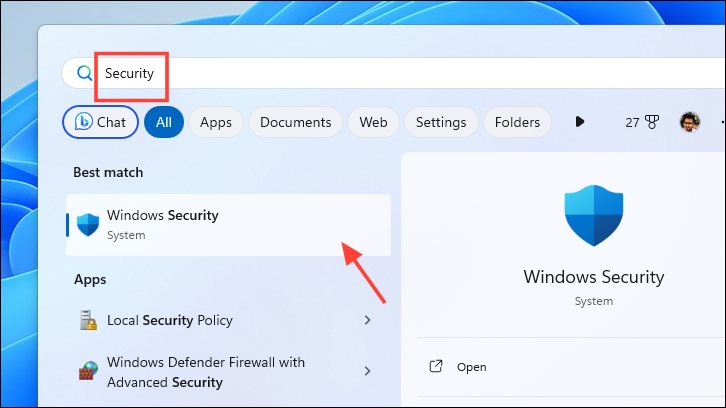
- Open the Start Menu and type ‘Security’. From the search results, click on the ‘Windows Security’ option.
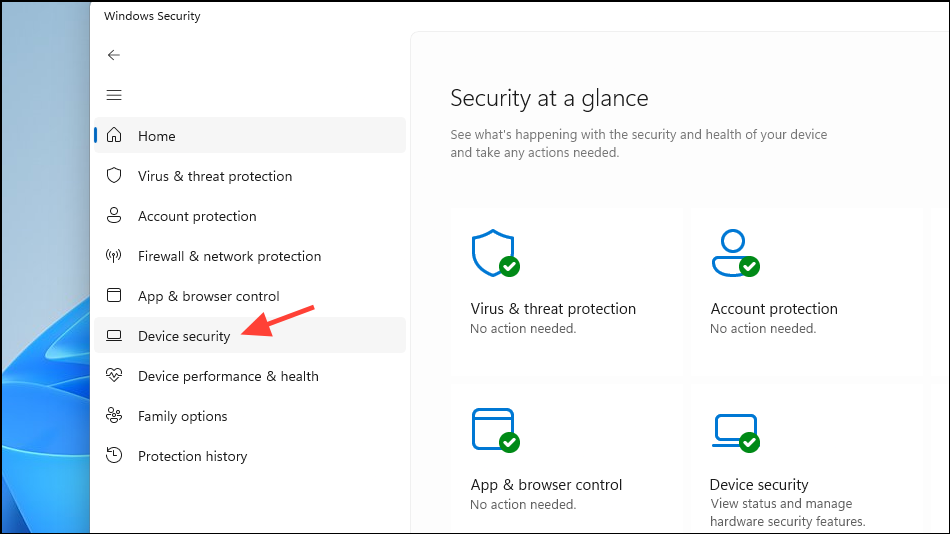
- On the Windows Security window, click on the ‘Device Security’ option from the left sidebar.
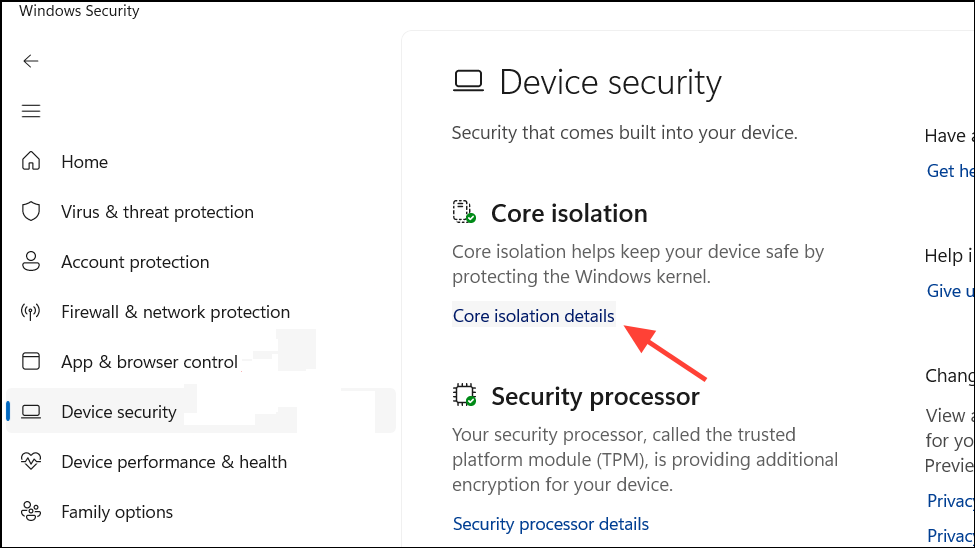
- On the subsequent screen, click on the ‘Core isolation details’ option.
- Finally, turn off the toggle for the ‘Memory Integrity’ option.
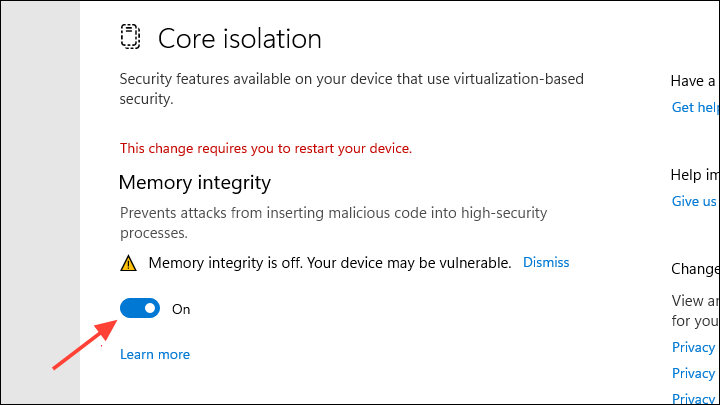
- Restart your PC to let the changes take effect. Once Memory Integrity is disabled, you should be able to install third-party virtualization tools.
Uninstall Hyper-V Virtual Adapter
Not all, but some users also encountered the alert message ‘We couldn’t complete the updates, undoing changes’, after they uninstall Hyper-V from their computer. This issue could arise due to the virtual network adapters that were not deleted during the uninstallation of Hyper-V.
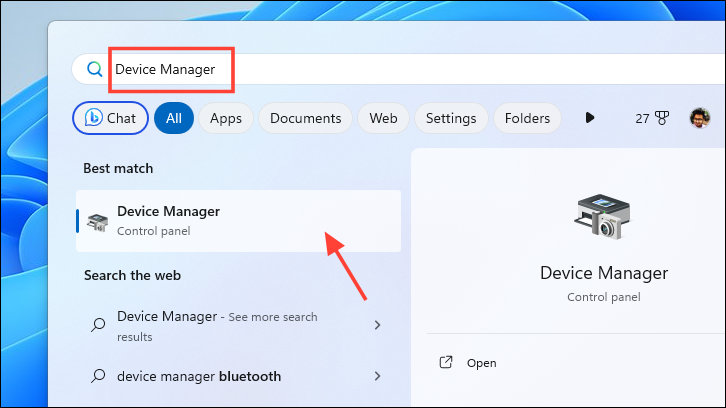
- Open the Start Menu and search for ‘Device Manager’. From the search results, click on the ‘Device Manager’ option.
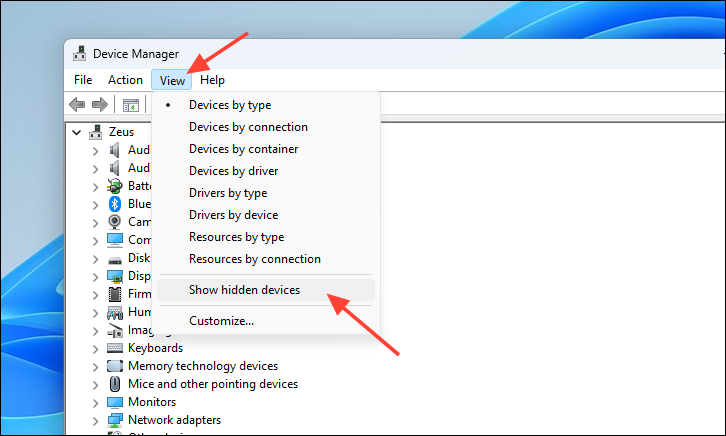
- Click on the ‘View’ tab and select ‘Show hidden devices’ on the Device Manager window.
- Expand the ‘Network Adapters’ section. Next, right-click on the ‘Hyper-V Virtual Ethernet Adapter’ and select the ‘Uninstall device’ option.
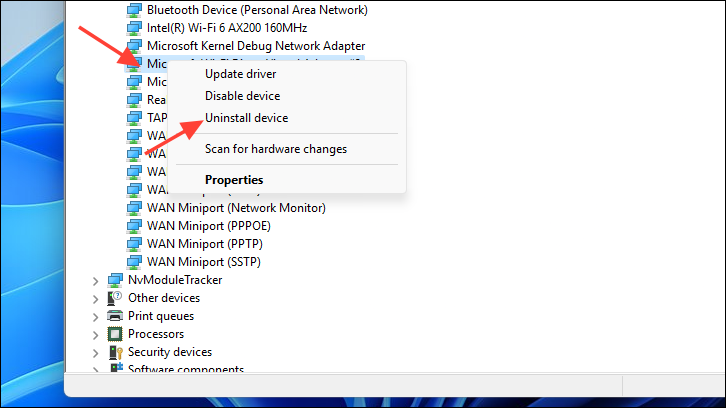
- If there is more than one virtual adapter installed, delete all of them by repeating the steps above.
- Once all adapters have been deleted, exit the Device Manager and restart your PC.
Disable Device Gaurd and Credential Gaurd
Users typically working with VMware Workstation encounter an issue saying ‘Device Gaurd/Credential Gaurd’ is enabled when trying to power on the VMware Workstation. That being said, you can easily disable it using the Registry Editor.
Device Gaurd hardens your system and prevents malicious code from running on it. A Credential Device is another feature that isolates system and user secrets against a system compromise.
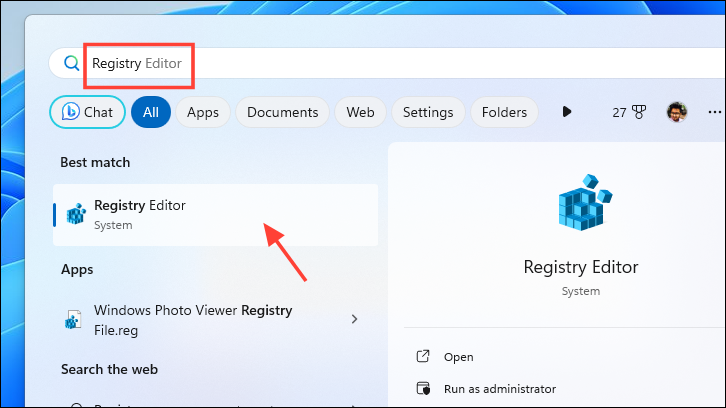
- Open the Start Menu and search for ‘Registry’. From the search results, click on the ‘Registry Editor’.
- Type or copy and paste the below-mentioned address in the address bar and hit
Enterto navigate to it.
HKEY_LOCAL_MACHINE\SYSTEM\CurrentControlSet\Control\Lsa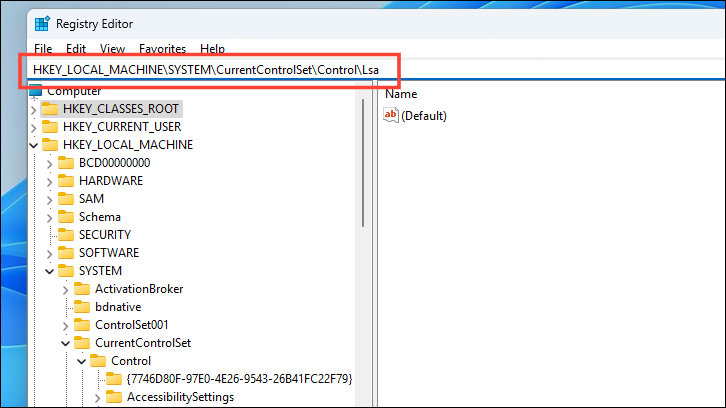
- On the right section of the window, double-click on the ‘LsaCfgFlags’. This will open its properties.
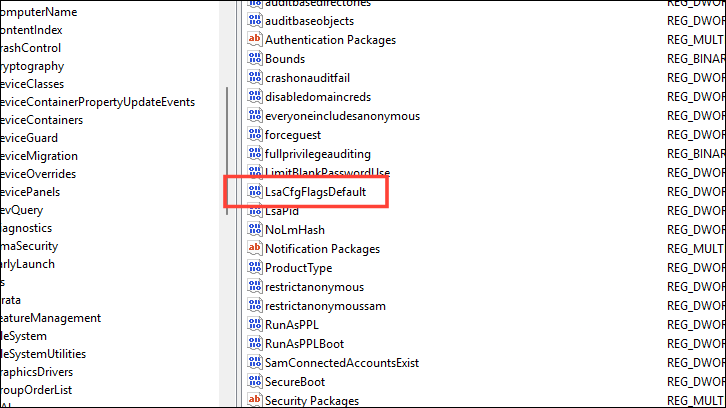
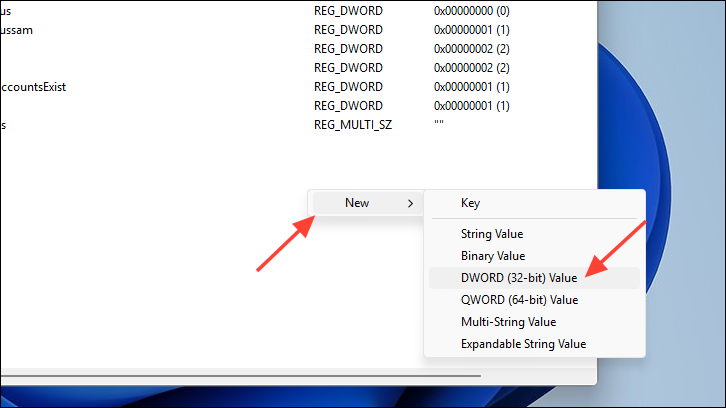
- If no such DWORD file exists, right-click on the empty space and hover over the ‘New’ option. Then, select the ‘DWORD’ option. Finally, rename the file to ‘LsaCfgFlags’.
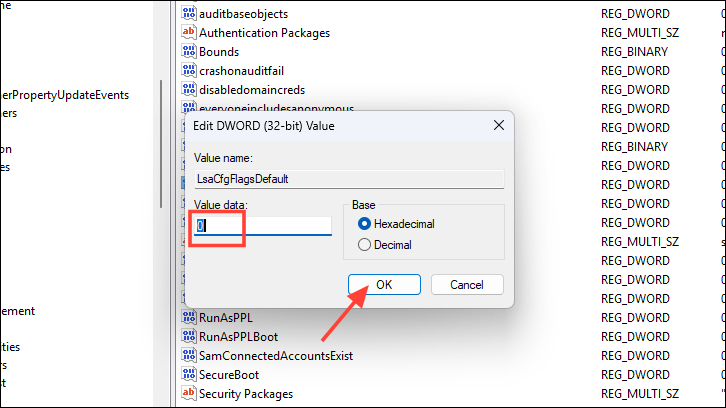
- On the ‘LsaCfgFlags’ properties window, enter
0in the ‘Value data’ field.
- Type or copy and paste the below-mentioned address in the address bar and press
Enterto navigate to it.
HKEY_LOCAL_MACHINE\SYSTEM\CurrentControlSet\Control\DeviceGuard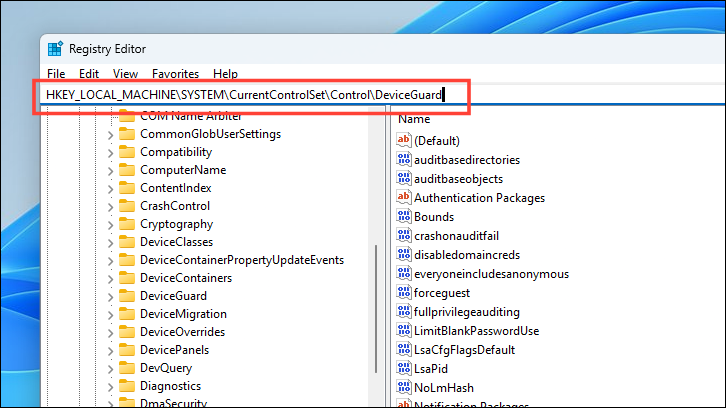
- On the right section of the window, double-click on the ‘EnableVirtualizationBasedSecurity’ to open its properties.
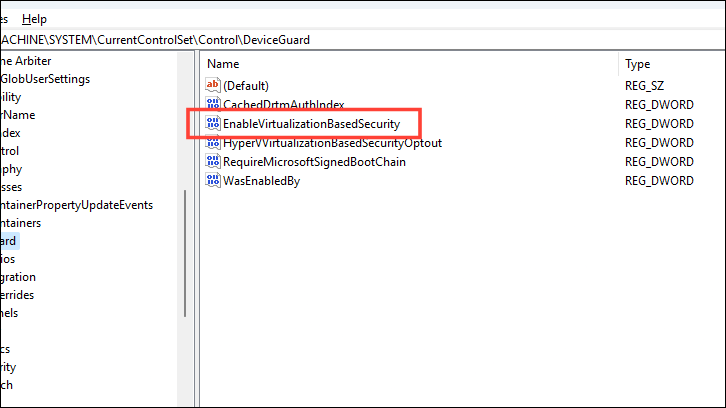
- Type
0in the ‘Value Data’ field and click ‘OK’ to save the changes.

- Restart your computer to apply the changes. You should no longer experience the ‘Device Gaurd and Credential Gaurd is enabled’ issue on your computer. If you wish to enable them in the future, just change the value to
1in the Registry Editor following the same steps mentioned above.
Hyper-V allows you a native virtualization framework to load OS. However, using this guide, you should be able to disable it and install a third-party virtualization tool that suits your requirements better.