
Windows 11 systems, by default, prompt for a password or require a sign-in after waking up from sleep. This behavior can disrupt scheduled tasks, slow down workflows, and frustrate users who are the sole operators of their devices. Several configuration changes can address this, but not all methods work consistently across different builds or account types. Below, you’ll find the most effective ways to disable the login prompt after sleep in Windows 11, with explanations and important cautions.
Method 1: Change Sign-In Options in Settings
Step 1: Open the Windows Settings menu by clicking the Start button and selecting Settings, or by pressing Windows + I on your keyboard.
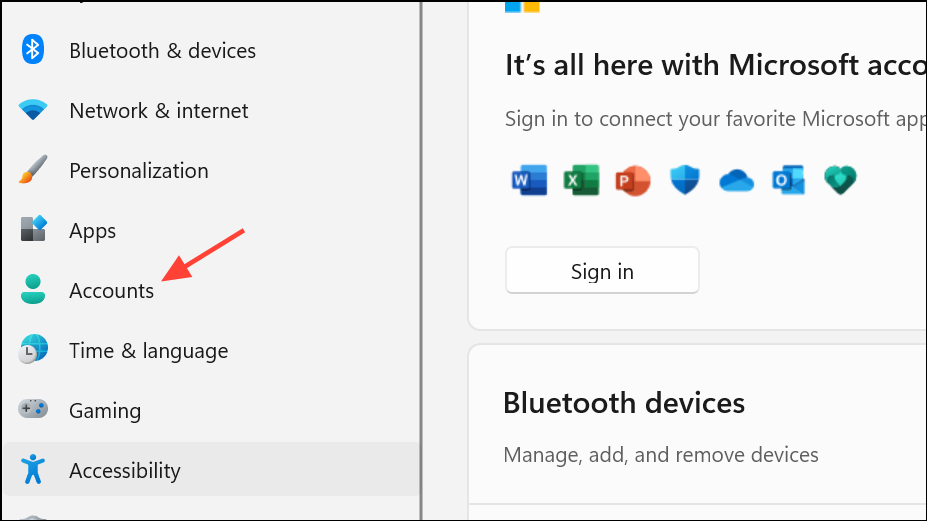
Step 2: In the Settings window, choose Accounts from the sidebar.
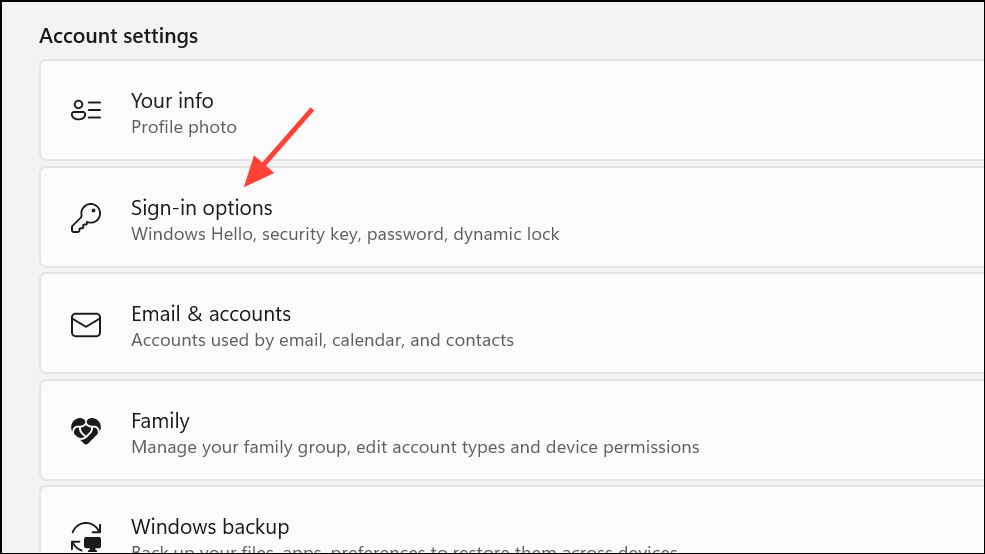
Step 3: Select Sign-in options.
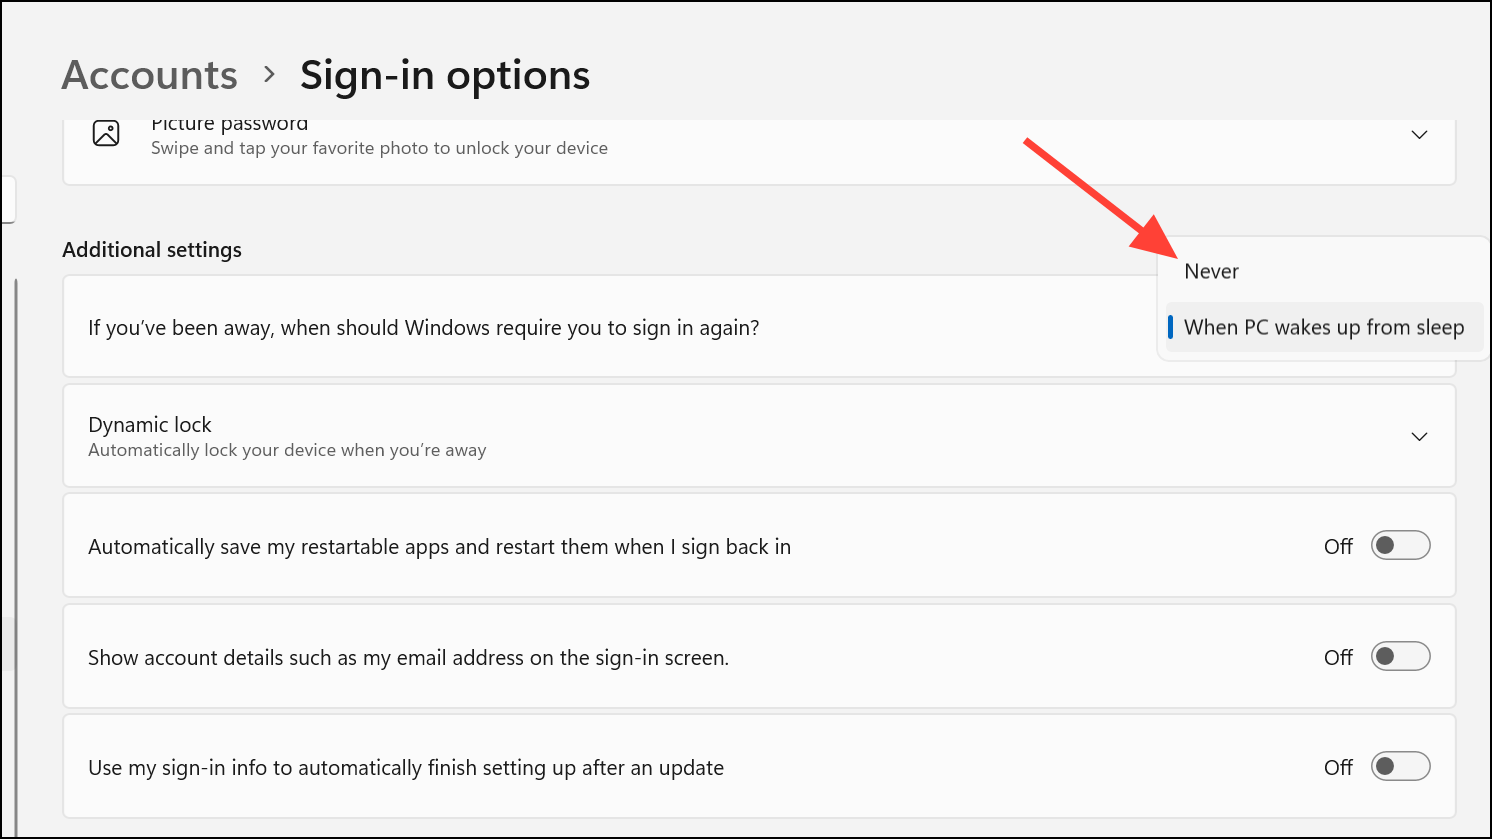
Step 4: Locate the setting labeled “If you've been away, when should Windows require you to sign in again?” and set it to Never from the dropdown menu. This tells Windows not to require a password after sleep.
Step 5: If you don’t see this option, you may need to temporarily set a password for your account. Once the option appears and you set it to Never, you can remove your password again if desired.
This method directly addresses the sign-in requirement after sleep for most local and Microsoft accounts. However, some users report that the setting is unavailable unless a password is set, or that the option resets after certain updates.
Method 2: Use netplwiz to Disable Password Prompt
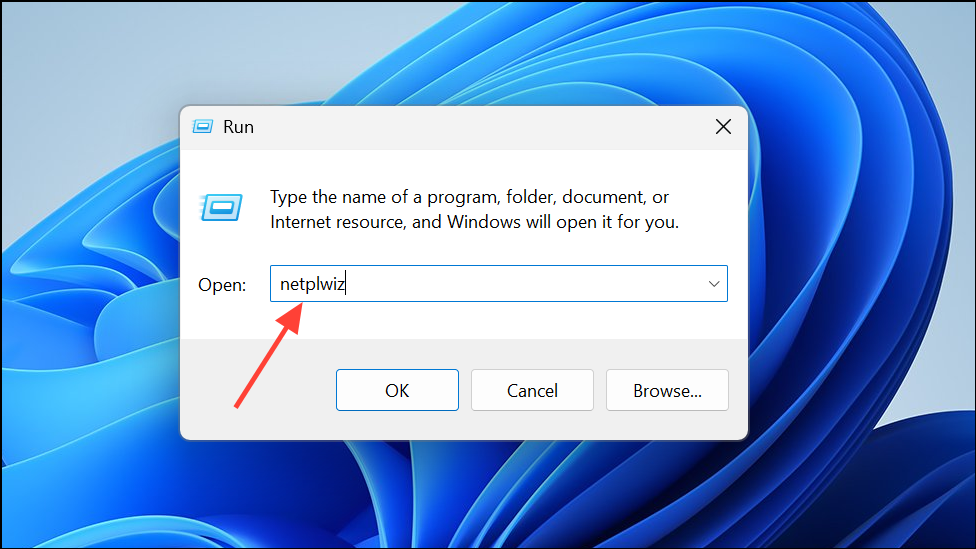
Step 1: Press Windows + R to open the Run dialog box, then type netplwiz and press Enter.
Step 2: In the User Accounts window, select your user account from the list.
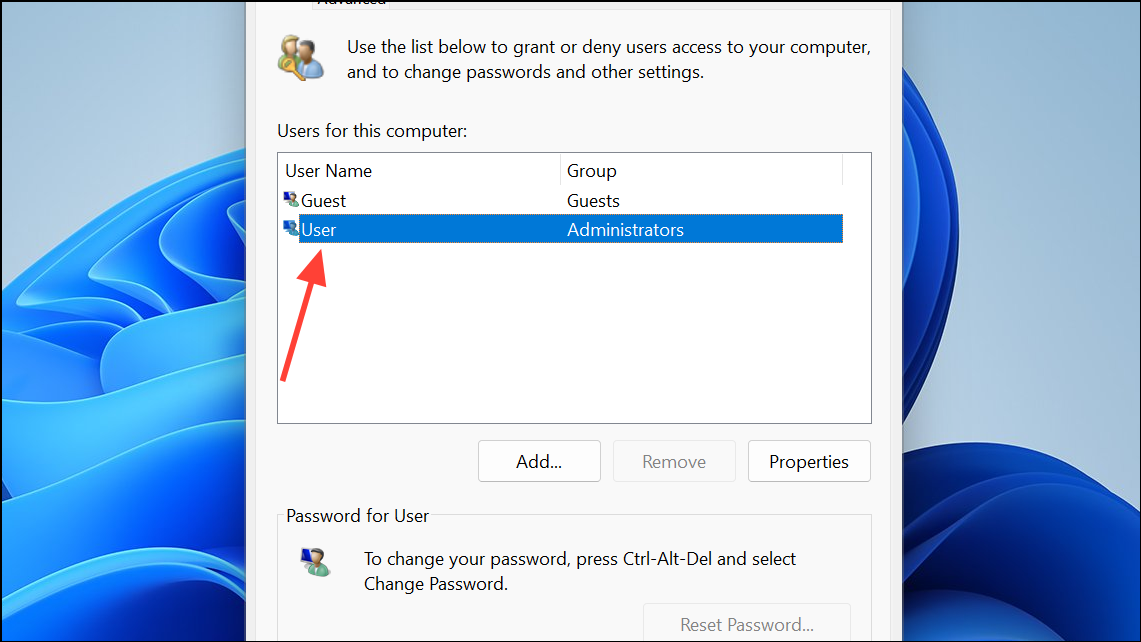
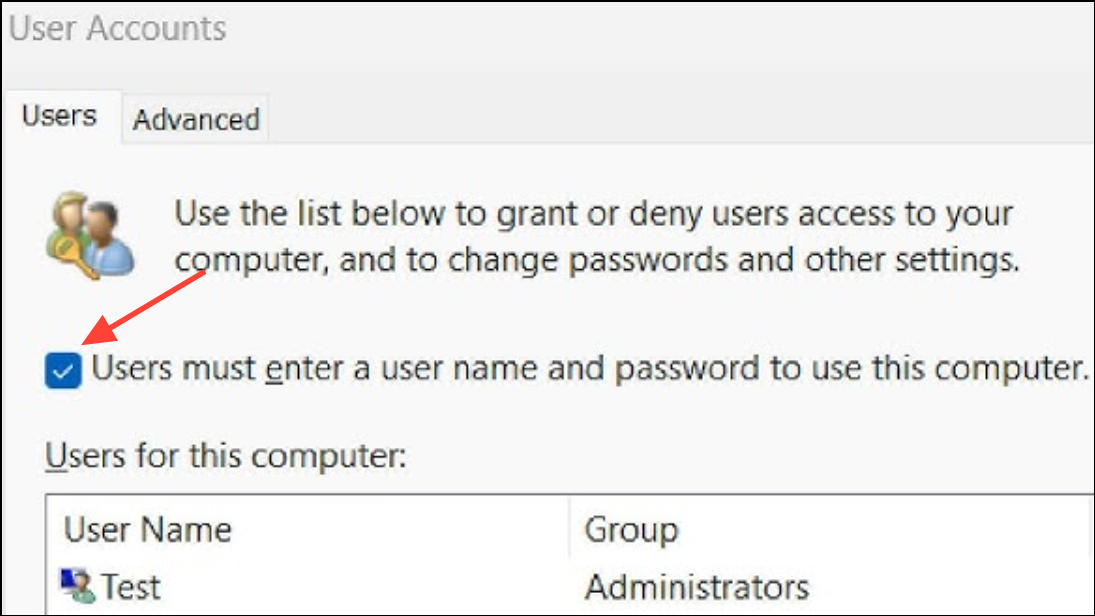
Step 3: Uncheck the box labeled “Users must enter a user name and password to use this computer.”
Step 4: Click Apply. If prompted, enter your current password to confirm.
Step 5: Restart your computer for the changes to take effect.
This method configures Windows to automatically log in your account at startup and after sleep. If the checkbox is missing, see the next method for enabling it via the registry.
Method 3: Enable netplwiz Checkbox via Registry Edit
If the “Users must enter a user name and password” option is missing in netplwiz, you can restore it by editing the registry.
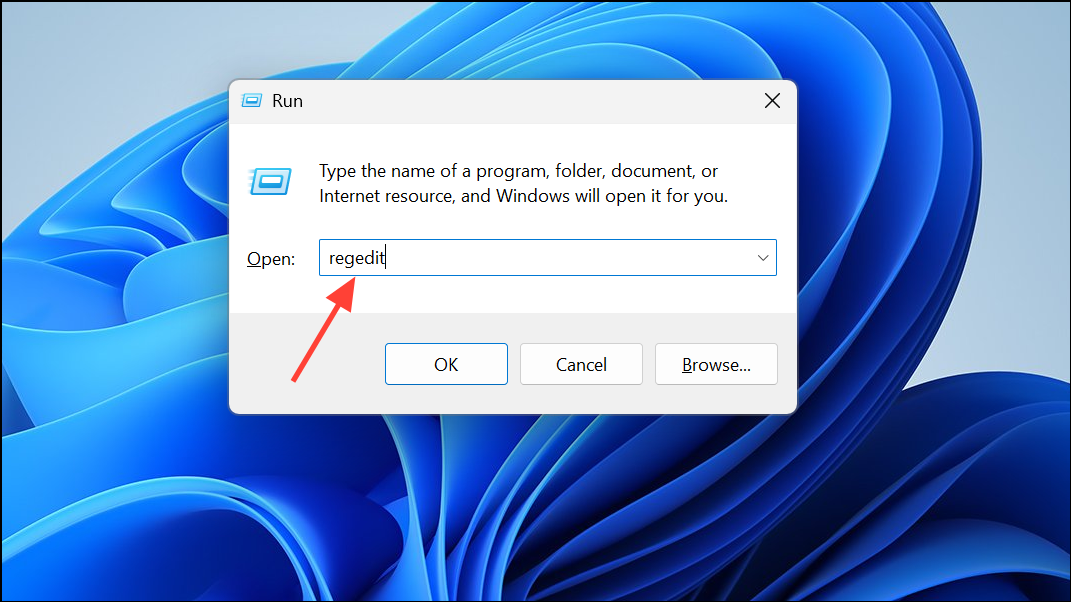
Step 1: Press Windows + R, type regedit, and press Enter to open the Registry Editor. Approve the User Account Control prompt if it appears.
Step 2: Navigate to the following key:
HKEY_LOCAL_MACHINE\SOFTWARE\Microsoft\Windows NT\CurrentVersion\PasswordLess\Device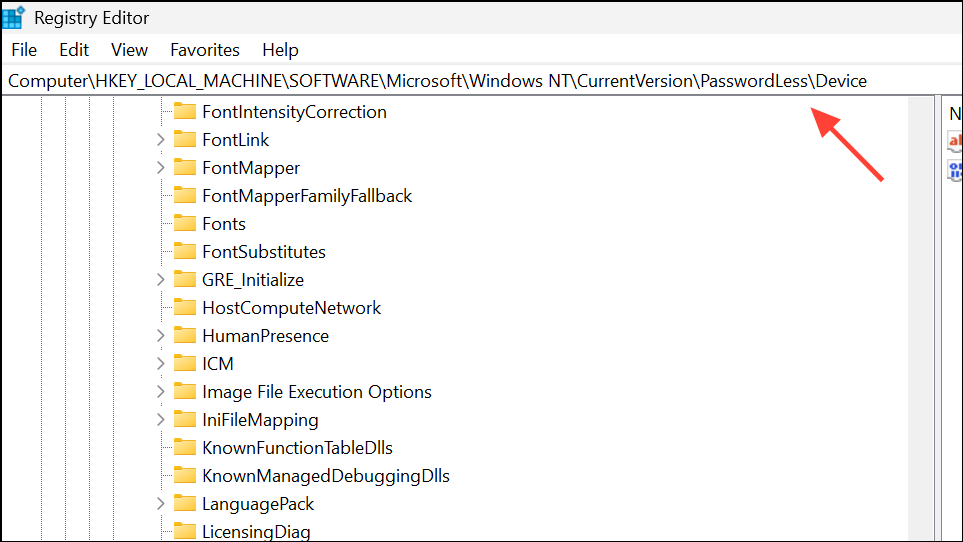
Step 3: In the right pane, double-click DevicePasswordLessBuildVersion and set its value to 0. Click OK.
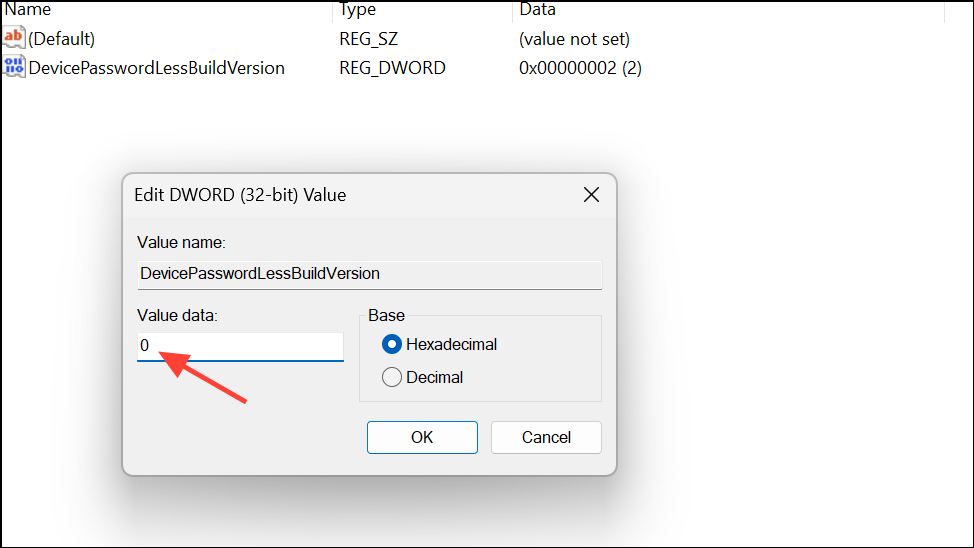
Step 4: Close the Registry Editor and return to netplwiz. The checkbox should now be visible, allowing you to set up automatic sign-in as described in Method 2.
Method 4: Adjust Power Plan Settings for Password on Wakeup
Some Windows versions allow you to control password requirements on wakeup through advanced power settings.
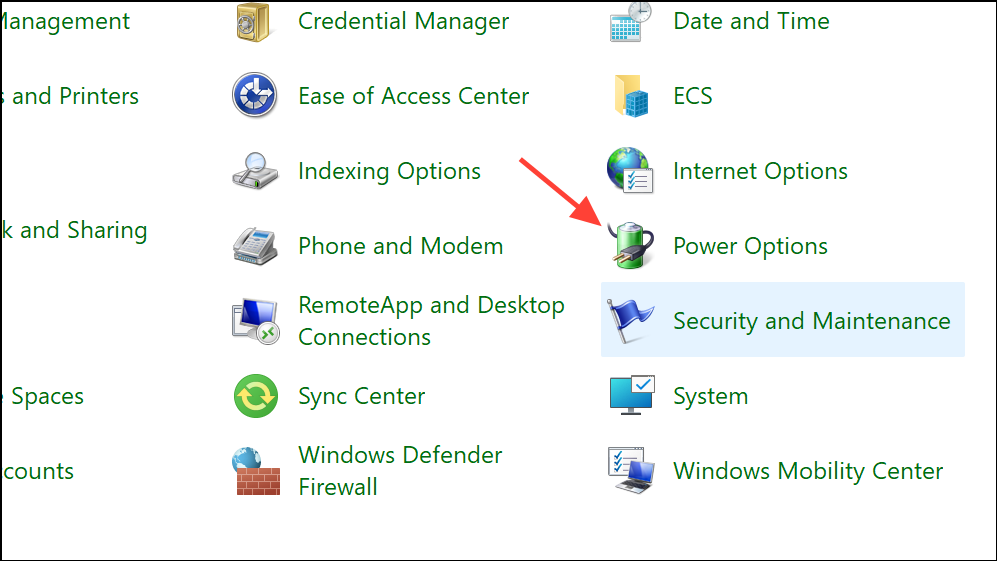
Step 1: Open Control Panel and go to Hardware and Sound > Power Options.
Step 2: Click Require a password on wakeup from the left menu.
Step 3: Click Change settings that are currently unavailable.
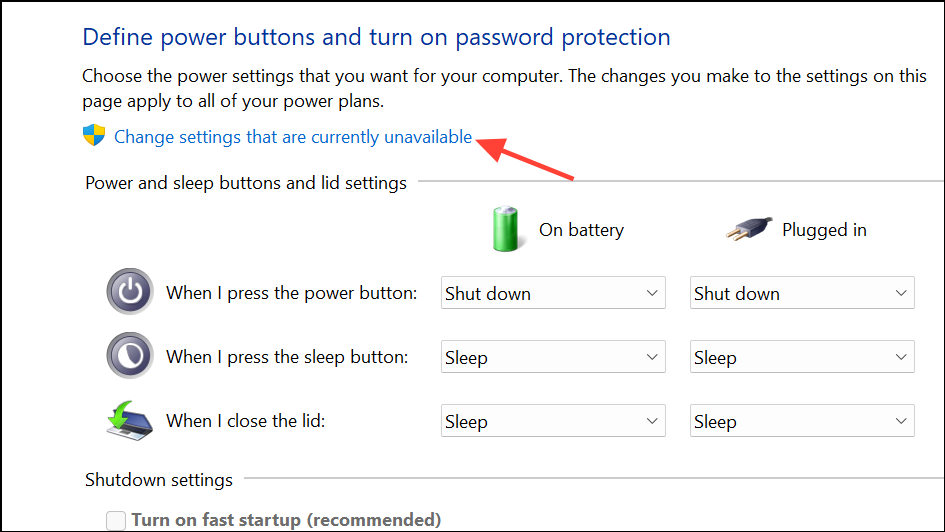
Step 4: Under “Password protection on wakeup,” select Don’t require a password. Save changes.
This method may not be available on all editions or may be hidden by group policies.
Method 5: Disable Lock Screen via Group Policy Editor (Windows 11 Pro Only)
On Windows 11 Pro or higher, you can use the Group Policy Editor to remove the lock screen entirely.
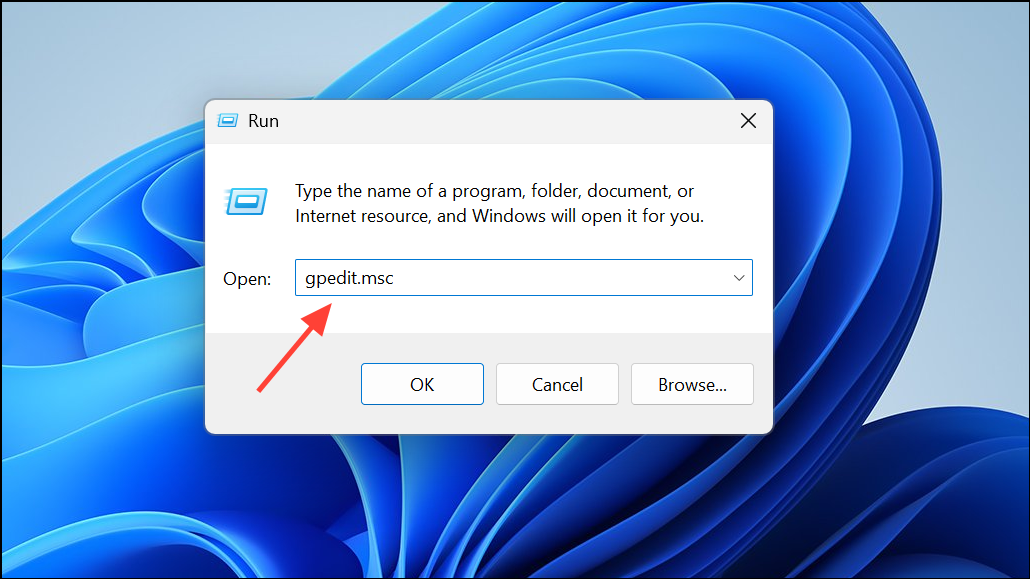
Step 1: Press Windows + R, type gpedit.msc, and press Enter.
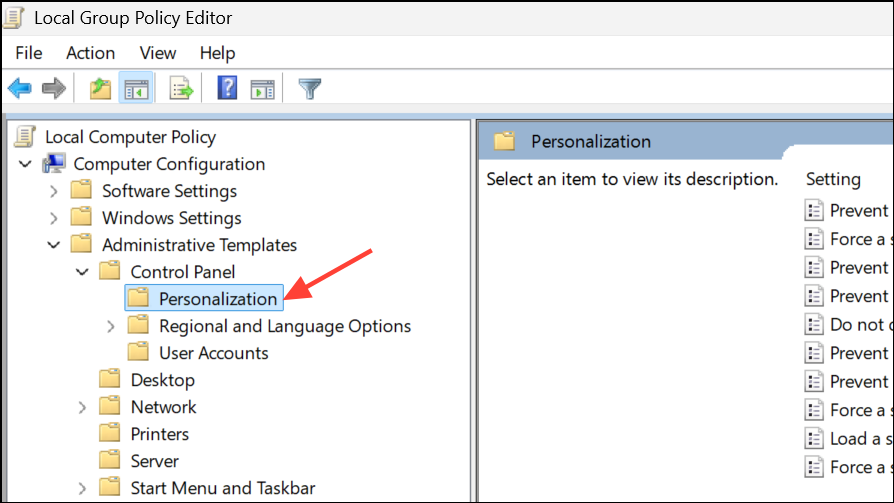
Step 2: Go to Computer Configuration > Administrative Templates > Control Panel > Personalization.
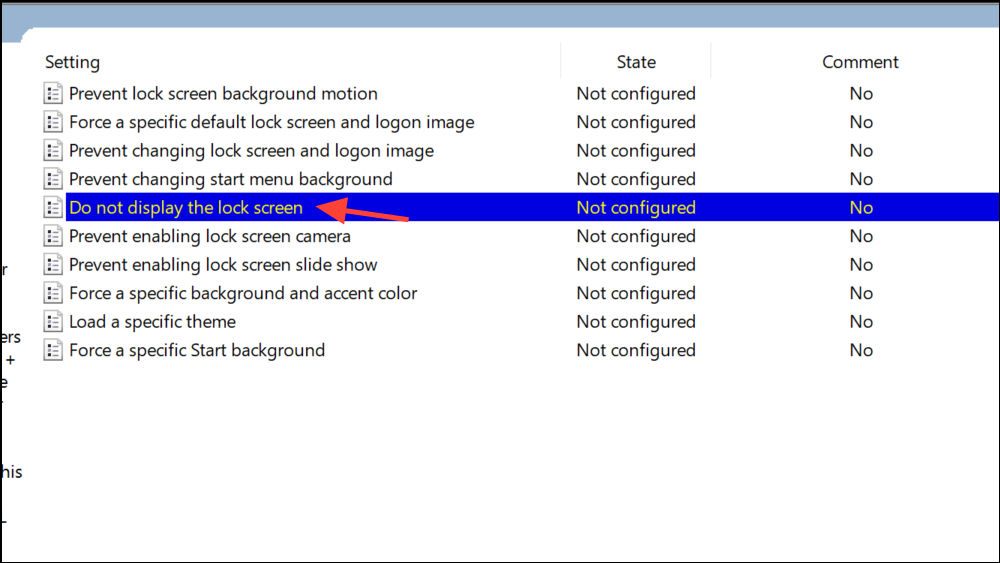
Step 3: Double-click Do not display the lock screen.
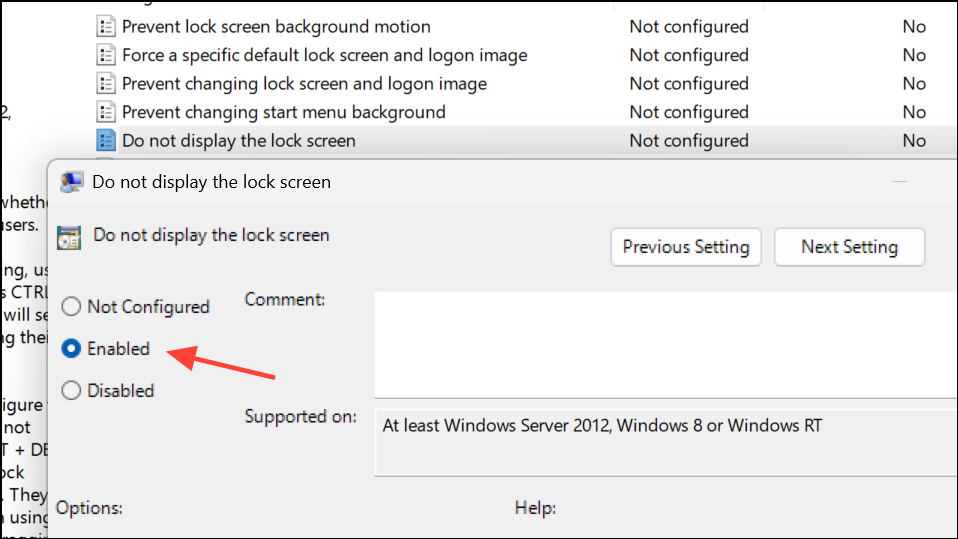
Step 4: Select Enabled, then click Apply and OK.
Step 5: Restart your computer.
Method 6: Registry Tweak to Disable Lock Screen
If you want to remove the lock screen entirely, you can use a registry modification:
Step 1: Open the Registry Editor by pressing Windows + R, typing regedit, and pressing Enter.

Step 2: Navigate to:
HKEY_LOCAL_MACHINE\SOFTWARE\Microsoft\Windows NT\CurrentVersion\Winlogon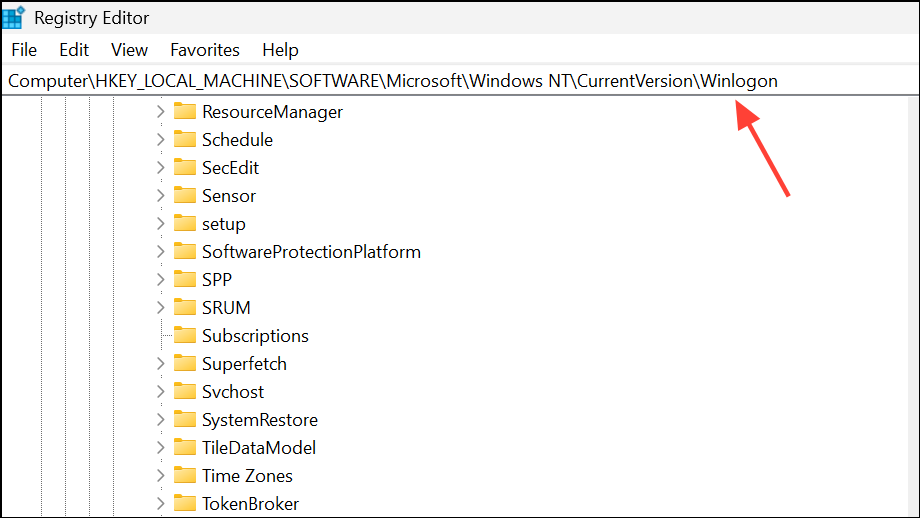
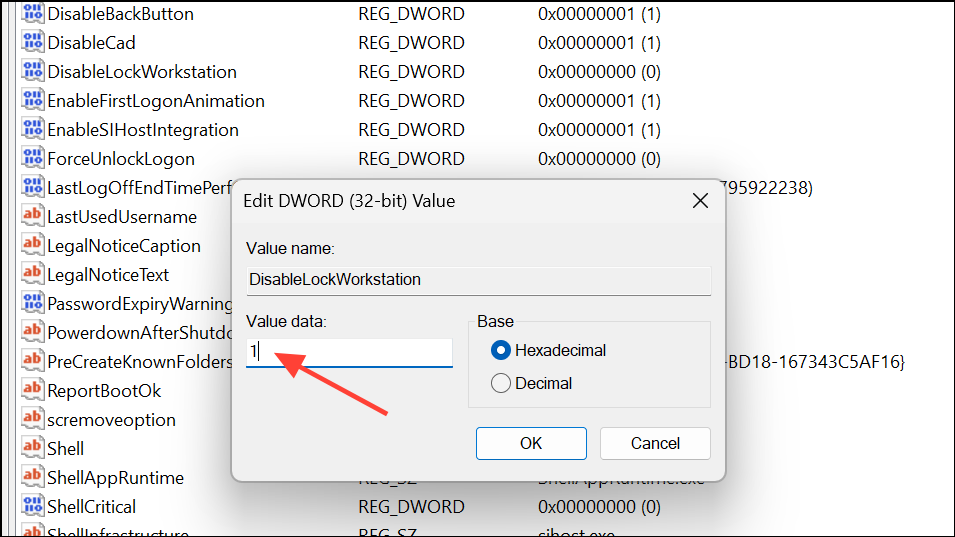
Step 3: Find or create a DWORD value named DisableLockWorkstation and set its value to 1.
Step 4: Restart your PC.
This disables the lock screen, but some users report it may not work on all devices or after certain updates.
Additional Tips and Troubleshooting
- If you use a Microsoft account, switching to a local account without a password may simplify sign-in removal.
- Some settings and registry changes can be overridden by corporate or group policies, particularly on work-managed devices.
- If you create a new user profile and the issue disappears, your original profile may be corrupted. You can transfer files manually to the new profile to resolve persistent problems.
- Always back up your important data and registry before making major changes.
Disabling the login prompt after sleep in Windows 11 can save time and reduce interruptions, especially on personal devices. If one method doesn’t work, try the next—some settings may be hidden or restricted depending on your system configuration.