SSH (Secure Shell) enables secure communication between computers over an unsecured network, allowing you to remotely manage and administer your system. Enabling SSH on your Ubuntu 20.04 machine allows you to connect and control it from another device securely. This guide will show you how to enable SSH using OpenSSH on Ubuntu 20.04.
Step 1: Install the OpenSSH package, which provides the SSH server and client programs. Open your terminal and run the following command to install OpenSSH:
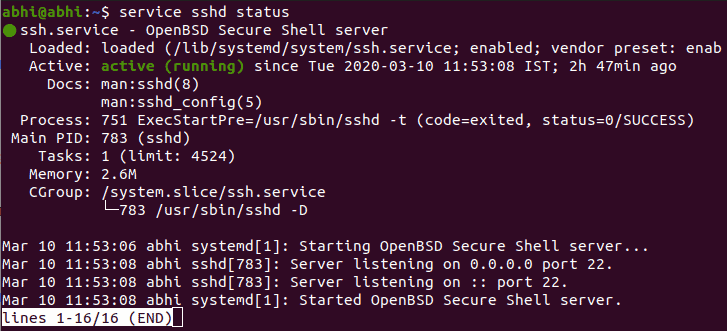
sudo apt install sshStep 2: After installation, the SSH daemon (sshd) should start automatically. To verify that the SSH service is active and running, execute the command:
service sshd status
If the service is active, you'll see an output indicating that SSH is running. If it isn't active, start the SSH service by running:
sudo service sshd startStep 3: With SSH enabled and running, your system is ready to accept remote connections. To connect to your Ubuntu machine from another computer, use the SSH client by running:
ssh <username>@<domain_name/ip_address>
Replace <username> with your Ubuntu username and <domain_name/ip_address> with the domain name or IP address of your Ubuntu machine. Ensure that the remote computer also has SSH installed and that your Ubuntu system is accessible over the network.
For additional options and configurations, consult the SSH manual by running:
man sshYou have now enabled SSH on your Ubuntu 20.04 system, allowing for secure remote connections and management.

