
PDF documents may sometimes contain images that you want to use elsewhere. To do that, you first have to extract the images from the PDF in question, which you can do in different ways depending on the platform.
Method 1: Using Adobe Acrobat Reader on Mac and Windows
Adobe Acrobat Reader is a free tool you can use on Mac and Windows to extract images from PDFs and copy them to the clipboard. While you can also use Adobe Acrobat Reader on Linux with utilities like CrossOver, it has more effective tools for this purpose.
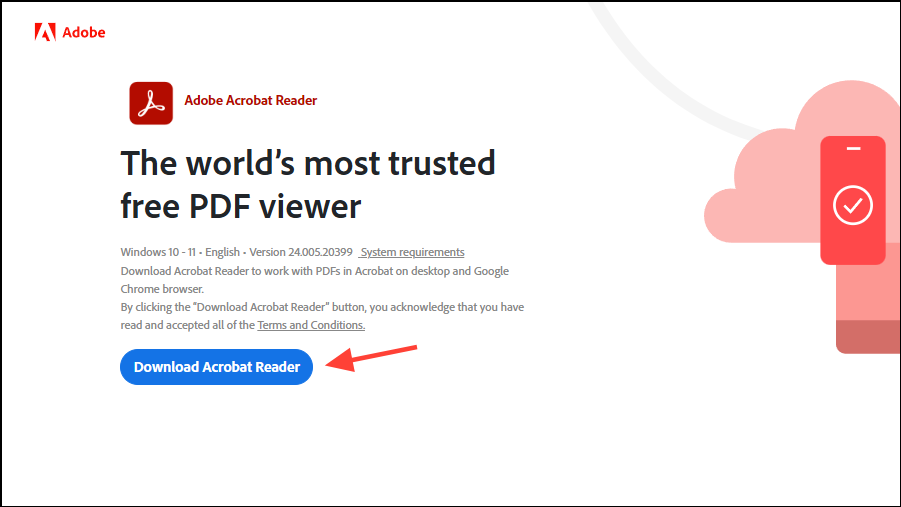
- Go to the Adobe website and click on the 'Download Acrobat Reader' button to download the PDF reader.
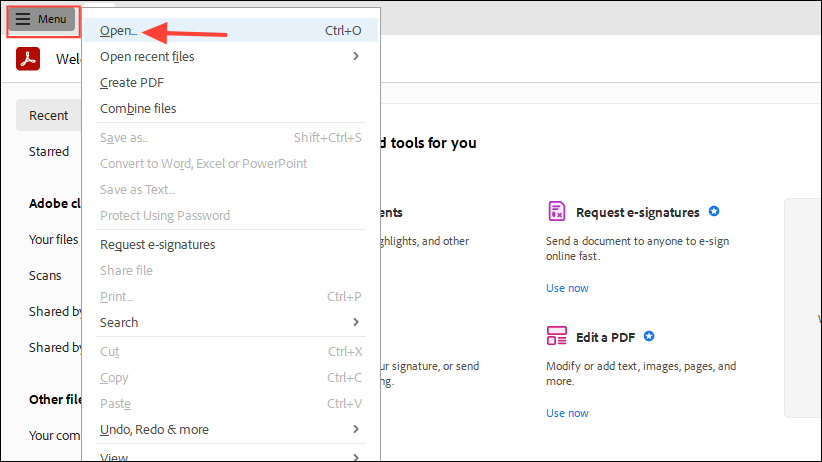
- Install Acrobat Reader on your system once it is downloaded and open your PDF document in it by going to 'Menu' at the top left and clicking on 'Open'.
- After opening the document from which you want to extract images, click on the 'Select' tool that appears as a cursor in the toolbar. It may already be selected by default.
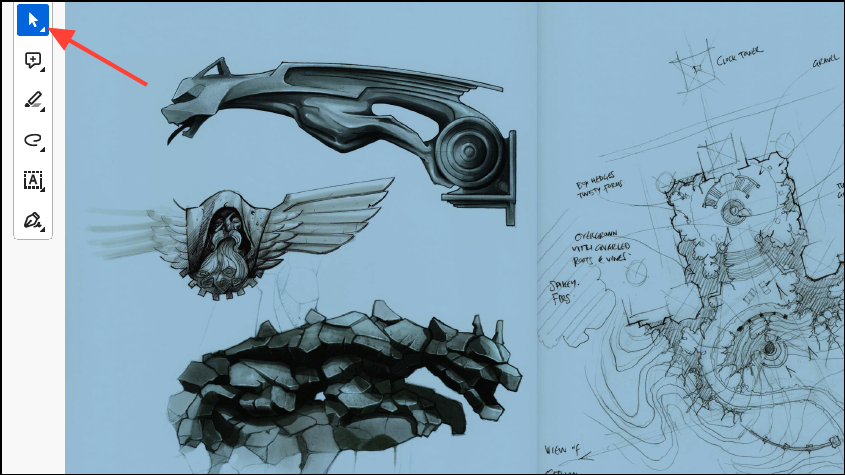
- Then click on the image you want to extract to select it before clicking on the 'Copy' icon. Alternatively, right-click on the image and select 'Copy image'.
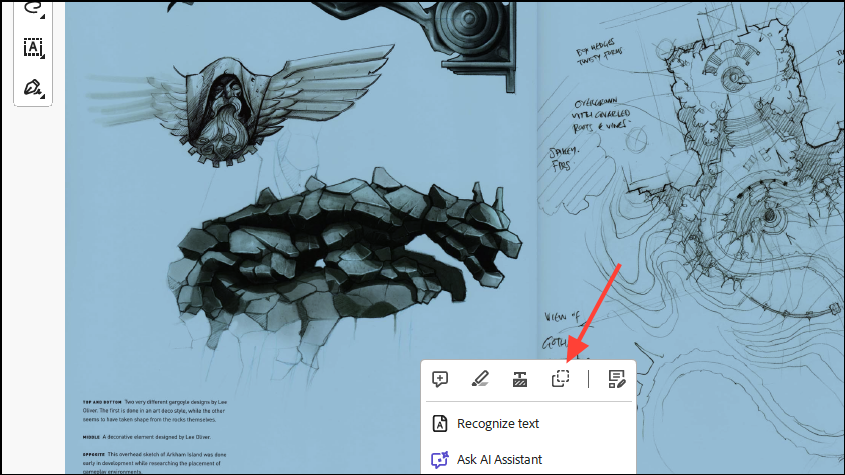
- The selected image should now be copied. Open another application, such as Microsoft Paint, and use the
Ctrl+Vshortcut to paste the copied image.
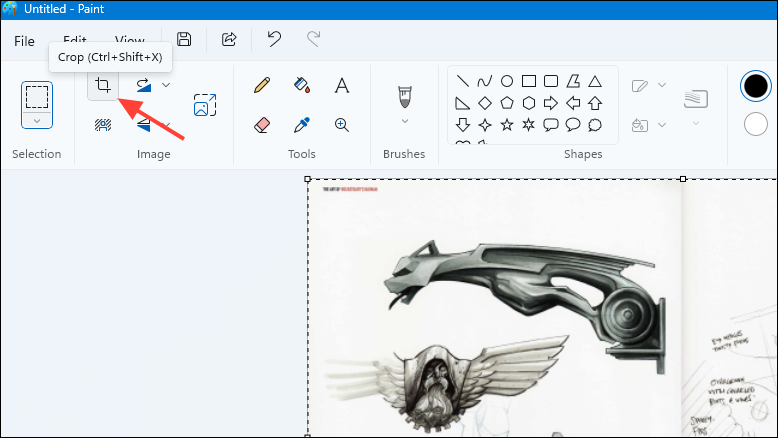
- You can then select the crop tool on the top left and get rid of the unneeded space in the selected image. The shortcut for the tool is
Ctrl+Shift+X. If you want, you can also edit it by drawing over it, adding text, inserting shapes, etc.
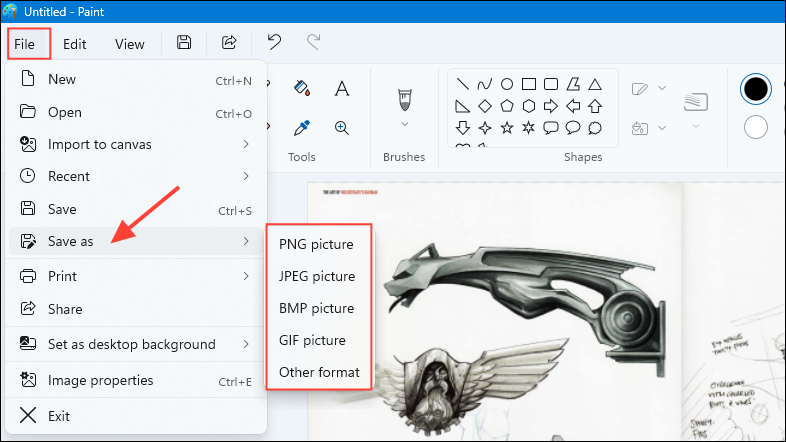
- Once you are done, you can go to the 'File' menu and click on 'Save as' to save the edited image in any of the available formats, such as PNG, JPEG, etc.
- If you're using Acrobat Reader on macOS, go to the Launchpad and open Preview before clicking on the menu bar. Then click on 'File' and select 'New' from the clipboard.
- In the menu bar, click on 'File' and then 'Save' before choosing where you want to save the file.
Method 2: Using pdfimages on Linux
If you're using Linux, you can use Poppler to extract images from PDF documents. Depending on your OS, you can use different methods to install it.
- On Mac, you first need to set up the Homebrew package manager.
- After setting it up, open Terminal and type
brew install poppler. - On Linux, you will need to install the poppler-utils package. For Debian and Ubuntu-based distros, open the terminal and type
sudo apt install poppler-utils. - On Windows, you can use the 'Chocolatey package manager' to install Poppler, though it sometimes does not work.
- After Poppler is installed on your Mac, Linux, or Windows computer, use the
pdfimages -all example.pdf /output/directory/command to extract all images in a PDF document in their original format. - Alternatively, you can use the
pdfimages -all example.pdf /output/directory/command to extract images and convert them to JPEG format. - If you find the command line too complicated, just type
pdfimages -all, hit spacebar, and drag your PDF document into the terminal window. Then drag the destination folder for the extracted images into the window and add/after the folder, if it's not already present. - Press enter to run the command and it will extract the images in the PDF and save them in the designated folder.
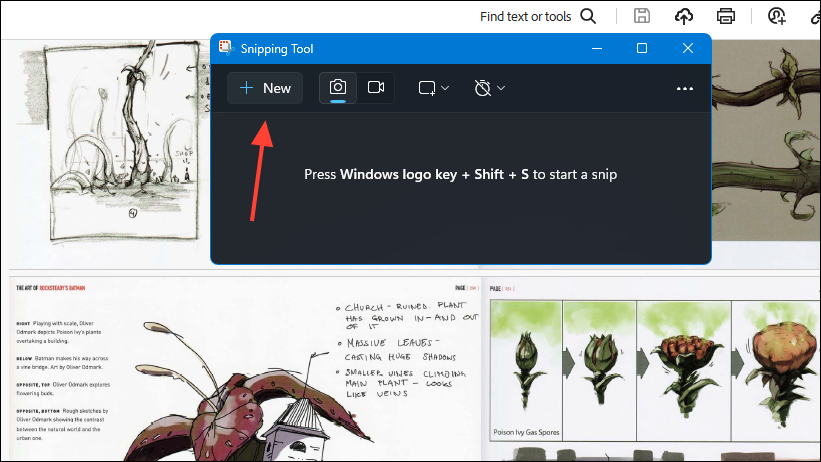
Method 3: Using the Snipping Tool on Windows
Windows has a built-in Snipping Tool that can help you easily capture whatever is on your screen. You can use it to take screenshots of images in PDF documents and then edit them as you like.
- Open the PDF document from which you want to extract images and navigate to the image you want to extract.
- Open the Snipping Tool from the Start menu and click on the 'New' button.
- Click, hold, and drag on the image you want to extract to take a screenshot and it will open in the Snipping Tool.
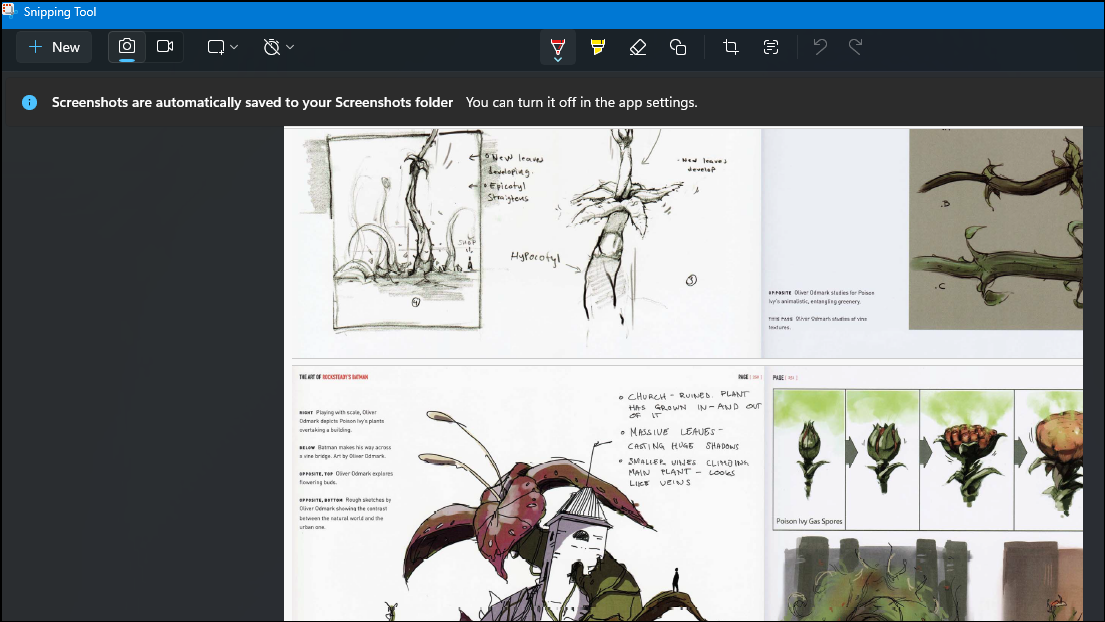
- You can now directly edit the image by adding annotations, highlights, cropping it, etc. before saving it. By default, the Snipping Tool saves images in PNG format. You can then use this image in any other application you wish.
Win + Shift + S shortcut. This automatically saves the screenshot as soon as you capture it in the designated folder so you can edit it at your convenience. Things to know
- Several online tools are also available that can help you extract images from PDFs, but these usually have limits on the number of images you can extract for free. You may have to sign up and get a subscription to extract unlimited images.
- Like the Snipping Tool on Windows, you can set custom area screenshots in most Linux distros from the Control Center. You can then use your custom shortcut in the same way to capture images on your screen, including those in PDF documents.
- On macOS, you can use the
Shift+Command+4shortcut to take a screenshot of the image you want to extract from a PDF document. Then drag and select the image you want to capture. Your screenshots will appear on the desktop. - Use caution when uploading PDF files to third-party online tools for extracting images, as they will have access to any sensitive information that may be present in your documents.