
Bridger Western drops you into a JoJo-inspired Wild West open world on Roblox with almost no direction. You spawn with a random amount of moola — anywhere from 50 to 500 — and the game expects you to figure out the rest. The core loop revolves around earning moola (the in-game currency) and XP to climb through the Tier system, ultimately reaching Tier 3 and unlocking powerful Cards and Stands. But the early game can feel punishing if you don't know where to focus.
Quick answer: Fish at the docks near the Bait and Tackle shop, sell your catch to the vendor, and reinvest into gear. It's the safest, most consistent way to build both moola and XP without risking what you've already earned.
Fishing — The Safest Moola and XP Method
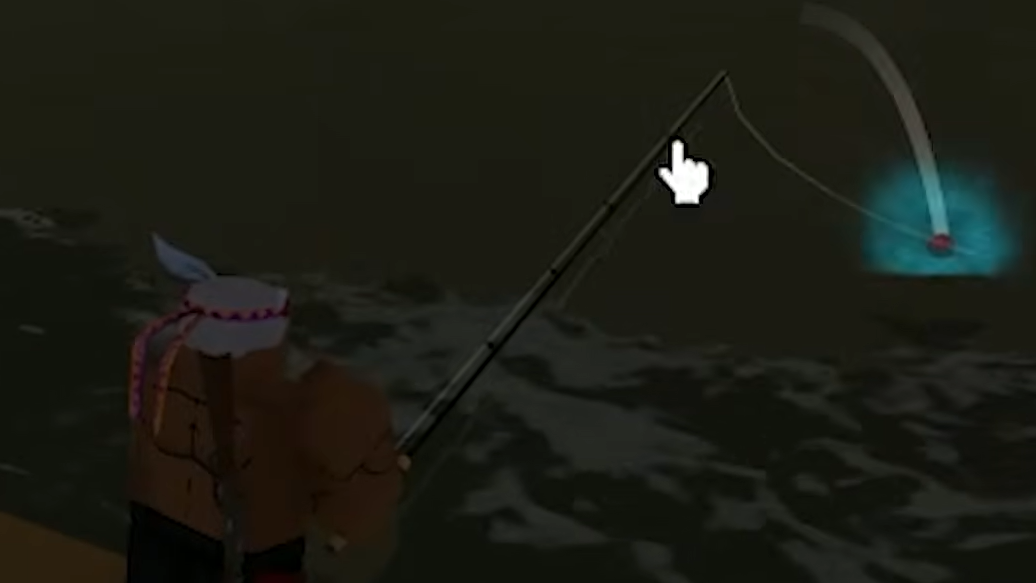
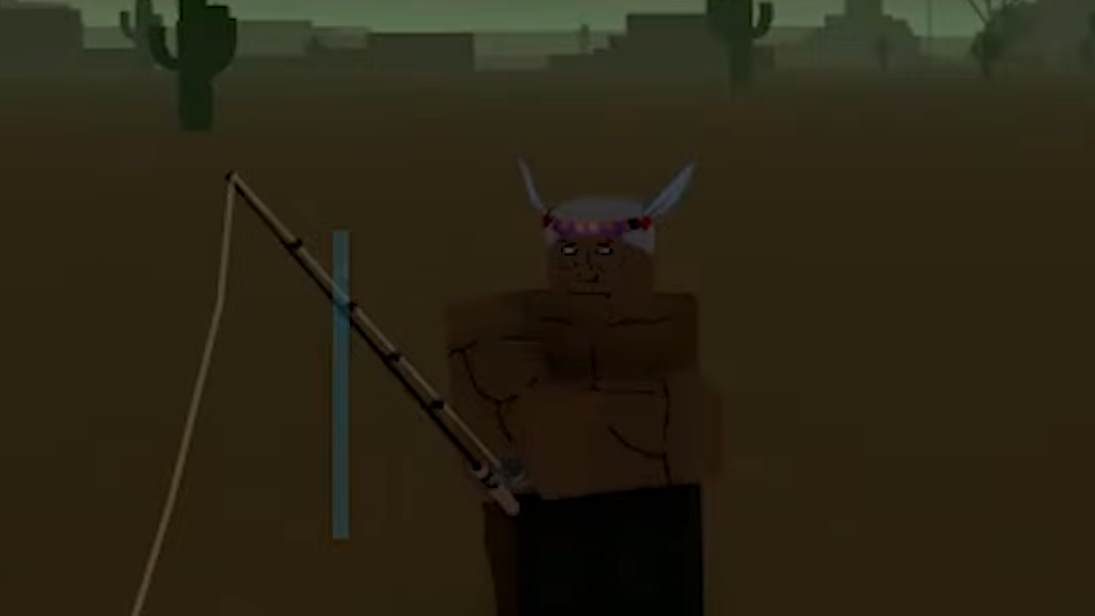
Fishing is the undisputed early-game money maker. Head to the Bait and Tackle shop near the docks, buy a basic fishing rod and bait, then find a spot on the pier. Common fish sell for 25 to 45 moola each, and you'll gain steady XP with every catch. It won't make you rich in a single session, but it's zero-risk income — you're in a safe zone, surrounded by other players, and nothing can kill you while you cast.
Beyond basic fish, your line can pull up rarer items that significantly boost your earnings or progression.
| Catch | Rarity | Why It Matters |
|---|---|---|
| Bass | Common | Quick cash and consistent XP |
| Cod | Uncommon | High sell value (~1,500 moola per stack) |
| Chests | Rare | Contains dynamite, molotovs, or crafting materials |
| Stand Arrow Shard | Legendary | 0.5% chance to grant a Stand |
| Dog's Bane Herb | Rare | Reduces your character's age |
A full inventory of Cod and Bass can sell for over 2,000 moola, which is enough to afford a mid-tier horse or your first Card unlock at the Witch's Hut. If you're spawning fresh, aim for Red Corner as your starting location — it's positioned close to the fishing docks and gives you immediate access to the most efficient early-game grind.
The Can Quest — High Risk, High Reward Repeatable
Just outside the main central town, an NPC named Flint runs a repeatable shooting challenge called the Can Quest. He throws a can into the air, and you need to shoot it a set number of times before it hits the ground. Each successful completion pays +100 moola and +30 XP, and you can bank up to 300 moola in a single round if you nail every attempt.
The catch is real, though. Failing costs you 100 moola per miss, and there's a 75- to 95-second cooldown between attempts (except after the final round). If your aim isn't sharp, you'll hemorrhage money faster than you earn it. Only commit to this method once you're confident in your shooting mechanics.
Red Corner Fight Club
Red Corner doubles as a PvP betting arena. You can fight other players in a winner-takes-all format, wagering moola on the outcome. It's located south of the Outlaw camp and also serves as one of the Outlaw spawn points. The potential payout scales with how much your opponent bets, but the downside is obvious — lose the fight, lose your money. Treat this as a supplement to fishing, or the Can Quest, rather than a primary income source, especially early on.
NPC Ambushes Outside Safe Zones
Leaving any spawn location puts you in open territory where NPC enemies — zombies, thugs, and bandits — will attack on sight. Killing them rewards both moola and XP, and they often drop a chest with additional loot. The key to staying profitable is ammo management. Every bullet you fire costs money to replace, so wasteful spraying can turn a profitable encounter into a net loss. Pick your shots carefully and prioritize enemies that are already close.
PvP Kills for Moola and XP
Bridger Western has no PvP restrictions outside safe zones. Any player you encounter in the open world is a valid target, and downing them earns you both moola and XP. This is the fastest way to earn currency if you have the skill and gear to back it up, but it's also the riskiest — dying means losing time, resources, and adding age to your character. Having a decent weapon and ideally, a Stand gives you a significant edge. If you're still running starter gear, stick to fishing until you can afford an upgrade.
What to Buy First With Your Moola
Once you've built up some savings, resist the urge to spend on cosmetics or random gear. Two purchases matter most in the early game.
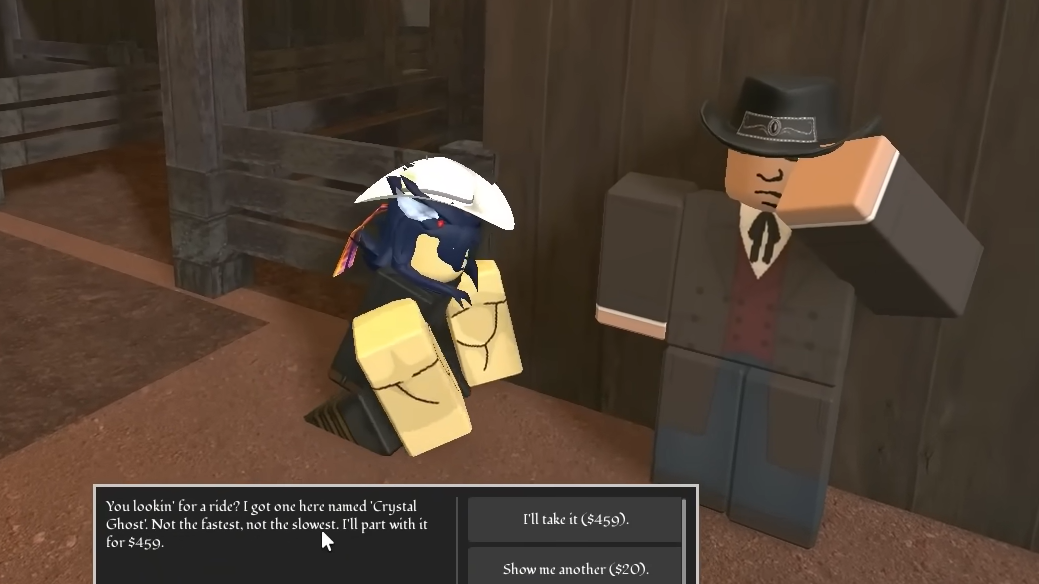
Horse upgrade at Ridgeby County
Every player starts with a basic Mule that moves painfully slowly. Visit the stables in Ridgeby County to buy a better horse. The NPC offers a random horse each time, and you can reroll the offer if the stats or price don't work.
| Horse Grade | Price Range | Performance |
|---|---|---|
| Starter (Mule) | Free | Very slow, low health |
| Mid-Tier | 500–900 moola | Decent speed, average stamina |
| Legendary | 1,000–1,500 moola | Exceptional speed, high health |
A mid-tier horse is fine for general exploration, but if you plan to chase Corpse Part spawns or engage in PvP, saving for a Legendary-grade mount is worth the wait.
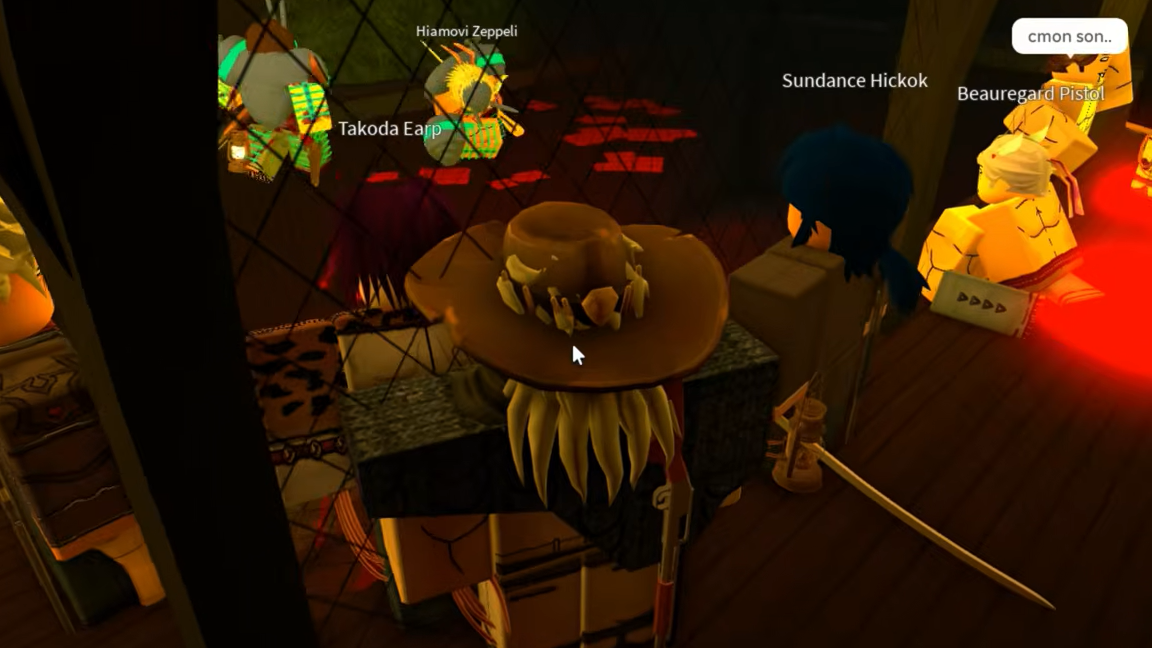
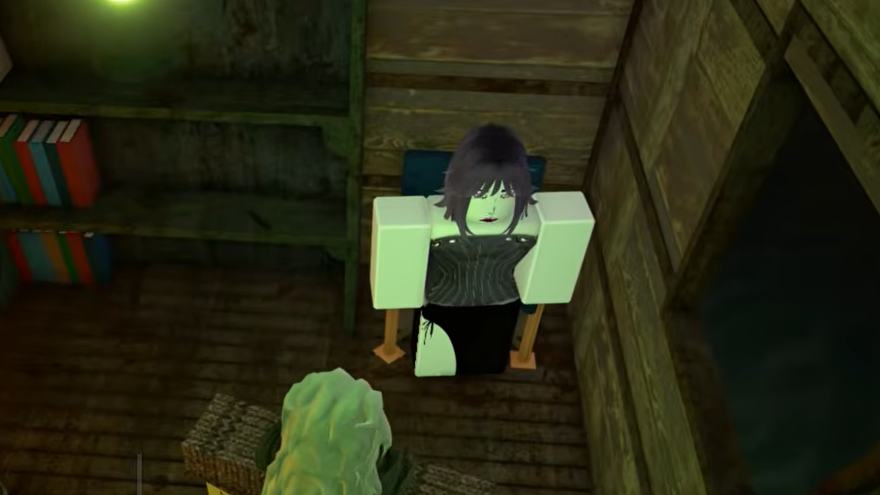
Cards at the Witch's Hut
Your first Card costs 150 moola at the Witch's Hut in the swamp biome. Subsequent Cards unlock at Tier 2 and Tier 3 for 50 moola each, and you can reroll a Card slot for 50 moola. Getting your first Card early gives you a meaningful passive power boost. To reach the swamp, ride your horse into the water and repeatedly tap the spacebar to perform mini-jumps — this "Spacebar Spam" technique moves you across water much faster than normal swimming.
Useful Controls for Combat and Exploration
| Key | Action |
|---|---|
| H | Summon or dismiss your horse |
| X | Ocular Pro (highlights enemies, improves accuracy) |
| V | Use healing tonics |
| R | Reload weapon |
| G | Melee strike |
| Q | Combat roll (brief invincibility frames) |
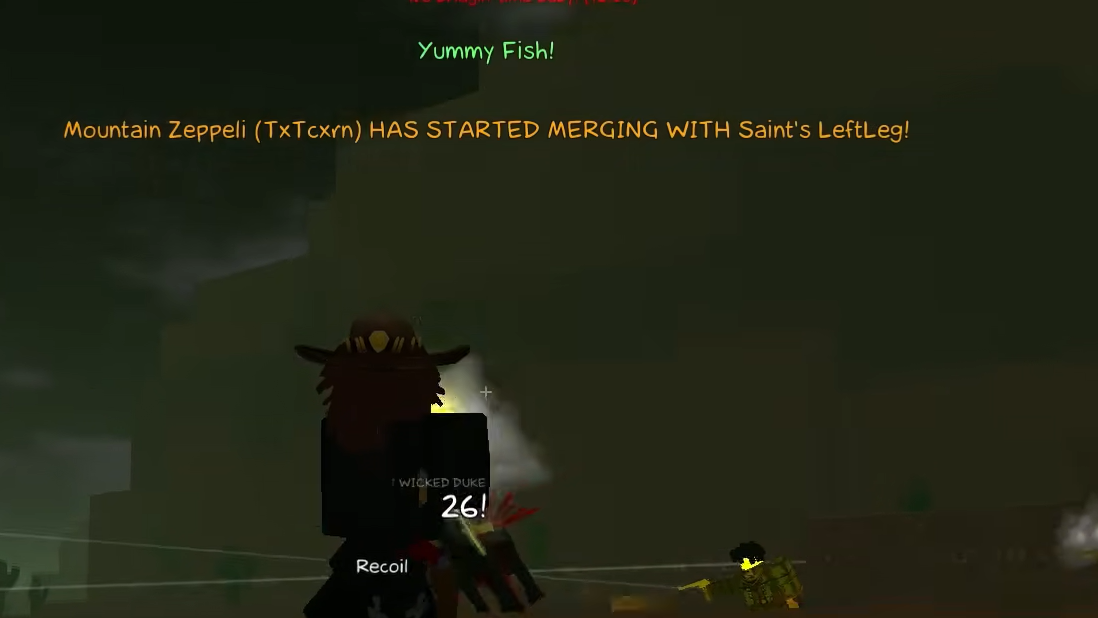
Corpse Parts and Stands
Stands are the most powerful abilities in Bridger Western, and there are two ways to get one. The rare method is fishing up a Stand Arrow Shard, which has a 0.5% drop rate. The more common path is finding a Corpse Part — when one spawns, a massive golden beam appears in the sky for the entire server to see. Picking it up triggers a pulse every 30 seconds, each with a 15–20% chance to grant a Stand. The problem is that every other player on the server will be racing toward that same beam, and holding the Corpse Part makes you a target. High-population servers (around 25 players) increase the spawn rate of Corpse Parts but also increase the competition dramatically.
You can store valuables at the town bank to protect your moola between sessions. Prioritize banking your earnings before heading into dangerous territory — losing a full wallet to a PvP ambush is one of the most common setbacks for new players. The game doesn't hold your hand, but a steady fishing routine, smart spending, and careful risk management will get you to Tier 3 faster than any amount of reckless gunfighting.