
Shredder Gyros sit in that frustrating spot between “simple in theory” and “miserable in practice.” You only need them from one enemy type, on one map, that’s packed with other Raiders who also want you dead. At the same time, late‑game projects now demand 10 of them, so you can’t avoid the grind.
Handled correctly, though, Shredders turn from raid‑ending threats into repeatable, profitable targets.
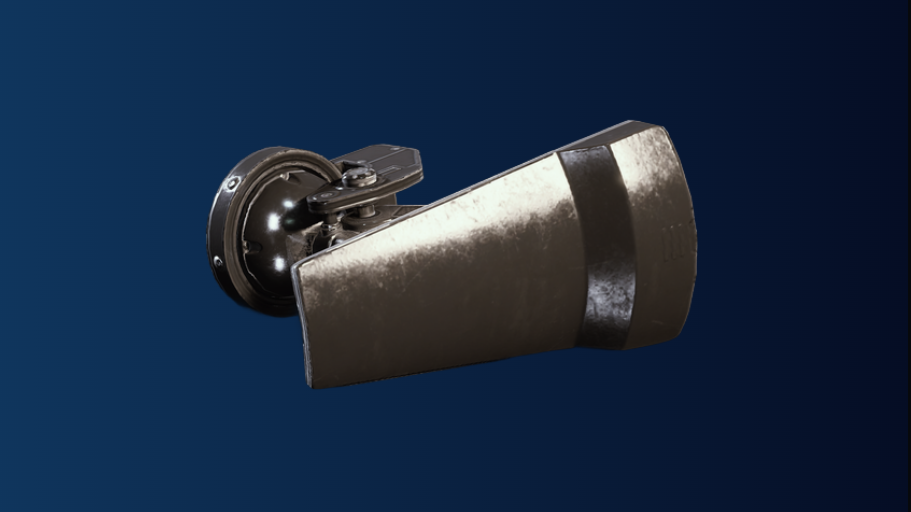
What a Shredder Gyro is and why it matters
Shredder Gyro is a rare, recyclable material item in ARC Raiders. It drops from destroyed Shredders and can’t be bought from traders or pulled from generic loot containers.
| Stat | Value |
|---|---|
| Item type | Recyclable material |
| Rarity | Rare (upgraded from Uncommon in patch 1.7.0) |
| Weight | 1.0 |
| Stack size | 3 |
| Sell price | 3,000 coins |
It is used in late‑game progression, most notably the second Expedition project, which asks for 10 Gyros. That’s why demand spiked as soon as that project went live.
Beyond projects, Shredder Gyros are valuable as raw resources. Recycling one yields three Mechanical Components and three ARC Alloy, while salvaging yields two Mechanical Components. If you’re already stocked on Gyros for projects, turning extras into alloy and components is one of the more efficient ways to feed high‑tier crafting.
Where Shredder Gyros drop
Shredder Gyros only drop from Shredders. There is no trader listing, courier drop, or alternative source mentioned anywhere in the current game ecosystem.
Right now, the practical answer to “where do I get Shredder Gyros?” is “Stella Montis.” Players consistently report farming them there, and that map is tied to Expedition milestones that explicitly reference Shredder Gyros. If you need 10 of them, you are going to Stella Montis.
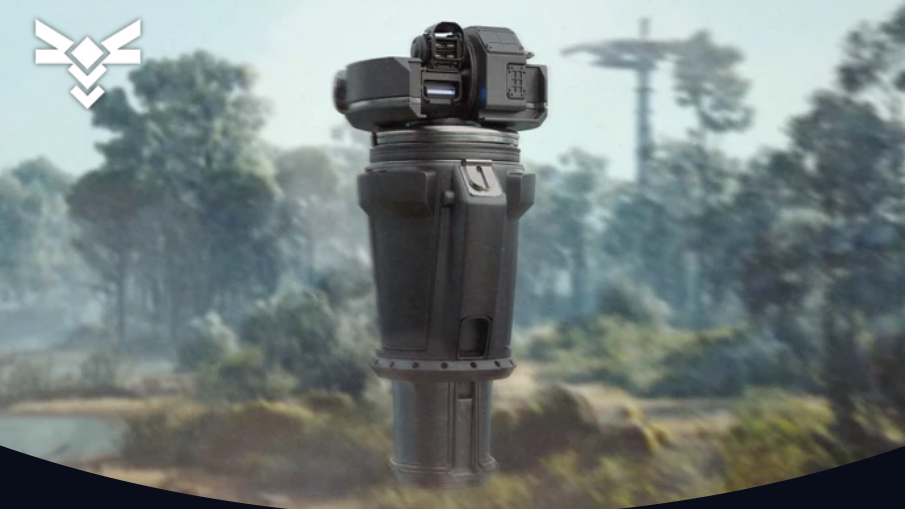
How Shredders behave and why they feel like bullet sponges
Shredders are floating ARC units that roughly match human height but move and spin in three dimensions. They patrol interior spaces, can fit comfortably in hallways, and are designed to punish sloppy pushes and mid‑fight greed.
Several players describe them as “team wipers.” Others push back and call them “too easy” as long as you respect them and play around cover. Both views make sense: their health pool is big enough that random potshots feel useless, but once you lean into focused burst, they go down much faster than the horror stories suggest.
The pain point is rarely the Shredder alone. The real problem is burning through ammo, shields, and grenades to kill one, only to be third‑partied by another squad that heard the fight. That’s especially true on Stella Montis, which has a reputation as the most PvP‑heavy map in the game.
Best map and hotspots for farming Shredder Gyros
Shredders can theoretically appear in different places, but Stella Montis is the only map that reliably delivers the density you need for Gyro farming.
Within Stella Montis, Shredders tend to show up in high‑value indoor areas and behind locked doors rather than out in the open. Community experience points to rooms like the lobby, medical research, the cultural archives, and the Atrium as strong bets. Some routes chain Atrium into archives and then out through the Seed Vault extraction, hitting multiple possible Shredder spawns in one loop.
Special key‑locked rooms on Stella Montis are another important source. Many Shredders sit behind those doors, so any run focused on Gyros should include key hunting and door clearing. When Night Raid is active, the odds of Shredders spawning go up, and scoring for killing them improves, which makes those windows particularly efficient for Gyro runs.
Spawn points are not fixed. You’ll see patterns over time, but every raid rolls its own combination of rooms and enemies. The most consistent way to find Shredders is to aggressively clear points of interest, especially interior POIs, rather than roaming dead hallways or low‑tier side rooms.
How many runs you should expect to need
To feed Expedition 2’s requirement of 10 Shredder Gyros, you need to kill multiple Shredders, and you need those kills to actually drop the Gyro each time. With average luck and a focused approach to Stella Montis, 10 Gyros can usually be completed in roughly four raids. Bad RNG and heavy PvP can stretch that out; clean runs where you chain several Shredders under Night Raid can compress it.
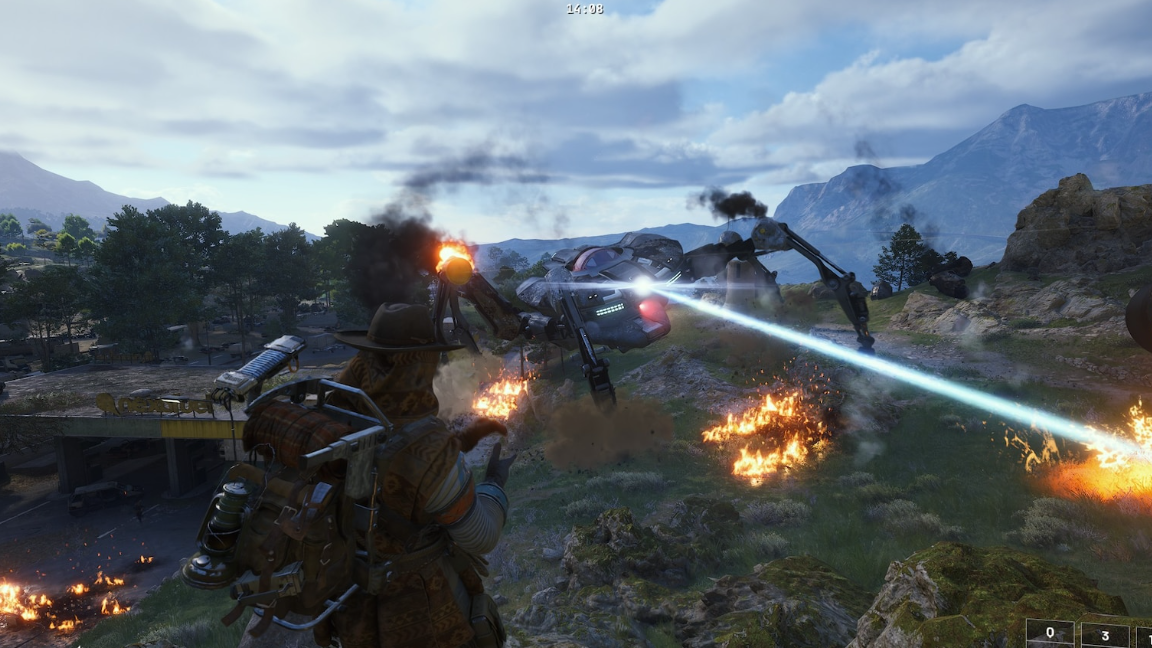
Recommended weapons and gear for killing Shredders
Shredders are tuned around burst damage, explosives, and line‑of‑sight manipulation. Treat them like miniature bosses, not like standard patrol bots.
Several approaches have emerged as consistent and ammo‑efficient:
- Heavy shotguns – Il Toro is a standout. With solid aim and smart positioning around pillars or doorways, players report needing around a dozen shells in PvE scenarios, sometimes less when crits land. The payoff is that the ammo you loot from the Shredder can come close to refunding the shells you spent.
- Heavy weapons – Jupiter and Hullcracker are both widely recommended as “can’t go wrong” options. Hullcracker users mention three shots as a typical kill budget when you connect cleanly, especially if you supplement with cover and timing.
- Grenades – This is where Shredders stop feeling like health sponges. Seeker grenades, Snap Blast, Trailblazer, and other high‑damage or tracking explosives are repeatedly cited as the quickest way to delete a Shredder. Four Seeker grenades or about three Snap Blast grenades, placed well, are often enough to end the fight in seconds.
- Light grenades and thruster shots – Some players have success with “five light grenades or a couple of weapon clips aimed at the thruster,” focusing on weaker parts rather than spreading damage.
Grenades that stick to surfaces or track targets deserve special mention. Shredders float and move unpredictably, but they still path through chokepoints and doors. Stick grenades to a doorframe or a surface you know they will cross, or tag the Shredder directly with adhesive explosives and retreat behind cover before the detonation.
Shredder tactics: staying alive while you farm
Mechanically, Shredders aren’t complex. The difficulty comes from fighting them in cramped spaces, under pressure from other Raiders, with limited escape options. A few consistent patterns help keep you alive long enough to loot the Gyro.
Use cover as a reset button. Shredders telegraph their big attacks and don’t move once they commit. If you’re fighting near a pillar or doorway, you can pump damage into them, then duck behind cover as they charge up. In doorways, be ready to “trade sides” with them – stepping through to the other side as they fire, forcing their shots into the doorframe instead of your shield.
Treat one player as bait in squads. In group runs, designate a Raider to hold aggro. Their job is to keep line of sight and dodge, not to top the damage chart. The rest of the squad abuses the Shredder’s tunnel vision, free‑firing from flanks or behind where armor is weaker.
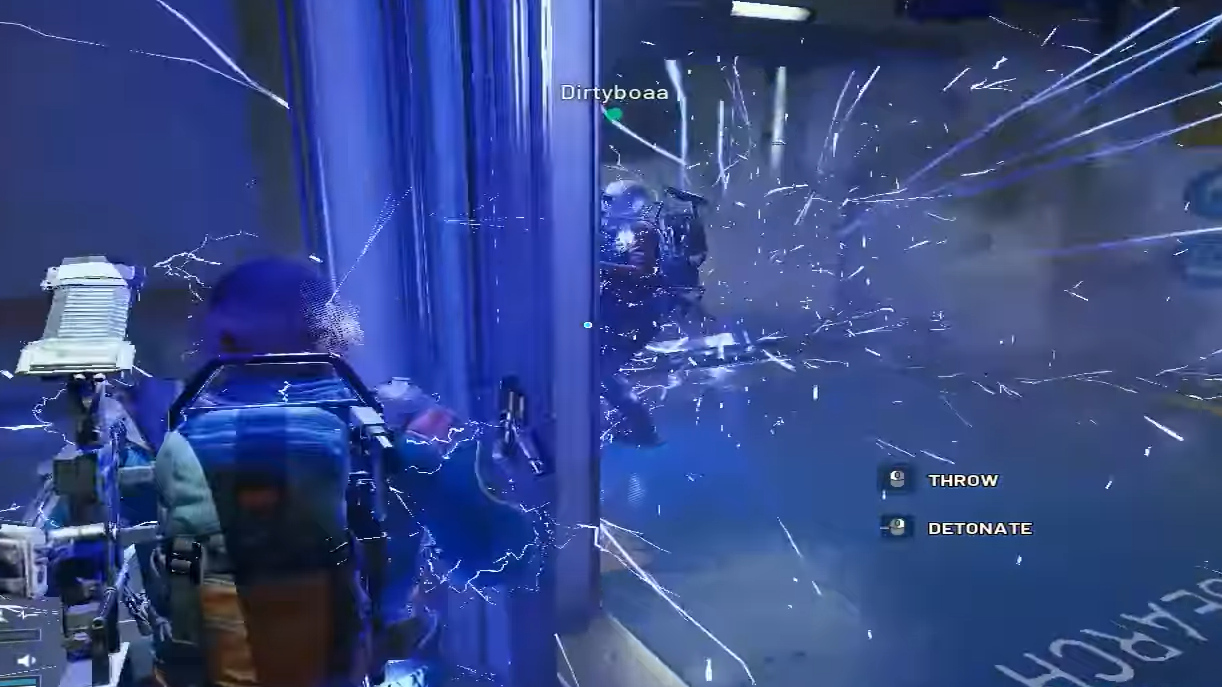
Abuse doors. Closing a door between you and a Shredder just before it fires can block entire attack cycles. Snap Blast grenades are especially effective when you can stick them to the door, close it, and let the explosion happen while you’re completely safe on the other side.
Front‑load your damage. Because third parties are such a problem on Stella Montis, the safest Shredder fight is the shortest one. Go in with the intent to spend grenades and heavy ammo immediately rather than “saving them for later.” Four Seeker grenades or a cluster of Trailblazers will finish the job faster than protracted peeking.
Plan your extraction route. Many Gyro farmers run a fixed loop: start at a Shredder‑dense POI like Atrium, sweep nearby high‑value rooms such as archives, then move toward an extraction like Seed Vault. The goal is to secure at least one Gyro per loop and get out before another squad decides your hard work should be theirs.
Loadout planning for repeat Shredder runs
Since Stella Montis will likely pull you back for later Expedition stages anyway, it makes sense to build a dedicated Shredder farming loadout.
- Primary damage plan – Pick one of the high‑burst options (Il Toro, Jupiter, Hullcracker) as your anchor. Make sure you’re comfortable with its recoil and reload rhythm in tight spaces.
- Grenade slot – Favor Seeker, Snap Blast, Trailblazer, or other grenades that either lock on or deal reliable burst in small rooms. Light grenades can work if you’re specifically aiming at thrusters and have the aim to back that up.
- Ammo management – Players farming Hullcracker often stash extra ammo in a safe pocket, especially at level 2, then rotate it out as they spend shells on each Shredder. This keeps you from running dry mid‑route.
- Defensive tools – Shields and heals matter less if your plan is to hard‑burst from cover and disengage quickly, but on Stella Montis, assume other Raiders will show up. Pack at least one emergency shield recharge and enough healing to survive a third‑party push just after a Shredder kill.
What to do with Shredder Gyros once you have them
Once you’re holding a stack of Shredder Gyros, you have three main options.
- Feed Expedition 2 and later projects. This is the non‑negotiable use if you want to see all of ARC Raiders’ endgame content. Plan to reserve the first 10 Gyros you loot for the Expedition 2 project requirements before doing anything else with them.
- Recycle for ARC Alloy and Mechanical Components. Each Gyro you recycle becomes three ARC Alloy and three Mechanical Components. That’s a strong conversion rate for any build that is alloy‑gated, especially if you’re already farming Stella Montis for other rare parts like Frequency Modulation Boxes and Ion Sputters.
- Salvage for extra Mechanical Components. If you only care about Mechanical Components and want to preserve alloy from other sources, salvaging turns each Gyro into two components instead. Recycling is more material‑dense overall, but salvaging gives you flexibility if your inventory balance is skewed.
If you’re done with Expedition requirements and find yourself sitting on Gyros, it is completely reasonable to treat Shredders as mobile resource nodes: clear them when convenient, recycle the parts, and treat Stella Montis as a late‑game crafting farm rather than a one‑time Expedition chore.
Shredder Gyros feel rare because the grind is concentrated into one hostile map and one nasty enemy type. Once you lean into explosives, cover play, and tight interior routes, that grind compresses into a handful of focused raids instead of a week‑long slog.