
The Dragon's Stone Chamber is one of Crimson Desert's trickiest ancient ruins — a hidden puzzle room tucked into the Hernand Highlands that requires you to track down cliff-face murals across the open world, then rotate three illustrated discs to match. If you'd rather skip the scavenger hunt, the exact disc orientations are below.
Quick answer: Rotate the Sun and Moon disc so the celestial bodies face upward (north), set the Scorpion disc so its claws point northwest, and position the Spiral disc with the larger spiral in the upper-right quadrant. A door opens on the north wall, revealing an Abyss Cresset and the Memories of Abundance consumable.
Dragon's Stone Chamber location
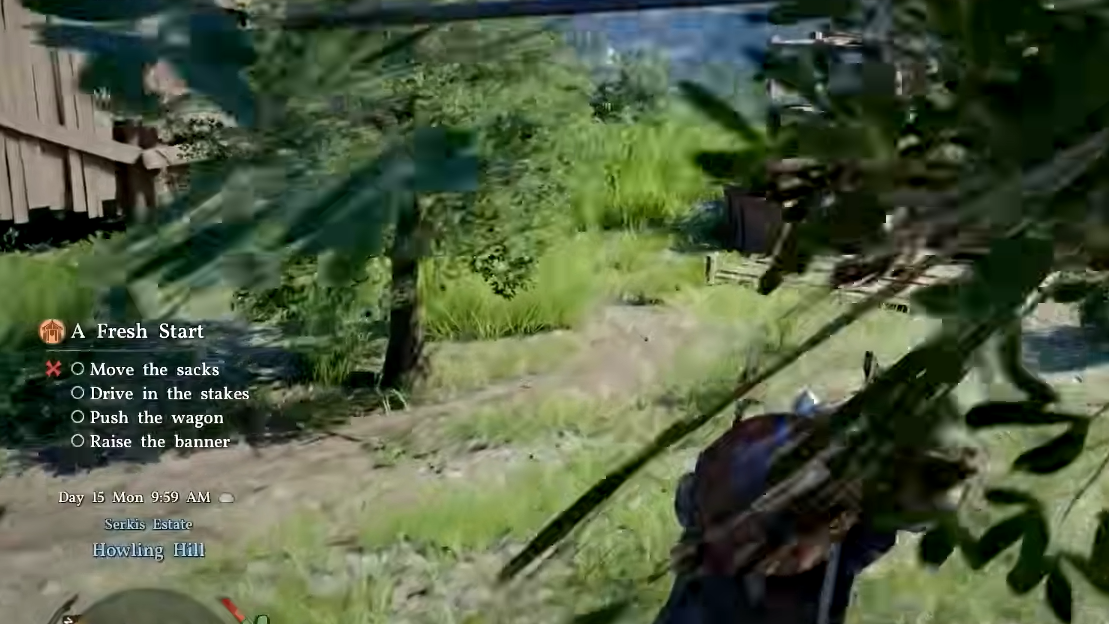
The chamber sits roughly 700 meters south-southeast of Hernand Town, but the fastest route is from the Greymane Camp on Howling Hill. Head southeast from camp — or south from your player house — until you spot a massive hole in the ground. A question-mark icon on the map flags the area's mysterious energy once you've completed the "A Fresh Start" quest.
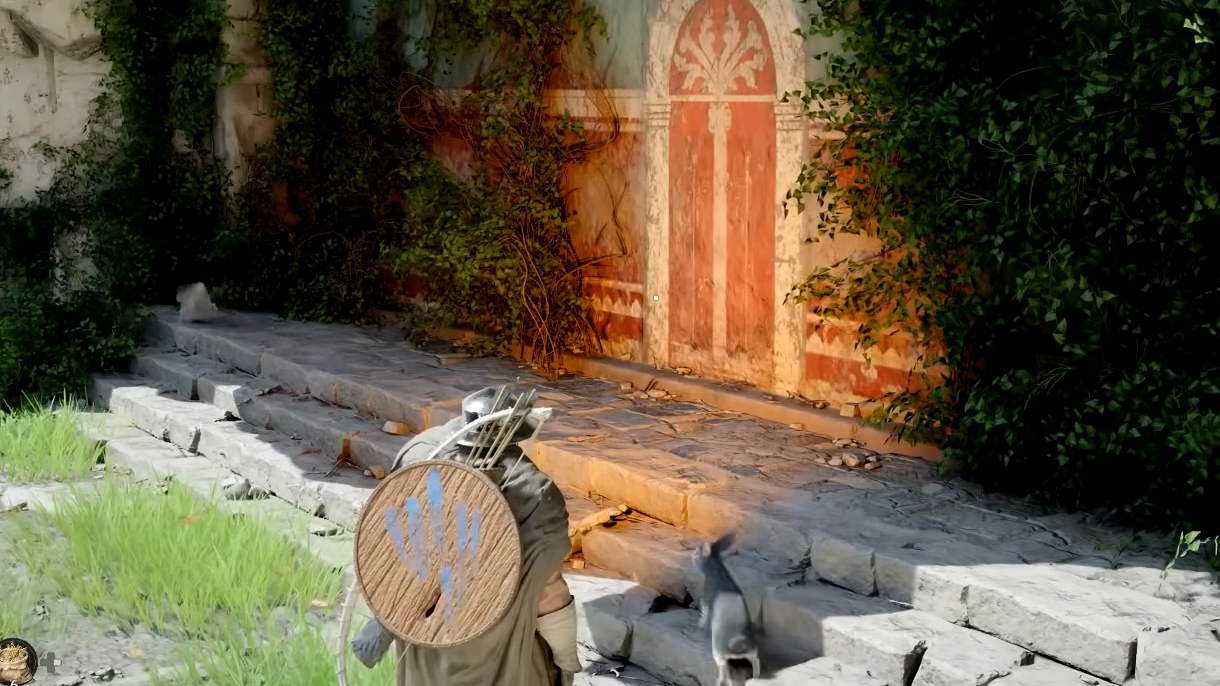
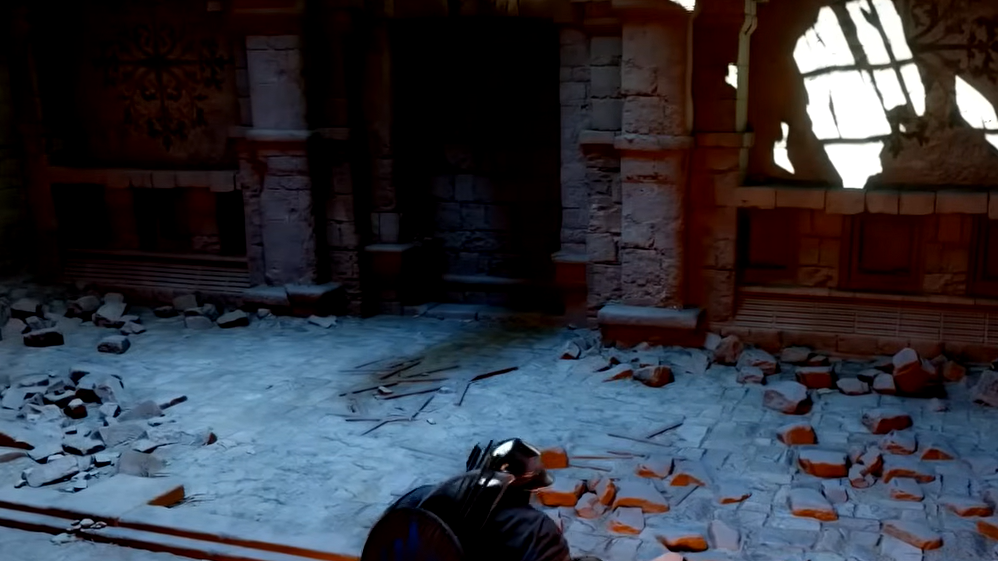
Don't just jump straight down. Look for an opening in the rock wall on the northwest side of the pit. The easiest approach is to glide in from the southeast rim of the hole so you land directly at the entrance. If you miss, you'll need to climb the wall from the bottom, which is slower but still possible.
Opening the sealed door
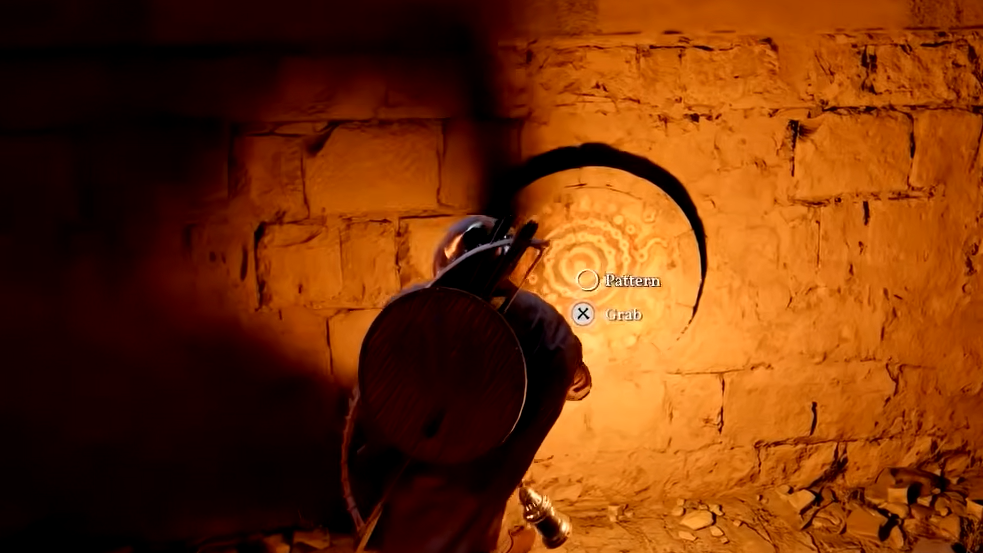
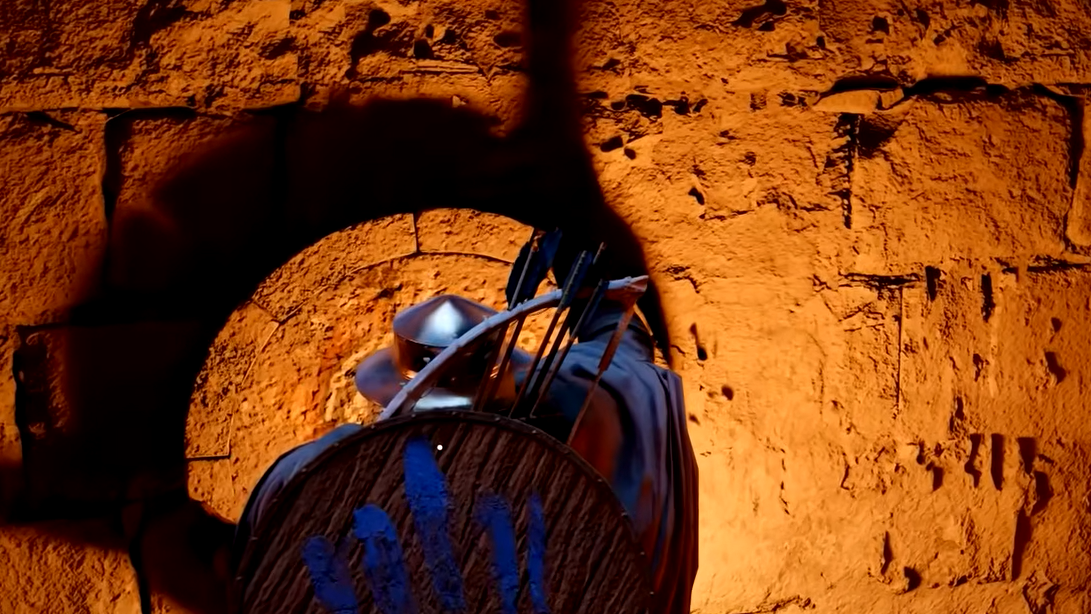
Step 1: Once you reach the carved cliff face, pull out your lantern. Shadowy outlines of soldiers will appear, and your lantern will glow to indicate a collectible memory nearby.
Step 2: Equip the Visione and watch the stored memory to complete the lore trigger.
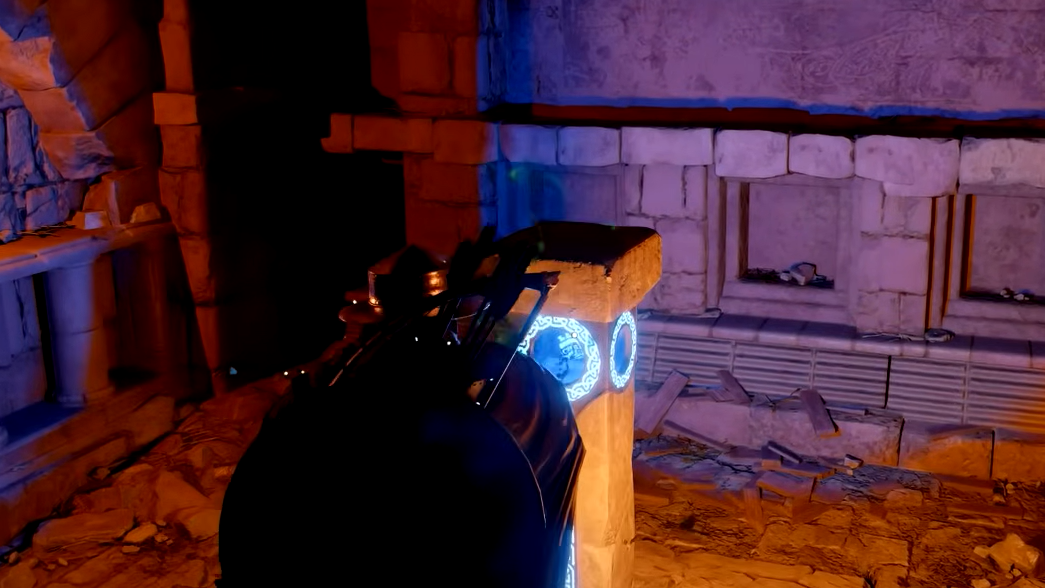
Step 3: Stand in front of the central painted mural — the one depicting a tree — and push it. Hold the input for several seconds. The wall slowly slides open, revealing the puzzle chamber inside.
Understanding the puzzle clues
Inside the chamber, you'll find a pit containing three ornate dials, each decorated with a distinct illustration. You can interact with each dial to rotate it, and you'll hear a click at fixed intervals. The dials need to land on very precise orientations — near-exact alignment is required for the puzzle to register as solved.
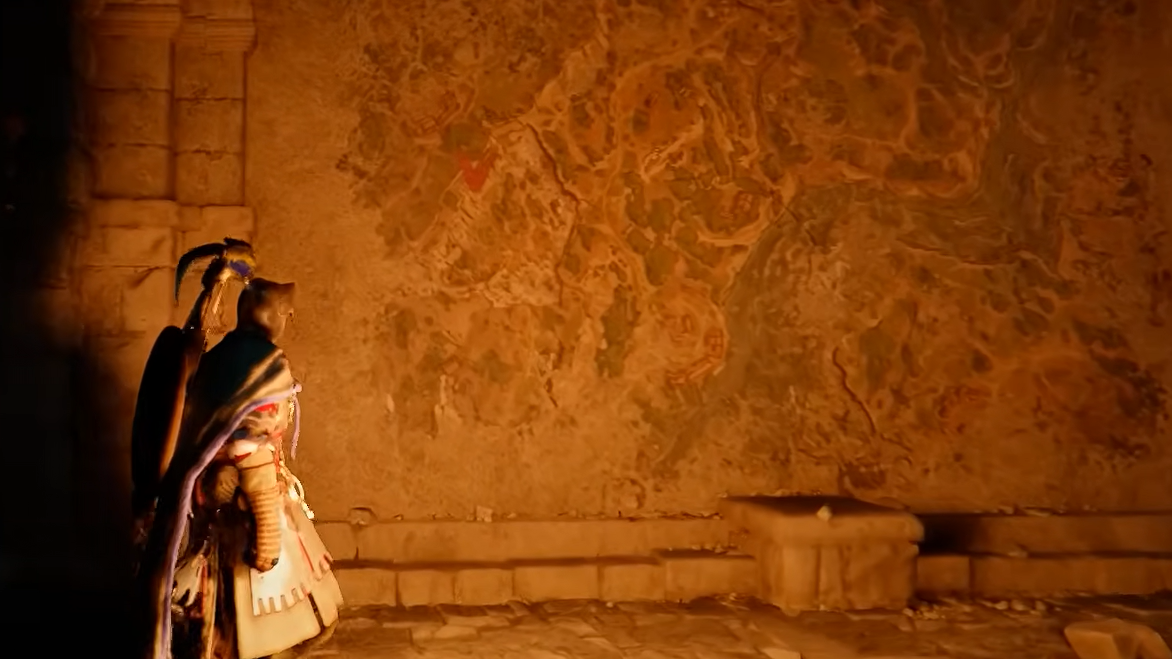
Both the east and west walls of the room display a large painted map of the Hernand region. Three red check marks on the map pinpoint locations where matching murals have been painted onto cliff faces in the overworld. The prominent building visible in the upper-right portion of the painted map corresponds to the Halssius House of Healing, which helps you orient the map against your in-game world map. Note that the painted map is not necessarily oriented with north at the top, but the relative positions and distances of landmarks are accurate.
Where to find each mural in the overworld
All three murals are painted on cliff faces near Anvil Hill, roughly 350 meters northwest of the House of Healing. If you want to discover them yourself, follow the cliffside leading up onto Anvil Hill and keep your eyes on the rock walls.
| Mural | Location | What it depicts |
|---|---|---|
| Sun and Moon | Cliffside near the northern rivulet, east of Anvil Hill | A sun and moon connected to a spiral motif |
| Black Spirals | Slightly northeast along the same cliffside | Two black spirals — one large in the upper right, one small in the lower left |
| Scorpion | About 400 meters southwest along the cliff from the first two | A coiled scorpion shape with its claws extending to the left |
You do not actually need to visit these murals to complete the puzzle. As long as the discs are rotated to the correct positions, the chamber door will open regardless of whether you've seen the cliff paintings.
Dragon's Stone Chamber disc solutions
Hop into the pit and rotate each dial to match the orientations below.
| Dial | Correct orientation |
|---|---|
| Sun and Moon | Sun and moon symbols facing upward (toward the north side of the dial) |
| Scorpion | Claws pointing northwest — the pincer end is slightly slanted upward to the left |
| Spiral | Larger spiral sits in the upper-right quadrant, smaller spiral in the lower left |
Once all three are correctly set, a door on the north wall of the chamber slides open.
Dragon's Stone Chamber rewards
Behind the door, you'll find an Abyss Cresset holding an Abyss Artifact, which grants an additional Abyss Artifact skill point. You'll also receive the Memories of Abundance, a consumable item that reveals every hidden location across the Hernand region on your map.
The Abyss Cresset doubles as a fast travel point, giving you a convenient teleport destination close to your home — though it is at the bottom of the pit, so you'll still need to climb or glide out. On the bright side, there are diamond deposits in the surrounding cave worth grabbing on your way up.
The Dragon's Stone Chamber is one of several mural-based puzzles spread across Pywel. If you enjoyed the format, similar challenges await at the Azure Moon Labyrinth, the Secret Chamber of the Golden Plains, and various Ancient Ruins scattered throughout the world. Each follows a comparable pattern of tracking down environmental clues and aligning mechanisms for an Abyss Cresset reward.