
The Shrouded Sky update for ARC Raiders introduced the hurricane map condition, and with it came a new type of loot container called First Wave Caches. These special raider cache variants only appear during active hurricane events and contain some of the rarest loot in the game, including purple-tier weapon blueprints that previously required grinding specific map conditions like Hidden Bunker or Locked Gate for dozens of hours.
Quick answer: First Wave Caches spawn at existing raider cache locations during hurricane events on all maps except Stella Montis. Roughly 1 in every 5–10 Raider cache markers will have one per raid. Listen for a distinct electric hum (not the usual mechanical ticking), and use headphones to track them down.
What First Wave Caches contain
The loot pool for First Wave Caches is narrow but extremely valuable. The headline drops are three purple weapon blueprints: Tempest, Bobcat, and Vulcano. Before the hurricane event, the Tempest blueprint was notoriously difficult to obtain, and the Vulcano and Bobcat were locked behind specific map conditions. First Wave Caches have made all three available on every hurricane-eligible map.
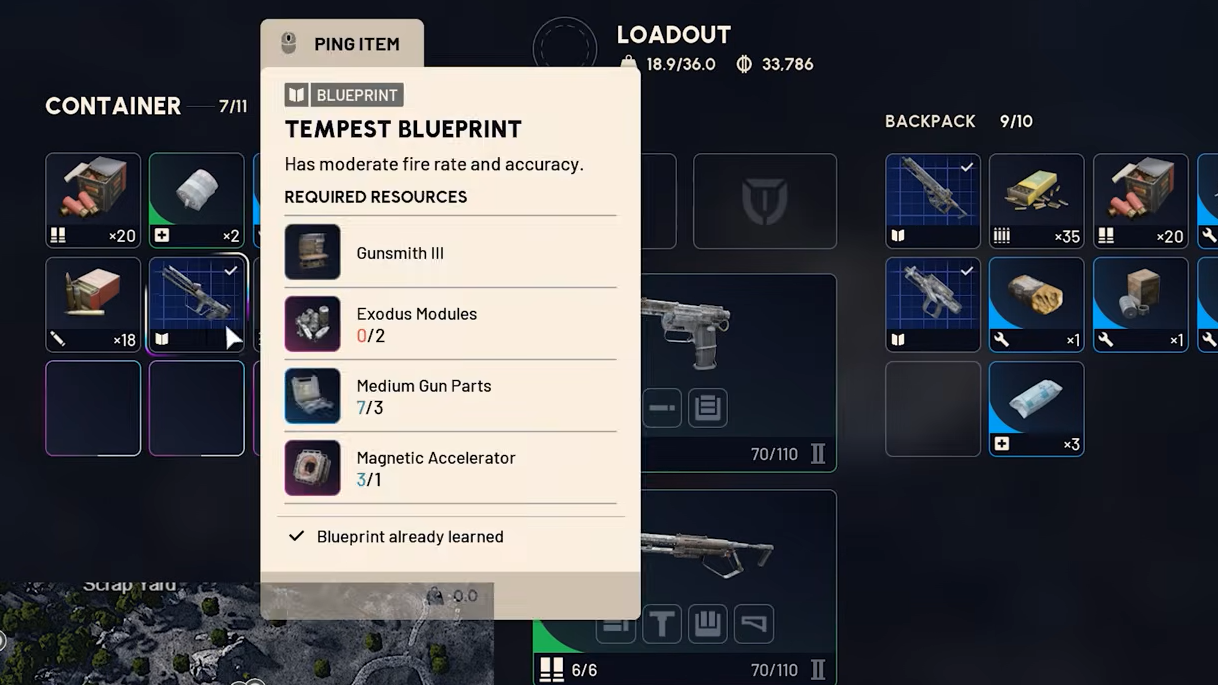
Beyond blueprints, these caches regularly contain high-grade healing items like Vitashot, Sterilized Bandage, and Herbal Bandage. You'll also find ready-to-use purple-tier weapons such as the Renegade, Anvil, and Torrente, along with premium mods like Exodus Modules and Magnetic Accelerators. A focused one-hour farming session across five raids can yield multiple blueprints and over 500,000 credits worth of sellable loot.
The blueprint drop rate is notably generous. Roughly 60 percent of unopened caches contain at least one blueprint, with Tempest appearing slightly more often than Bobcat or Vulcano. Individual runs vary — some produce multiple purple blueprints, others none — but across several raids, the accumulation is significant. Many players have reported pulling two Tempest blueprints from a single run.
Where First Wave Caches spawn
First Wave Caches use the same spawn points as regular raider caches, but they're considerably more sparse. Not every raider cache marker will have a First Wave Cache in any given raid. Expect roughly one cache for every five to ten possible markers, with the specific locations randomized each match. The caches appear on Dam Battlegrounds, Blue Gate, Spaceport, and Buried City during active hurricane conditions. Stella Montis is excluded because it's an indoor map.
Dam Battlegrounds has the highest density of raider cache markers, making it the most efficient map for farming. Its open terrain also lets you move between potential spawn points quickly. Blue Gate is a strong alternative with good cache distribution and easy access to extraction points — many players report consistent finds there. Spaceport works well if you spawn in a favorable position. Buried City has decent marker density on paper, but its vertical layout and complex terrain make caches harder to locate in practice, and many players report difficulty finding any caches there at all.
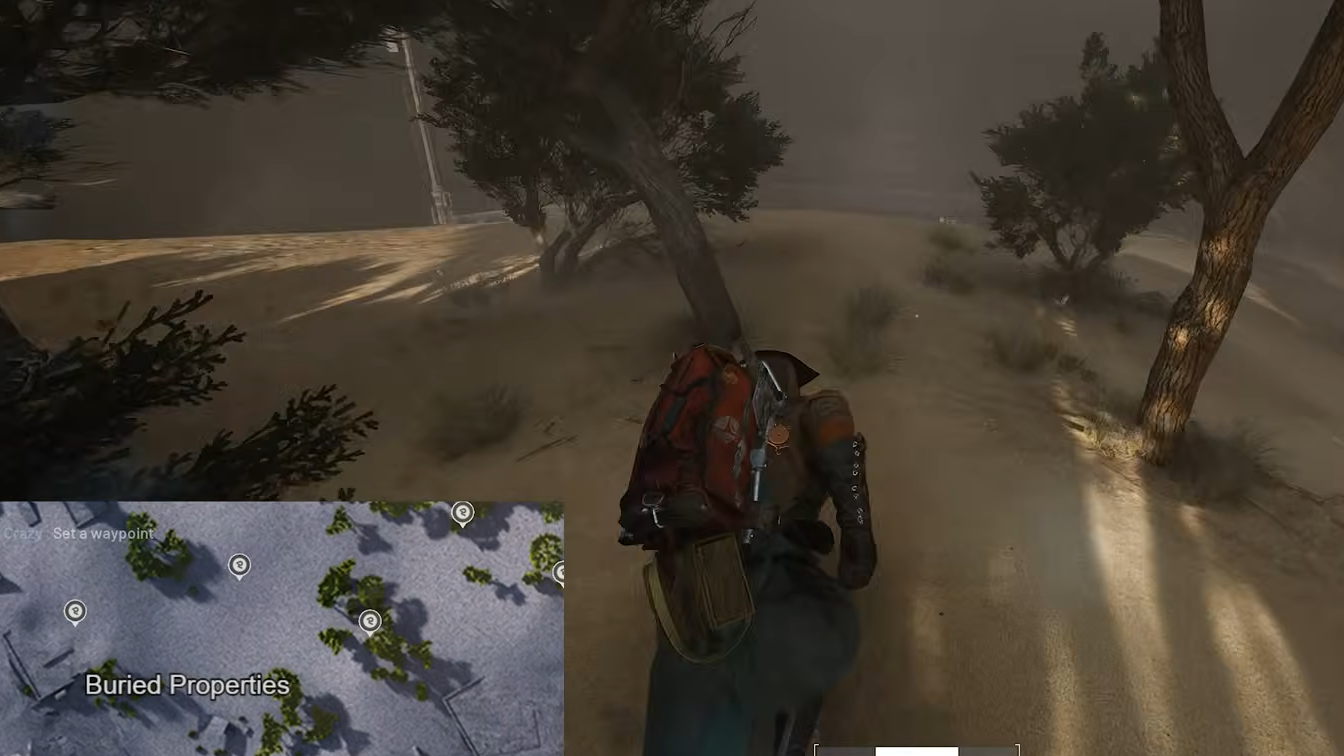
Interactive community maps on tools like Metaforge show all raider cache markers. Filtering for both "raider cache" and "hurricane cache" markers gives you the full picture of possible spawn locations. Keep in mind these markers represent potential spawns, not guaranteed ones.
Finding caches by sound
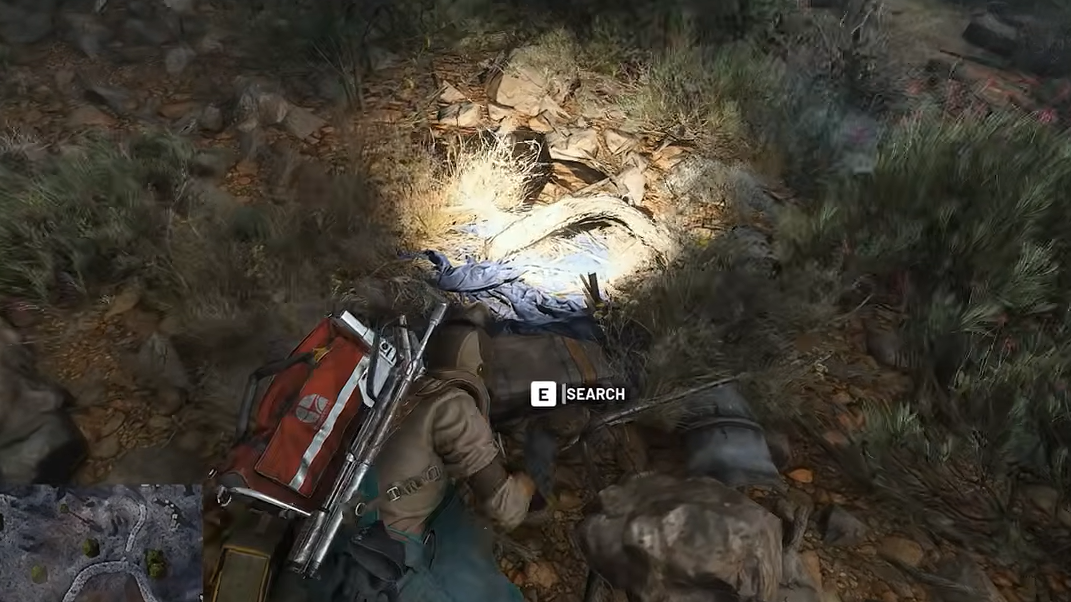
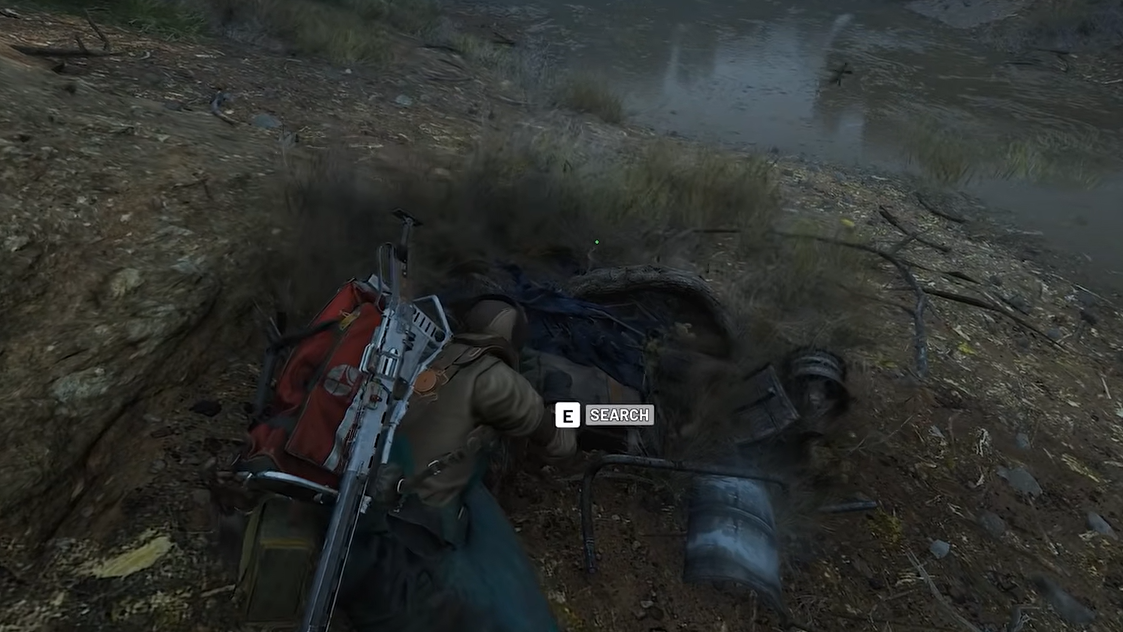
Visually spotting First Wave Caches is extremely difficult. They're low-profile containers partially hidden in undergrowth and debris, and the hurricane's visual effects make everything harder to see. The reliable method is audio detection.
First Wave Caches emit a rhythmic electric hum that's distinctly different from the gentle mechanical ticking of regular raider caches. The sound is louder and has a clear electronic quality to it. Once you've heard it, it becomes instantly recognizable. Headphones are essentially mandatory — the directional audio lets you pinpoint which way to walk, and the hurricane's ambient wind noise makes it nearly impossible to pick up the hum through speakers.
A useful trick: face away from the wind direction. The hurricane audio is directional, and turning your back to the wind reduces the ambient noise competing with the cache's hum. When you think you hear something, stop moving completely and listen for the repeating pattern. Then slowly rotate to identify the direction where the sound is strongest and walk toward it.
The naked run farming strategy
Competition for First Wave Caches is intense right now. Because everyone is farming them, caches get looted within the first few minutes of a raid. The community has converged on a speed-focused approach called the "naked run" that prioritizes blueprint acquisition over traditional extraction.
Step 1: Select the empty "naked" loadout before queuing. This loadout carries no weapons or augments but still includes a safe pocket, which is the critical piece.
Step 2: Load into a hurricane map — Dam Battlegrounds or Blue Gate are the strongest choices. As soon as you spawn, check the nearest cluster of raider cache markers and sprint directly to them.
Step 3: Listen for the electric hum as you approach each potential spawn. Check multiple markers quickly. If you find a cache, open it and immediately move any blueprint (Tempest, Bobcat, or Vulcano) into your safe pocket.
Step 4: Open the menu and select Surrender. Your safe pocket contents return to Speranza with you regardless of how you leave the raid. Queue for another match immediately and repeat.
Step 5: If you spawn into a raid that's already well underway (15 minutes or less remaining), surrender immediately and requeue. The caches are likely already looted.
This approach works because it compresses the time per blueprint from 20–40 minutes down to 2–5 minutes. You lose nothing by surrendering since you brought nothing in. There's no PvP risk, no need to navigate to extraction, and each new raid gives you a fresh set of potential cache spawns. If you happen to find multiple caches before surrendering, you can grab extra loot — but the priority is getting one blueprint into that safe pocket as fast as possible.
Traditional farming during off-peak hours
If you're playing when competition is lower, the traditional approach still works well. Bring a proper loadout with safe pockets and plan a route that hits five to seven raider cache marker clusters across the map. Move from cluster to cluster, listening at each one, and stash any blueprints in safe pockets the moment you find them. End your route near an extraction point.
Wind direction matters for route planning. Running with the wind gives you a noticeable speed boost, while running against it drains stamina and slows you considerably. Check the wind direction as soon as you spawn and bias your route to travel downwind whenever possible. Reaching cache locations before other players is the single biggest factor in successful farming.
Another option worth considering is solo-versus-squad lobbies. Most players in those lobbies are busy looting or searching for caches themselves, which can mean less direct competition for the First Wave Caches compared to friendly solo lobbies where everyone is running the same naked farming strategy.
Hurricane hazards and shield management
The hurricane condition introduces environmental mechanics that affect how you move and fight. Flying debris constantly peppers your shield, causing it to spark and malfunction. This sparking is visible to other players and ARCs, effectively broadcasting your position. Remove your shield when traveling outdoors to avoid both the visibility issue and the gradual durability damage. You can quickly re-equip it by double-clicking the shield in your inventory (or pressing X on Xbox / Square on PlayStation).
Two new ARC enemy types patrol hurricane maps. The Comet is an armored explosive unit that charges at high speed — think of a Pop on steroids. Getting to high ground neutralizes it since it can't reach elevated positions. Two Seeker shots or about five Renegade rounds will bring one down. The Firefly is a flamethrower variant of the Hornet with heavy armor plating. Its weak point is a yellow fuel canister on its underside, but it's evasive and will drop altitude the moment you aim at it. Both enemies drop crafting components (Comet Igniters and Firefly Burners) needed for the updated explosive recipes.
If you're doing naked runs, these enemies are mostly irrelevant — you'll be sprinting past them. For traditional farming runs, bring serious firepower and keep safe pockets loaded with your most valuable finds at all times.

The current blueprint drop rates from First Wave Caches are widely considered generous, and there's reasonable speculation within the community that Embark Studios may reduce them after the current expedition period ends. A similar pattern occurred before the previous expedition, when blueprint drop rates were temporarily increased. If you've been hunting for a Tempest, Bobcat, or Vulcano blueprint, the hurricane event is the most efficient opportunity to date.