
Audio output devices like default speakers can disappear from Windows 11 when their drivers are uninstalled by mistake. This leads to the “No audio device installed” message, loss of sound, or missing playback options in your sound settings. Recovering your default speakers requires a series of targeted troubleshooting steps that address both software and driver-level issues. Below are several methods to systematically restore your audio functionality, beginning with the most direct and effective solutions.
Scan for Hardware Changes in Device Manager
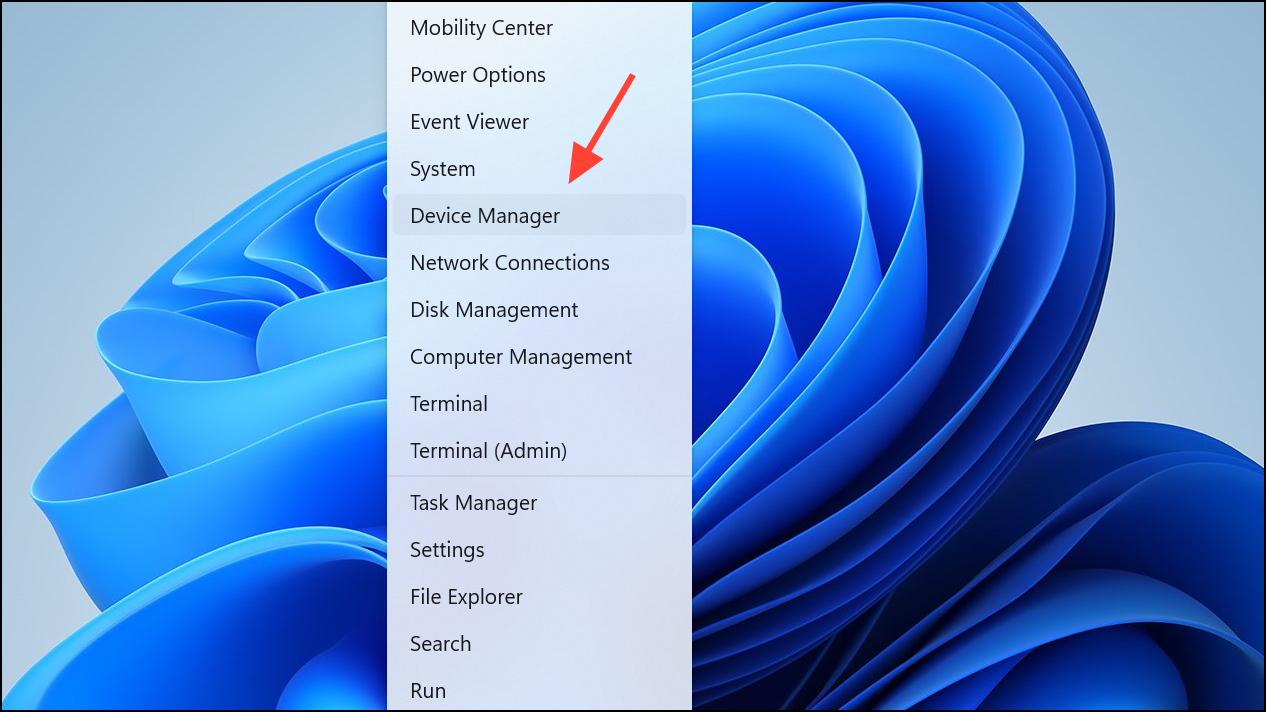
Step 1: Open Device Manager by right-clicking the Start button and selecting Device Manager. This utility displays a list of all hardware recognized by Windows.
Step 2: If you do not see your audio device listed under Sound, video and game controllers, click the View menu and select Show hidden devices. This reveals devices that may be disabled or not currently connected.

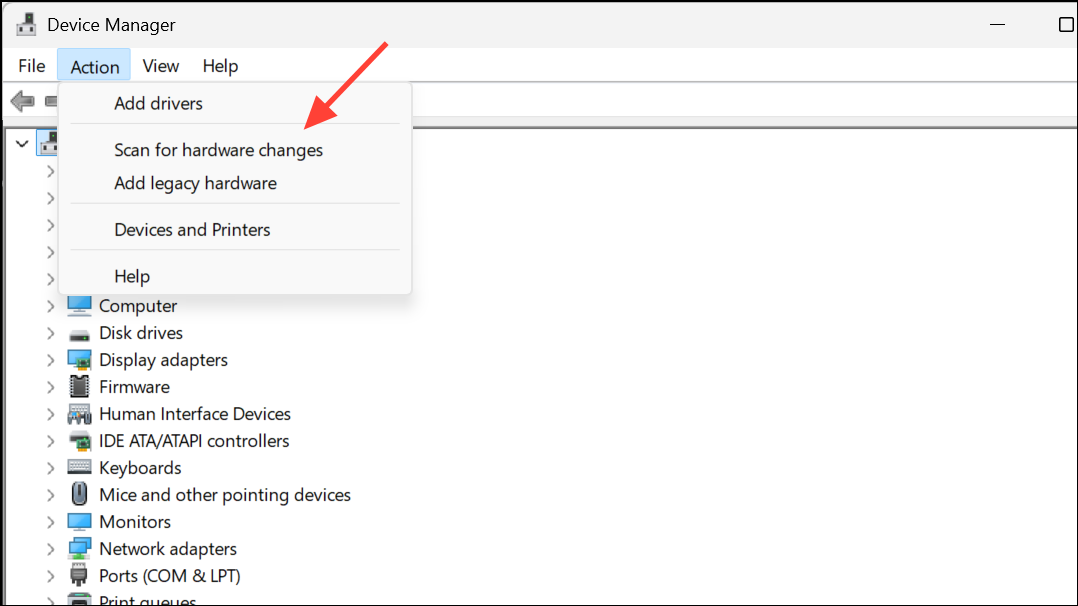
Step 3: At the top of Device Manager, click the Action menu and choose Scan for hardware changes. Windows will search for any missing drivers or hardware and attempt to reinstall them. If your speakers reappear, test audio output immediately.
Update or Reinstall Audio Drivers
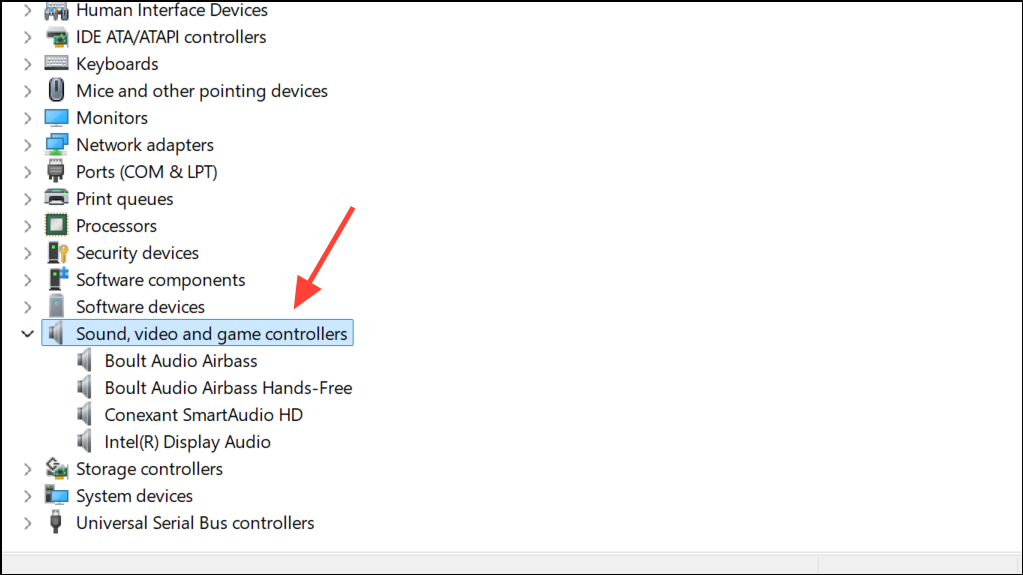
Step 1: In Device Manager, locate your audio device under Sound, video and game controllers. If there’s a yellow warning icon, the driver may be missing or corrupted.
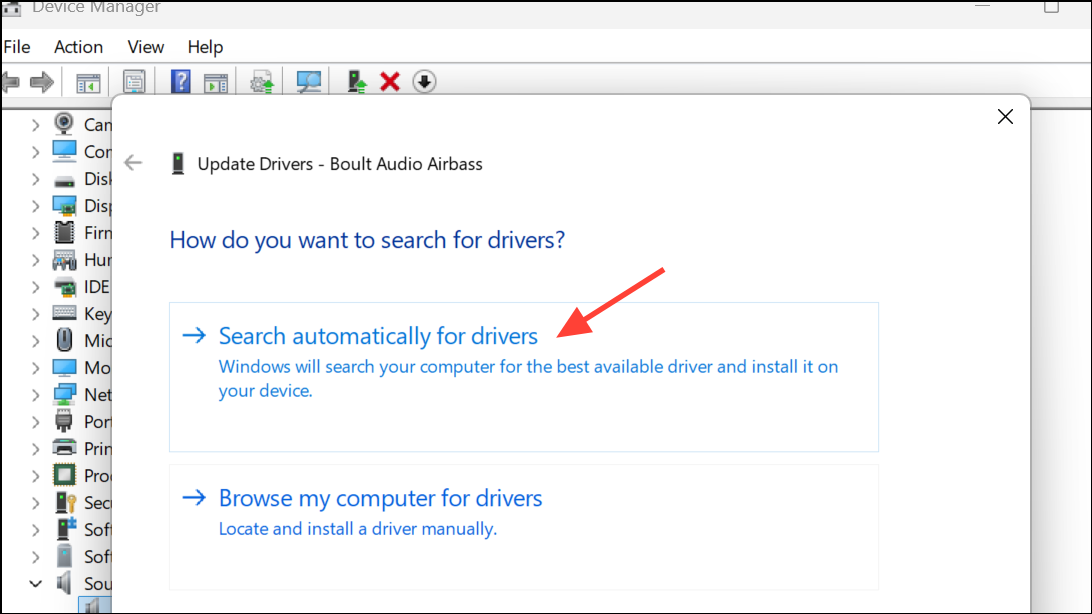
Step 2: Right-click the device and select Update driver. Choose Search automatically for drivers to let Windows find the latest compatible driver.
Step 3: If Windows cannot find a suitable driver, visit your computer manufacturer’s official support website. Enter your exact model number and download the recommended audio driver (often Realtek, Conexant, or Intel). Run the installer and restart your computer to complete the process.
Step 4: If the device does not show up at all, use Add legacy hardware in Device Manager’s Action menu to manually install a generic audio driver. Follow on-screen prompts to select and install a compatible driver.

Run the Windows Audio Troubleshooter
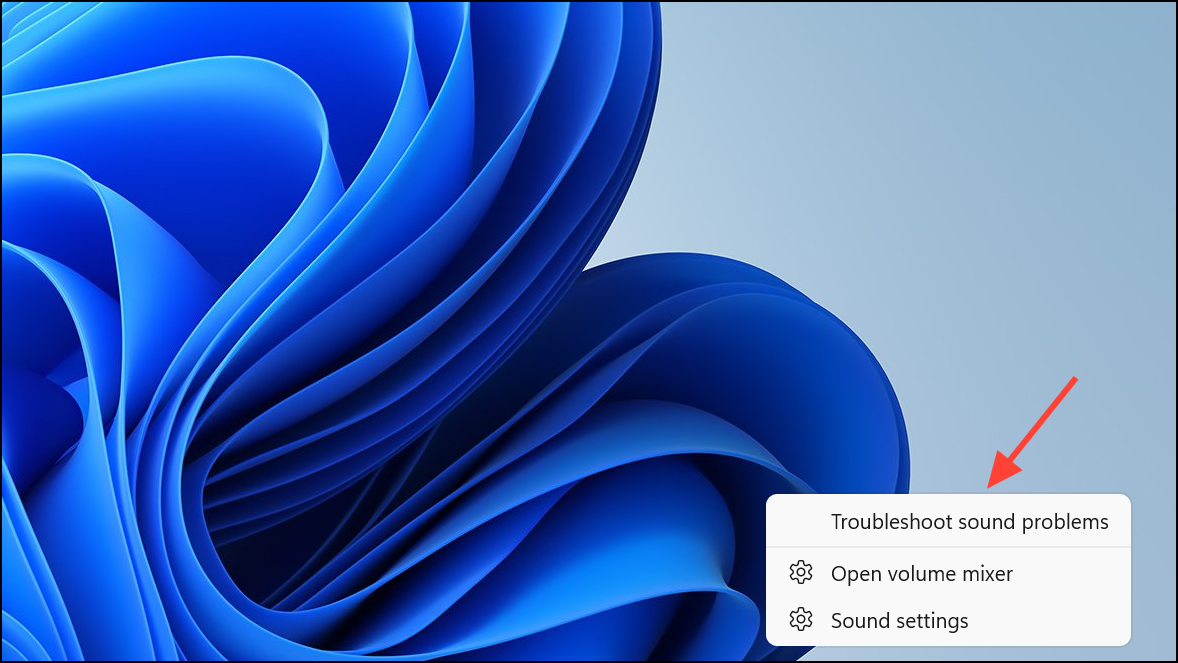
Step 1: Right-click the speaker icon in your taskbar and select Troubleshoot sound problems. This launches the built-in troubleshooter, which scans for common configuration and driver issues.
Step 2: Follow the prompts to let Windows automatically detect and resolve audio issues. The troubleshooter may re-enable disabled devices, reinstall missing drivers, or adjust misconfigured settings.
Step 3: After troubleshooting completes, restart your computer and check if your default speakers are restored and functioning.
Check Windows Update for Audio Driver Recovery
Step 1: Open Settings using Windows key + I, then go to Windows Update.
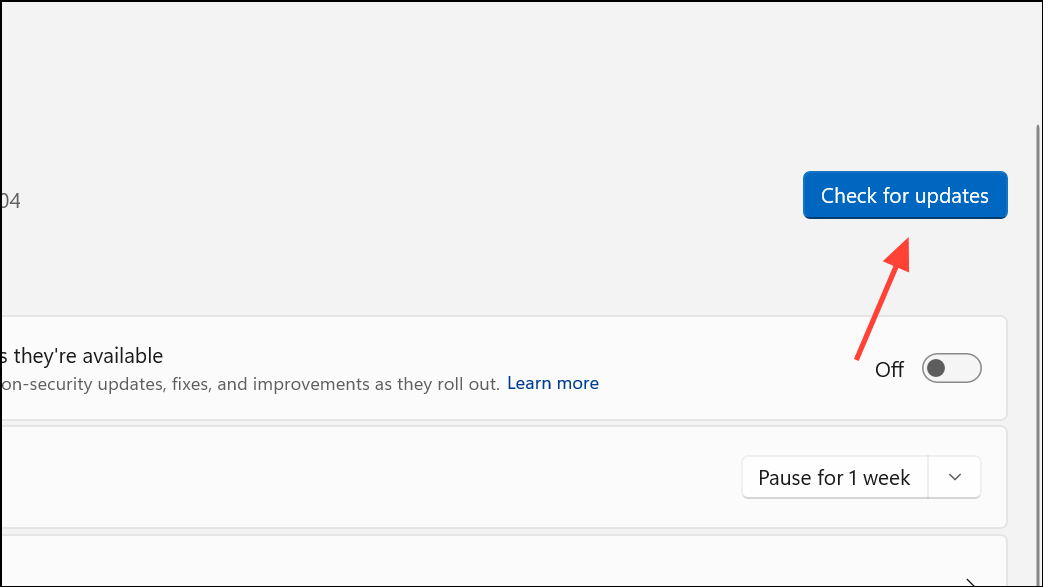
Step 2: Click Check for updates and install any available updates. Sometimes, Windows Update provides new or missing drivers for your hardware, including audio devices.
Step 3: If there are “Optional updates” available, expand that section and look for audio or sound driver updates. Install them and restart your PC.
Use Manufacturer’s Support Software
Many laptop and desktop brands offer dedicated utilities to manage drivers and system updates. These tools can identify missing or outdated audio drivers and reinstall them automatically.
- For ASUS: Use the MyASUS app.
- For Dell: Use Dell SupportAssist or Dell Update.
- For HP: Use HP Support Assistant.
- For Lenovo: Use Lenovo System Update.
Open the relevant app for your device, run a system scan, and allow it to install recommended audio drivers. Restart your computer after installation.
Restore Disabled or Hidden Audio Devices
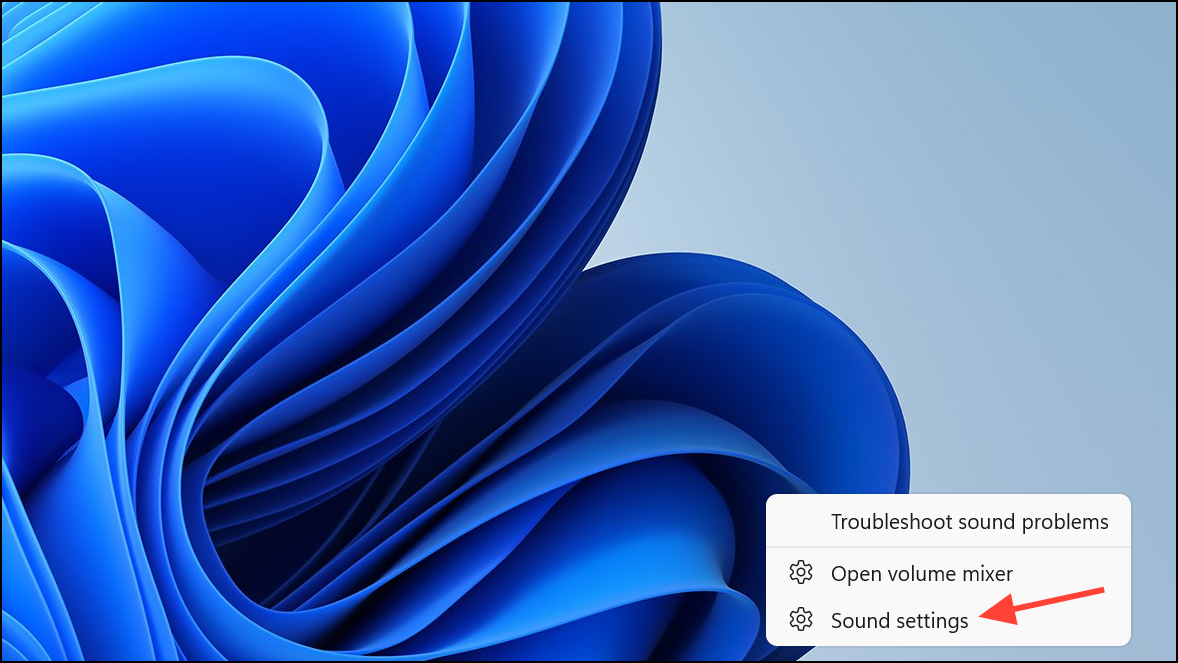
Step 1: Right-click the speaker icon in the taskbar and select Sound settings or Sounds.
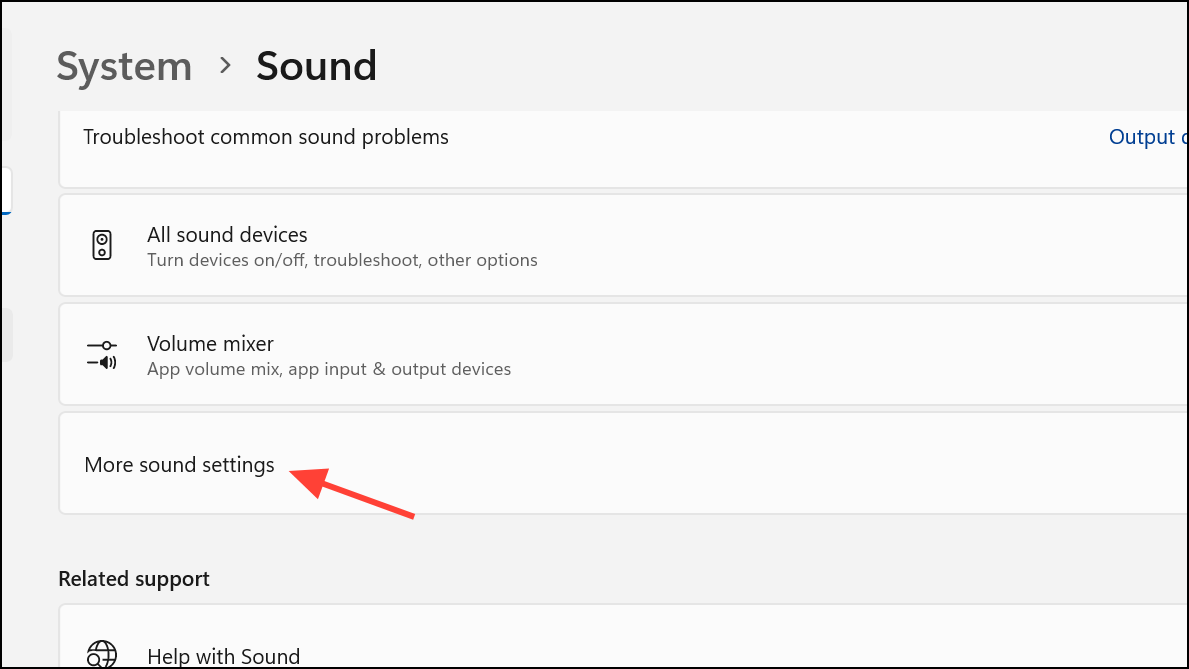
Step 2: Scroll down the Sound Settings page and click More sound settings to open the classic Control Panel sound dialog box.
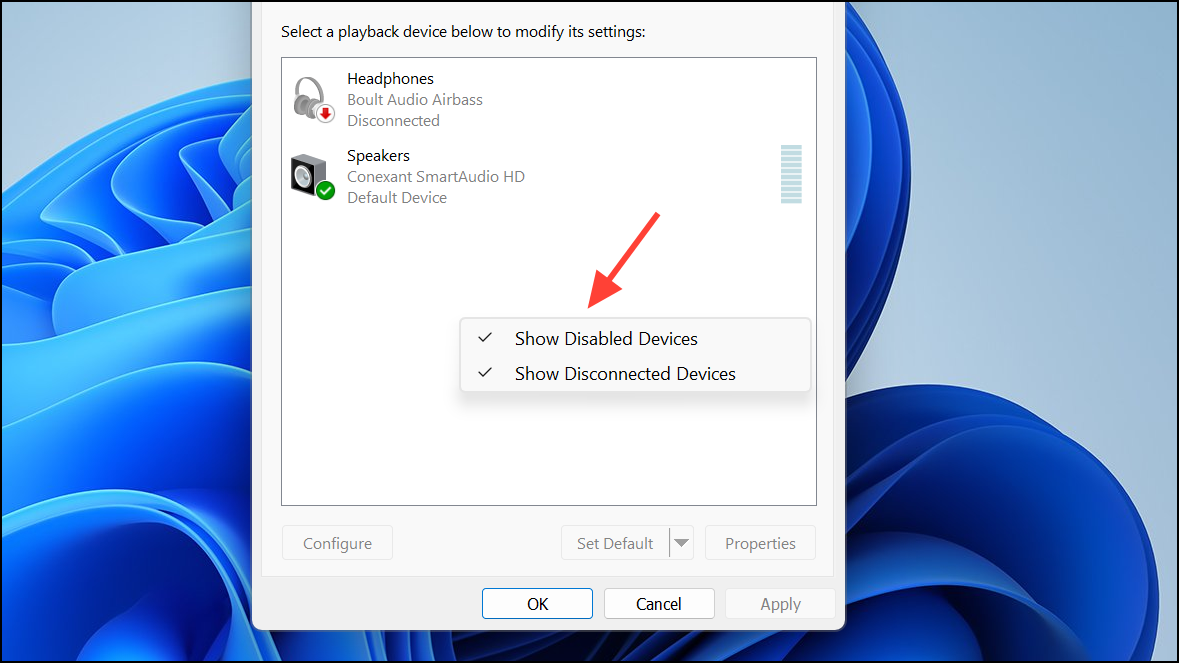
Step 3: In the Playback tab, right-click in the device list and ensure Show Disabled Devices and Show Disconnected Devices are checked. If your speakers appear but are disabled, right-click and select Enable. Then, right-click again and choose Set as Default Device.
Step 4: Apply changes and test your audio output.
Reset BIOS to Default Settings
Occasionally, audio hardware may be disabled at the BIOS level, which prevents Windows from detecting it. To address this:
Step 1: Restart your computer and enter BIOS/UEFI setup (commonly by pressing F2, Delete, or Esc during boot; refer to your manufacturer’s documentation for the correct key).
Step 2: Locate the option to Load Default Settings or Reset to Defaults. Save and exit BIOS. This restores all hardware settings, including onboard audio, to their default state.
Step 3: Boot into Windows and repeat the hardware scan and driver installation steps if necessary.
Perform System Restore or Reset PC
If none of the above solutions recover your speakers, use System Restore to revert your system to a previous state when audio was working.
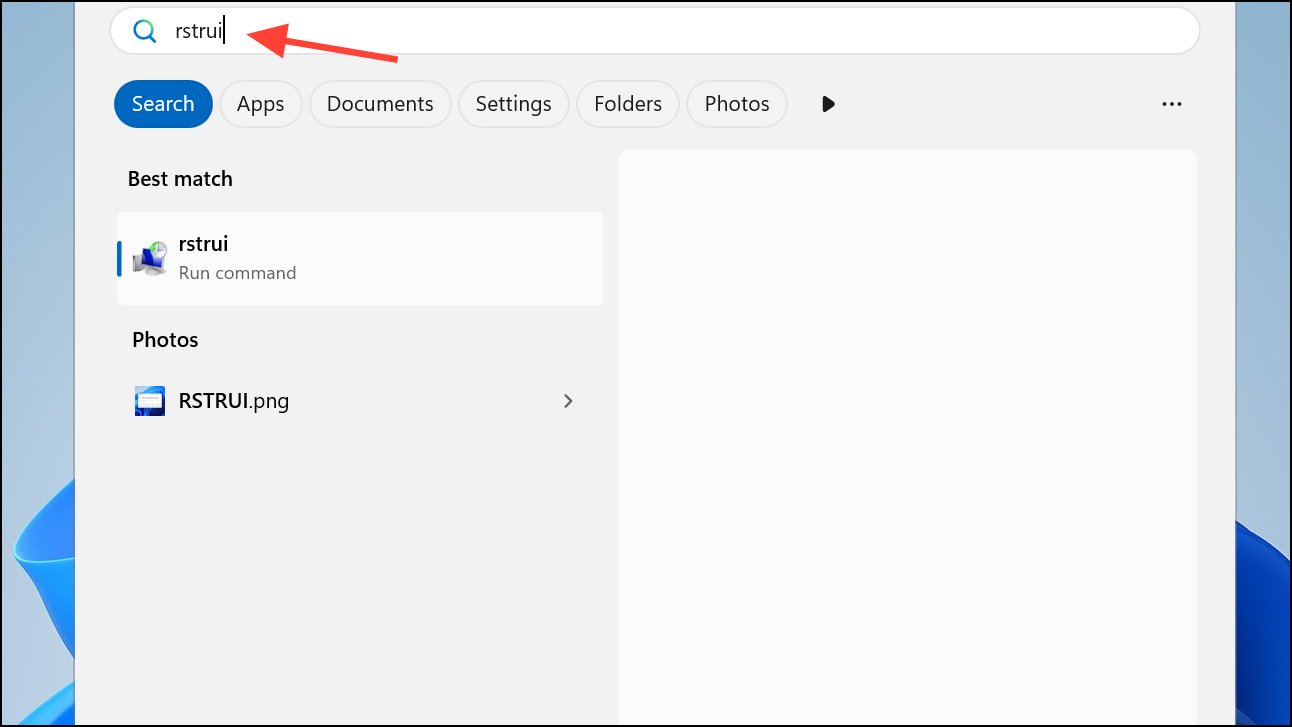
Step 1: Type rstrui in the Windows search bar and press Enter to launch System Restore.
Step 2: Select a restore point dated before the speakers were uninstalled. Follow the prompts to restore your system. This process will not affect your personal files but may uninstall apps installed after the selected date.
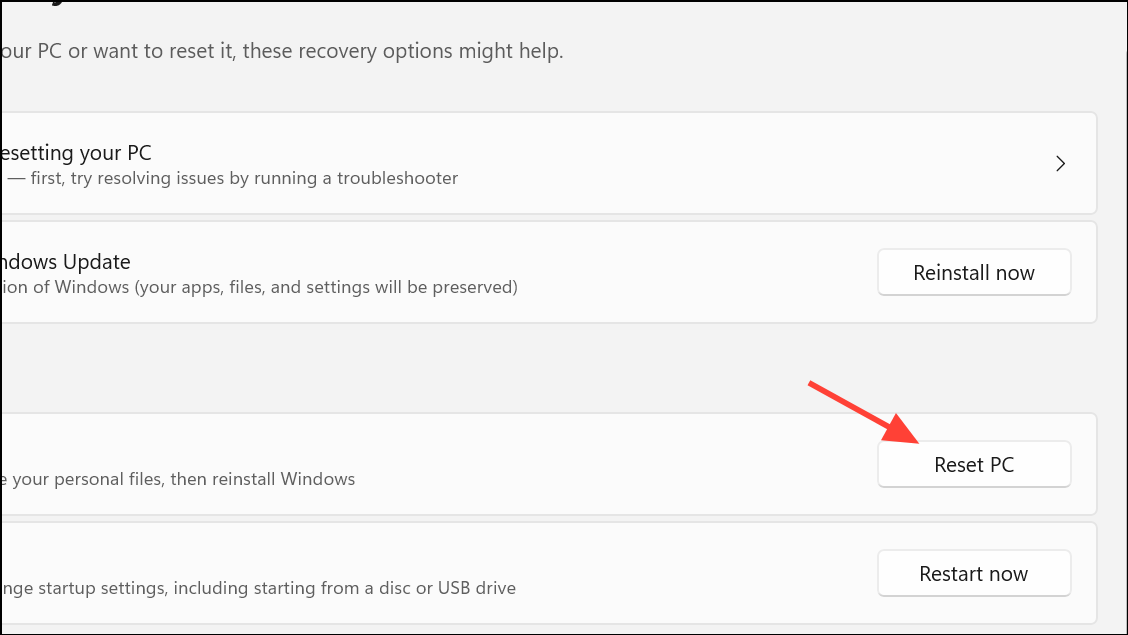
Step 3: If no restore points are available, consider resetting your PC via Settings > System > Recovery. Select Reset PC and choose Keep my files to preserve your data, but always back up important files before proceeding.
Recovering accidentally uninstalled default speakers in Windows 11 requires a careful sequence of hardware scans, driver reinstalls, and system troubleshooting. With patience and the right approach, you can restore your audio output and enjoy full sound functionality again.