
Dell error code 2000-0141 indicates that your computer is failing to detect the hard drive, preventing the system from booting properly. This issue typically arises from hardware problems such as loose connections, faulty cables, BIOS misconfigurations, or even a failing hard drive itself. Below are effective troubleshooting methods to solve this error and restore your Dell computer to normal operation.
Method 1: Verify and Reconnect Hard Drive Connections
Step 1: Shut down your Dell computer completely. Disconnect all external devices, including power cables, USB drives, and peripherals.
Step 2: Open your computer's case using the appropriate screwdriver. Locate your hard drive and carefully inspect the SATA or IDE cable connecting it to the motherboard. Check for loose, disconnected, or damaged cables.
Step 3: If the cable appears loose, firmly reconnect it to both the motherboard and the hard drive. If the cable is visibly damaged, replace it with a new SATA or IDE cable.
Step 4: Reassemble your computer, reconnect the power and peripherals, then power on your Dell PC to see if the error persists.
Method 2: Reset BIOS to Default Settings
Incorrect BIOS settings can cause the Dell error code 2000-0141. Resetting BIOS settings often resolves hardware detection issues.
Step 1: Restart your PC and immediately press the F2 key repeatedly to enter the BIOS setup.
Step 2: In the BIOS menu, locate the option labeled "Load Defaults," "Reset to Default," or similar wording. Select this option to reset all BIOS settings to default.
Step 3: Save the changes by pressing F10 and exit BIOS. Your computer will reboot automatically. Check if the hard drive is now detected.
Method 3: Run Dell Built-in Diagnostic Tool
Dell computers include a built-in diagnostic tool known as ePSA (Enhanced Pre-boot System Assessment), which checks hardware components for failures.
Step 1: Turn off your Dell PC. Press and hold the Fn key or simply press F12 immediately after powering on to enter the diagnostics menu.
Step 2: Select "Diagnostics" from the boot menu options. Allow the system to run a complete hardware scan. If the diagnostic tool identifies hardware issues, it will display relevant error messages and suggest corrective measures.
Method 4: Repair Hard Drive Using CHKDSK Command
If the hard drive has minor file system corruption or bad sectors, repairing it using the CHKDSK tool may help.
Step 1: Create a Windows installation USB drive on another computer using Microsoft's Media Creation Tool.
Step 2: Boot your Dell computer from the USB drive by adjusting the boot order in BIOS (press F2 or F12 at startup).
Step 3: Once the Windows installation screen appears, click "Repair your computer" at the bottom-left corner. Navigate to "Troubleshoot" > "Advanced Options" > "Command Prompt."

Step 4: In the Command Prompt window, type the following command and press Enter:
chkdsk C: /r /f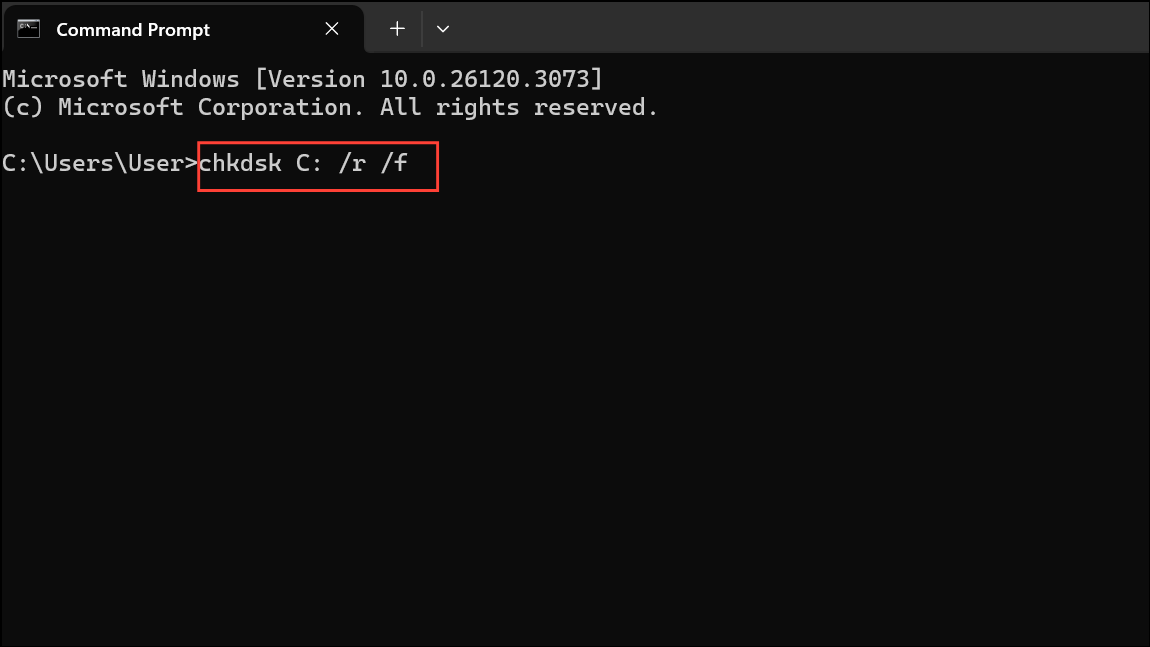
This command scans the drive (replace "C:" with your actual system drive letter) for errors and attempts to repair them. After completion, restart your computer to check if the issue is resolved.
Method 5: Replace the Hard Drive
If all previous methods fail, your hard drive may have experienced a physical failure. In this case, replacing the drive is necessary.
Step 1: Purchase a compatible replacement hard drive or SSD.
Step 2: Remove the faulty drive by disconnecting the cables and unscrewing it from its mount. Install the new drive securely in the same location.
Step 3: Install a fresh copy of Windows on the new drive using a bootable USB or DVD. After installing Windows, restore your data from your backups or cloud storage.
Backup or Recover Data with Bootable Media
If your Dell PC is not booting due to error code 2000-0141, you can still recover important data by using bootable data recovery software like MiniTool Power Data Recovery or Renee PassNow.
Step 1: On another working computer, download and install a bootable data recovery tool such as MiniTool Power Data Recovery or Renee PassNow. Make sure to check the downloaded files with a malware scanning tool like VirusTotal.
Step 2: Create a bootable USB drive or DVD using the software's media creation tool.
Step 3: Boot your Dell PC from the created USB or DVD. Follow the on-screen instructions to scan your hard drive and recover or back up important files to an external storage device.
After following these troubleshooting steps, your Dell computer should detect the hard drive and boot normally. If the problem persists despite trying all methods, consider contacting Dell support or a professional technician for further assistance.