
DISM error 1726 surfaces when Windows cannot complete an image servicing operation because the Remote Procedure Call (RPC) mechanism has failed or become unavailable. The full message reads Error: 1726 — The remote procedure call failed, and it can appear during /RestoreHealth, /StartComponentCleanup, or /ScanHealth operations on both Windows 10 and Windows 11. The error affects online and offline image servicing alike, and in some cases, it resists the most common quick fixes.
Quick answer: Start by confirming the RPC service is running and set to Automatic. If that's already the case, restart the RPC-related services from an elevated Command Prompt, clear the Windows Update cache, and — if the error persists — perform an in-place repair install using a matching Windows ISO.
Why DISM error 1726 happens
DISM relies on several Windows services to communicate between its internal components during image servicing. Error 1726 maps to the Win32 error RPC_S_CALL_FAILED, which means an inter-process call that DISM initiated did not complete. The most frequent triggers include:
- The Remote Procedure Call (RPC) service, DCOM Server Process Launcher, or RPC Endpoint Mapper is stopped or misconfigured.
- A problematic Windows update — particularly .NET Framework cumulative updates — has left the component store in an inconsistent state.
- The installation was created with Rufus using the "Remove requirements for an online Microsoft account" option, which applies a registry modification that can interfere with servicing.
- A channel rollback (for example, moving from Beta to Release Preview on Windows 11 Insider builds) followed by a repair install introduced mismatched component store entries.
- Corruption in the offline image's registry hives prevents DISM from loading the servicing stack, producing HRESULT codes like
0x800706BEor0x800706BAin the DISM log.
Fix 1 — Verify and restart RPC-related services
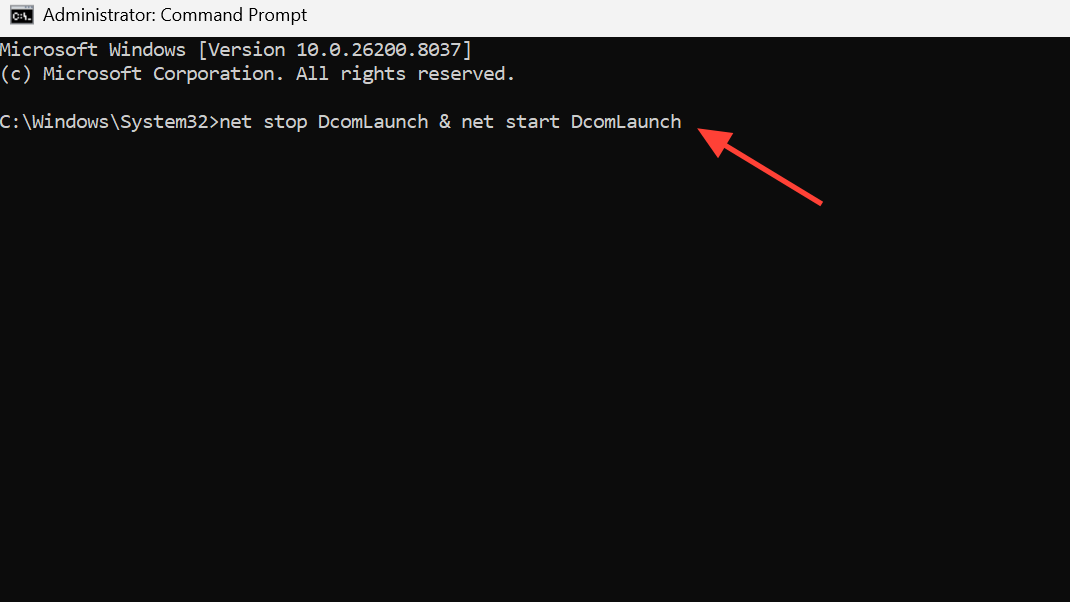
The simplest resolution targets the services DISM depends on. Open an elevated Command Prompt and run the following commands one at a time:
net stop DcomLaunch & net start DcomLaunch
net stop RpcEptMapper & net start RpcEptMapper
sc config RpcSs start=auto
sc config DcomLaunch start=auto
sc config RpcEptMapper start=auto
Restart and auto-configure RPC services
Note that net stop RpcSs will often return "The requested pause, continue, or stop is not valid for this service" because Windows protects RPC from being stopped while the OS is running. That response is normal. The important part is ensuring all three services are configured for automatic startup. Reboot afterward and retry the DISM command.
Fix 2 — Set the RpcSs registry key to Automatic
When the Services console shows RPC as Automatic but the error persists, the underlying registry value may be wrong. Back up your registry before making changes.
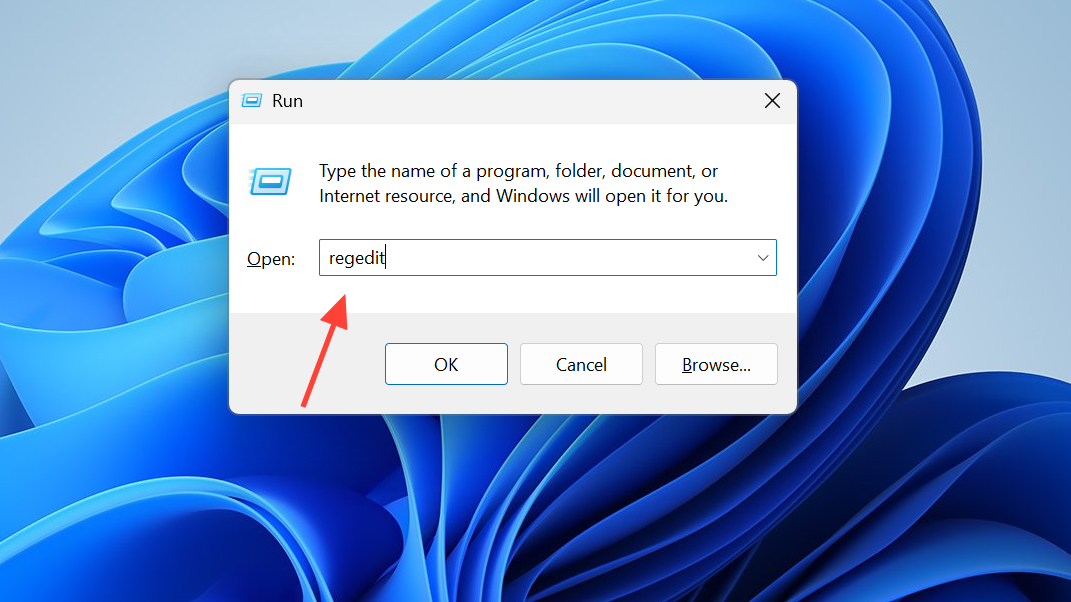
Step 1: Press Win + R, type regedit, and press Enter to open Registry Editor.
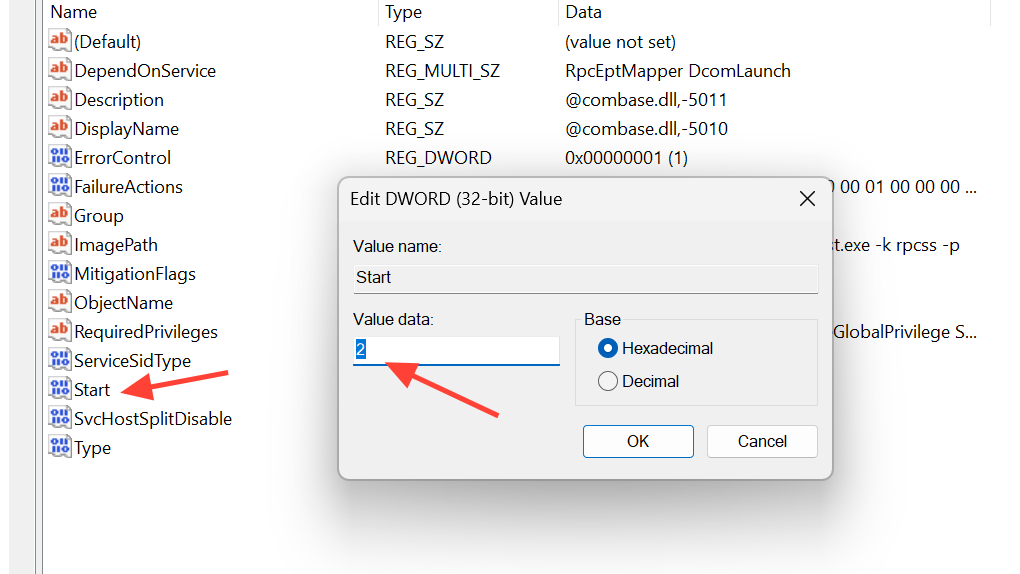
Step 2: Navigate to HKEY_LOCAL_MACHINE\SYSTEM\CurrentControlSet\Services\RpcSs.
Step 3: In the right pane, double-click the Start value. Set its data to 2 (which corresponds to Automatic) and click OK. Restart the computer and test DISM again.
Fix 3 — Clear the Windows Update cache
A corrupted update cache can block DISM's component cleanup operations. Run these commands from an elevated Command Prompt:
net stop wuauserv & net stop bits & net stop cryptsvc
rd /s /q C:\Windows\SoftwareDistribution
net start wuauserv & net start bits & net start cryptsvc
sc config wuauserv start=auto
sc config bits start=auto
sc config cryptsvc start=auto
Reset Windows Update components
After the cache is cleared, reboot and run your DISM command again. This step resolves cases where a pending or partially applied update is interfering with the servicing stack.

Fix 4 — Uninstall a problematic .NET update
On Windows 11 Insider builds in particular, a .NET Framework cumulative update can trigger error 1726 during /StartComponentCleanup. If you can correlate the error's first appearance with a recent .NET update, try removing it.
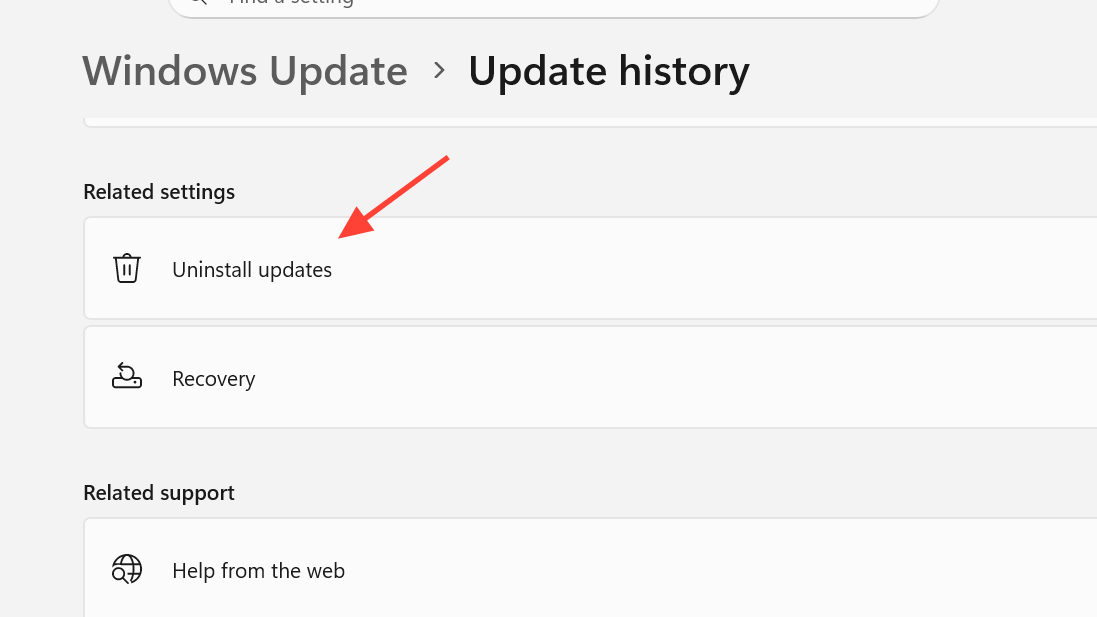
Step 1: Open Settings → Windows Update → Update history → Uninstall updates and remove the suspect .NET update.
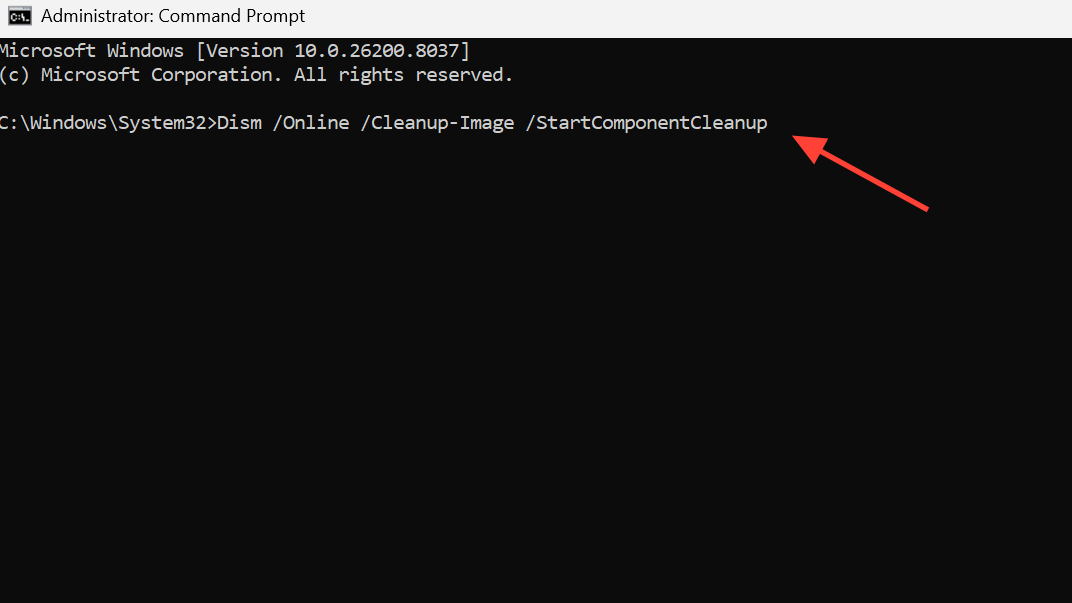
Step 2: Run Dism /Online /Cleanup-Image /StartComponentCleanup to confirm the error is gone.
Step 3: If you need the .NET update, download its standalone installer from the Microsoft Update Catalog and reinstall it manually. This avoids the delivery path that caused the conflict.
You can also use the wushowhide troubleshooter (the "Show or hide updates" tool from Microsoft) to temporarily hide the problematic update so Windows Update does not reinstall it automatically before you are ready.
Fix 5 — Perform an in-place repair install
When none of the service-level fixes work, an in-place upgrade (repair install) replaces system files while keeping your apps, settings, and data intact. This is the most reliable resolution for persistent error 1726 cases.
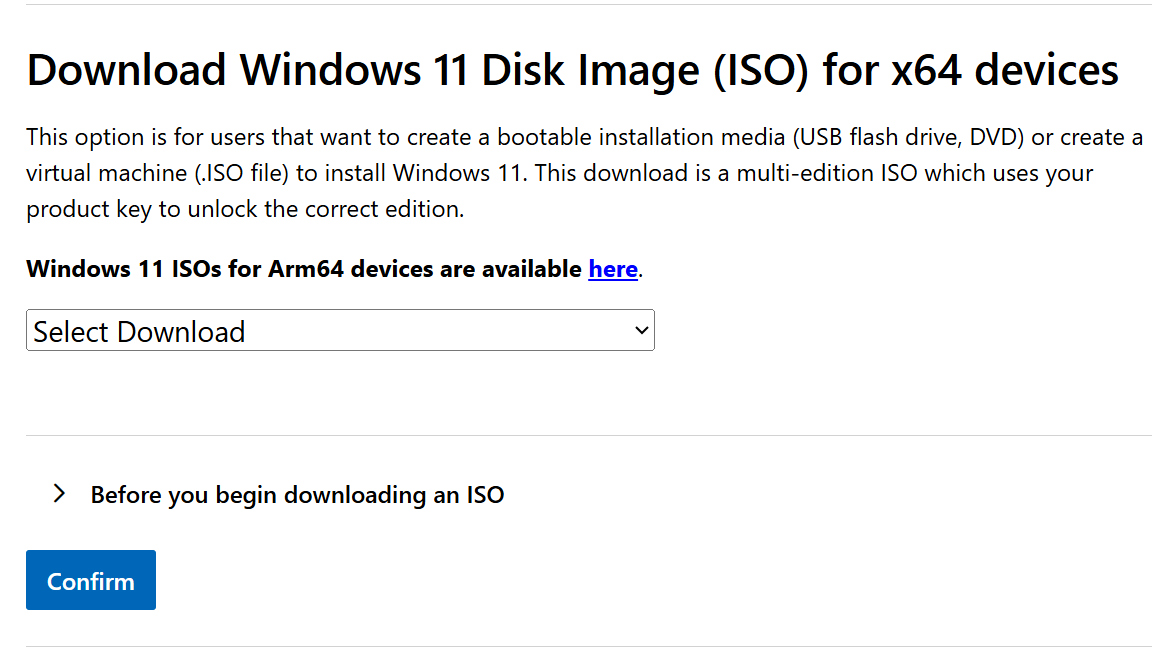
Step 1: Download the Windows ISO that matches your current edition and version. For stable Windows 10 or 11 releases, use the Media Creation Tool. For Insider builds, use UUP Dump to create a matching ISO.
Step 2: Mount the ISO and run setup.exe. Choose Keep personal files and apps when prompted.
Step 3: After the repair completes, run Dism /Online /Cleanup-Image /StartComponentCleanup to verify the error is resolved. A successful cleanup with no error code confirms the fix worked.
Error 1726 on offline images
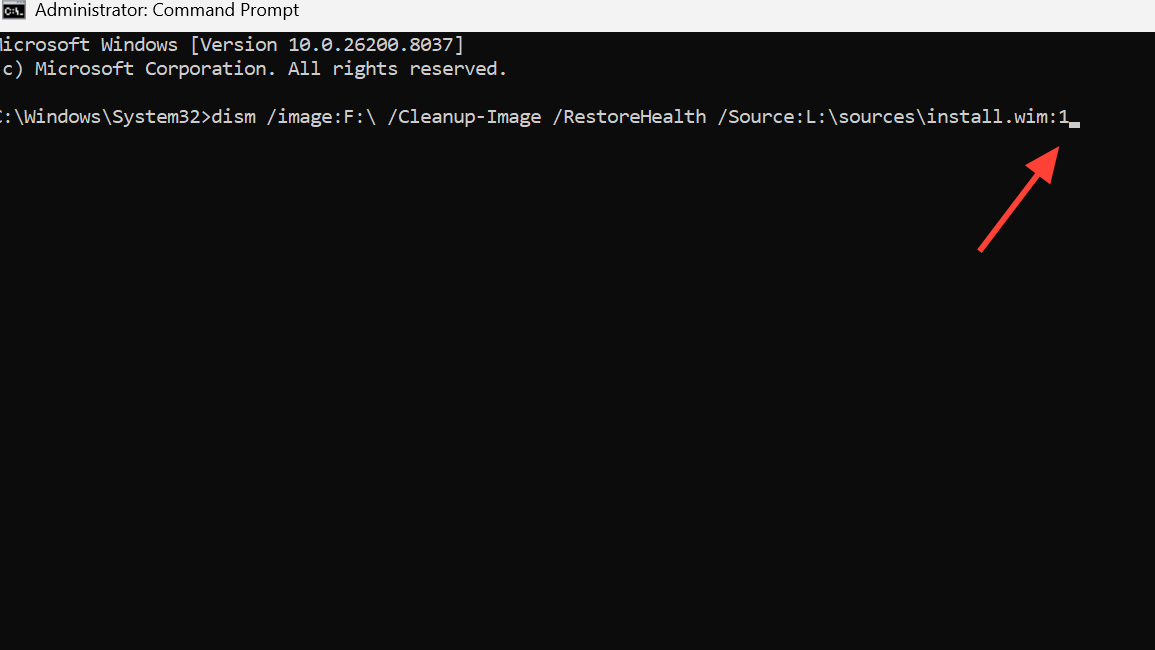
The same error can appear when servicing an offline Windows volume — for example, running dism /image:F:\ /Cleanup-Image /RestoreHealth /Source:L:\sources\install.wim:1 from another PC or from WinPE. In offline scenarios, the RPC service fixes do not apply because the target OS is not booted. The DISM log typically shows HRESULT=800706BE immediately after loading the offline registry hives.
Offline error 1726 usually indicates that the target volume's component store or registry hives are too damaged for DISM to repair. Practical options at that point are limited:
- Boot the target system from a matching Windows installation USB and attempt the repair install from there.
- If the system cannot boot at all and the repair install fails, a clean reinstall is typically the only remaining path.
Rufus-related trigger
Users who installed Windows using a Rufus-customized USB drive have reported that selecting "Remove requirements for an online Microsoft account" in Rufus causes DISM error 1726 to appear persistently after installation. This option applies a registry modification that can interfere with RPC-dependent servicing operations. Reinstalling Windows from a USB created without that Rufus option eliminates the problem.
How to confirm the fix
| DISM command | Expected result after fix |
|---|---|
Dism /Online /Cleanup-Image /ScanHealth | "No component store corruption detected." |
Dism /Online /Cleanup-Image /StartComponentCleanup | "The operation completed successfully." |
Dism /Online /Cleanup-Image /RestoreHealth | Completes at 100% with no error code. |
If any of these commands still returns error 1726, review the DISM log at C:\Windows\Logs\DISM\dism.log for the specific HRESULT. The log entries immediately before the failure line will usually indicate whether the problem is a service failure, a registry hive load error, or a component store mismatch — which helps narrow down which fix to try next.
Error 1726 sits in an awkward spot where DISM's own repair mechanisms are broken, making it harder to use DISM to fix DISM. Working through the fixes in order — from service restarts through update removal to a full repair install — covers the range of root causes. For the most stubborn cases, especially on Insider builds or systems with channel-switching history, the in-place repair install remains the most dependable resolution.