
Error 0x80070422 in Windows 11 occurs when the Windows Update service isn't running or is disabled, preventing your system from installing important updates. This issue can interrupt crucial system updates, leaving your PC vulnerable and potentially causing instability. Fortunately, several reliable methods can quickly resolve this error.
Method 1: Set Windows Update Service to Automatic
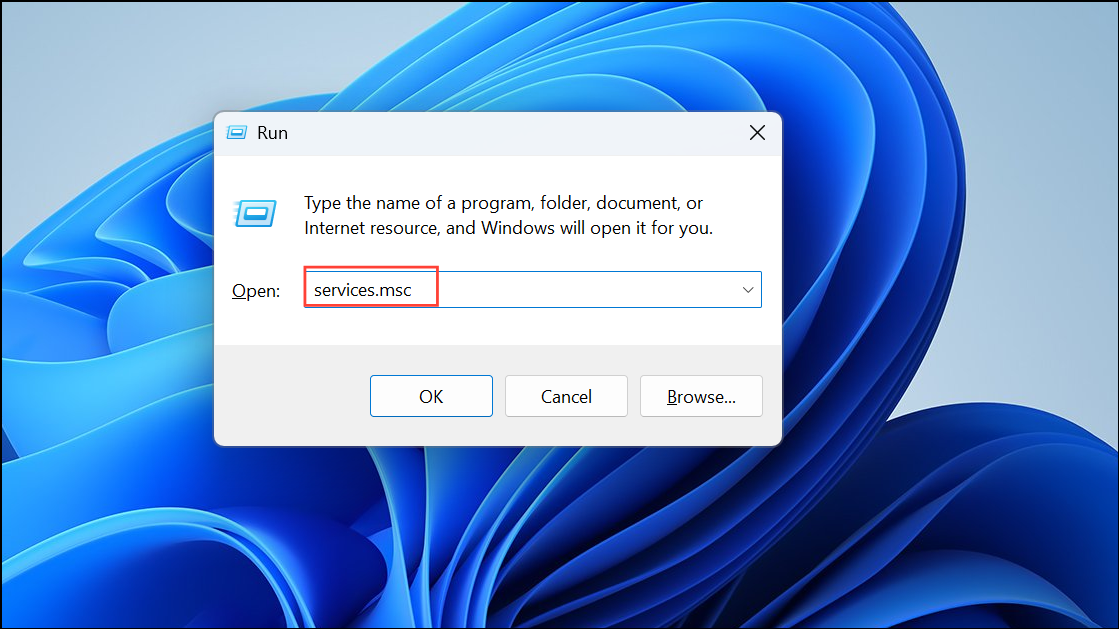
Step 1: Open the Services application by pressing Windows key + R, typing services.msc, and pressing Enter. This opens the Services manager window.
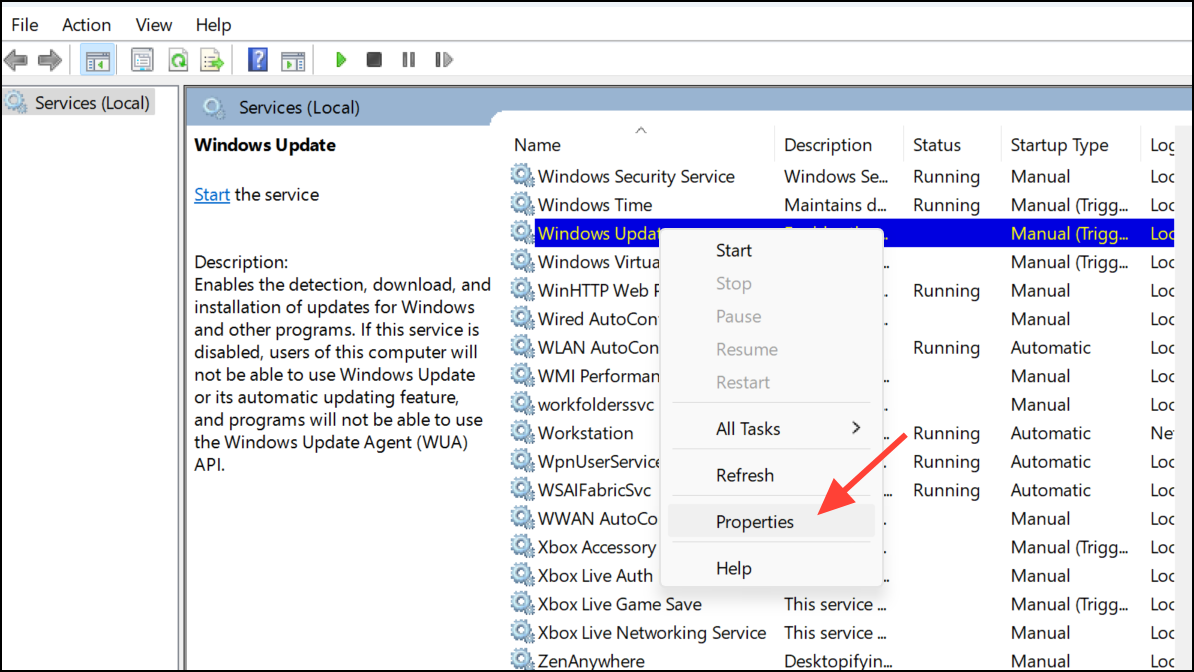
Step 2: In the Services list, scroll down and locate "Windows Update". Right-click it and select "Properties".
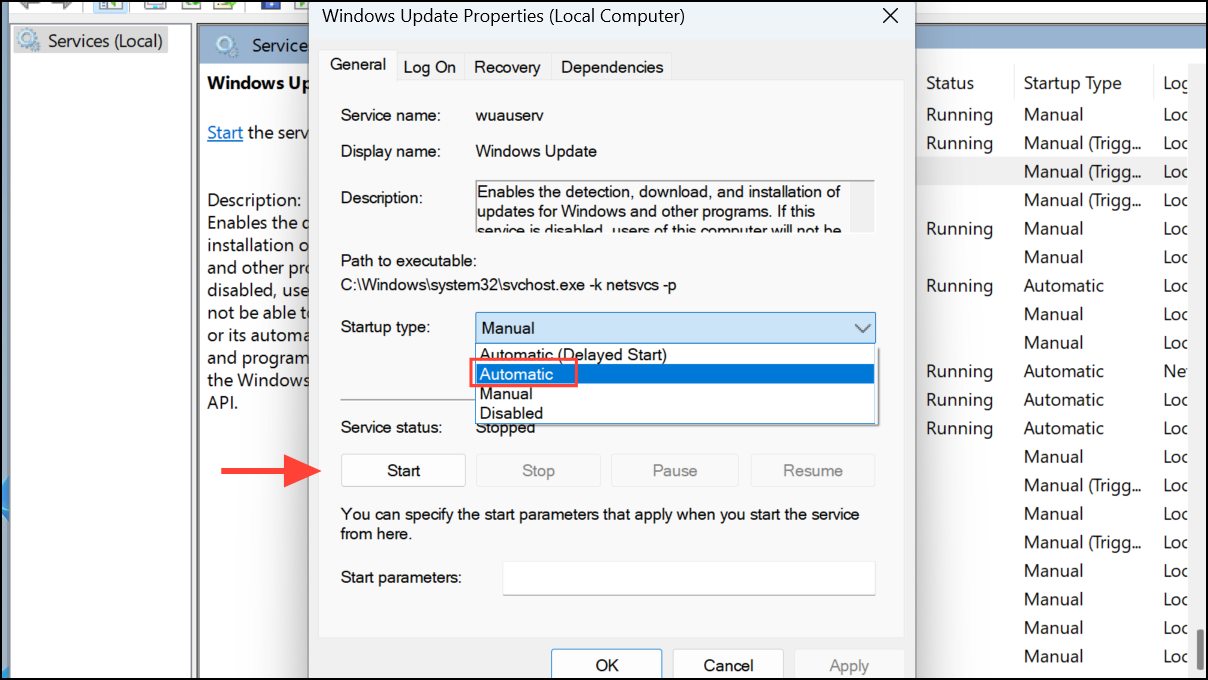
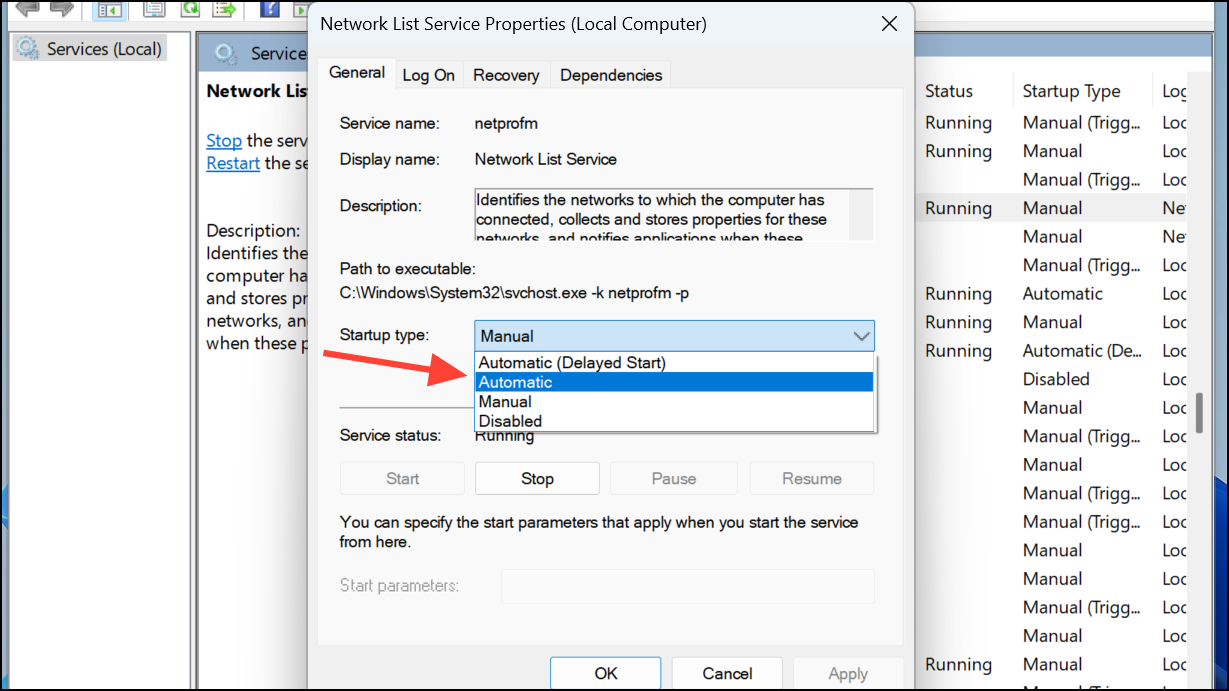
Step 3: In the Properties window, set the "Startup type" dropdown menu to "Automatic". If the service status is "Stopped", click the "Start" button. Then click "Apply" and "OK". Restart your computer afterward to apply the changes fully.
Method 2: Run the Windows Update Troubleshooter
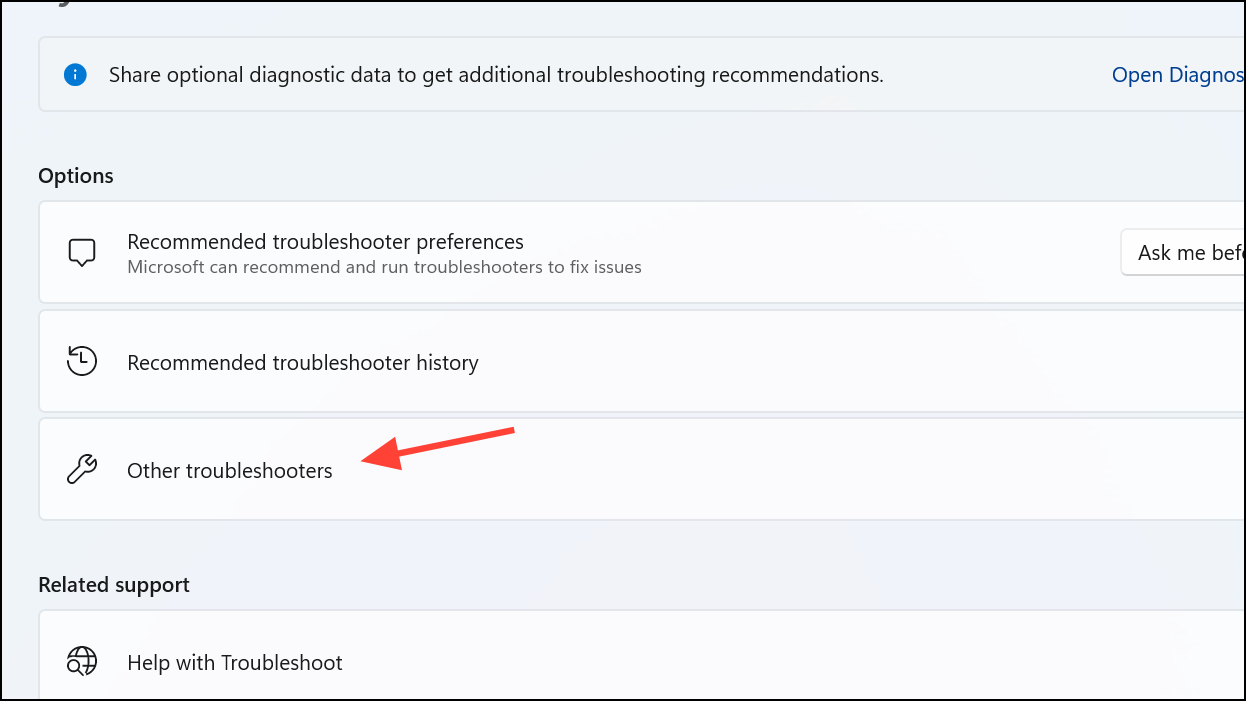
Step 1: Open the Settings app by pressing Windows key + I. Navigate to "System" > "Troubleshoot",

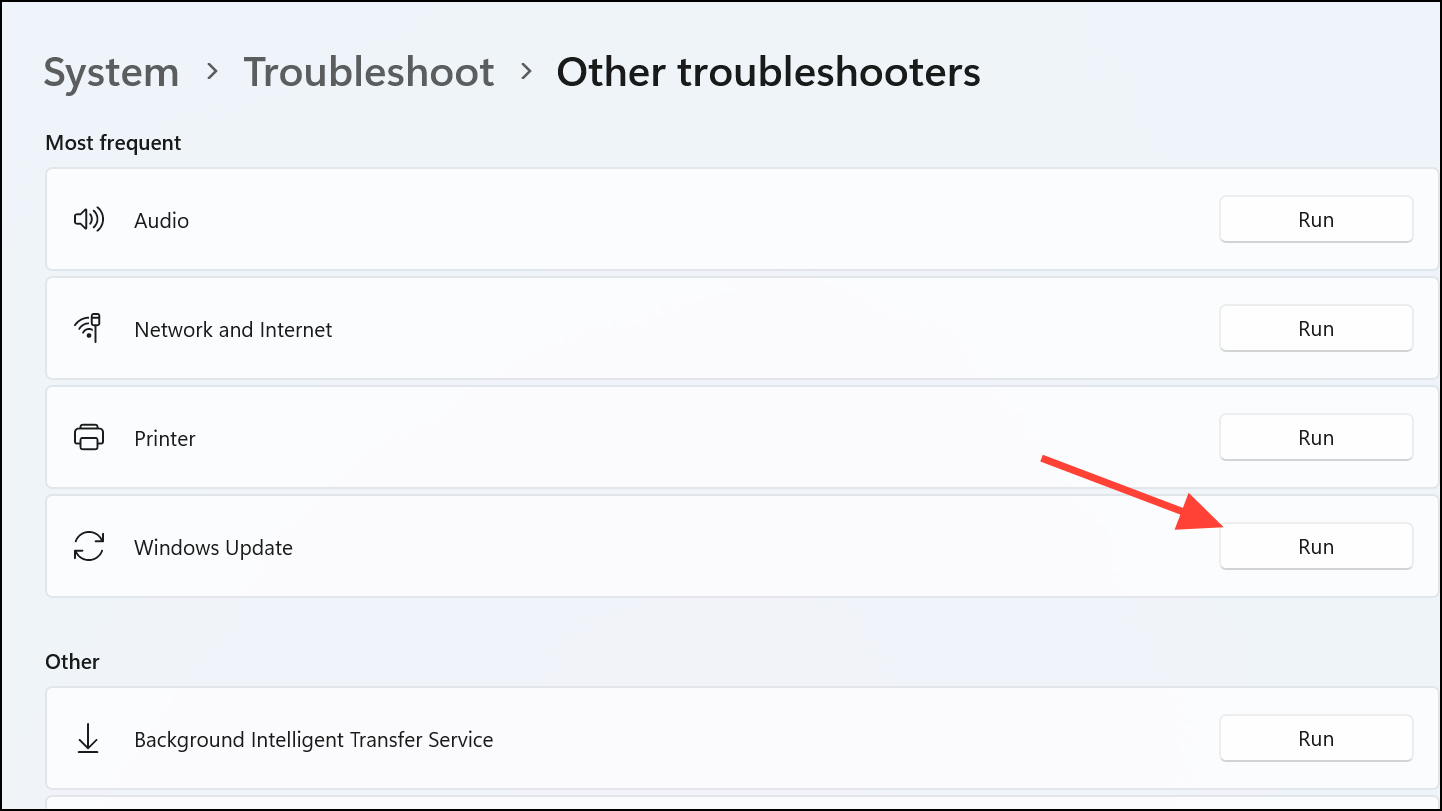
Step 2: Click "Other troubleshooters" on the Troubleshoot page.
Step 3: Locate the "Windows Update" troubleshooter and click "Run". Follow the on-screen instructions. This tool automatically detects and fixes common Windows Update issues, including error 0x80070422.
Method 3: Disable IPv6 Temporarily
In some cases, IPv6 can interfere with Windows Update.
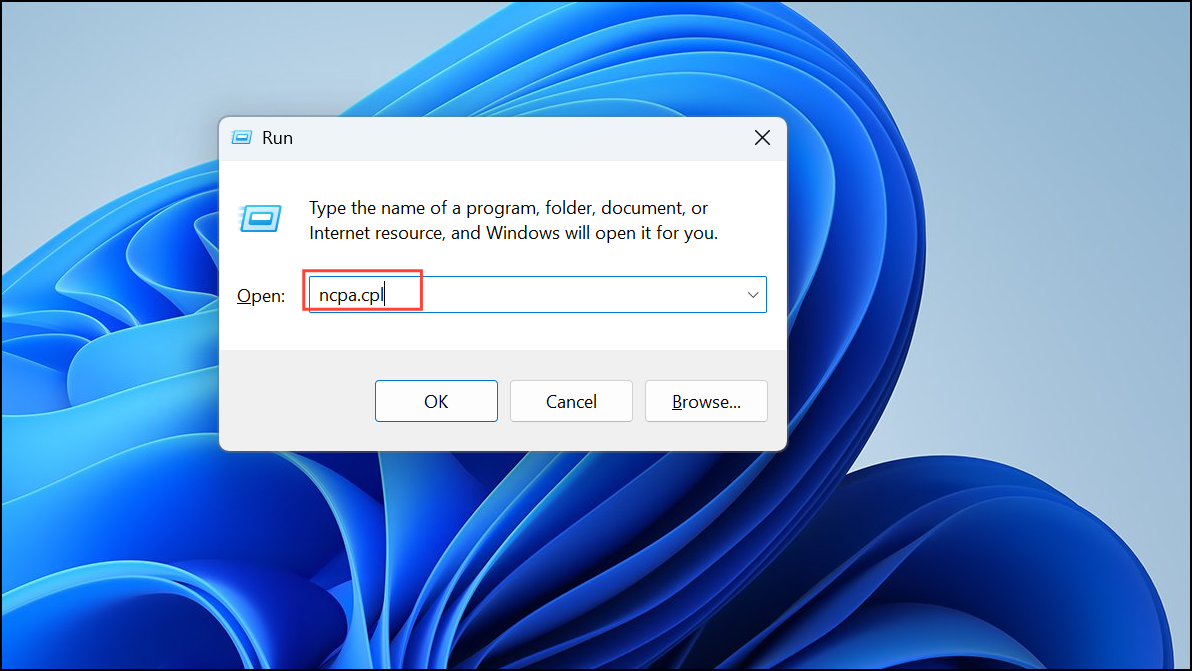
Step 1: Press Windows key + R, type ncpa.cpl, and press Enter. This opens the Network Connections window.
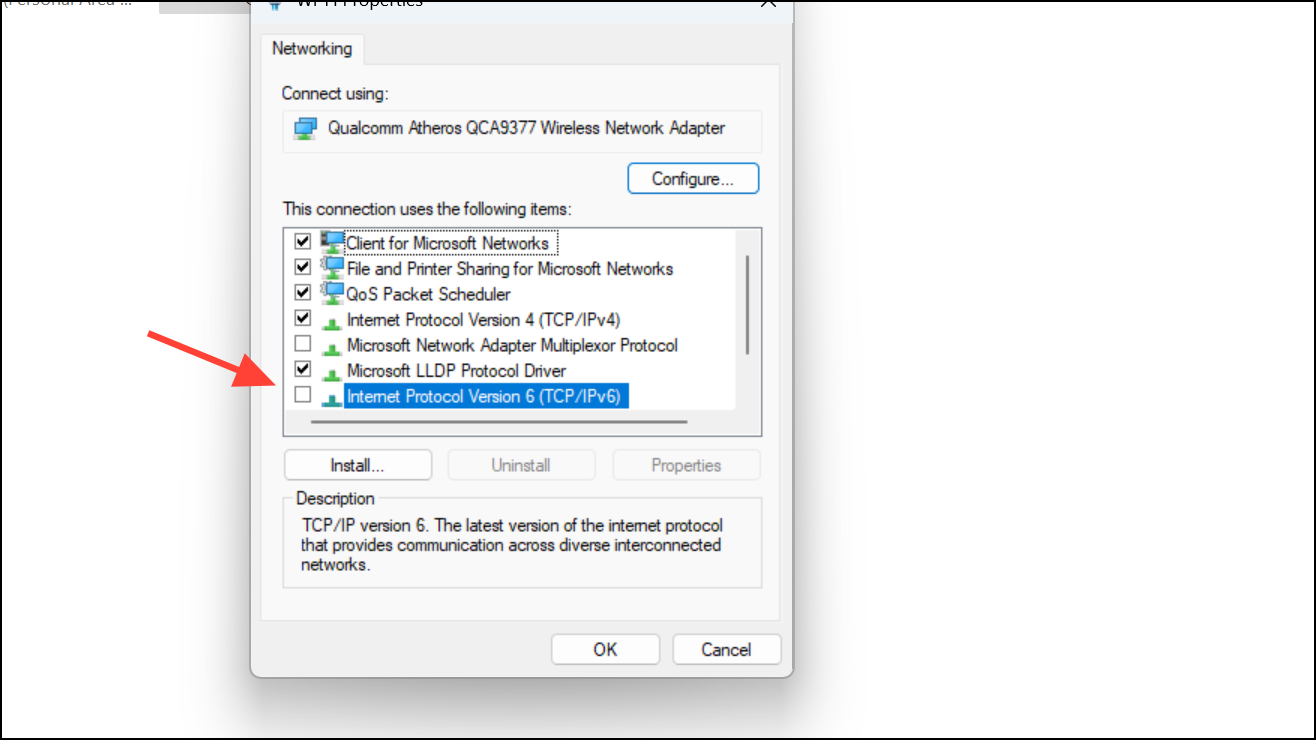
Step 2: Right-click your active network connection (Wi-Fi or Ethernet) and select "Properties".

Step 3:Uncheck "Internet Protocol Version 6 (TCP/IPv6)" and click "OK". Restart your PC afterward and attempt the update again.
If you need to re-enable IPv6 later, follow the same steps and re-check the IPv6 box.
Method 4: Restart Network List Service
The Network List Service helps Windows manage network connectivity, and restarting it can resolve update-related issues.
Step 1: Open Services by pressing Windows key + R, typing services.msc, and pressing Enter.
Step 2: Find "Network List Service" in the list, right-click it, and select "Restart". If it's stopped, select "Start" instead. Afterward, set its startup type to "Automatic" by opening its properties. Restart your computer once complete.
Method 5: Run SFC and DISM Scans to Repair System Files
Corrupted system files can trigger error 0x80070422. Running built-in repair tools can resolve these issues.
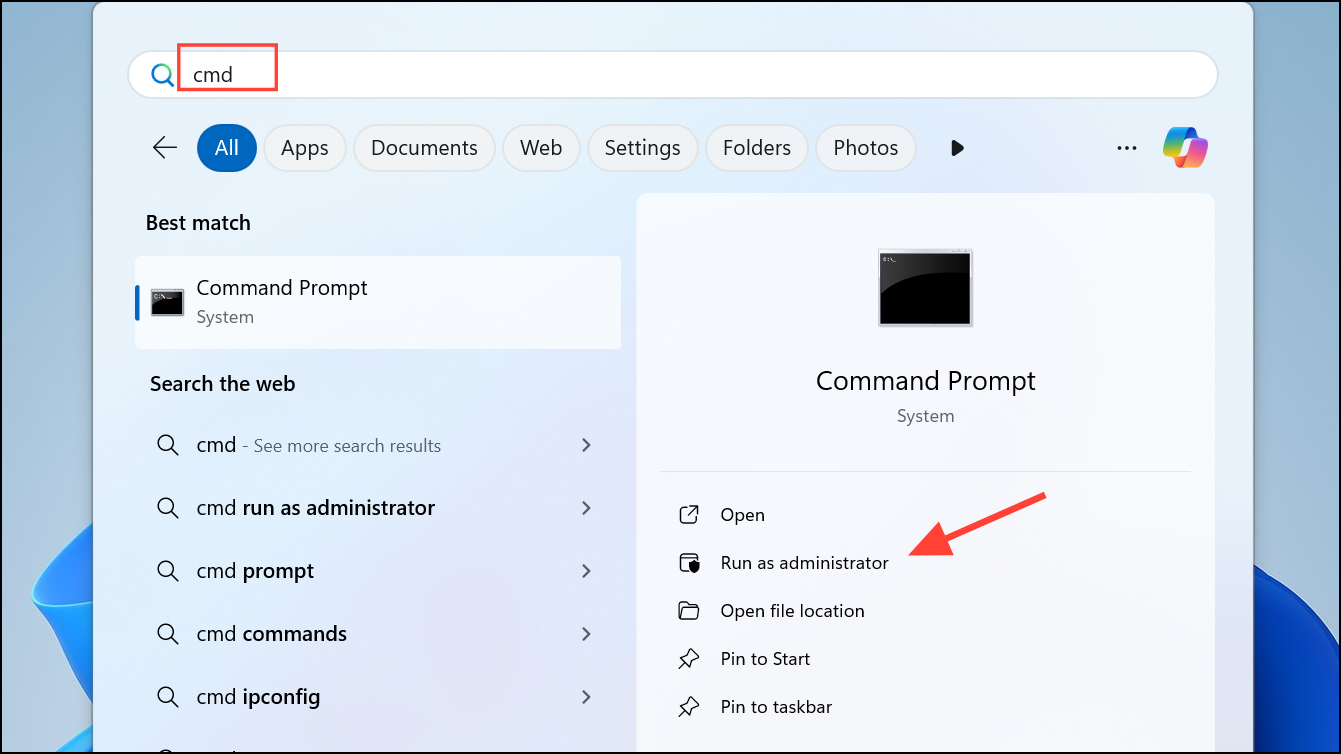
Step 1: Open Command Prompt as administrator by typing cmd into the Start menu search, right-clicking "Command Prompt", and selecting "Run as administrator".
Step 2: Type the following command and press Enter to run the System File Checker (SFC) scan:
sfc /scannow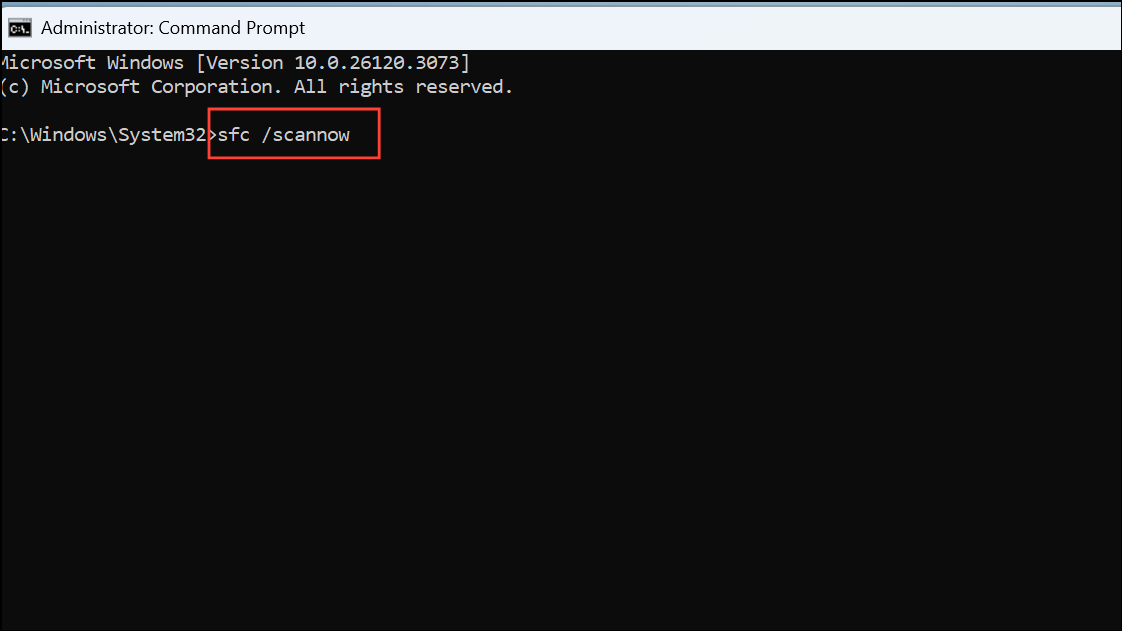
Step 3: After SFC completes, run the Deployment Image Servicing and Management (DISM) tool by typing this command and pressing Enter:
DISM /Online /Cleanup-Image /RestoreHealth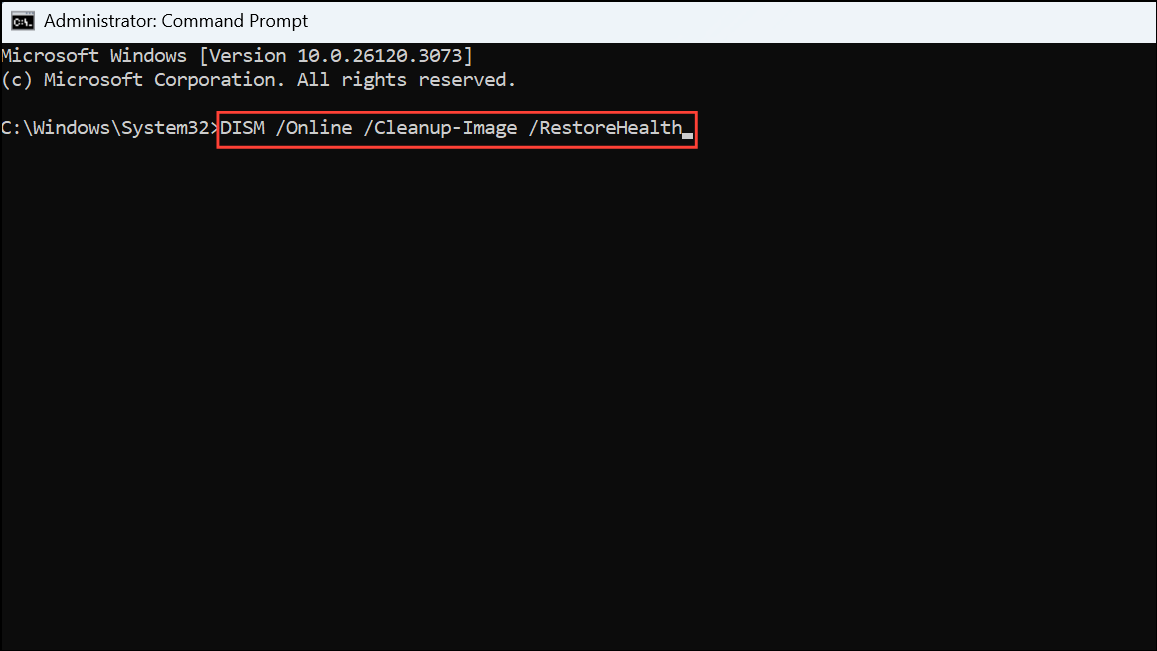
Step 4: Allow the scan to finish, then restart your PC and retry the Windows Update.
Method 6: Perform a Repair Upgrade Using Media Creation Tool
If other methods fail, performing a repair upgrade reinstalls Windows without affecting personal files or apps.
Step 1: Download the Windows 11 Media Creation Tool from Microsoft's official site.
Step 2: Run the downloaded tool, select "Upgrade this PC now", and follow the instructions. Ensure you choose "Keep personal files and apps" when prompted. Once complete, restart your PC and verify the Windows Update issue is resolved.
Error 0x80070422 typically stems from disabled or malfunctioning update services, network issues, or corrupted system files. Using these methods, you can quickly restore Windows Update functionality and keep your Windows 11 system secure and up-to-date.