
- Some quick fixes you can try if Chrome is frequently reloading tabs include restarting the browser, checking your internet connection, and rebooting your device.
- If those don't work, try clearing your browser cookies and cache, disabling Chrome extensions, turning off the memory saver feature, and disabling automatic tab discarding.
- Performing an SFC scan, freeing up system resources, and checking for Chrome updates are other possible solutions.
- If your machine does not have enough memory, consider upgrading the RAM to prevent memory-related issues from popping up.
Solution 1: Restart Chrome and your device
The first thing you should do is restart Chrome and check if it is still refreshing your open tabs. In case it is, reboot your computer and then try again. You should also close any background processes as they may be interfering with the browser's functioning. On Windows, you can do so using the Task Manager while you can use the Activity Window on macOS for this.
Solution 2: Check your internet connection
Another thing that can cause the problem is an unstable internet connection. If your internet keeps connecting and disconnecting, it can cause Chrome to keep reloading tabs. You can confirm whether this is the cause by switching to a different connection if possible.
Solution 3: Clear browser cache and cookies
You can clear Chrome cookies and cache and check if it still reloads tabs. To do so,
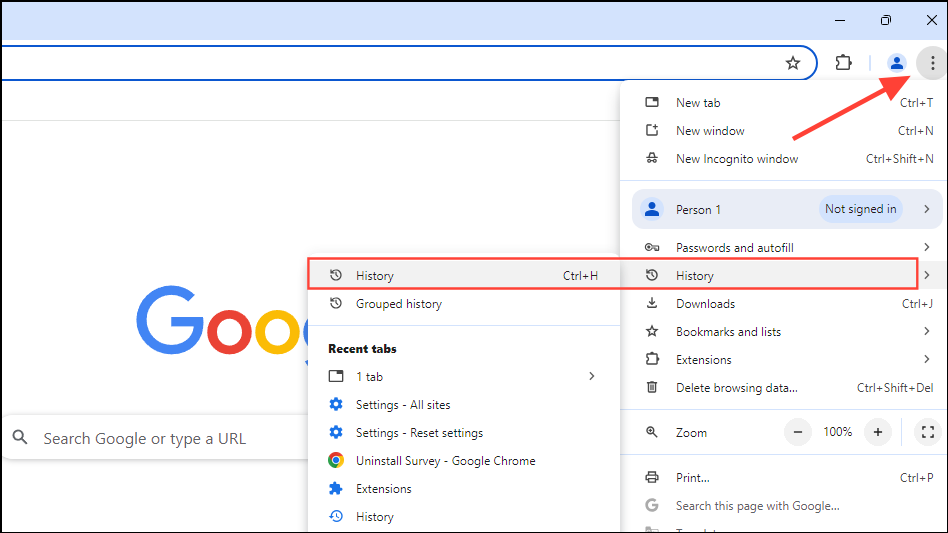
- Click on the three dots on the top right, then move your pointer to the 'History' option and click on 'History' from the sub-menu.
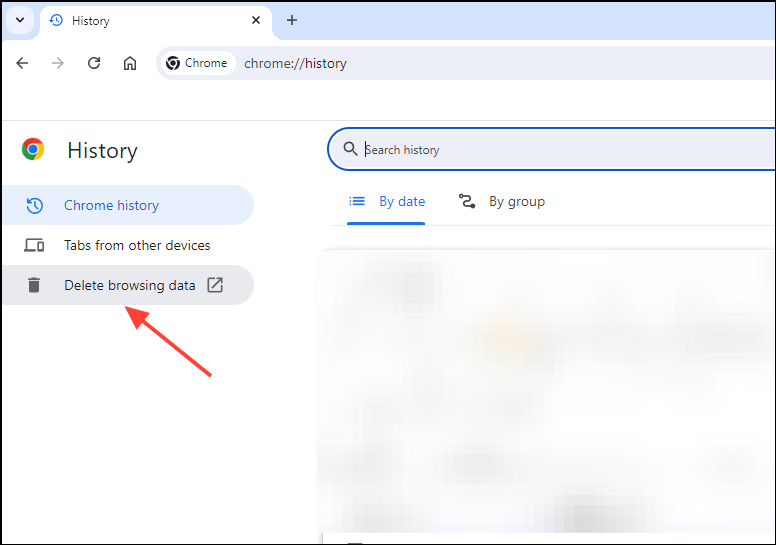
- Next, click on 'Delete browsing data' on the left.
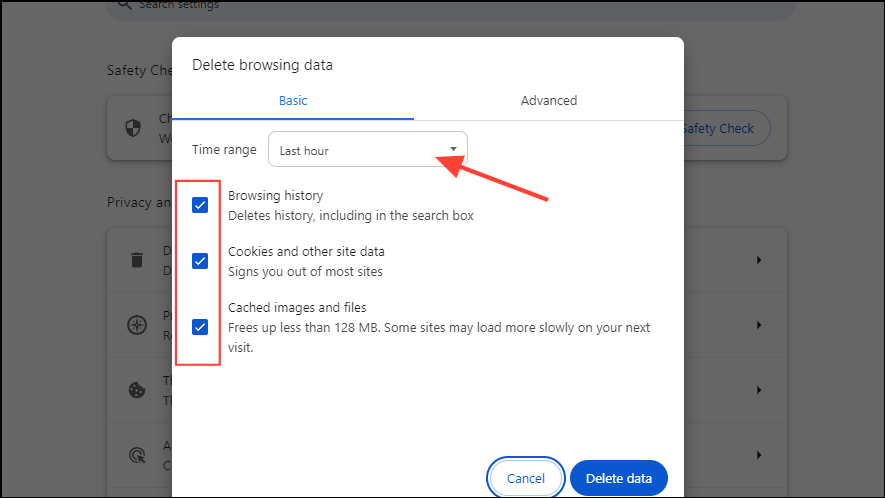
- On the page that opens, check that all three options are selected, and then click on the dropdown menu.
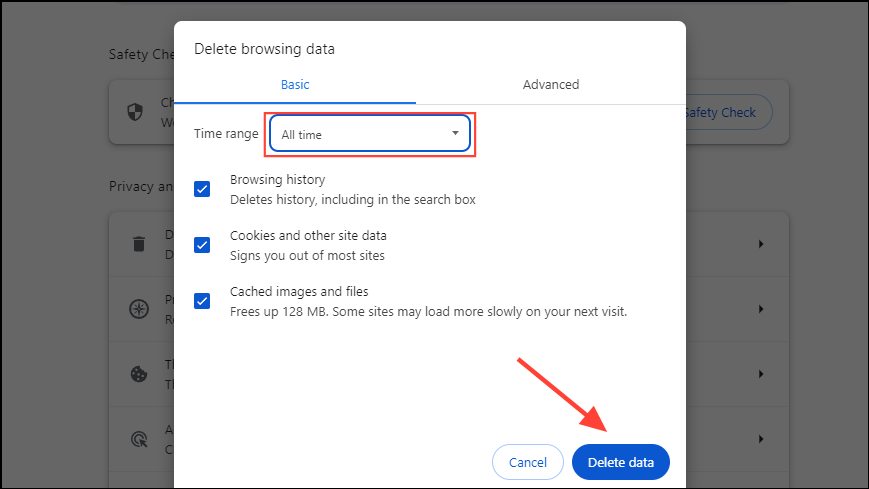
- Select 'All Time' from the dropdown menu and then click on the 'Delete data' button.
Solution 4: Disable Chrome extensions
One or more of your Chrome extensions may be causing the browser to refresh your tabs. Try disabling them all and then re-enable them one by one to find out if that is the case.
- Click on the Extension button on the right of the address bar and then click on 'Manage extensions'.
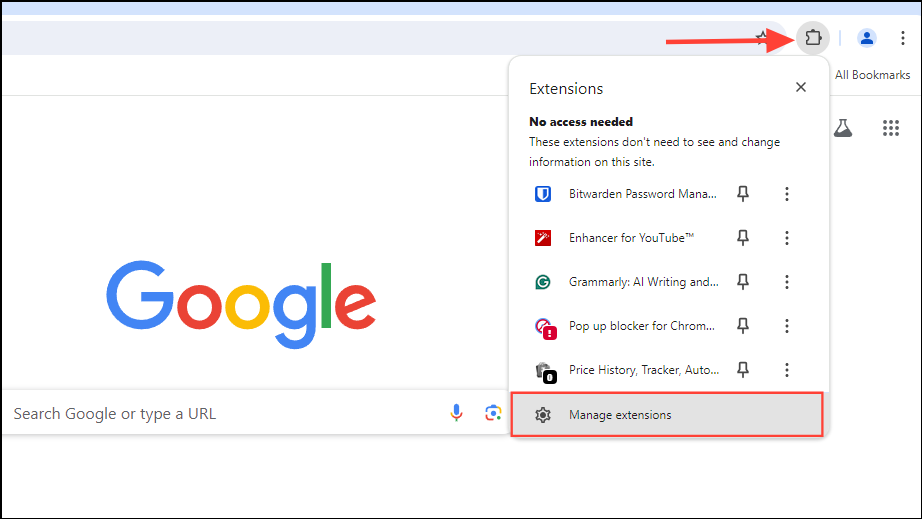
- Now you will be able to see all the extensions you've installed. Click on the toggle next to each one to turn it off.
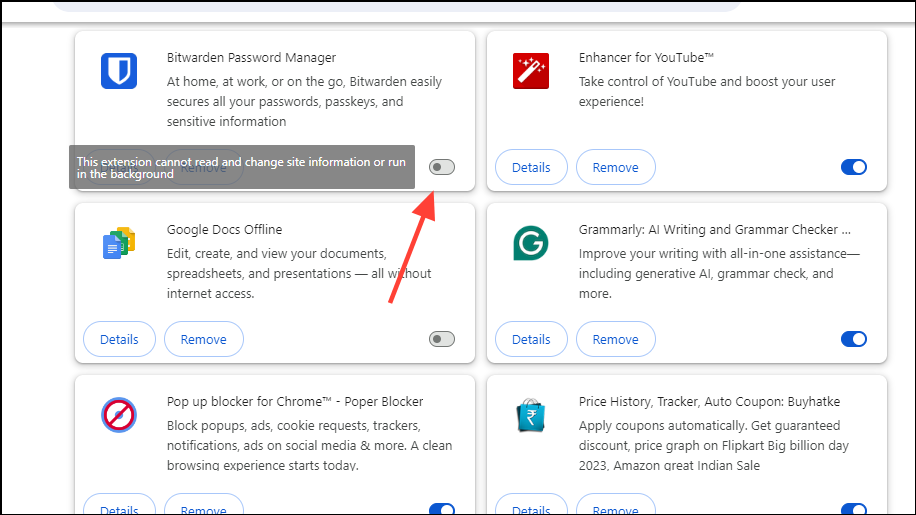
- Once you've turned off all extensions, try browsing the web again and enable the extensions one by one. Open multiple tabs and check whether Chrome is refreshing them after enabling each extension to find out if any of them are responsible.
Solution 5: Check that the Shortcut or Refresh key is not pressed
Hardware issues like the Refresh key, usually the F5 key on Windows, getting stuck can be another reason Chrome is reloading your tabs frequently. On macOS, you can look for the refresh shortcut, which is Command + R and make sure it is not pressed. Press the respective keys to remove any debris that may be trapped below the keycap and is causing the problem.
If the Refresh key is not stuck, it may have gotten damaged and is malfunctioning, causing your browser pages to reload. You can easily verify this by visiting a keyboard testing website, which will let you know if the key press is registered automatically. In case it is, you can turn the key or the shortcut off.
Solution 6: Close unneeded tabs
Browsers like Google Chrome have been requiring increasingly larger amounts of system resources in recent times, especially memory. If you have a lot of tabs open, Chrome can use up a lot of your computer's RAM. In addition to that, your computer requires RAM for its own operations, so browsers cannot keep all your open tabs in memory.
They emphasize pages that you are actively using and refresh others when you click on them. To prevent or reduce this from happening, you can close the tabs you do not need, freeing up more memory for the browser.
Solution 7: Turn off the memory saver feature
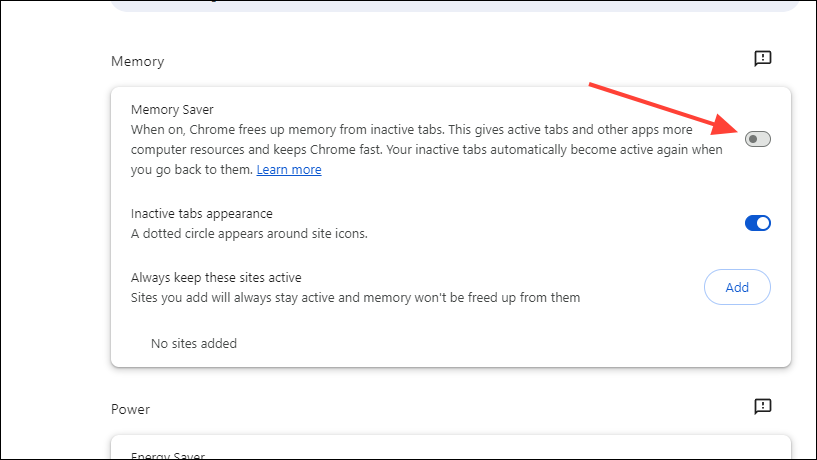
You can prevent Chrome from putting tabs to sleep when you don't use them for an extended period by disabling the memory saver feature.
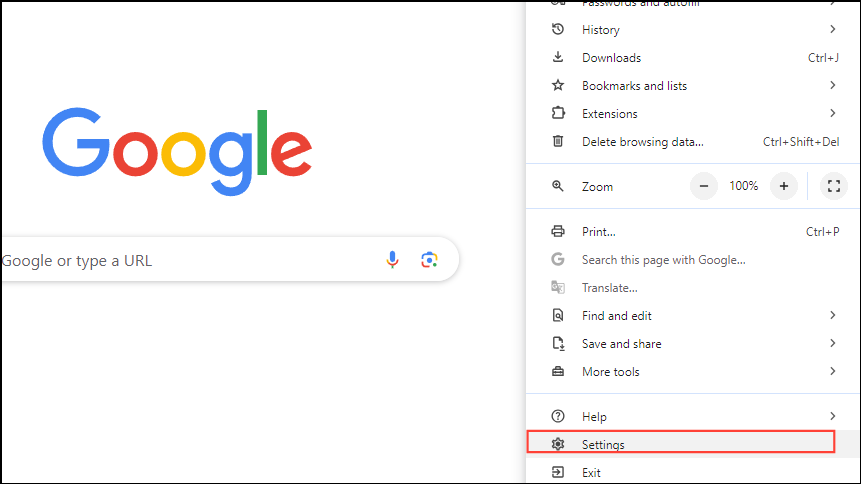
- Click on the three dots at the top right and then on the 'Settings' option in the dropdown menu.
- On the Settings page, click on the 'Performance' tab on the left.
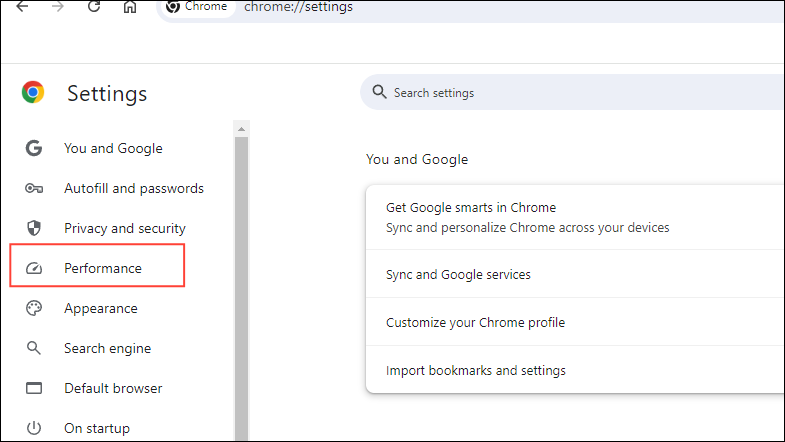
- Click on the toggle for the 'Memory Saver' option to turn it off.
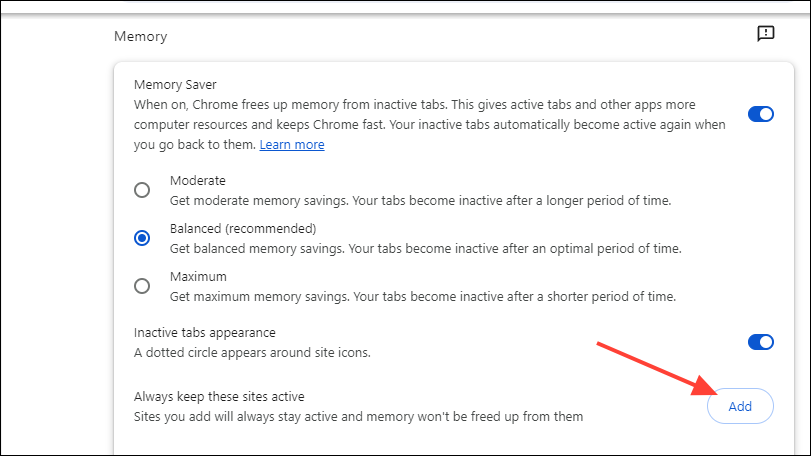
- Alternatively, you can keep the Memory Saver feature enabled but add exceptions for pages you do not want Chrome to reload. Click on the 'Add' button on the right of the 'Always keep these sites active' option to do so.
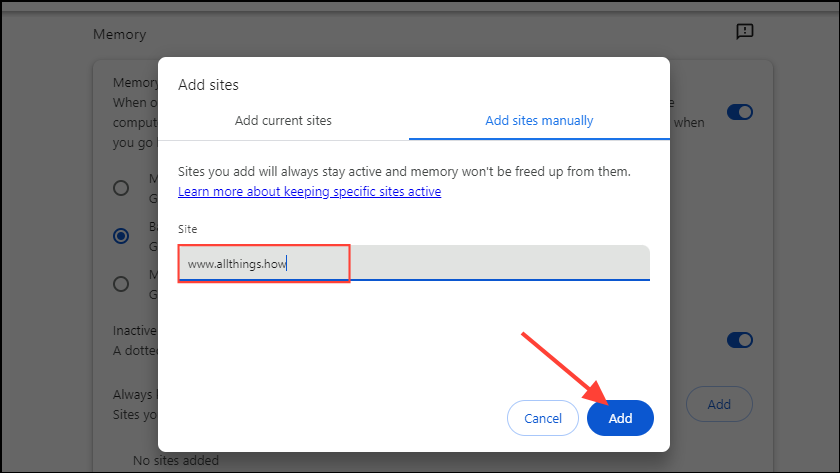
- Now, type the address of the website you want to keep active and click on the 'Add' button again.
Solution 8: Disable automatic tab discarding
You can also turn off tab discarding by visiting the Discards page of the Chrome browser.
- Type
chrome://discards/in the address bar and press Enter to see all your open tabs.
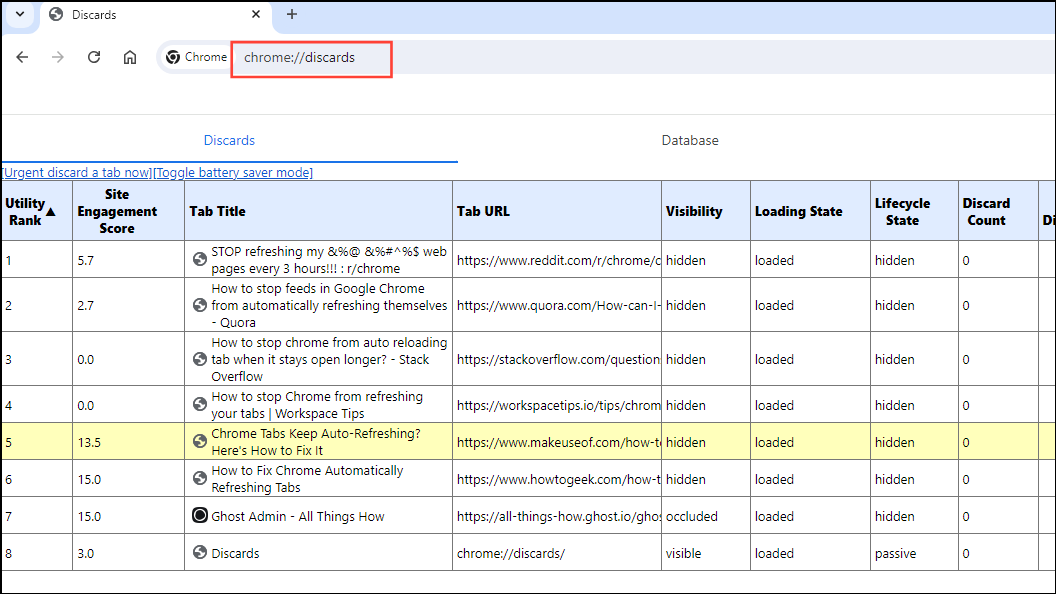
- To stop Chrome from reloading a tab, click on the toggle under the Auto Discardable section for that tab and turn it off.

Solution 9: Use the Tab Auto Refresh extension
The Tab Auto Refresh extension lets you control when you want Chrome to refresh your tabs. So, you can prevent it from reloading tabs frequently.
- Download and install the Tab Auto Refresh extension.
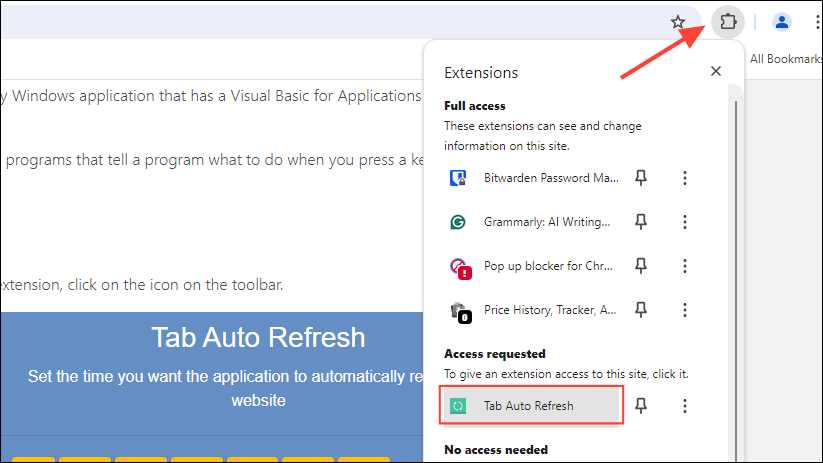
- Once the extension is installed, click on the 'Extensions' button and then on the 'Tab Auto Refresh' extension.
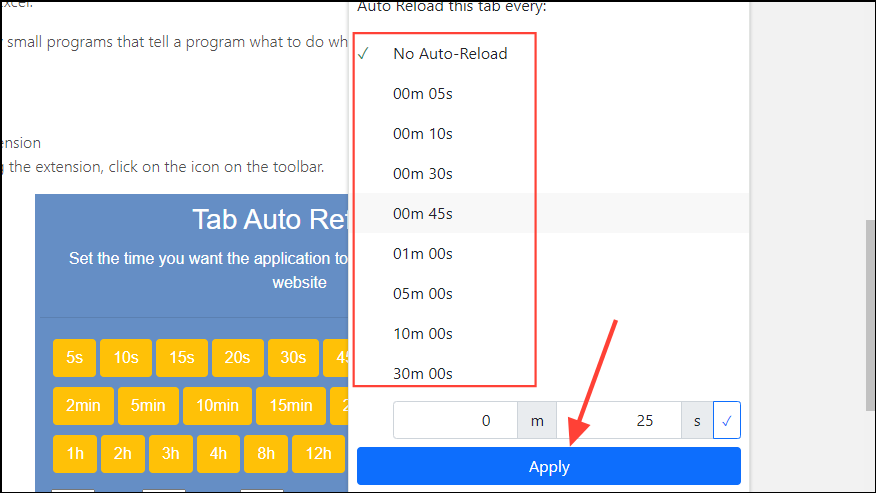
- Now you can choose for how long your current tab will not reload by clicking on any of the options that are visible. Then click on the 'Apply' button.
Solution 10: Free up system resources
You can check if other processes are using up resources that Chrome needs and stop them from running when you are using the browser.
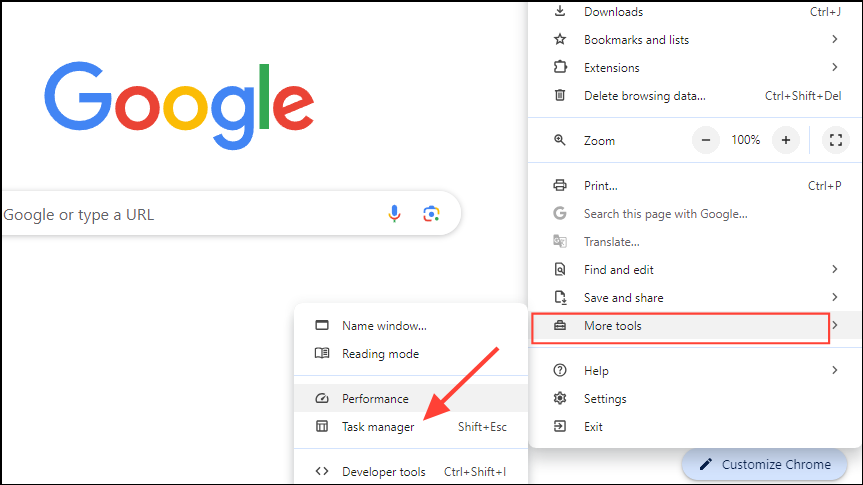
- Click on the three dots at the top right, move your cursor to the 'More Tools' option, and click on 'Task Manager'.
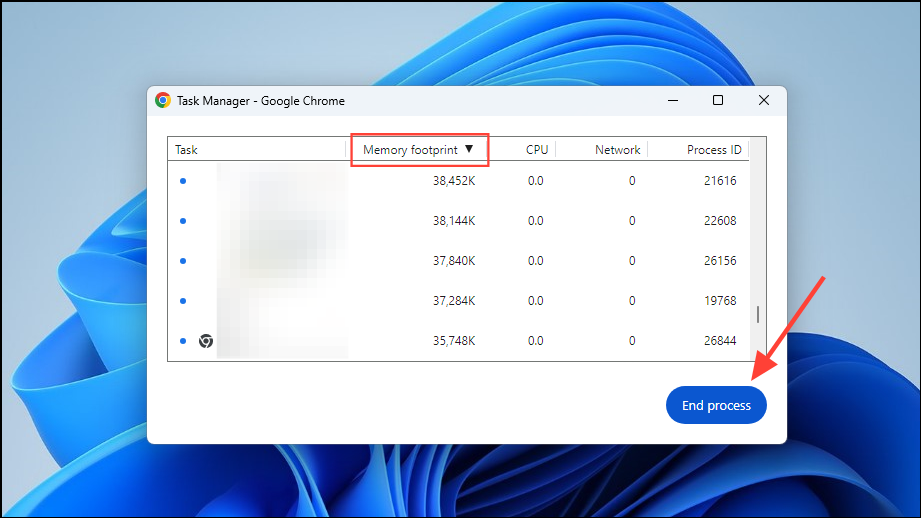
- Click on the 'Memory Footprint' column to sort all open tabs by memory usage. Then, you can close the unneeded tabs by clicking on them and clicking on the 'End process' button.
Solution 11: Perform an SFC scan
The Windows System File Check utility can scan for problems and try to fix them. It may also help you resolve errors with Chrome.
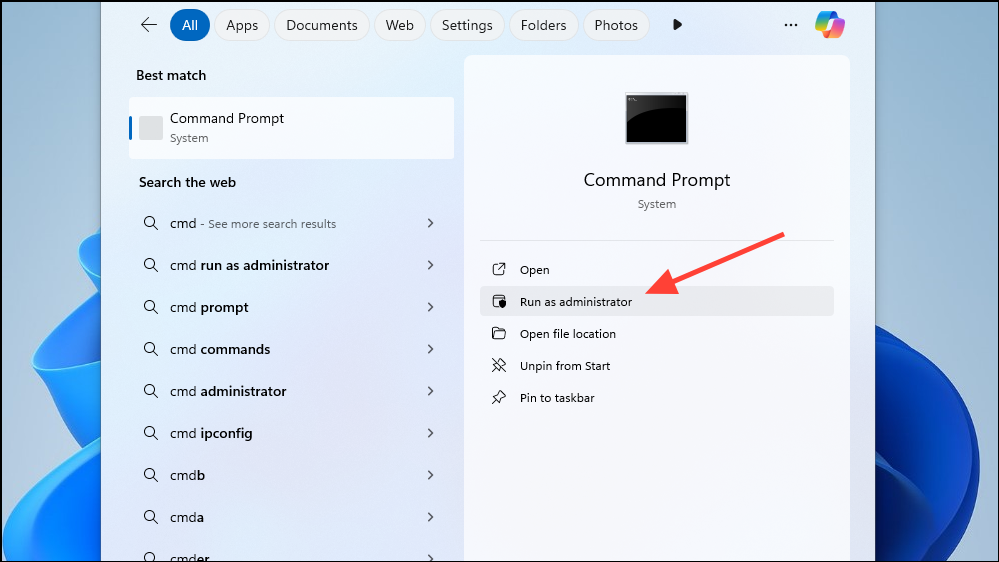
- Open the Start menu, type
cmd, and click on 'Run as administrator'.
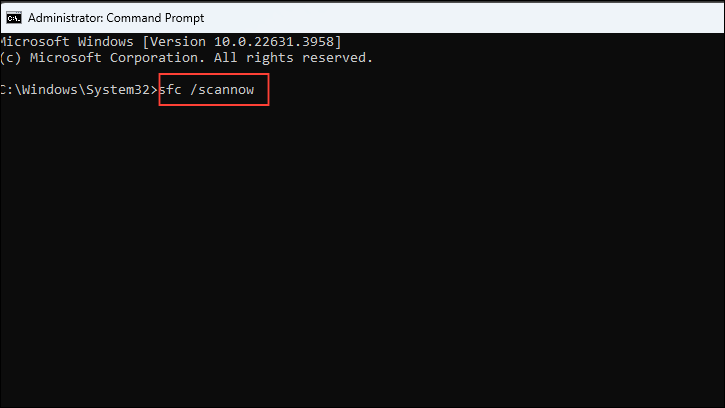
- In the command prompt window, type
sfc/ scannowand press Enter. Wait for the scan to complete before you try using Chrome again.
Solution 12: Check for Chrome updates
Bugs may be present in Chrome causing the browser to refresh tabs. Updates may be able to fix the issue, so you should check for updates from Chrome settings.
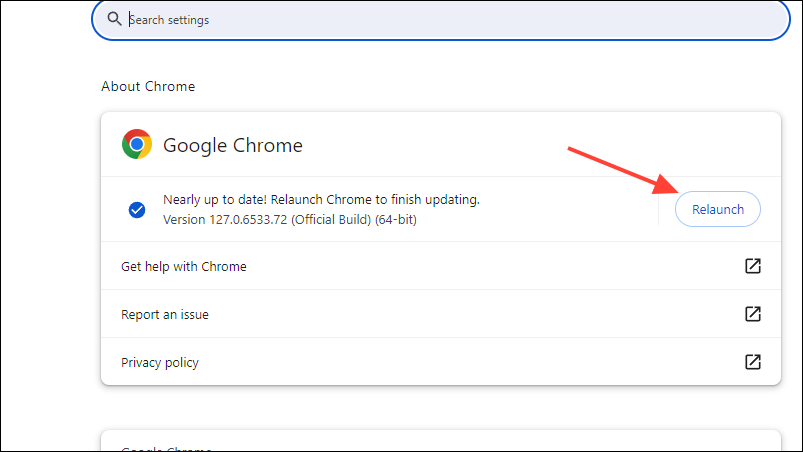
- Click on the three dots at the top right, scroll down to the 'Help' option, and then click on 'About Google Chrome'.

- Chrome will automatically check for and install updates. You may need to relaunch the browser by clicking on the 'Relaunch' button once the process is complete.
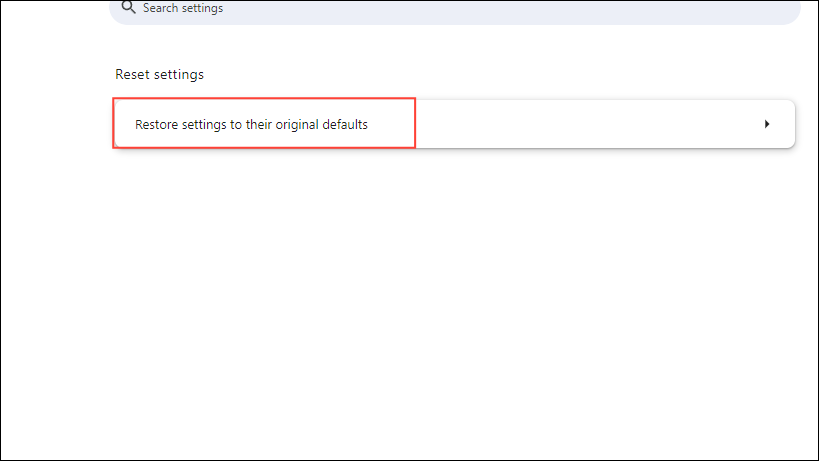
Solution 13: Reset Chrome settings
You can also try resetting Chrome so its settings are restored to their default configuration. While this will get rid of any customizations you might have made, it can help resolve issues with the browser.
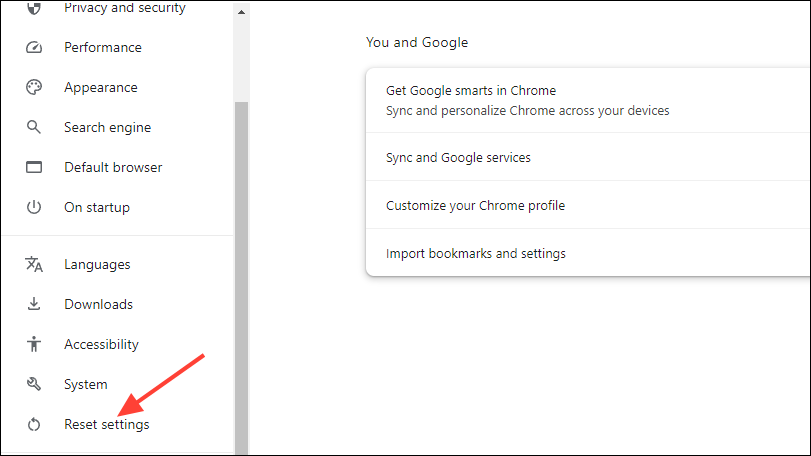
- To reset Chrome, open the browser settings as explained above.
- Then click on 'Reset Settings' on the left.
- Next, click on 'Restore settings to their original defaults' and then on 'Reset Settings' in the pop-up.
Things to know
- While bugs can cause problems like Chrome refreshing its tabs frequently, often the problem is caused because of low system resources.
- If the above solutions do not work, you may want to try removing the browser from your system and reinstalling it.
- You should also consider upgrading the RAM of your computer as that can go a long way in resolving low memory problems.