
Windows 11 updates require a minimum amount of free storage on your system drive—typically the C: drive—to download, unpack, and install new files. When your PC reports a “not enough disk space” error during an update, the process halts until you provide the required space. This can happen even if you have plenty of storage on other drives or external devices, because Windows primarily uses the system partition for updates. Below are proven methods to resolve this error and complete your Windows 11 update successfully.
Free Up Disk Space Using Built-In Windows Tools
Before resizing partitions, try removing unnecessary files and applications to reclaim storage on your system drive. Windows includes several utilities to help you identify and delete files safely.
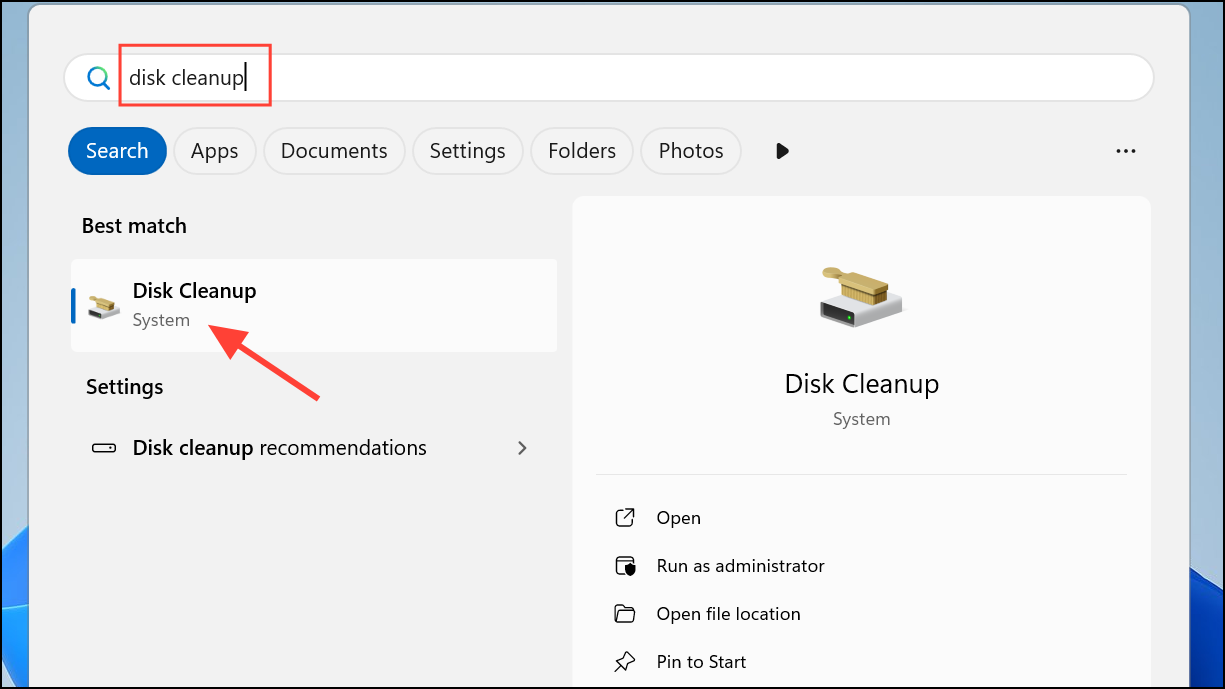
Step 1: Launch Disk Cleanup by typing it into the Start menu search bar. Select your C: drive, then check file types such as temporary files, system logs, and previous Windows installations. Click “OK” to delete the selected items.
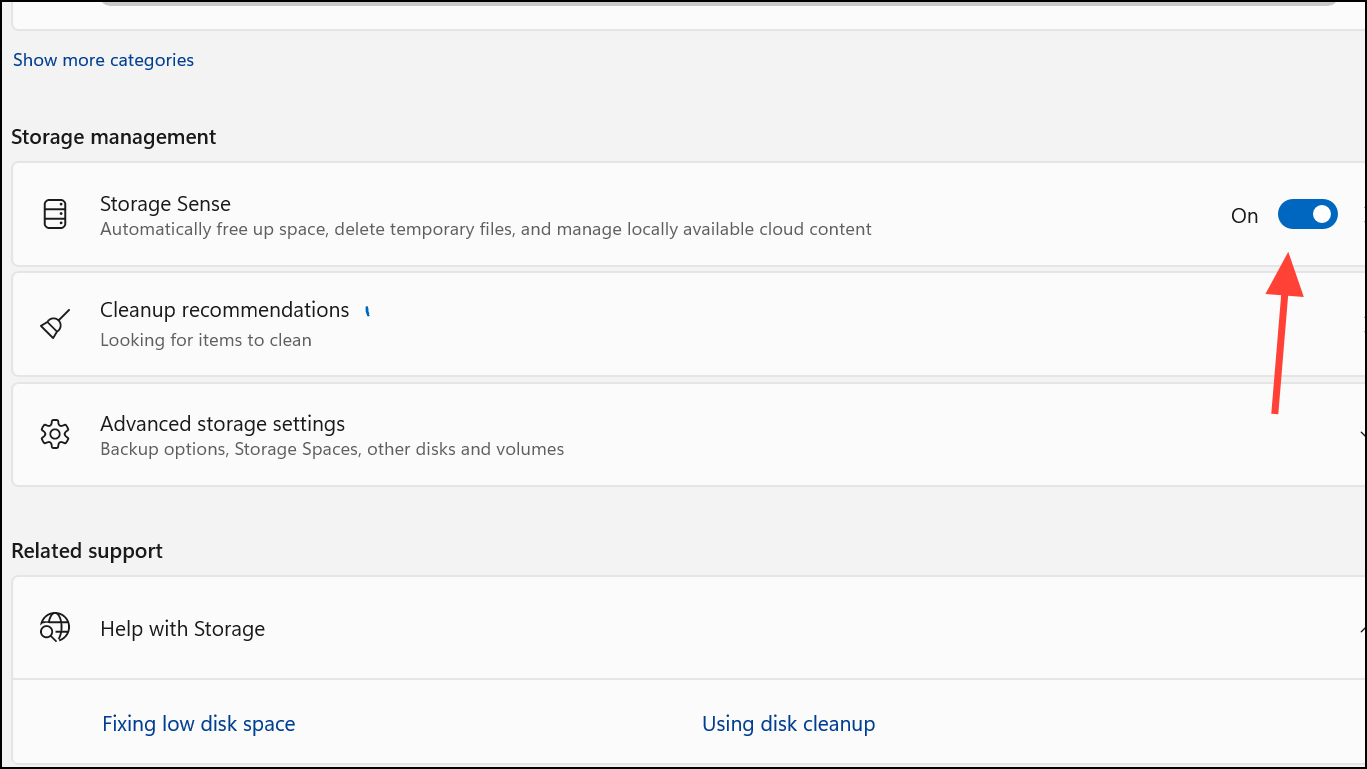
Step 2: Open Settings > System > Storage and enable Storage Sense. This feature automatically deletes unused files, empties the Recycle Bin, and clears temporary files according to your preferences. You can also use “Cleanup recommendations” to review large or unused files, cloud-synced files, and unused apps for removal.
Step 3: Manually delete personal files you no longer need from folders like Downloads, Videos, and Pictures. Moving large files to an external drive or cloud storage can quickly create the space required for updates.
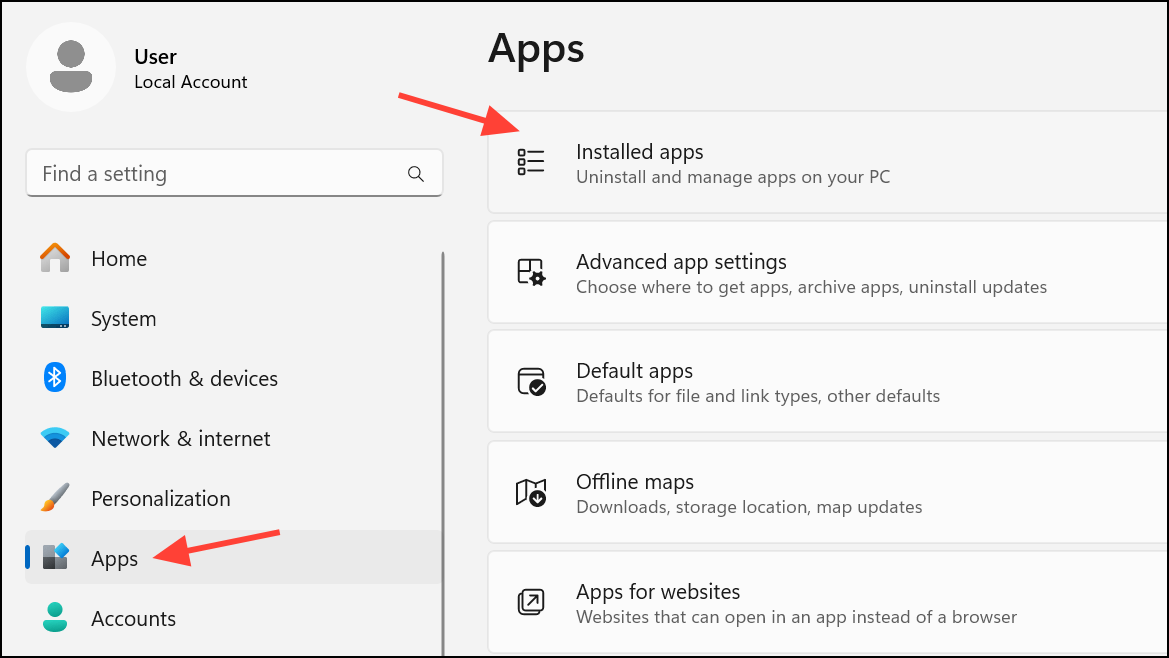
Step 4: Uninstall applications you rarely use by navigating to Settings > Apps > Installed Apps. Select the app and choose “Uninstall.”
These steps can reclaim several gigabytes of space, often enough to allow the update to proceed without further intervention.
Use an External Storage Device During the Update
When you still lack sufficient internal space after cleanup, Windows 11 allows you to use an external drive—such as a USB flash drive or SD card—to temporarily store update files. This approach is especially useful for devices with limited built-in storage, like tablets or small SSD laptops.
Step 1: Connect an external storage device with at least 10 GB of free space to your PC. Make sure you back up any important data from the external drive before proceeding.
Step 2: Go to Settings > Windows Update. If Windows detects insufficient space, you’ll see a “Fix issues” option. Click it to launch the update assistant.
Step 3: When prompted, select your external drive from the list of available devices. Windows will use this storage to offload temporary update files, reducing the burden on your system drive.
Step 4: Complete the update process by following on-screen instructions. When installation finishes, safely remove the external storage device.
Note that you still need a minimum amount of free space on your system drive for the update to succeed—usually at least 8 GB. The external device supplements, rather than replaces, this requirement.
Move Personal Files and User Folders to Another Drive
Relocating personal files or entire user folders (such as Documents, Pictures, and Downloads) to another internal or external drive can quickly clear space on your C: drive without deleting important data.
Step 1: Open File Explorer and right-click the folder you want to move (e.g., Documents). Select “Properties,” then go to the “Location” tab and click “Move.”
Step 2: Choose a new destination on another drive and confirm the move. Windows will transfer all existing files and update the default save location for new files.
This method is particularly effective for users with a secondary internal drive (such as D:) or a large external drive. If you encounter permission errors, ensure you have administrative privileges, or try moving individual files instead of entire folders.
Disable Hibernation and Adjust Virtual Memory Settings
Hibernation and virtual memory (pagefile) features create large hidden files on your system drive, sometimes consuming several gigabytes. Disabling or reducing these features can free up significant space, especially on devices with limited storage.
Step 1: Open Command Prompt as an administrator by typing cmd in the Start menu, right-clicking, and selecting “Run as administrator.” To disable hibernation, enter the following command and press Enter:
powercfg /hibernate off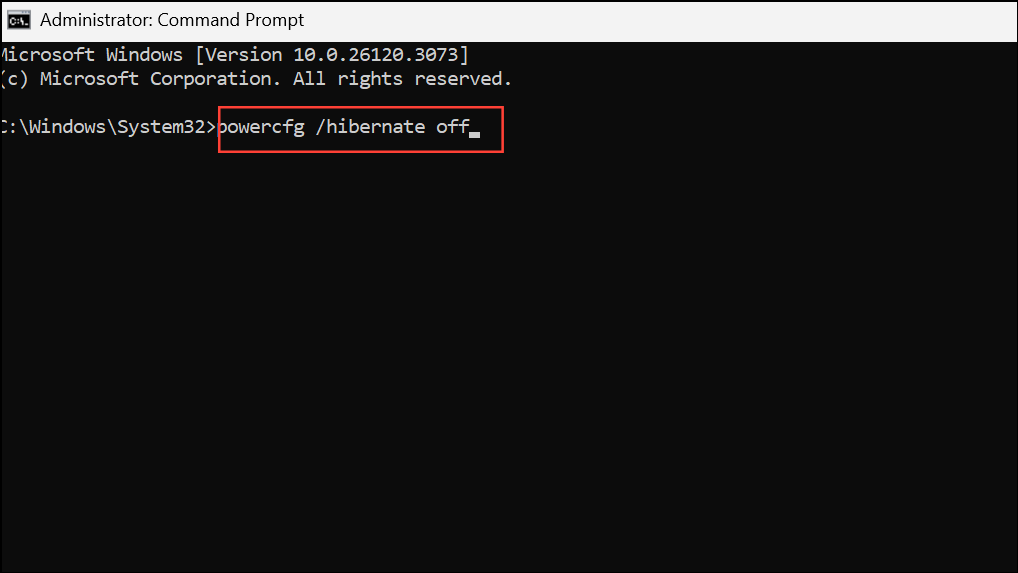
This command deletes the hiberfil.sys file, freeing up space immediately. If you want to re-enable hibernation later, use powercfg /hibernate on.
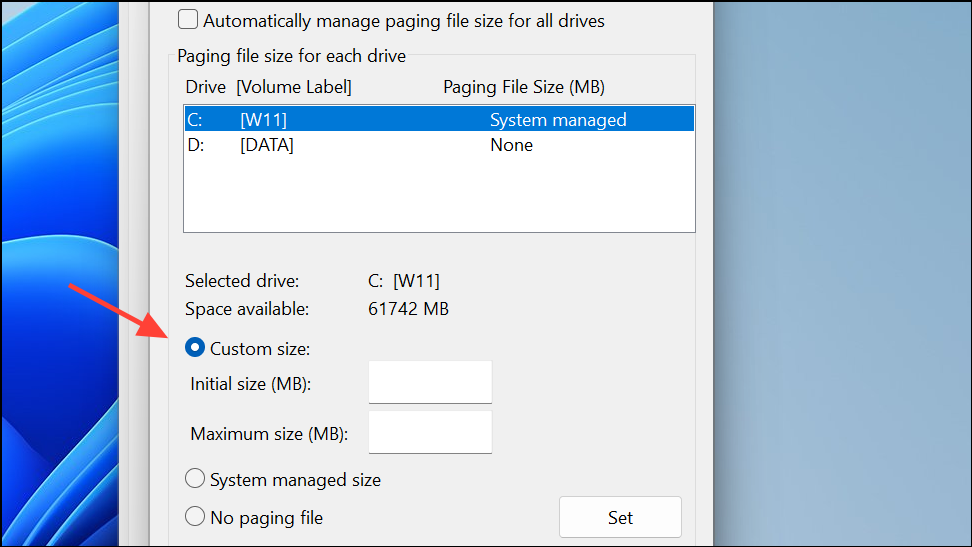
Step 2: To adjust virtual memory, search for “Advanced system settings” and open it. Under the “Performance” section, click “Settings,” then go to the “Advanced” tab and select “Change” under Virtual Memory.
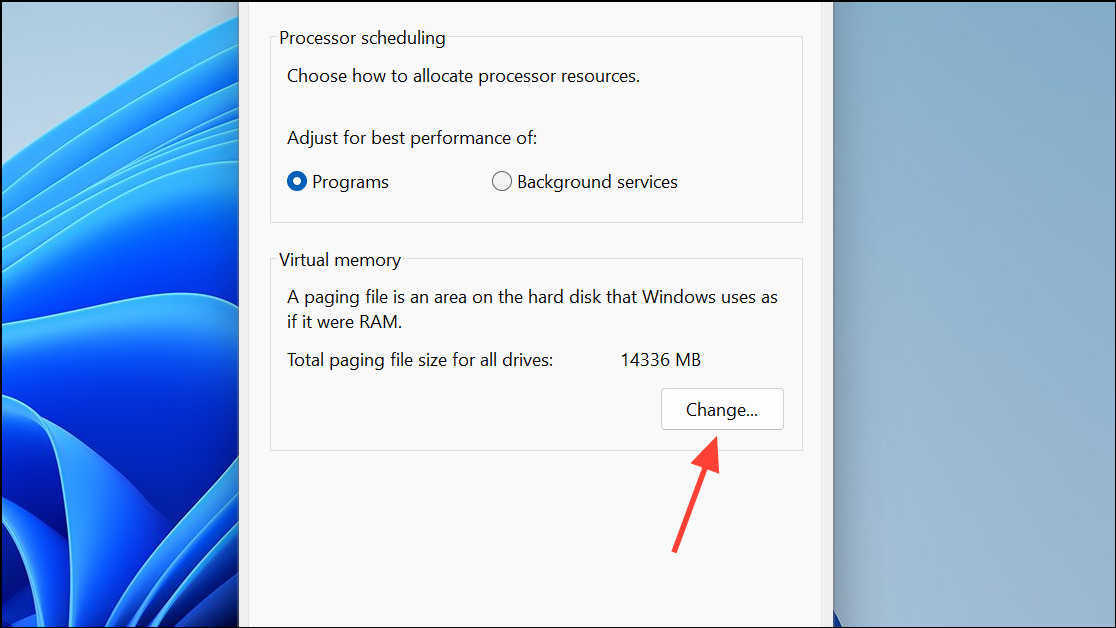
Step 3: Uncheck “Automatically manage paging file size for all drives.” Select your C: drive, choose “Custom size,” and set a smaller value (such as 512 MB). Click “Set,” then “OK.” Restart your PC for changes to take effect.
Reducing or disabling virtual memory may impact performance if your system runs out of RAM, so only use this method temporarily to complete the update.
Check for Disk Errors and Hidden Storage Issues
Corrupted file systems or hidden disk quotas can cause Windows to misreport available space, triggering update errors even when you appear to have enough storage.
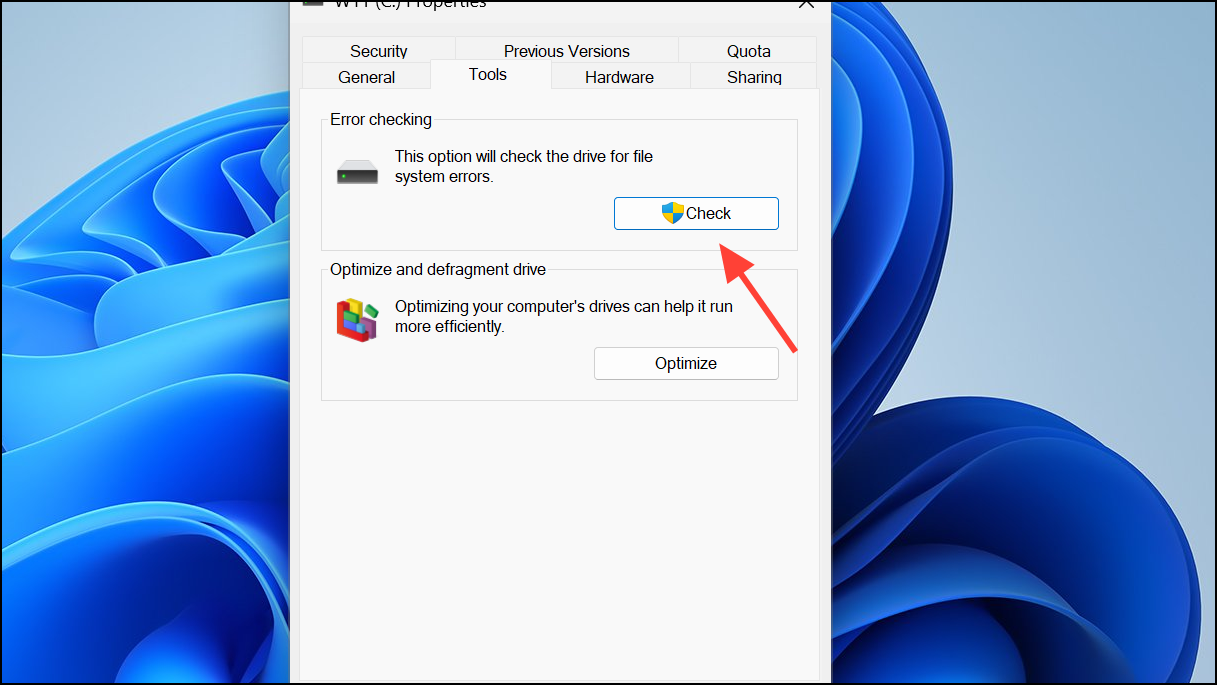
Step 1: Open File Explorer, right-click your C: drive, and select “Properties.” Go to the “Tools” tab and click “Check” under “Error checking.” Allow Windows to scan and repair any detected file system errors.
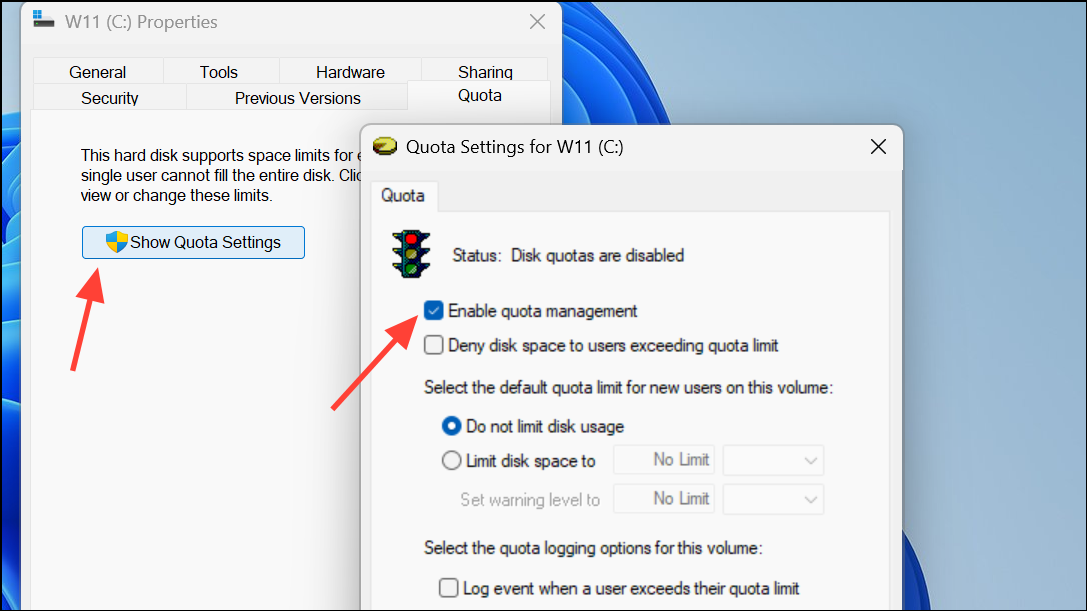
Step 2: If your drive uses disk quotas, open the “Quota” tab in the same Properties window. Click “Show Quota Settings” and ensure “Enable quota management” is unchecked. Apply changes as needed.
These steps resolve hidden issues that can block updates, especially on systems managed by organizations or with complex storage setups.
Extend the System Partition to Increase Free Space
Expanding the C: drive is the most effective way to resolve disk space errors during Windows 11 updates, especially if your drive is nearly full and other cleanup methods haven't provided enough space. By allocating additional unallocated or unused space from other partitions to your C: drive, you directly address the root cause of the update failure.
Step 1: Download and install a reliable partition manager such as EaseUS Partition Master or MiniTool Partition Wizard. These tools allow you to resize and move partitions without data loss, even when the unallocated space is not adjacent to your C: drive.
Step 2: Open the partition manager and locate your system drive (C:). Select the “Resize/Move” or “Extend Partition” option, then drag the slider or enter the amount of space you want to add from available unallocated or less-used partitions.
Step 3: Confirm the changes and click “Apply” or “Execute” to start the process. The tool will move and resize partitions as needed, which may require a system reboot. Once complete, your C: drive will have more free space, allowing Windows Update to proceed.
By expanding your system partition, cleaning up files, using external storage, or tweaking system settings, you can resolve “not enough disk space” errors and keep your Windows 11 installation current. Regularly monitoring your storage and moving large files off your C: drive will help prevent future update interruptions.