Battlefield 6 requires Secure Boot to be enabled on Windows 11 systems, a measure designed to block advanced cheating methods and support EA’s Javelin anti-cheat. When Secure Boot is not enabled, the game will not launch and displays a critical error message. Enabling Secure Boot can be straightforward on modern PCs, but may involve several detailed steps, especially for custom builds or upgraded systems. The following guide explains how to check your system status, convert disk formats if needed, and safely enable Secure Boot for Battlefield 6.
Check Secure Boot and System Compatibility
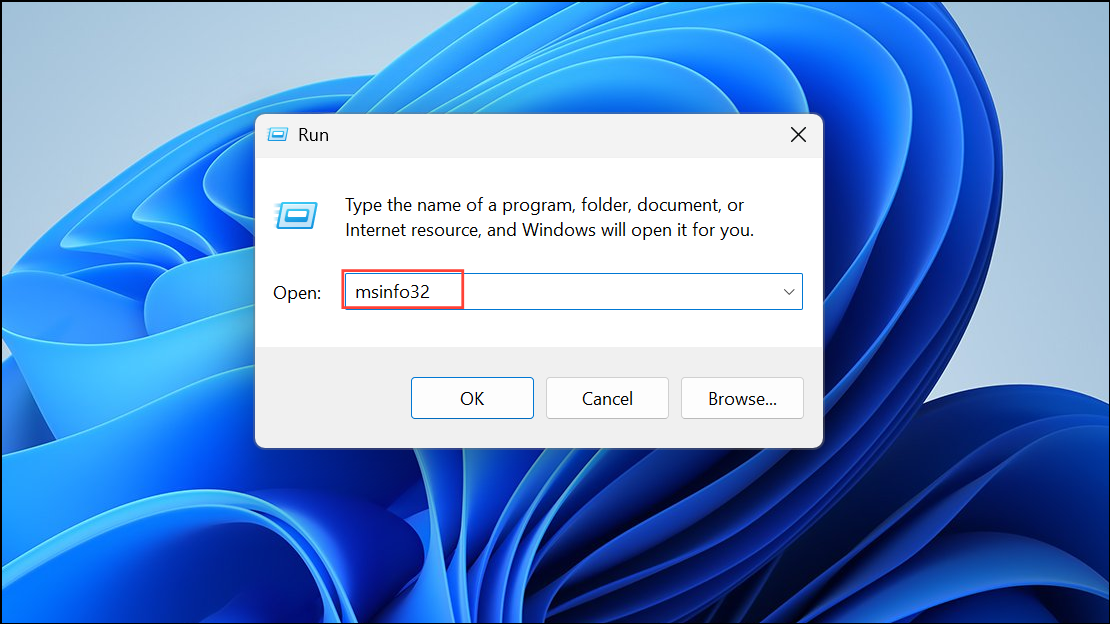
Step 1: Open the System Information tool by pressing Windows Key + R, typing msinfo32, and pressing Enter.
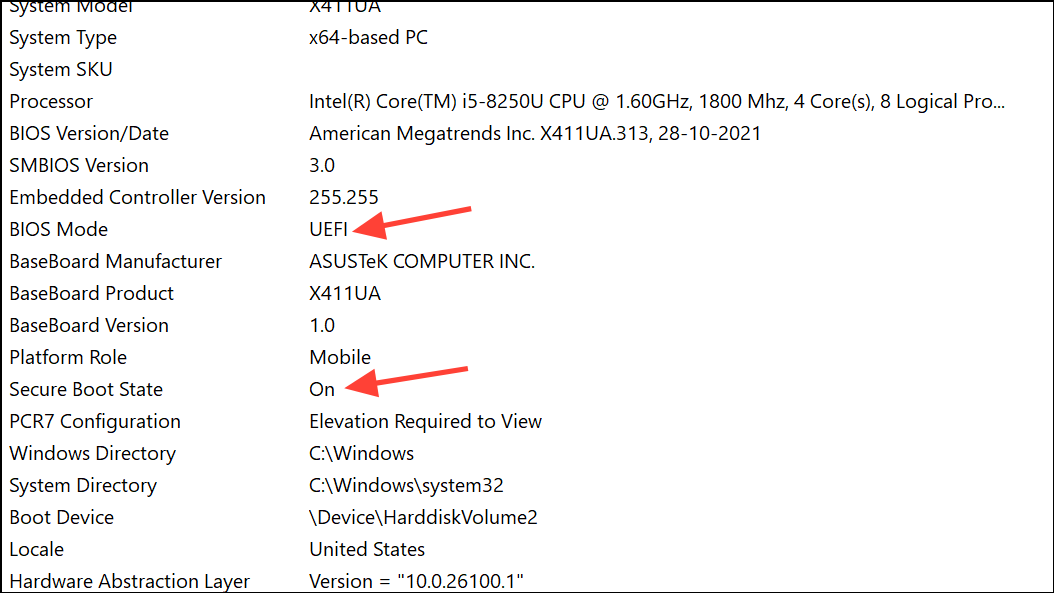
Step 2: Under System Summary, review the following:
- BIOS Mode: Should display UEFI. If it says Legacy, Secure Boot cannot be enabled without additional changes.
- Secure Boot State: Should display On. If it shows Off, proceed to BIOS/UEFI changes.
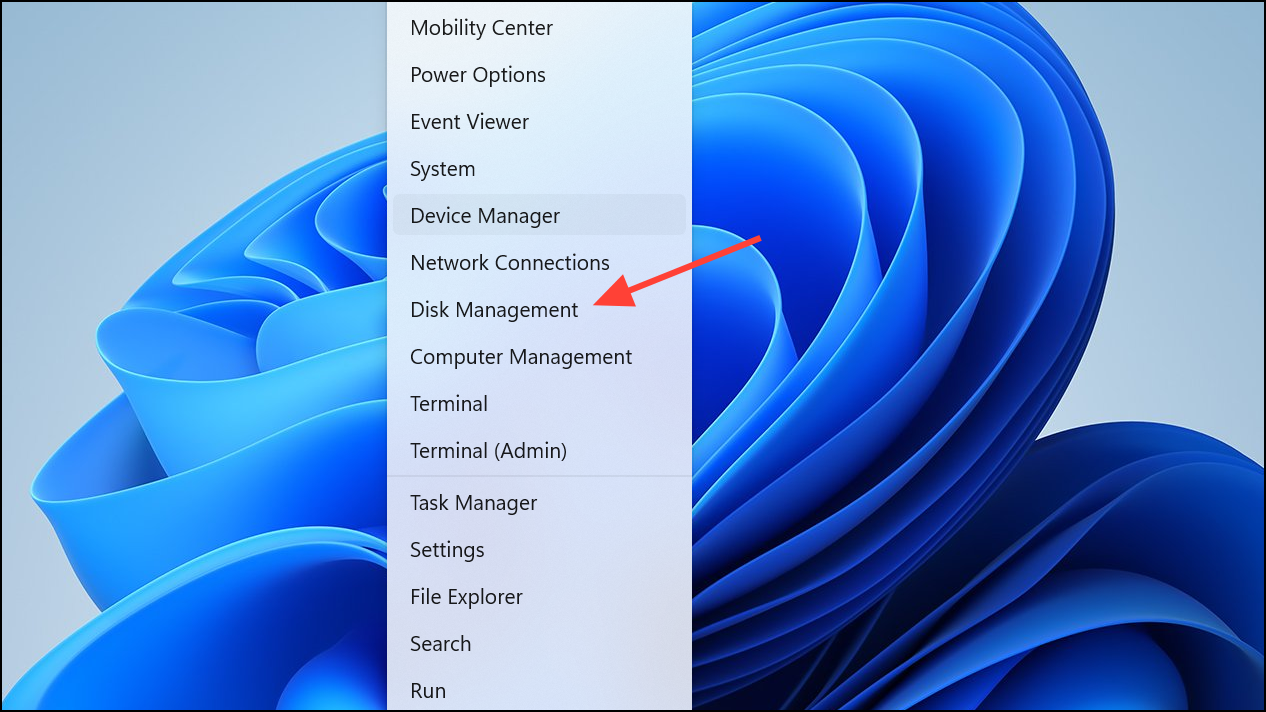
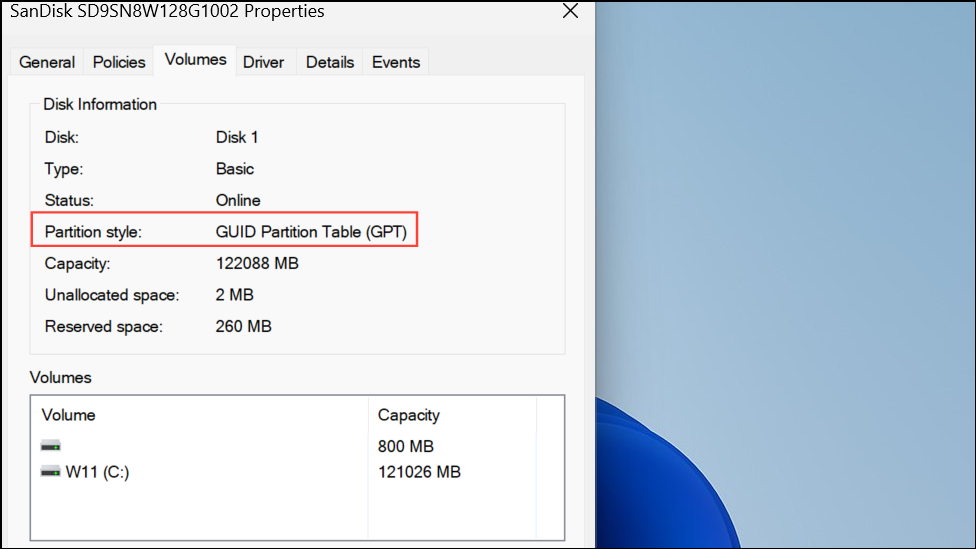
Step 3: Confirm your boot drive uses the correct partition style. Press Windows Key + X and select Disk Management.
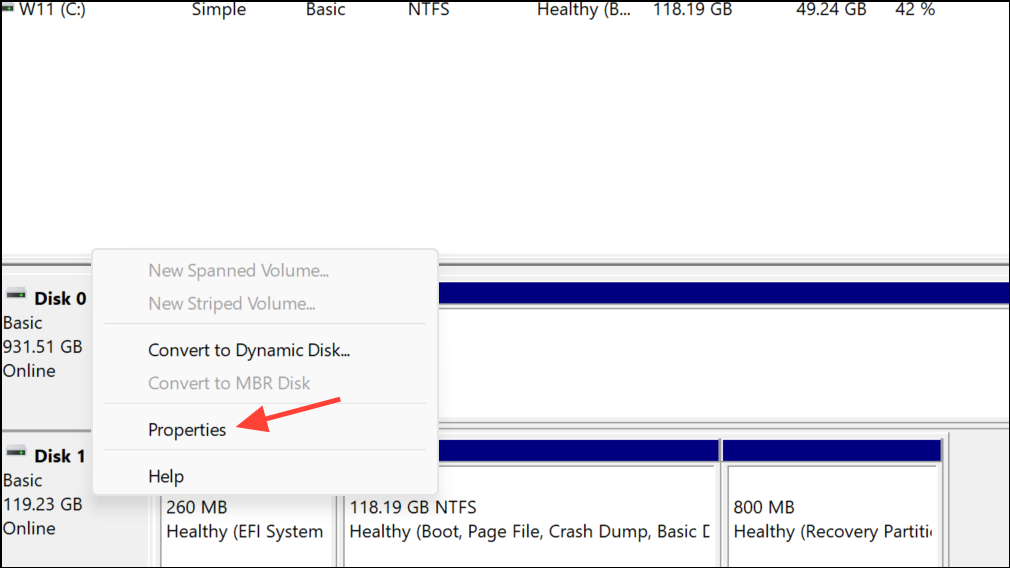
Step 4: Right-click your boot disk (usually C:), select Properties > Volumes.
Step 5: Check Partition style:
- GUID Partition Table (GPT): Required for Secure Boot.
- Master Boot Record (MBR): Must be converted to GPT. See the conversion section below.
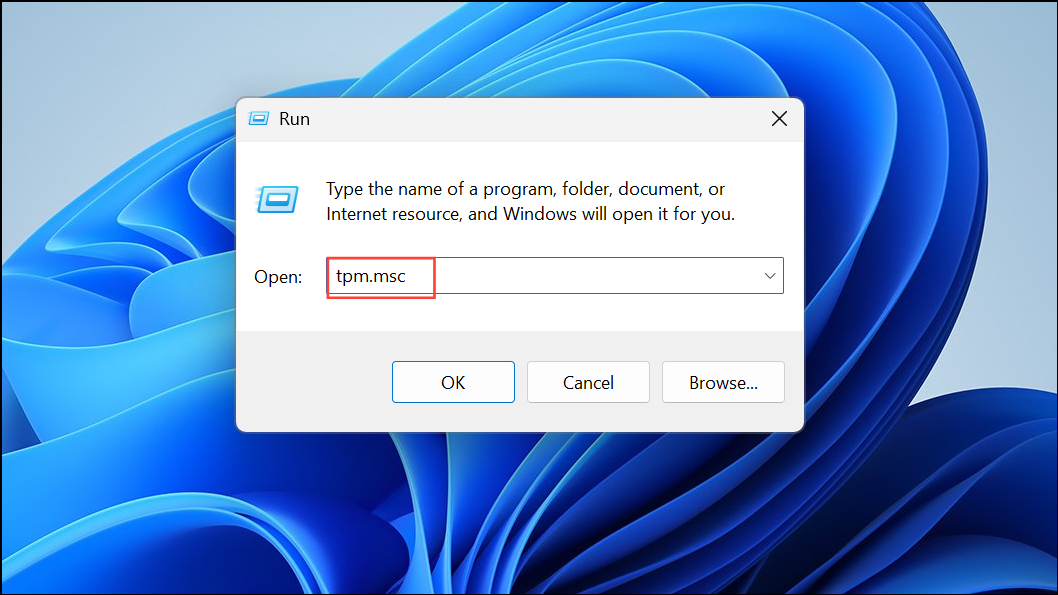
Step 6: Verify TPM (Trusted Platform Module) status, which Battlefield 6 also uses for anti-cheat. Press Windows Key + R, type tpm.msc, and press Enter.
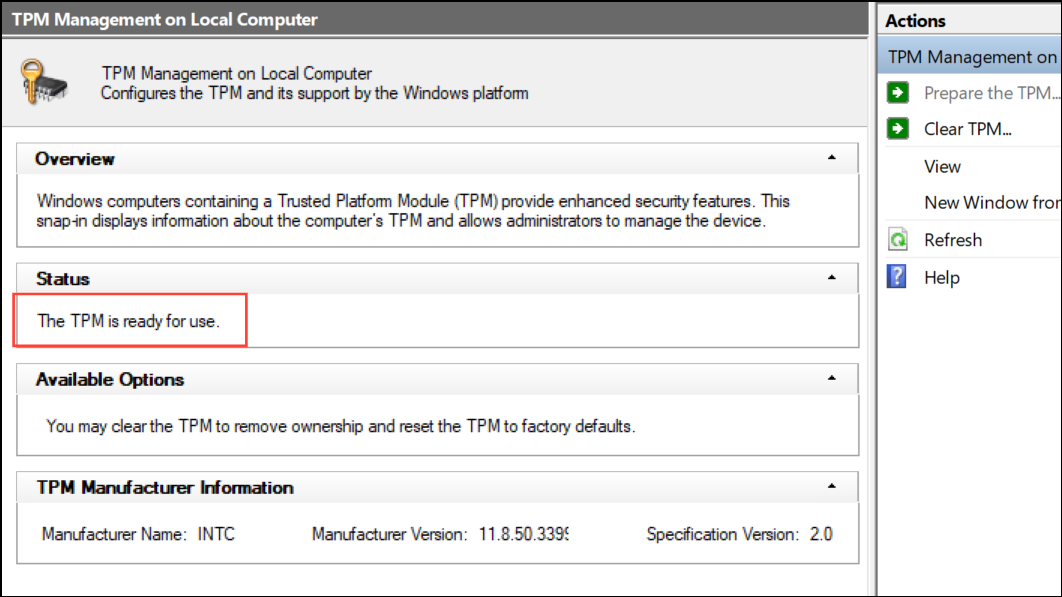
Step 7: Status should read The TPM is ready to use.
Convert Boot Disk from MBR to GPT (If Required)
Secure Boot only works if your Windows installation is on a GPT-partitioned disk. If your disk uses MBR, you must convert it. Microsoft’s MBR2GPT tool converts disks without data loss, but always back up important files first as a precaution.
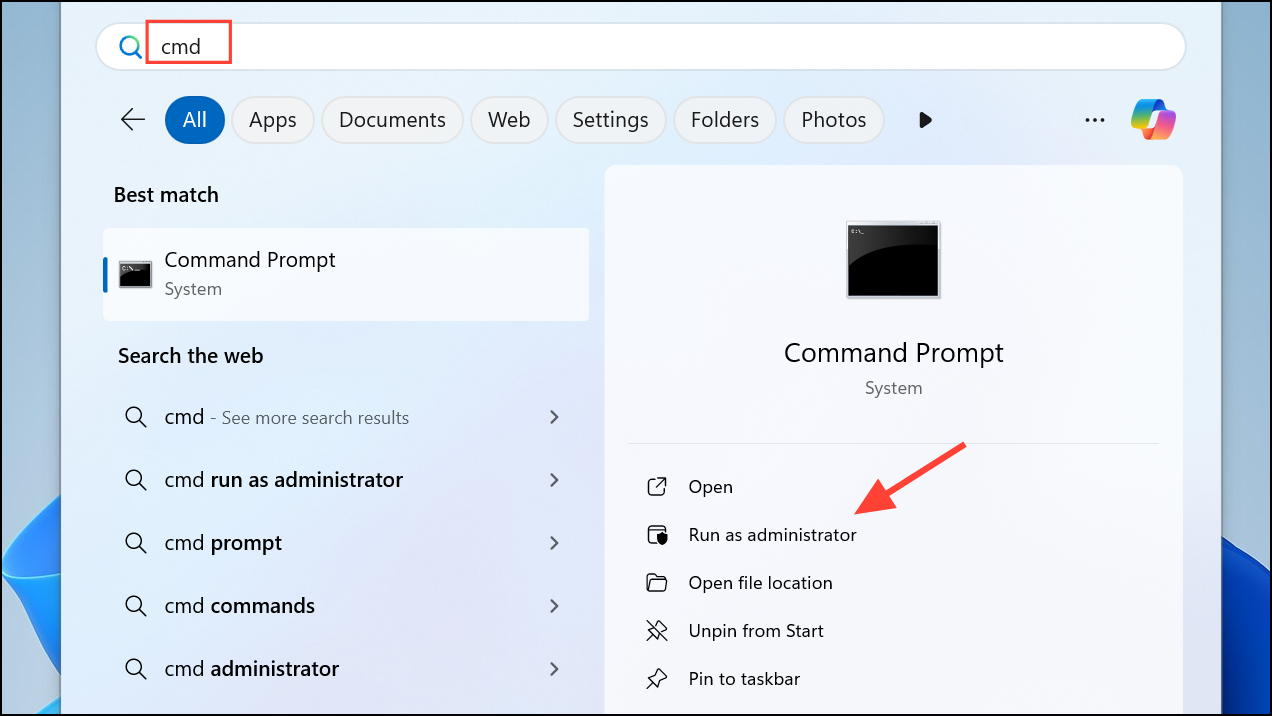
Step 1: Open Command Prompt as Administrator by typing cmd in the Start menu, right-clicking and selecting Run as administrator.
Step 2: Run the following command to validate your disk:
mbr2gpt /validate /allowFullOS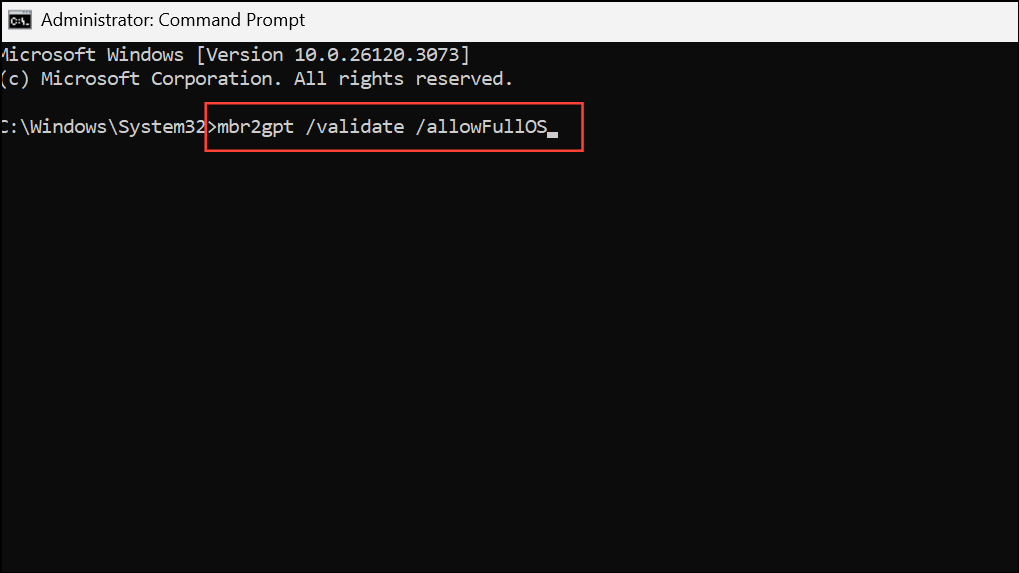
Step 3: If validation passes, run the conversion:
mbr2gpt /convert /allowFullOS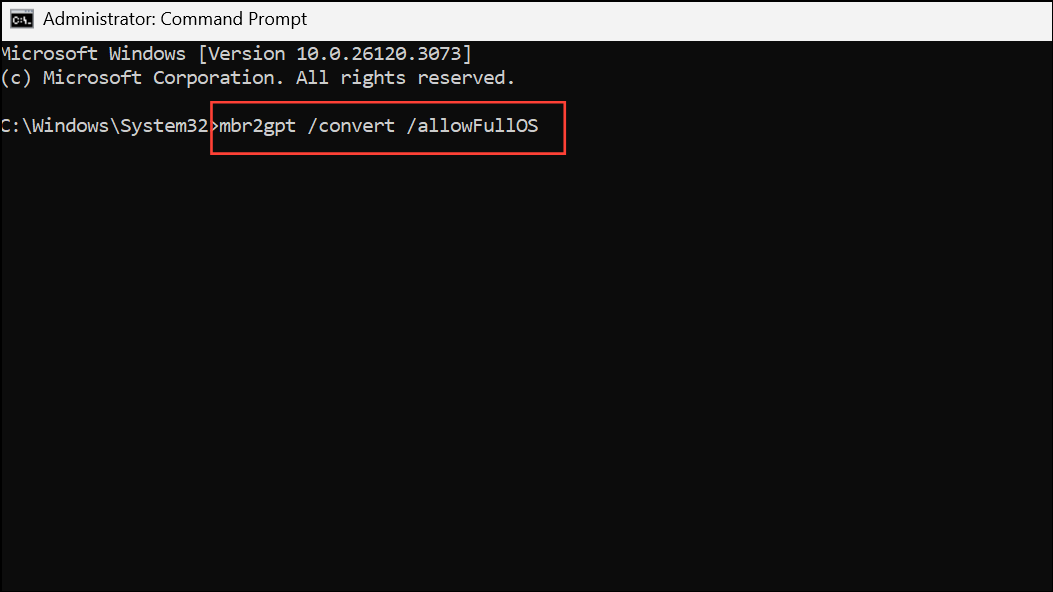
The system will prompt for a reboot. After conversion, check that your BIOS is set to UEFI mode before attempting to enable Secure Boot.
Enable UEFI and Secure Boot in BIOS/UEFI Settings
Secure Boot is a firmware-level setting found in your motherboard’s BIOS or UEFI menu. The exact steps vary by manufacturer, but the general process remains similar:
Step 1: Restart your computer and enter BIOS/UEFI. Usually, this involves pressing Del, F2, or F10 during startup (watch for on-screen prompts).
Step 2: Locate the Boot or Security tab. Confirm that Boot Mode or OS Type is set to UEFI (not Legacy or CSM). If you recently converted your disk to GPT, Legacy/CSM must be disabled.
Step 3: Find the Secure Boot option. Set it to Enabled. Some boards require you to first set Secure Boot Mode to Standard (not Custom), which loads the default platform keys.
Step 4: Save changes and exit BIOS/UEFI. The system will reboot. After rebooting, repeat the msinfo32 check to confirm Secure Boot is now On.
Motherboard-Specific Troubleshooting Tips
Gigabyte Boards
Some Gigabyte motherboards show Secure Boot as "enabled" but "inactive." To resolve:
- Disable Secure Boot, switch mode from Standard to Custom and back to Standard, then restore factory keys if prompted.
- Re-enable Secure Boot, save, and reboot.
- If issues persist, reset CMOS or update BIOS to the latest version.
ASUS Boards
- Under the Boot tab, set OS Type to Windows UEFI Mode before enabling Secure Boot.
- If Secure Boot remains inactive, update your BIOS and ensure CSM is disabled.
ASRock and MSI Boards
- Import or restore factory keys after enabling Secure Boot, especially if prompted.
- Ensure TPM/fTPM is enabled in BIOS settings.
- For MSI, switch Secure Boot from Custom to Standard to auto-load platform keys.
If your system fails to boot after enabling Secure Boot, reset BIOS to defaults by removing the CMOS battery for several minutes (with the PC unplugged), then reinsert and try again. Connect your display to the motherboard’s onboard graphics if your GPU is not detected during troubleshooting.
Addressing Common Pitfalls and Error States
- Secure Boot requires UEFI mode and a GPT disk. Enabling it with MBR or Legacy mode causes boot failures.
- Older graphics cards may need a firmware update to support UEFI boot. For NVIDIA cards, use the UEFI firmware updater.
- If your PC is BitLocker-protected, back up your BitLocker recovery key before changing BIOS settings to avoid data loss.
- For dual-boot Linux systems, Secure Boot may block booting unless Linux is signed with the correct keys. Tools like
sbctlor GRUB customization may be required. - If stuck in a BIOS loop, verify all connected drives are GPT and compatible with UEFI boot. Disconnect non-boot drives if troubleshooting.
Final Checks and Launching Battlefield 6
After enabling Secure Boot and confirming all system requirements, launch Battlefield 6. The game should now start without the Secure Boot error. If issues persist:
- Double-check BIOS and Windows settings for Secure Boot and TPM status.
- Update your motherboard BIOS and GPU drivers to the latest versions.
- Consult your motherboard manufacturer’s support documentation for model-specific guidance.
- For persistent errors, post your motherboard model, BIOS version, and error details in the community support forums for targeted help.
Enabling Secure Boot on Windows 11 can be complex, especially with older or custom hardware, but it’s essential for launching Battlefield 6 and supporting robust anti-cheat measures. Take your time, back up important data, and use official resources for your specific hardware to minimize risks.

