
System Restore in Windows 11 provides a quick way to roll back system changes, but the process can stop unexpectedly with error code 0x81000204. This error usually appears when restoring from a previous point or creating a new restore point fails, often with a message such as “System Restore did not complete successfully.” The error is frequently linked to file system problems, corrupted system files, or misconfigured services that System Restore depends on.
Run CHKDSK to Repair Disk Errors
File system corruption or hard drive issues are common causes for System Restore failures. Running the built-in Check Disk utility (chkdsk) checks for and repairs disk errors that may be blocking the restore process.
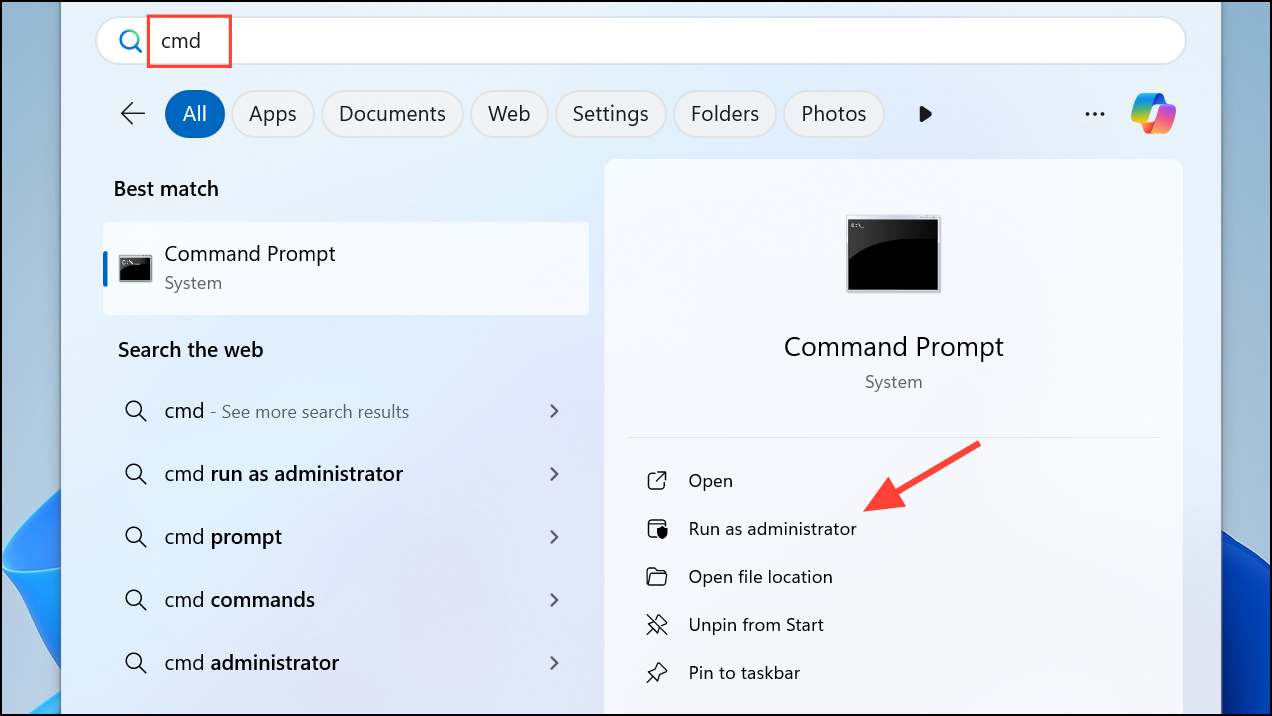
Step 1: Open the Start menu, type cmd, right-click Command Prompt, and select Run as administrator.
Step 2: In the Command Prompt window, enter the following command to scan and repair the C: drive:
chkdsk C: /f /r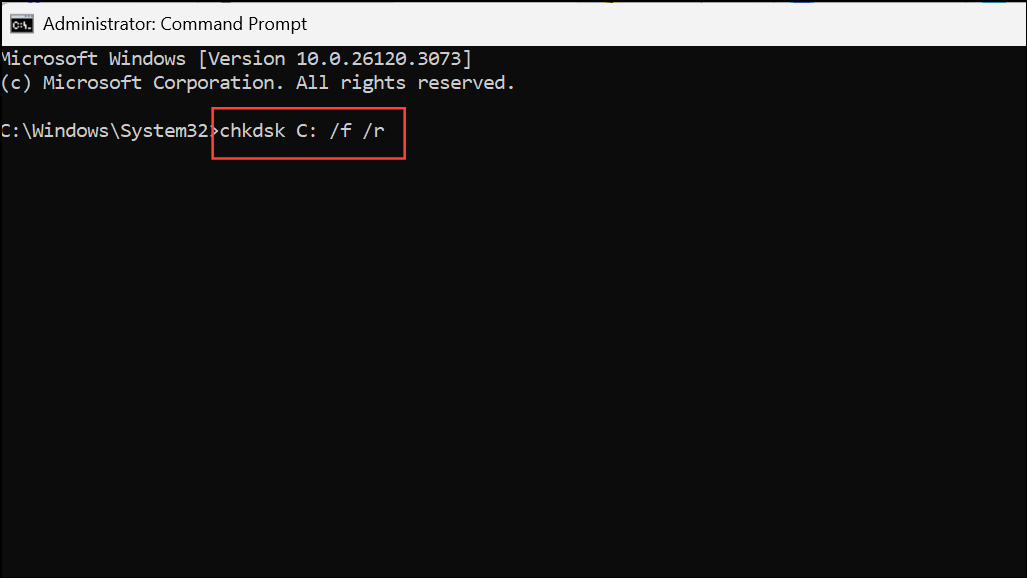
This command checks for bad sectors (/r) and fixes file system errors (/f). If prompted to schedule the scan on the next restart, type Y and press Enter, then restart your computer. Allow the scan to complete before attempting System Restore again.
Repair System Files with SFC and DISM
Corrupted or missing system files can prevent System Restore from functioning correctly. Windows includes two tools—System File Checker (SFC) and Deployment Image Servicing and Management (DISM)—that scan for and fix these issues.
Step 1: Open Command Prompt as administrator as described above.
Step 2: Run the SFC tool to check and repair system files:
sfc /scannow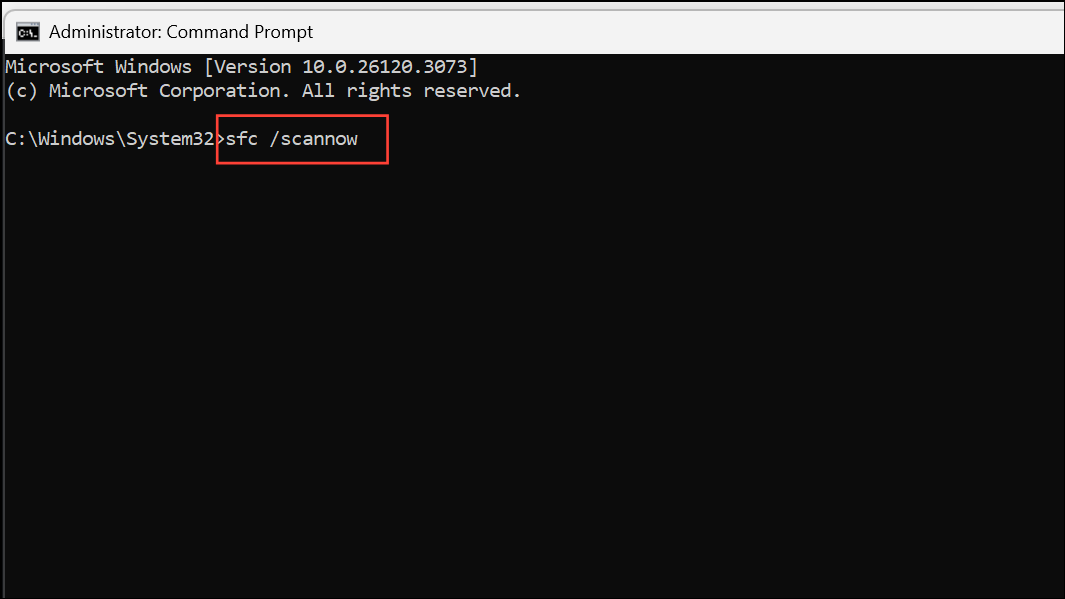
This process may take several minutes. Once it finishes, restart your computer and check if System Restore works.
Step 3: If SFC reports it could not fix some files, run the following DISM commands one at a time in Command Prompt:
DISM /Online /Cleanup-Image /CheckHealth
DISM /Online /Cleanup-Image /ScanHealth
DISM /Online /Cleanup-Image /RestoreHealth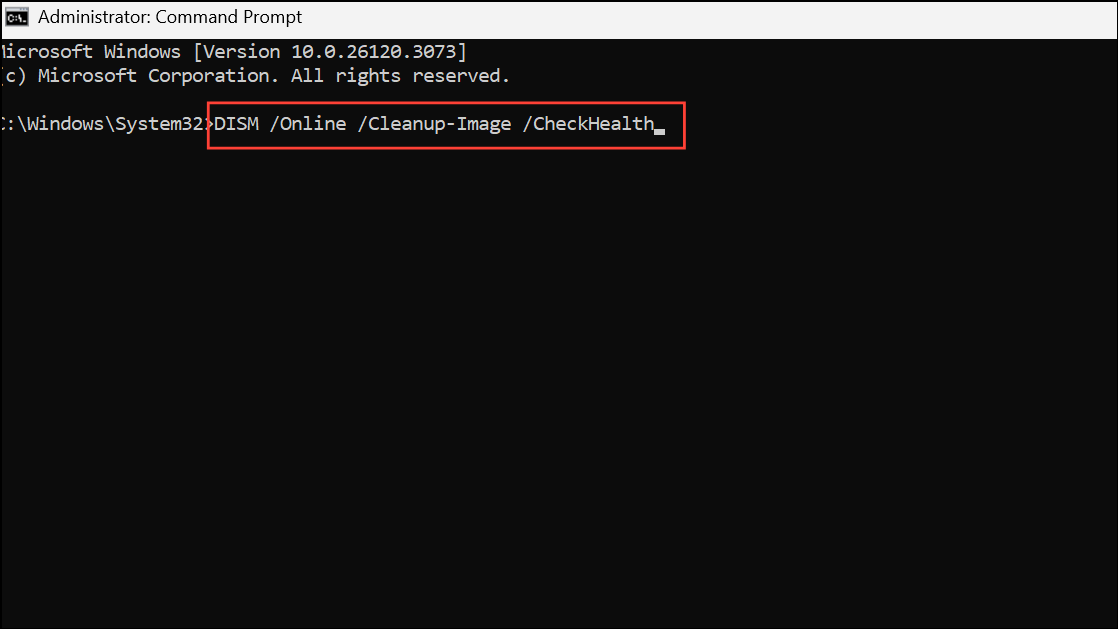
DISM uses Windows Update to download and replace corrupt files. After the process completes, restart your PC and try System Restore again.
Ensure Required Services Are Running
System Restore depends on several background services. If these are disabled or misconfigured, restore operations may fail with error 0x81000204. Key services include:
- Volume Shadow Copy
- Microsoft Software Shadow Copy Provider
- Remote Procedure Call (RPC)
- DCOM Server Process Launcher
- Plug and Play
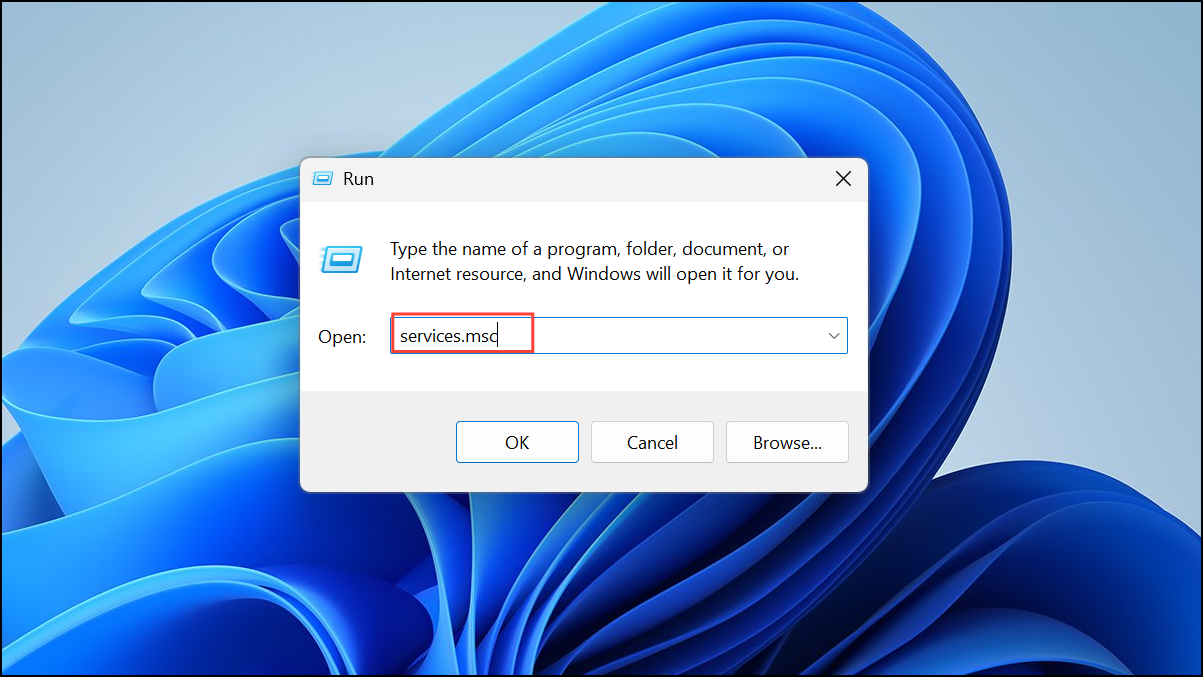
Step 1: Press Win + R to open the Run dialog, type services.msc, and press Enter.
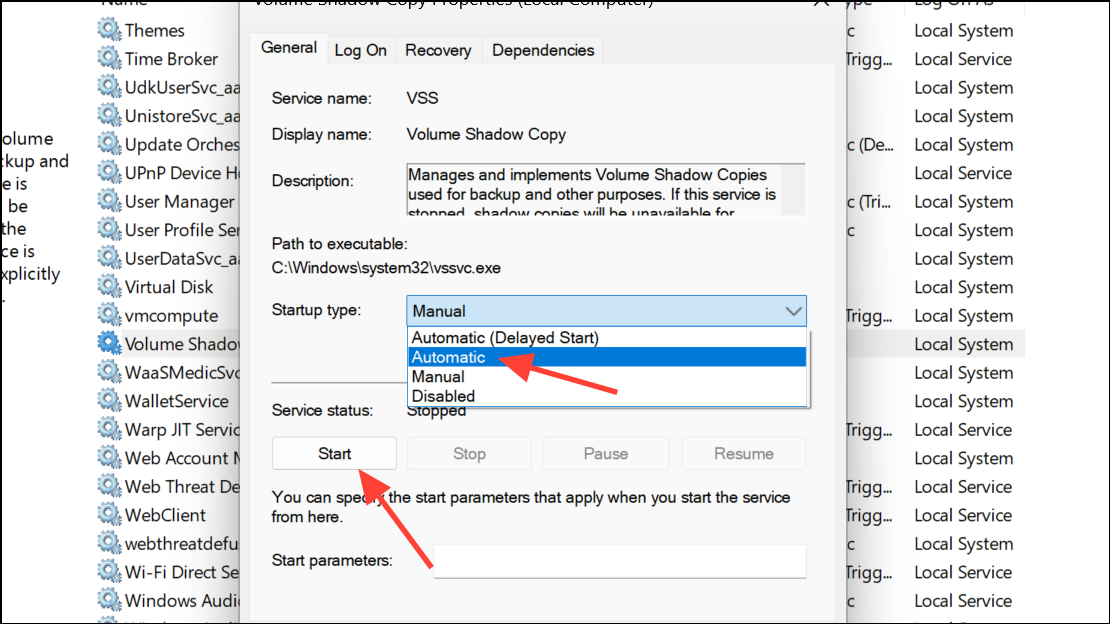
Step 2: In the Services window, locate each service listed above. Double-click each one, set the Startup type to Automatic, and ensure their status is Running. If not, click Start to launch the service.
Step 3: Close the Services window and attempt System Restore again.
Reset System Restore Settings
Misconfigured System Restore settings or registry entries can also cause error 0x81000204. Resetting these settings can clear out problematic configurations.
Step 1: Open Command Prompt as administrator.
Step 2: Enter these commands one by one, pressing Enter after each. They remove certain registry keys and re-enable scheduled tasks and services used by System Restore:
reg delete "HKLM\SOFTWARE\Policies\Microsoft\Windows NT\SystemRestore" /v "DisableSR" /f
reg delete "HKLM\SOFTWARE\Policies\Microsoft\Windows NT\SystemRestore" /v "DisableConfig" /f
schtasks /Change /TN "Microsoft\Windows\SystemRestore\SR" /Enable
vssadmin Resize ShadowStorage /For=C: /On=C: /Maxsize=25GB
sc config wbengine start= demand
sc config swprv start= demand
sc config vds start= demand
sc config VSS start= demand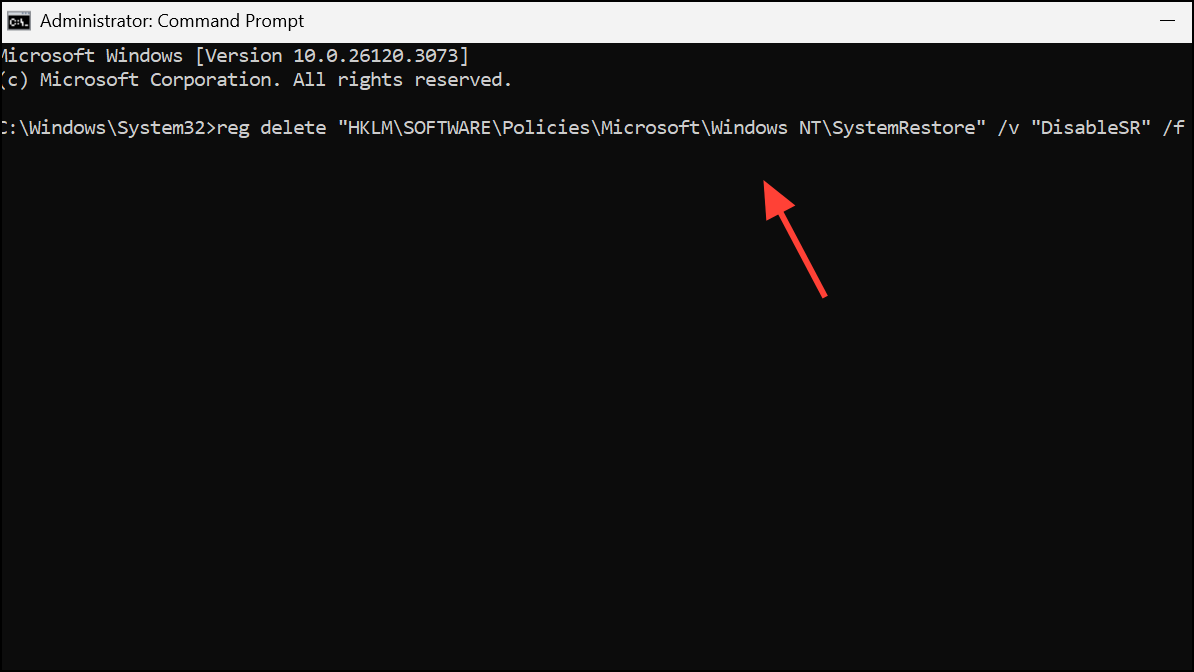
Step 3: Restart your computer and test System Restore again.
Run System Restore in Safe Mode
Third-party applications, especially security software, can interfere with System Restore. Running Windows 11 in Safe Mode loads only essential drivers and services, reducing the chance of conflicts.
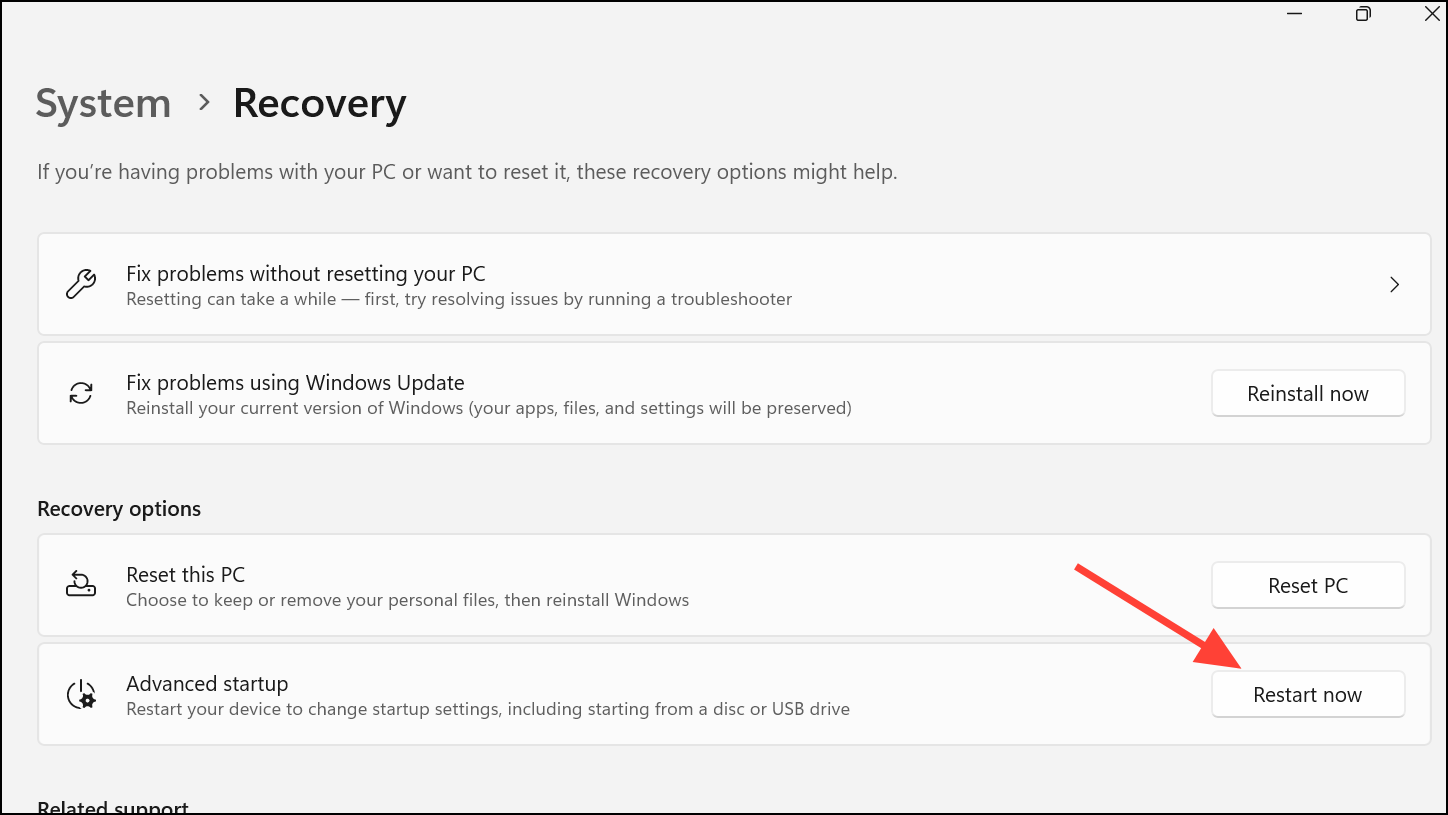
Step 1: Open Settings and go to System > Recovery. Under Advanced startup, click Restart now.
Step 2: After your PC restarts to the recovery menu, select Troubleshoot > Advanced options > Startup Settings, then click Restart.
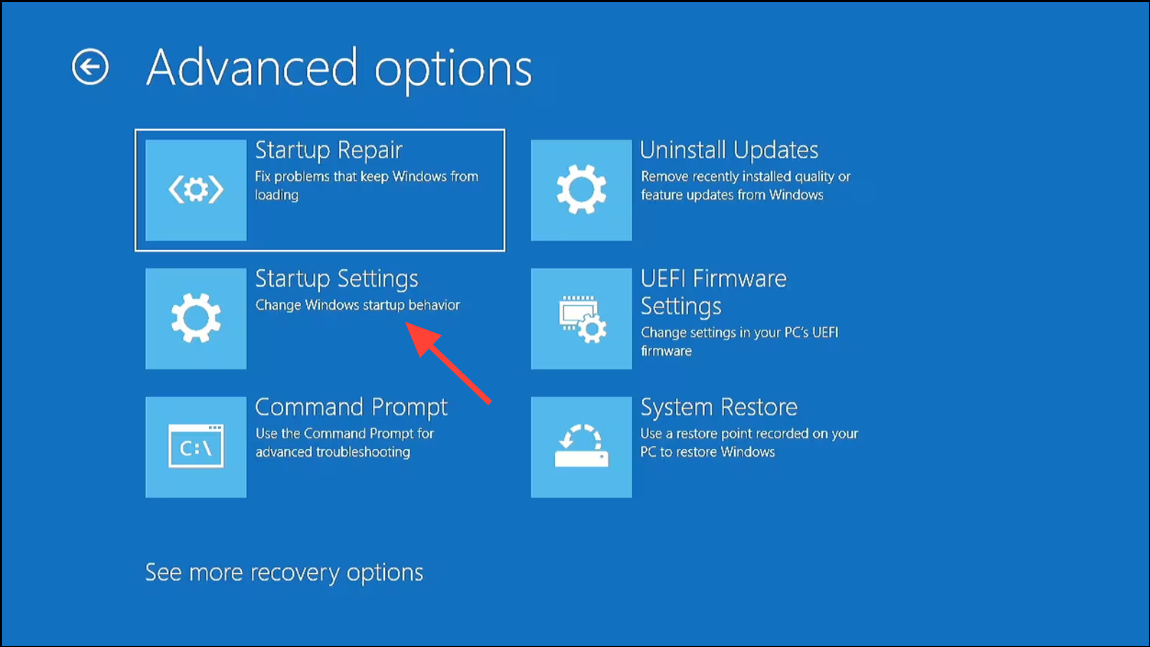
Step 3: Press F4 to boot into Safe Mode. Once Windows loads, try running System Restore again from the search bar by typing rstrui and following the prompts.
Temporarily Disable Antivirus or Security Software
Some antivirus or anti-malware programs prevent System Restore from modifying system files. Temporarily turning off real-time protection can allow the restore process to complete.
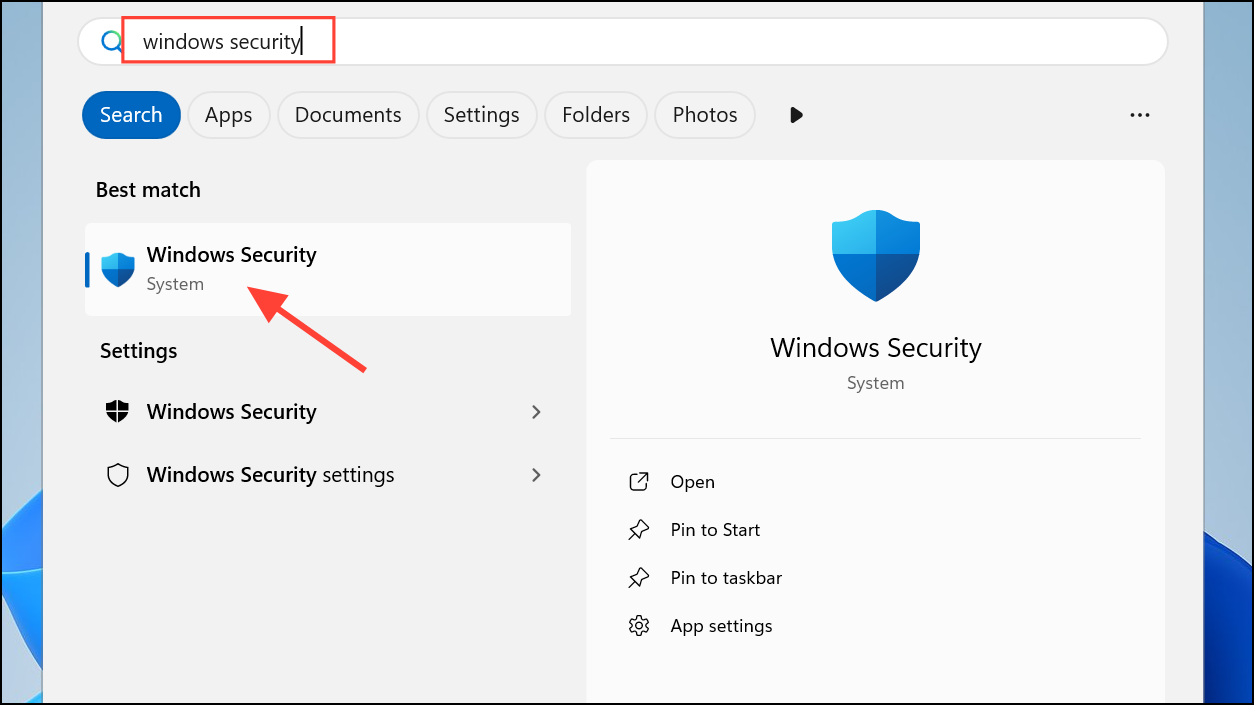
Step 1: Open Windows Security from the Start menu.
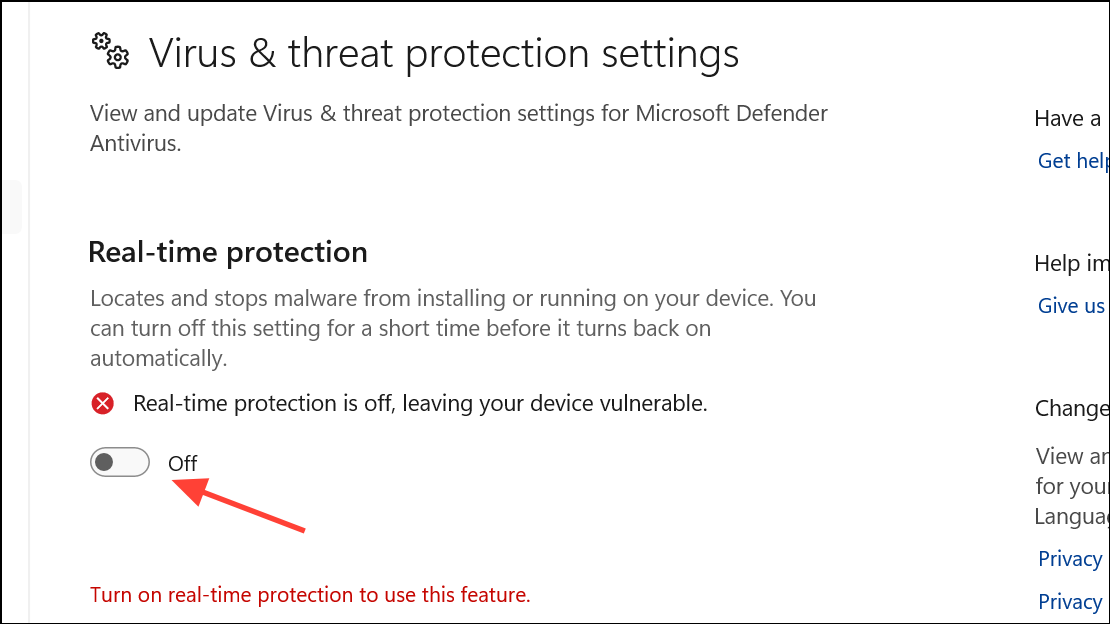
Step 2: Go to Virus & threat protection > Manage settings and switch Real-time protection to Off. If you use a third-party security suite, consult its documentation for instructions.
Step 3: Run System Restore, then re-enable your antivirus after the process finishes.
Reset or Repair Windows as a Last Resort
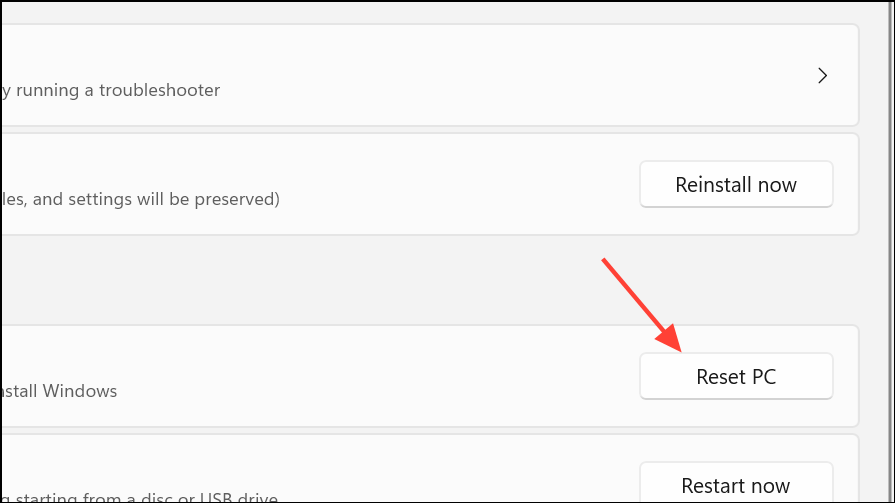
If none of the above methods resolve error 0x81000204, consider using Windows 11’s Reset feature to reinstall the operating system while keeping your files. This approach removes system corruption that blocks System Restore but will uninstall third-party programs.
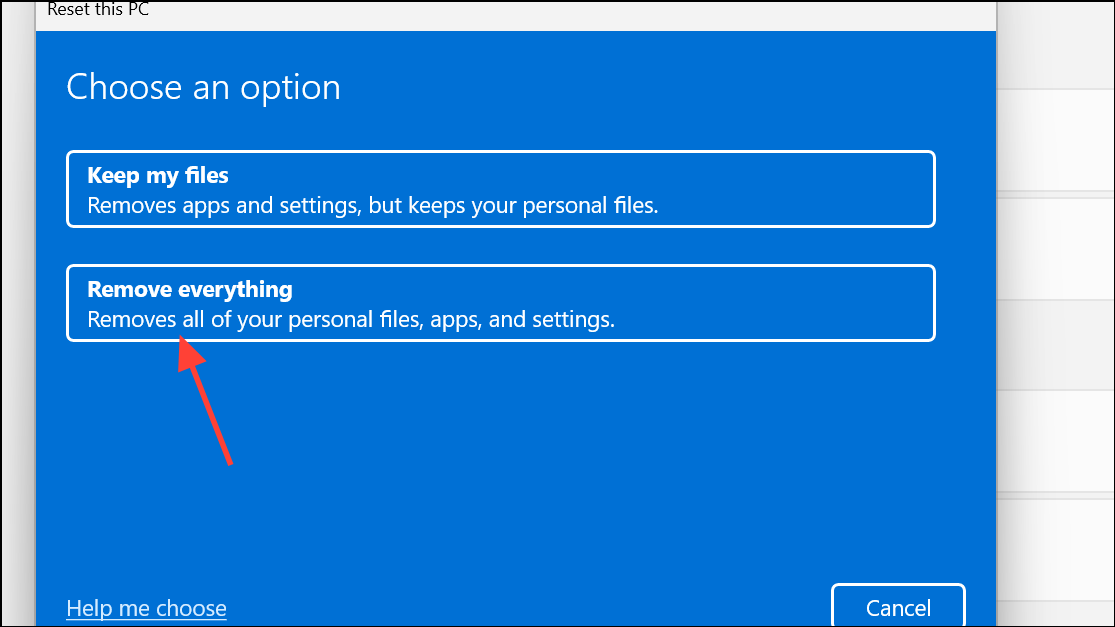
Step 1: Go to Settings > System > Recovery and under Reset this PC, click Get started.
Step 2: Choose Keep my files to preserve personal data, or Remove everything for a clean slate. Follow the prompts to complete the reset.
Fixing System Restore error 0x81000204 in Windows 11 involves targeted troubleshooting—repairing disk errors, restoring system files, verifying service status, and, if needed, resetting system configurations. With these steps, you can restore reliable access to System Restore and safeguard your PC’s recovery options.